i have a question for the graver wielding stone setters out there…do you put a heel on your onglette…?…and/ or just polish the sides, (on a diamond bond (yellow) polishing wheel…or crocus charged with rouge…or…)…?…without hitting the tip…?
i have been testing the heel option on the onglette out…but…it doesnt seem to cut well…
i “thought” i saw this on a GRS video…but i am not clear…on what i am seeing…
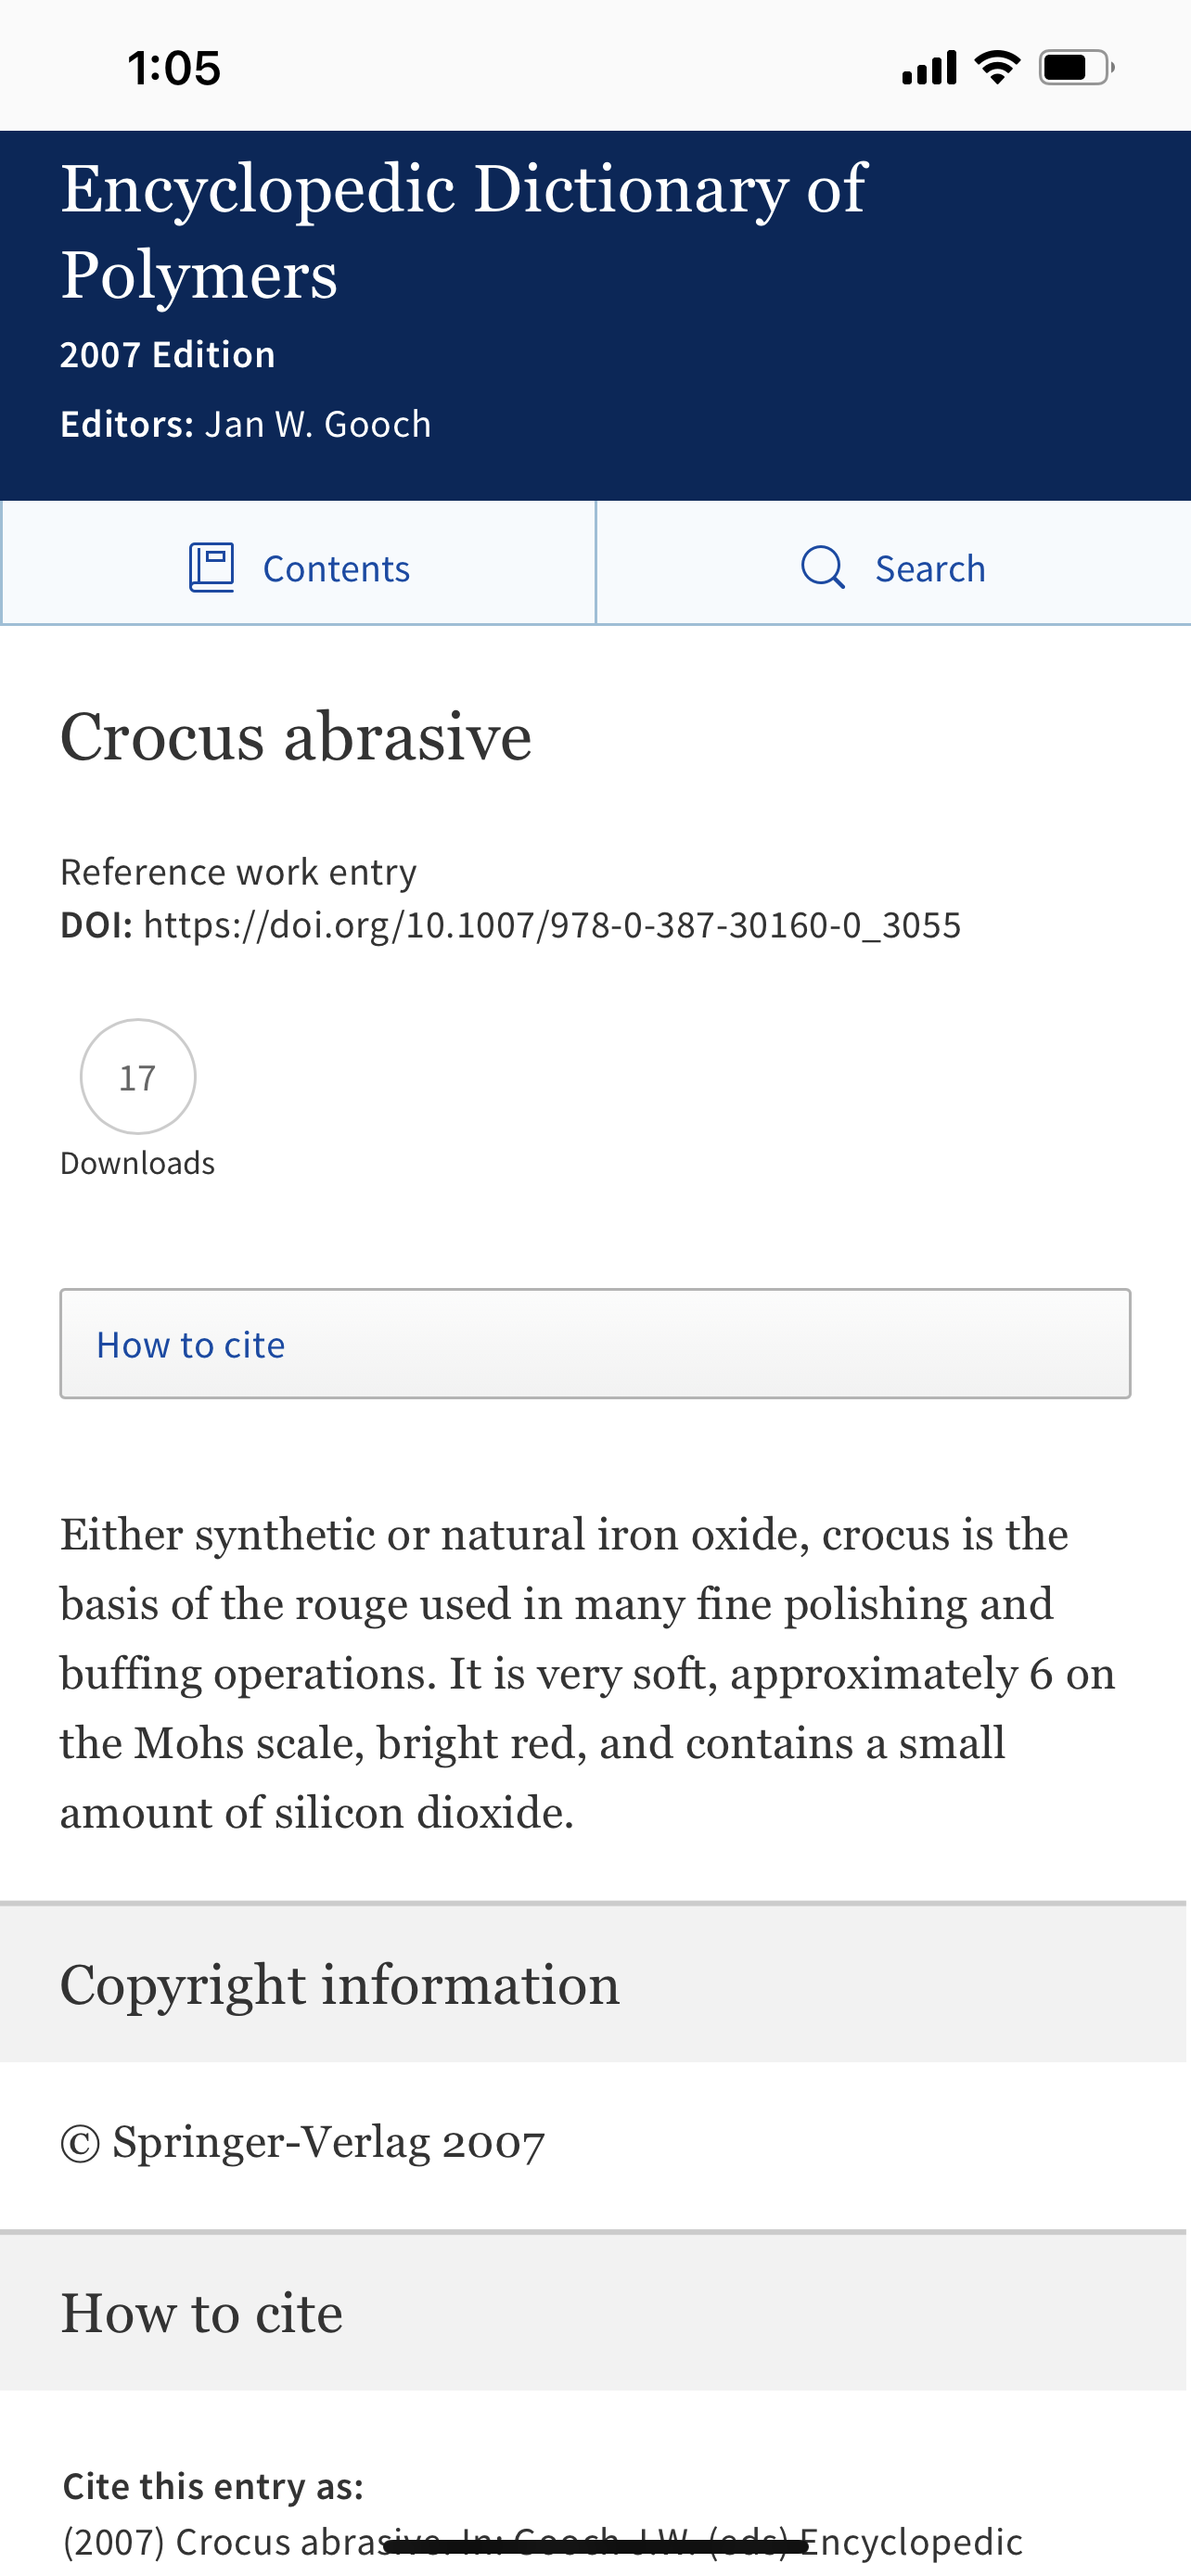
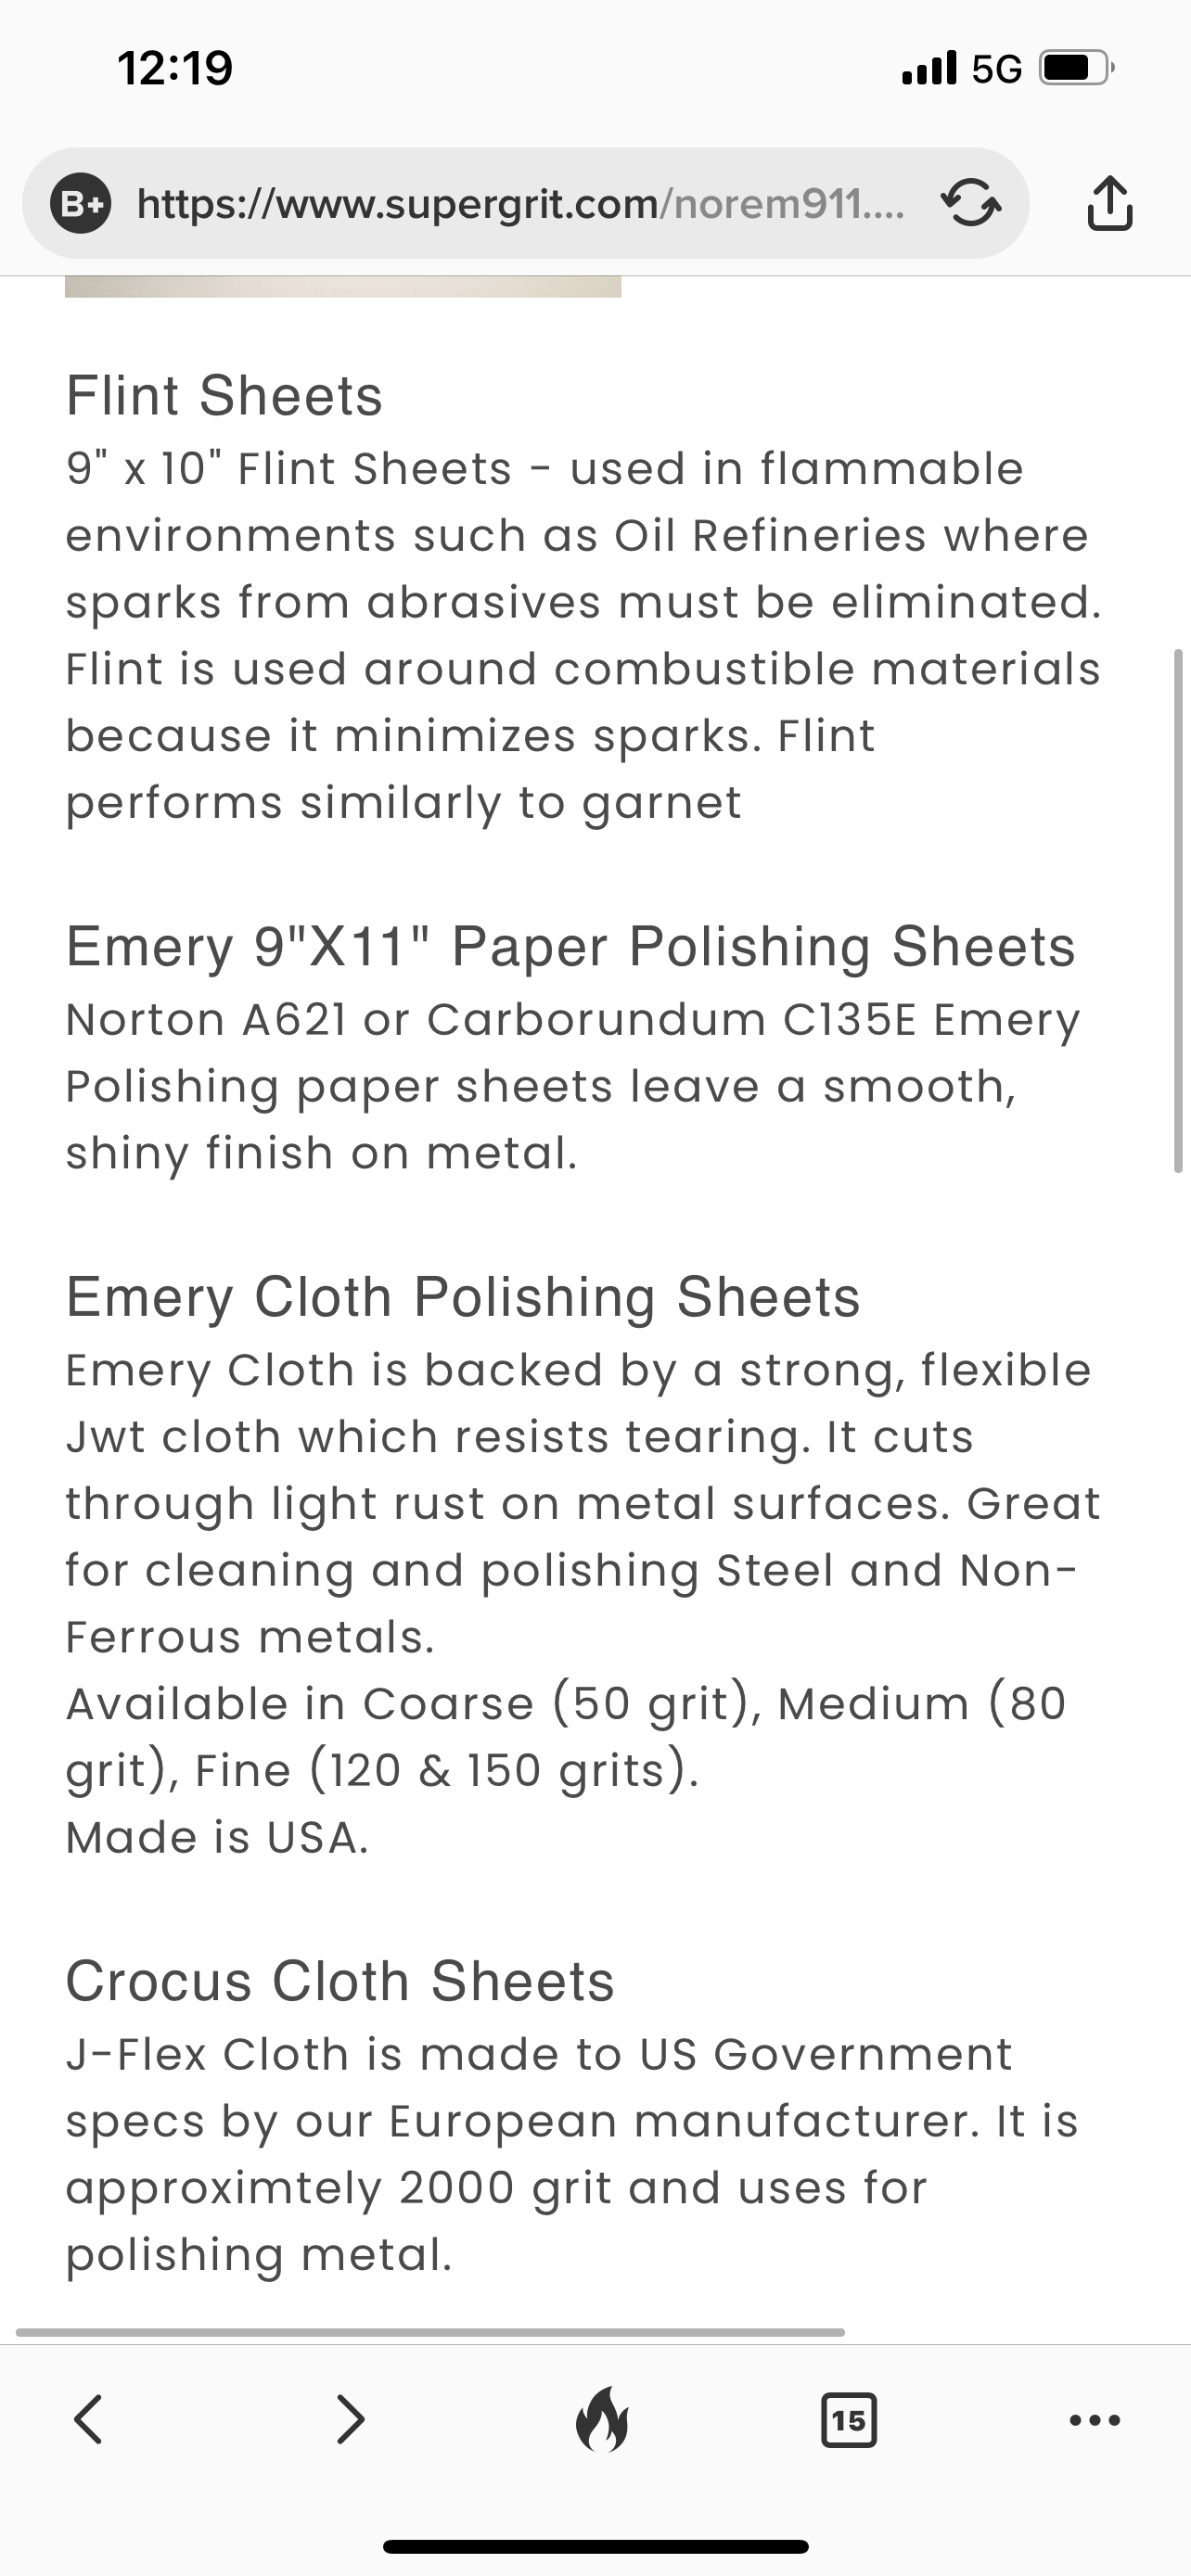
i forgot to clarify my crocus statement…my mentor taught me to glue a piece of crocus (? red clothlike paper) to a small square of glass, and rub/ charge it with red rouge, green rouge…
and “swipe/ drag the pertinent sides/ bottom/ faces of the graver on it… to polish it and break any burs off…
i am new to onglettes…i was taught bead and bright with round gravers to lift the beads, and (modified right and left angle face) flat gravers to bright cut…
i am trying the onglettes for the bead isolation cuts and cleanup…
no heel seems to dig in, and tips break often
slight heel seems to skitter, hard to control
i think i an angling the tip, like on a square graver…and i dont think i am supposed to…ben seems to be rolling the sides…?
i get a small piece of glass (with polished edges so no sharp edges)
then, cut a small square of crocus cloth to fit the glass and glue it onto the glass
(the glass provides a flat surface)
then rub red rouge, green steel rouge onto the crocus cloth (to “charge it”)
this setup is used to my polish flat gravers
the more polished the bottom, the more mirror finish the bright cut…
ie: flat graver- i place the flat bottom of the graver on the cloth, apply light pressure, and drag the graver down…once or twice…to polish the bottom and break off any burr left after grinding the graver
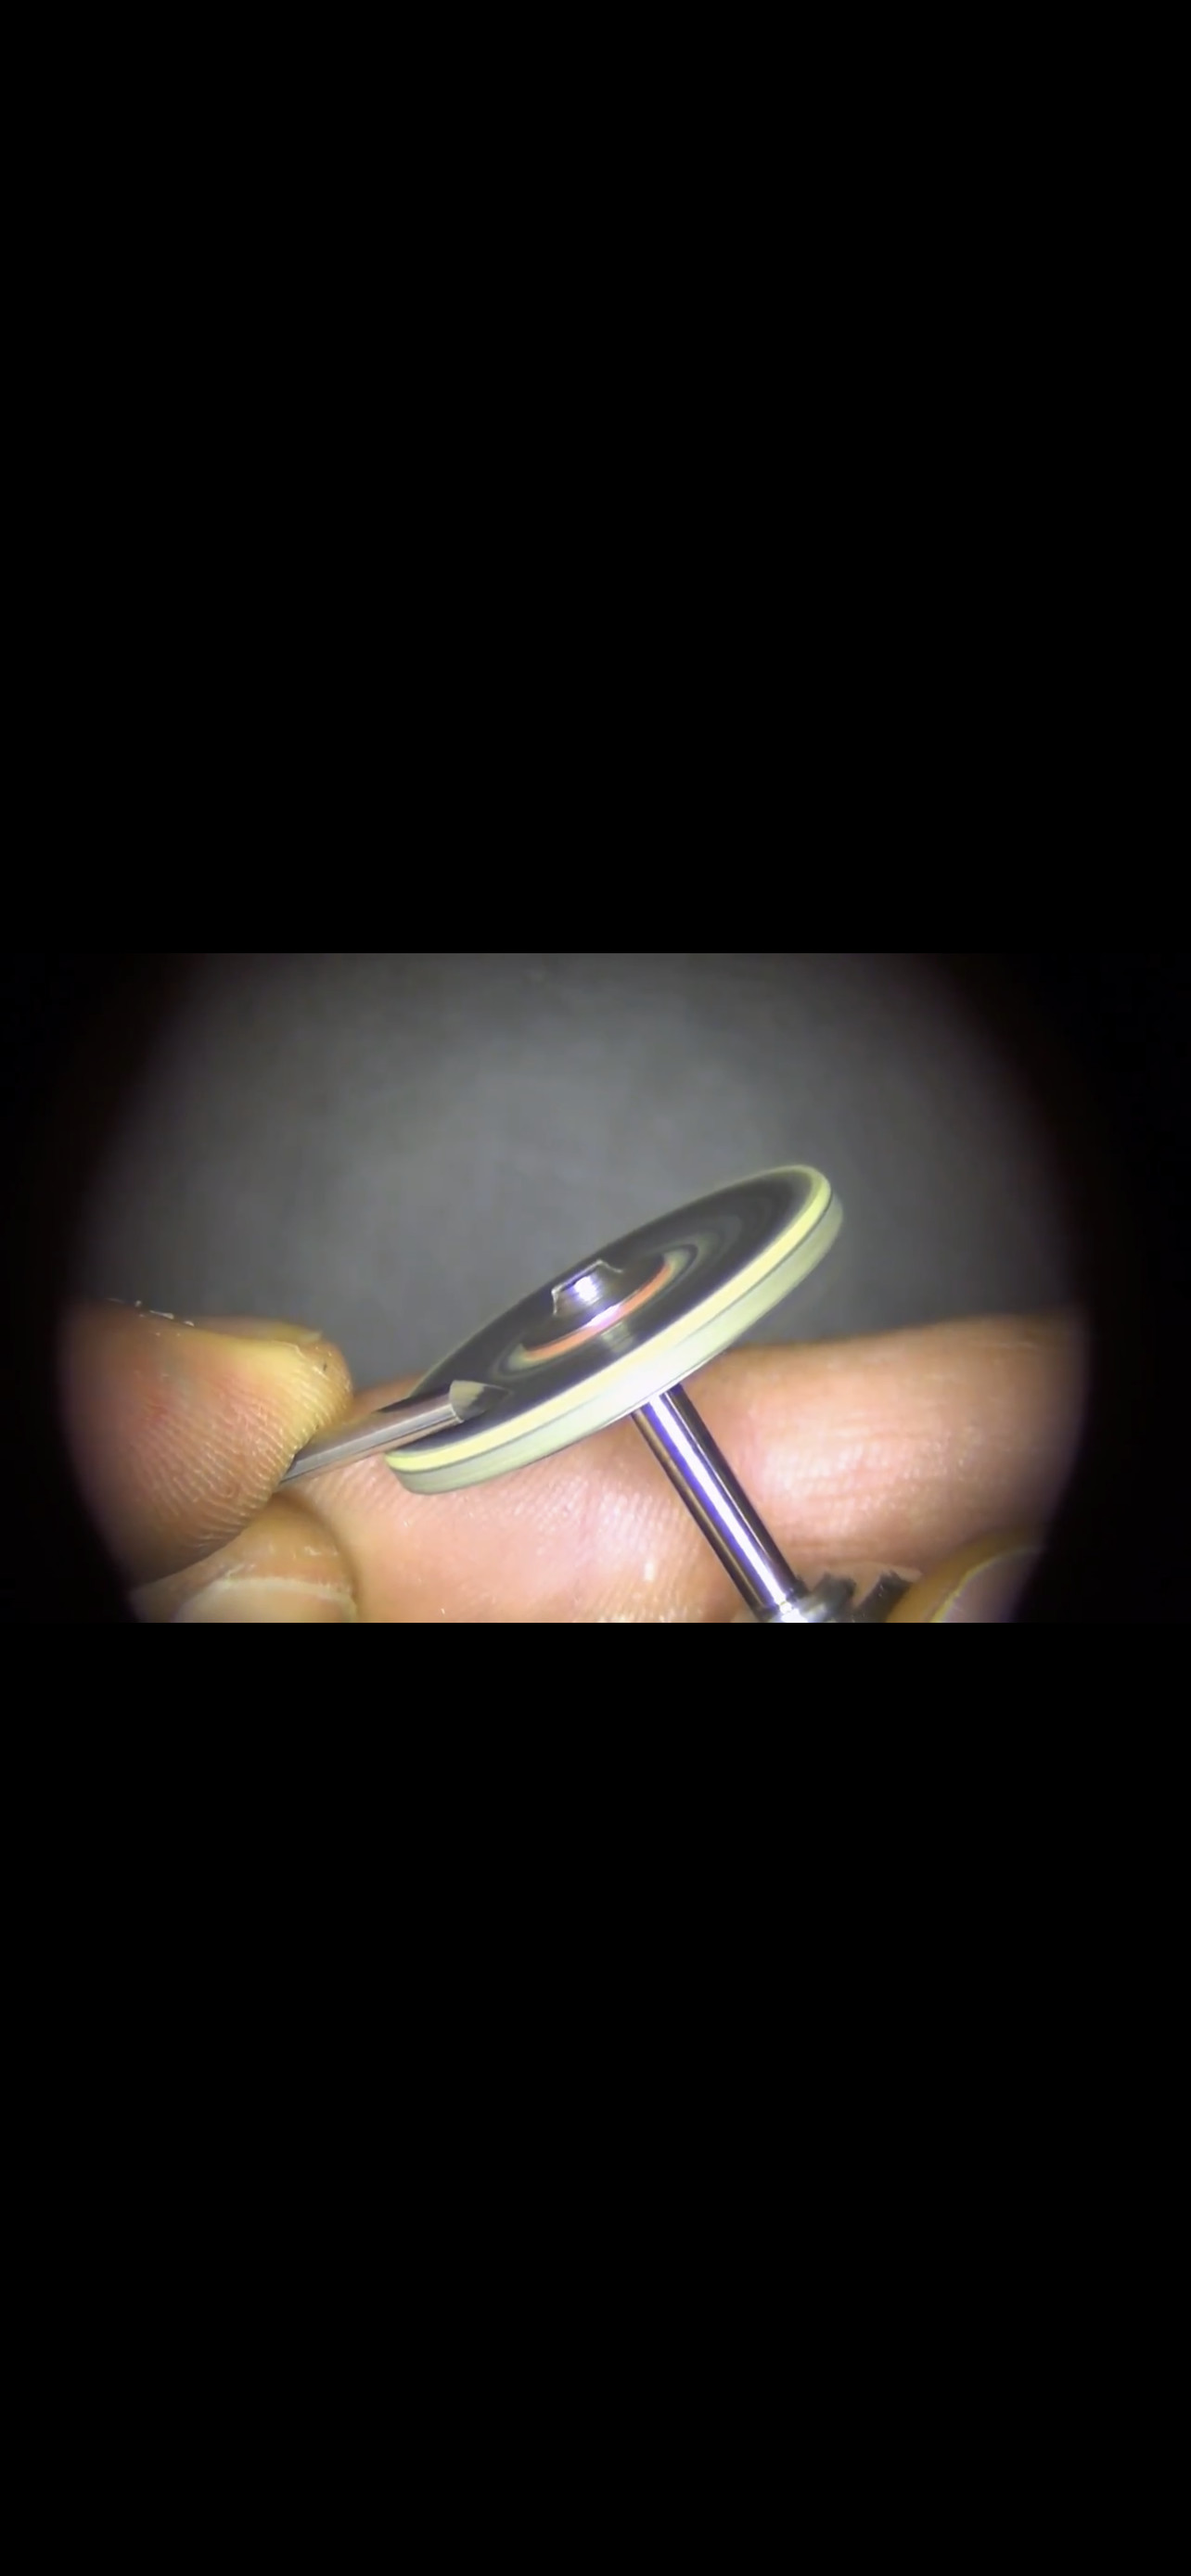
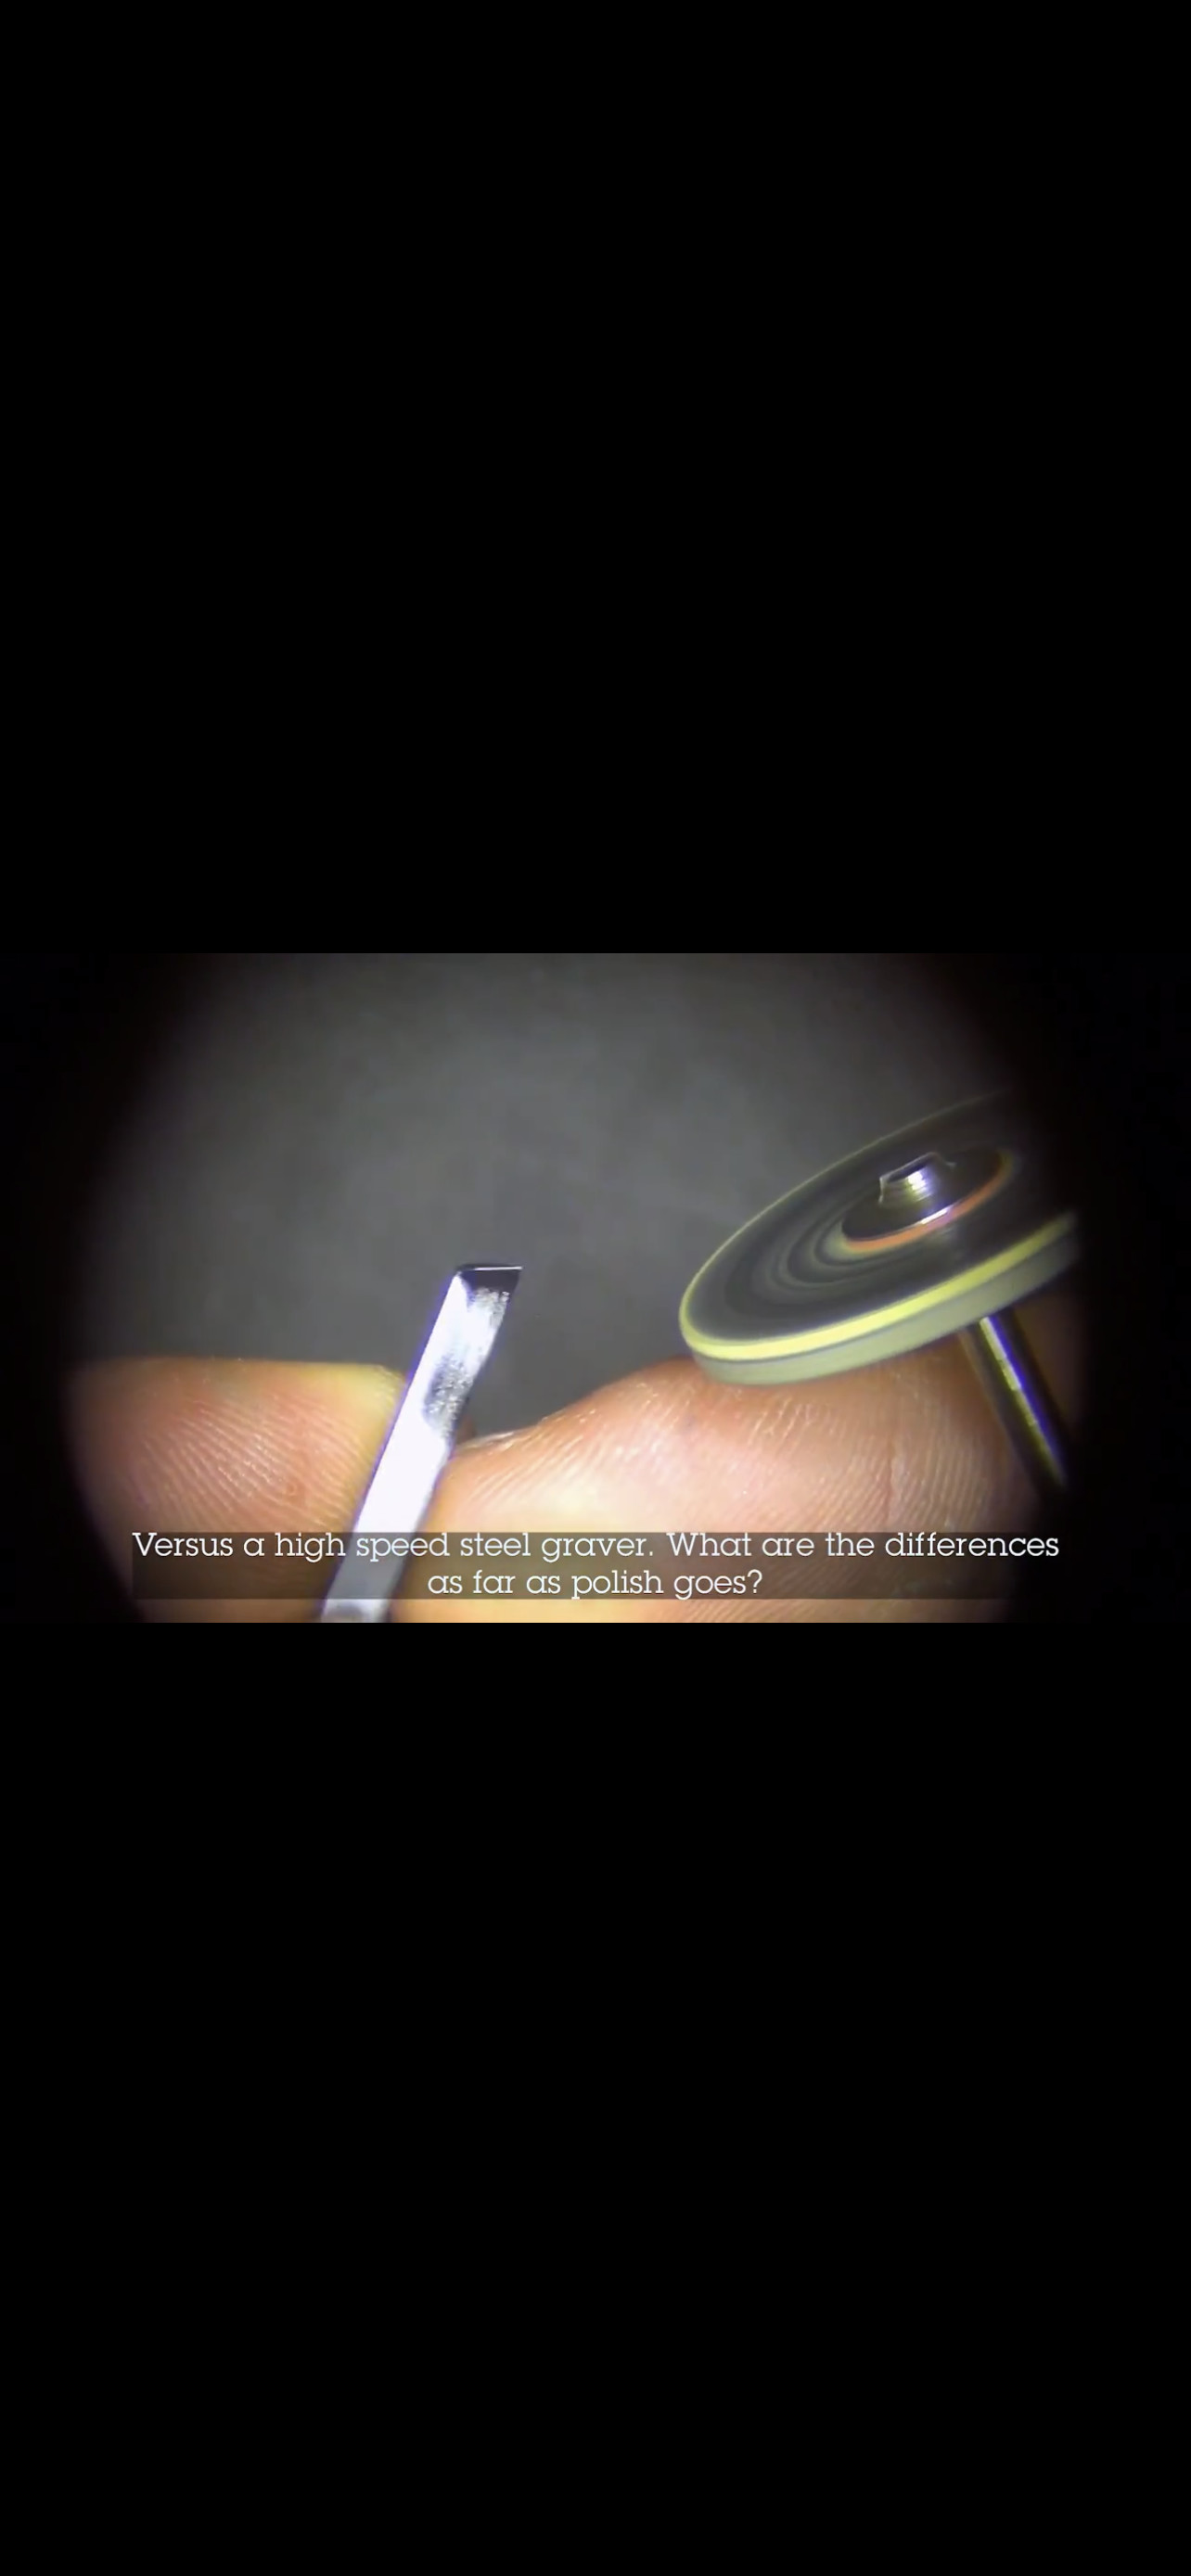
however, on the previously mentioned video, i saw ben using a yellow diamond bond polishing wheel on a flex shaft, to polish his onglette, …and i “thought” he also put a slight heel on it…so i ordered one to try it out…
Julie and everyone who has the patience to read my long answers…:>)
This seems like a great idea…but using glass could be a problem if I drop your glass into your bench. I, for one, wrap #1,000 polishing paper tightly around a paint mixing stick. Then I rub a very soft artistic pencil on this soft paper…then this paper turns into a #1,250 grit paper. This has been my practice for only a few years…(all 60 years of them) Trust me, with this method, I haven’t seen any problems in getting my papers up to a level that I’m happy with.
Years ago this #1,000 paper used to be named #6/0. Your Crocus paper wasn’t made available back then, but even today I don’t have any problems buying any #1,000 grit papers. The pencil-rubbings help me to make my Bright-Cutting a nice cutting, under my 150 power microscope, I feel that my cutting shines like a mirror. Even under my iPhone-powered eye-piece attachment, the Bright-Cutting makes the Cutting an absolute shining piece of metal.
I use this also when I use my latest feature named “Cut-Down” this is where all you see are bright-cutting, and with no discernable beads are to be seen. This is my next essay of a simple “35, out of 10 on my Difficulty Scale”. Many times I need a very Bright-Cutting.
Another essay is in the making (but I won’t let any more secrets get read) I need a totally 100% bright-cutting surface that only a few setters in Toronto have seen this done., pity! These two setting techniques are akin to engraving.
=>To all of my good friends everywhere. May I take a moment and wish you all a Healthy New Year, 5782 <=
“Do I heel, or not to heel, is that the question!? If you ask two setters if they have a heel on their gravers, you’ll get three or even four answers!” I’ve been asked this question, Let me just answer…it all depends on the job YES, and NO! I use it with a heel and I don’t. It’s all written in the setting I’m working with. I’m not avoiding the question or the answer, again, yes & no!
regards to all.
so far, a 60 degree face angle (steeper than my normal 45 degree face angle) has reduced the tip breakage…yay
no heel seems to be better for me
and to avoid unintended alterations, i have reverted back to my crocus cloth…instead of the yellow diamond bond polishing wheel (until i can figure out how to control the situation better…
I’ve had a lot of trouble with heels so I tuned into your conversation. I watched the video over and over and what looked different to me was the angle on the heel. On his 65° it looked no more than 15° out so basically a 45°. That’s a much steeper heel than I have tried before. I’m going to try it out. How steep was your heel?
i usually put a 15 degree heel on my flat and square gravers, using my power hone diamond wheel and angle fixture, power off
for my round gravers, i use a 15 degree and hand spin/twist the graver, in the angle fixture, to match the round face as best as i can…without creating a point!
with the onglettes, i am using the yellow diamond bond wheel in a flexshaft…not being too successful
i think it is a matter of figuring out how to hold the graver in one hand and the flexshaft in another, so that i can deliberately and softly/ smoothly move the graver correctly, and see what i am doing, to create the heel shape
it looks like ben is rocking the graver up a bit
and his heel is a curve
two kind of heels for onglette
1: a parallel heel running along the edge of one or both sides, with a very tiny curved angle at tip
2: a bigger smoother curved angle heel along the belly toward the tip, with a slightly polished angled tip…
i am trying steeper face angles…60-65, instead of 45, to strengthen tip…i aim for 15 degree heels…maybe too much …
There is such a discussion over a few degrees here and there!
Not withstanding between 65 degrees and more chatter of 15 degrees. “My mind is numbed” to say the least!
I think that we are losing the fact that we are creating works of art!
If I finished high-school (grade 12) I could enjoy this forum.
I finished only grade 10 to learn a trade, my foreman, aka “teacher“ was blessed in teaching me to be a setter.
For goodness sakes, let’s get back to enjoying why we are here. I seem to loose that fact!
Gerry (who only finished 2nd year of high school)
Can anyone honestly tell me exactly what angle is my graver at? Just as long as I get my Bright-Cutting done to the “required sheen” in the metal.
“Gerry, on my iPhone”
I apologize for subjecting you to a mind numbing experience, as that was not my intention.
Unlike you, i was not able to master graver sharpening by hand, and therefore use a dual angle sharpening fixture, with degree settings, and a power hone.
Hi Julie and everyone!
When I was in my formative age, there were no machines to guide our hands. All we had were our eyes and a growing level of experience in what we doing.
Today, diamond setting is so much different. Luckily, there are rotating emery-disks that can calibrate the slightest angle by 1, or 2 degrees.
When I write my essays, I write with the intent to make “setting“ as easy as possible. If I had to write with buying expensive machines there wouldn’t be any new setters coming on stream.
Another point that I must remember, other countries don’t have access to this gadgetry.
“I must write down to those people who have the money”!
End of story, agree?..
Plenty of jewelers and engravers still sharpen by hand. All it takes is practice. The equipment is just stones of a few grits. A microscope is unnecessary for sharpening, though useful for the actual setting.