Hi Makena,
Thank you so much for sharing Nancy’s website -I will check her video’s out. I do prefer to learn by watching online and then trying at home by myself.
Thanks again!
Mila
Hi Makena,
Thank you so much for sharing Nancy’s website -I will check her video’s out. I do prefer to learn by watching online and then trying at home by myself.
Thanks again!
Mila
Here’s a sketch I made a couple years ago diagramming the steps in hammer setting into a tube.
Unlike a wire bezel, which is simply pushed over the edge of the stone, the tube or bezel of a hammered setting has its upper edge upset to increase it’s thickness, which moves some of the metal over the edge of the stone. This is the technique whether you are cutting a seat in a tube or simply hammering a thick bezel.
You don’t need a large flange of the tube or bezel over the stone to keep it secure. Since the tube is upset around the entire circumference of the stone, even though it may seem like a small amount it’s really quite a lot of metal holding the stone in place. Making the rim of the tube or bezel too high is a pitfall as you’ll have difficulty getting the upset thickness to come into close contact with the stone.
“Upsetting” is a term from blacksmithing and general metalwork. It means to strike the end of a piece of metal in order to increase its thickness, by compressing it in its other dimension.
Hi Helen,
Thank you for your message.
Re the below:
does a bezel have to slightly go over the stone or could just go some way up as long as you can bring the bezel close enough to hold the stone? In other words, the bezel doesn’t need to be level with the top of the stone? In the case of the pendant, the walls of the stone were very uneven - one side was vertical and the other slanted. But all the closing on the pendant I’ve done is with a curved bezel pusher only as I am worried about breaking the stone if I add a hammer to the picture.
1mm is exactly the thickness I want to use -the chunkier the better in my books- but I have to first get past this issue. I’ve done items using 0.3mm bezel that I am closing well and look passable, but I love a heavy setting.
I am based in the South-West. ![]()
I must visit Machine Mart if we have one nearby. Never heard of it before, thank you for the suggestion!
Mila
Mila,
The bezel absolutely does NOT have to reach the top of the stone. It leads to a difficult and ugly setting. I look at the sides and just go a “smidge” above where the sides start to slope inwards. That is plenty to hold it and will be easy to set.
Faceted stones are a different matter. When making settings for faceted stones, I make the bezel, then make a slightly smaller and shorter inner bezel (seat), where the top edge is profiled to accommodate the pavilion of the stone. This is soldered inside the outer bezel. I do make bezels for faceted stones such that the top of the bezel is level with the table of the stone, but never for cabs.
I have an Ocean Jasper cabochon, which is essentially a large, polished slab with straight sides. I am pretty sure that if the bezel I make is a good enough fit, the fact that the sides are straight shouldn’t matter. There will be enough force to hold it in. I have toyed with thoughts of adding some “tabs”, sort of like prongs as extra security for the stone, but don’t think it will be necessary.
Could you recycle your pendant setting and try again? Your second attempt may well turn out to be something you’ll be proud to wear.
One thing I meant to also mention, is that when I solder a bezel closed, I sand flat both the top and bottom edges. The bottom needs to be flat to solder onto the back plate, but I love to make sure the top flat edge does not get disturbed at all. I don’t taper the sides or anything. Just close the bezel using force on the sides of the bezel, and the angle of force will change as the bezel starts to turn onto the stone. Still don’t touch the top crisp edge. Wait until the bezel is 100% closed as seen through a x10 loupe (no gaps at all), then use a polished steel burnisher to run around that crisp edge next to the stone, to make a mirrored finish.
Shame we don’t live closer!
Helen
UK
It depends on what way you want to push the bezel. I usually start by pushing it horizontally holding the pusher at about a 45 degree angle from horizontal. I use a wide pusher to start and then transition to a narrower one when I am just working on a smaller area. I might add that my bracelet bezels are usually fairly high. They need to be to have enough bezel exposed beyond the bracelet base. When this is not the case, my bezels are as low as I can get them and still set the stone. I usually hold the pusher closer to vertical when the bezel is low. There are design and aesthetic reasons why you might want a high or low bezel. I am also a lapidary, so I can cut my stones to fit the piece or make the piece to fit the stone. I can also modify the base of the stone if it is a bit tight for the bezel. This all takes time. I have been at it for 45 years and still learn something new every day. Good luck…Rob
I need to chime in here as I feel it is important. If you are wanting to close up the Bezel, I would push the sides FIRST, as this will prevent the stone from sliding from twisting from the “North & South” compass position. The stone will for sure twist to the ‘point of least resistance’. This will have the effect of holding the stone in place! THEN push over the top and bottom sections of the Bezel. Once this is done, you won’t have any sort of problem of having to remove and straighten out the large oval stone!
Hi Helen,
I could recycle it but I have another round stone that is absolutely the same dimensions. I have 100+ stones I’ve bought waiting for my skills to catch up (I did say I got the jewellery bug ![]() )
)
So I’ve completely misunderstood how high the bezel has to be. I will follow your advice and go shorter rather than longer. I do prefer to see more of the stone exposed anyway.
I seem to struggle a lot more with round shapes, than angular and yesterday, after going back to my notes, I had a thought as to why that might be.
So, my process with round shapes is as follows: Take bezel wire, wrap it around the stone as close as I can, mark where it meets and then cut. What I find is, that at this point, the two ends of the bezel don’t quite meet so I have to slightly change the shape of the bezel from round to more oblong so the ends meet perfectly to solder. Once I solder the bezel I then have to hammer the shape back to round using a mandrel. This last step (with the mandrel) is not necessary when the stone is angular and therefore I wonder if that makes it so much harder for me to close the bezel. When silver is hammered, doesn’t it harden? I maybe talking rubbish so do excuse me if that’s the case. And I want to thank you, and everyone else here, for giving your time and know-how so generously -I hope one day, in many moons to come, when I’ve learnt enough, to be in a position to pay it forward.
Mila
P.S. I do wish I lived closer. Though if you ever find yourself near Bristol or Cardiff give me a shout. I do often go up north to Leeds to see family but never as far up as Lancashire.
I love the thickness of the ring -that bold simplicity is exactly what I am after. Looks so simple but it’s very difficult to achieve.
Elliot, this is so helpful - thank you for sharing!
Mila
Rob, it didn’t even occur to me that the size of the pusher can vary or that we are not trying just to close the top of the bezel around the stone, but the whole bezel. I have watched so many videos and have 10+ books on the subject but details like this I’ve either missed or they weren’t obvious.
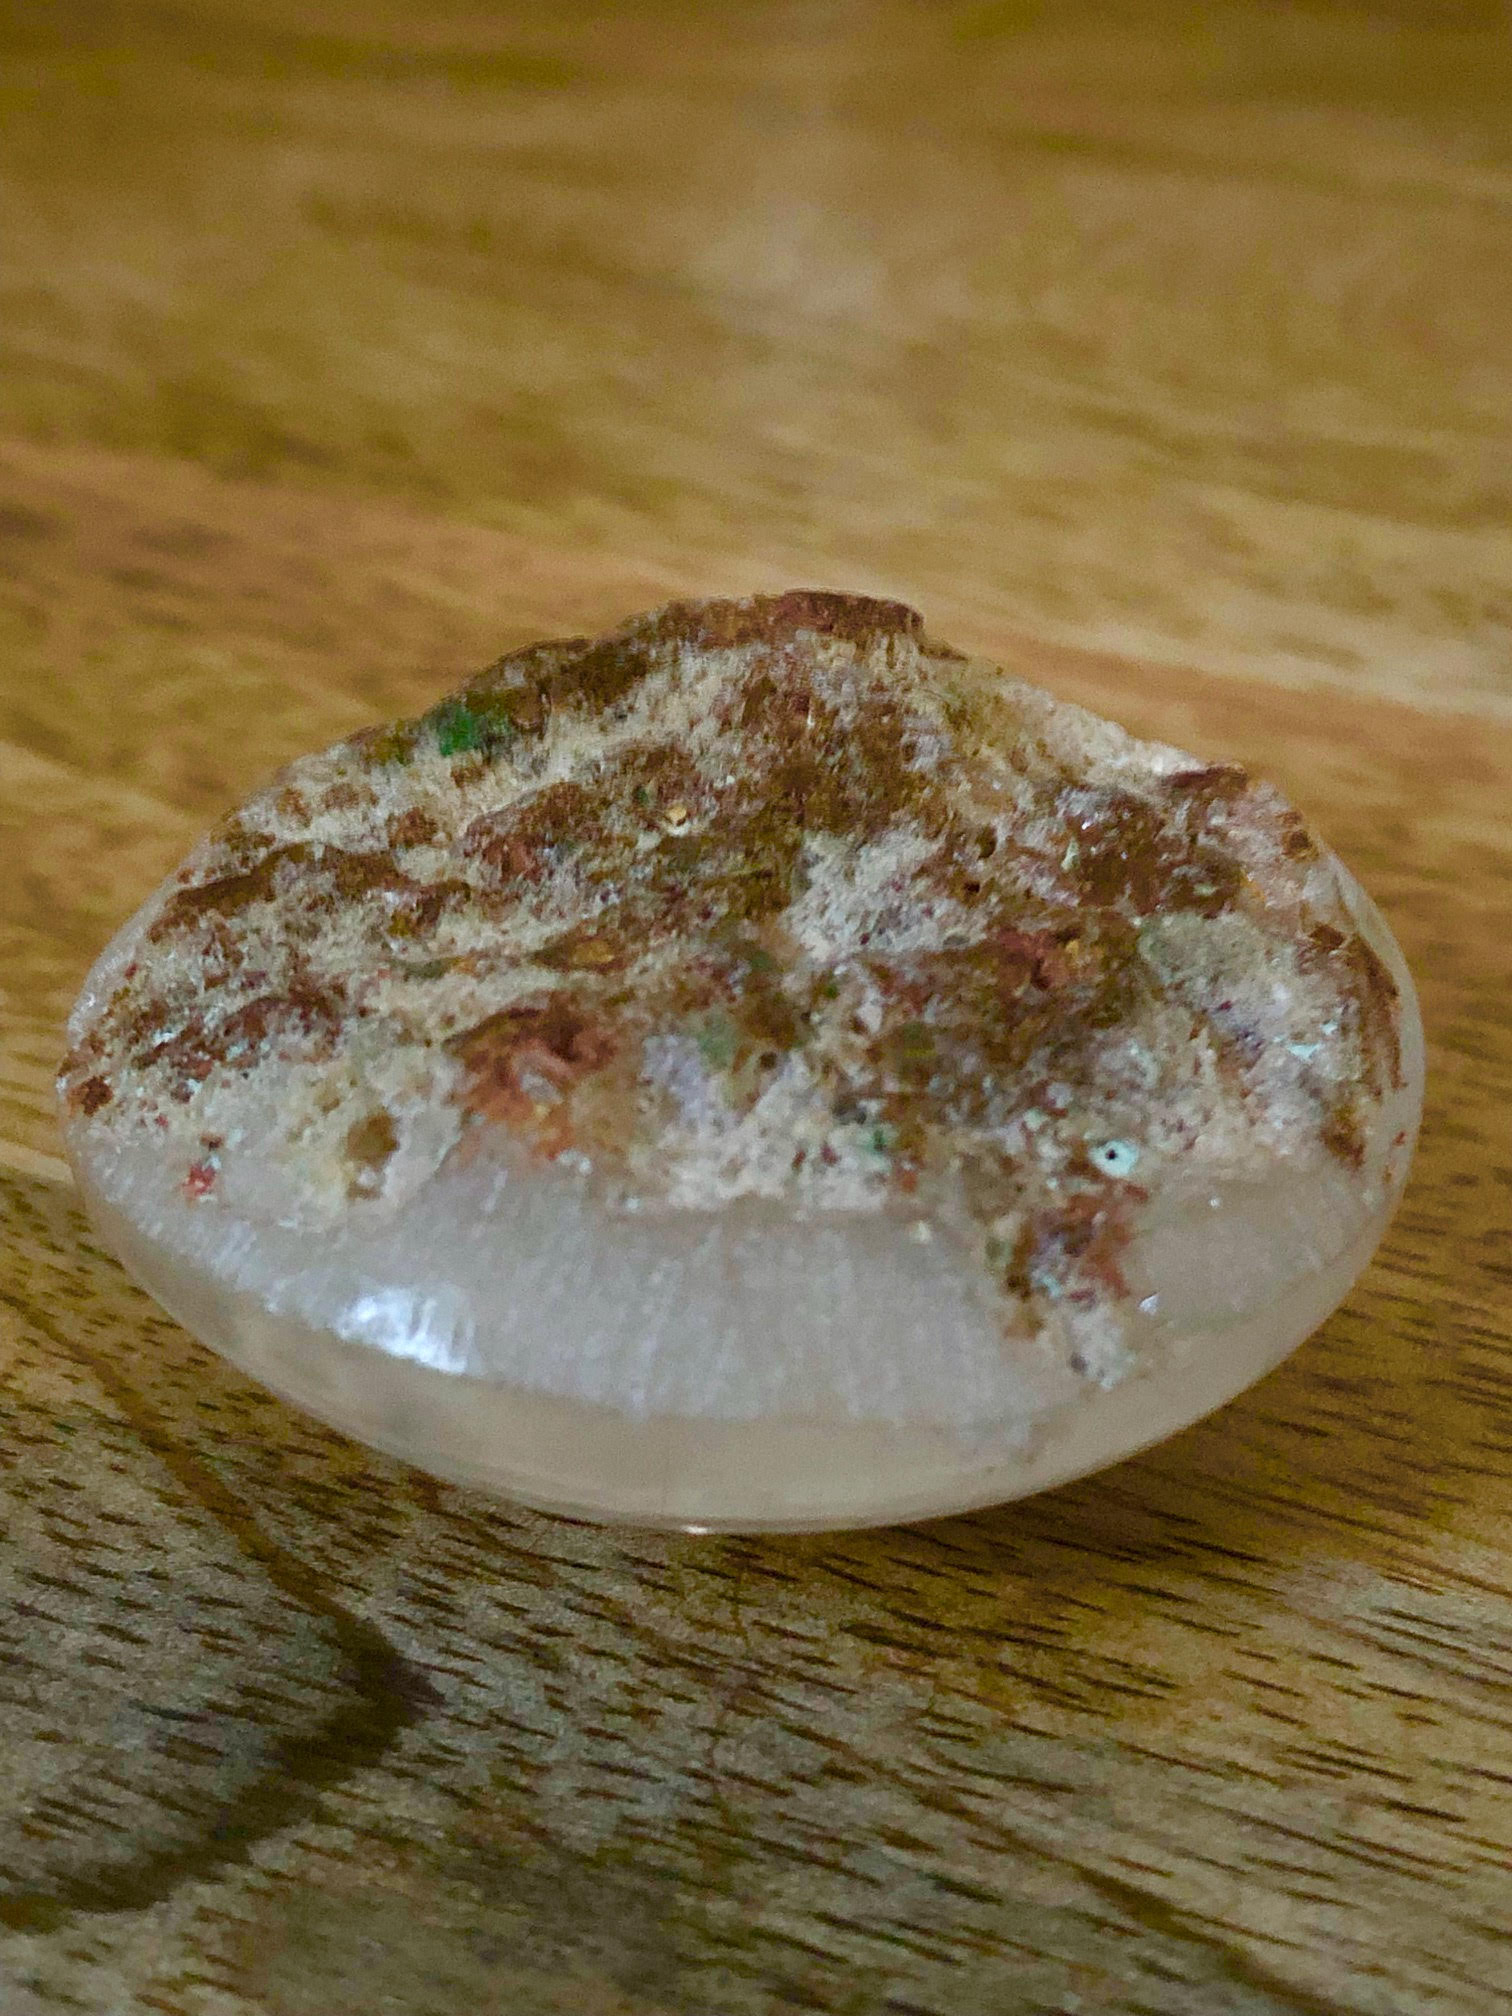
You are so lucky you can do your own stone-shaping as well. What I have found in my limited experience, especially as a novice, is that a lot of the stones I buy on Instagram and Etsy are not perfectly shaped for setting. And for a novice, this is difficult. Someone experienced will know how to work around it but I don’t. A lot of my favourite stones, lodolite for example, almost never comes with a flat back. Example below:
I think if I had the chance to go back and choose my profession again, I would not have chosen finance, but a lapidary, followed by a jeweller. As things are, turning this love for stones and silver into a hobby is my goal.
Thank you for helping out -I really appreciate it. I’ve not experienced a happily-sharing-secrets-of-the-trade community before in another field.
Mila
Thanks for chiming in, I will listen to any wisdom that anyone here is so generously prepared to share. I do generally try to push in from opposite directions first so I don’t end up with a puckered bezel, but the opal stone in the ring continued to jump about even after I closed in the bezel considerably. I am thinking in future to stay away from too tall and too slanted cabs.
Mila
Mila, read some of the posts in this thread: Why Do My Bezels Keep Separating From Backplates? - #35 by jhaemer52 …particularly post numbers 35 and 41, written by @jhaemer52. These two posts describe fine details of hammering down on a bezel instead of pushing on a bezel.
Welcome to the world of making your own tools.
If you look at Jo’s jewelry you will see why you should also read her posts. She and many others offered me a lot of good advice when I was asking the same questions you are. Regarding a source for good stones. Short of learning to cut your own, connect with a rock and mineral club nearby. You will find people there who are willing to help you buy good stones and even custom cut for you. Many larger clubs have annual shows where you can buy whatever you might need. I live near Syracuse, NY and our local club has an excellent show in July. Good luck…Rob
Following is a url that will take you to a directory of rock and mineral clubs in the US…Rob
What a great thread -thank you for the suggestion!
Mila
I am going to take your advice Rob and go through Jo’s posts. It’s just learning patience that I can’t just get all the answers immediately in my head and get on with all the things I want to create ![]() . First learning, then practice… I think there is a rock and mineral club in my town so I am going to hunt them down and join. I am tired of buying on the net and receiving sub-standard stones. Thank you for your suggestions and your time again!
. First learning, then practice… I think there is a rock and mineral club in my town so I am going to hunt them down and join. I am tired of buying on the net and receiving sub-standard stones. Thank you for your suggestions and your time again!
Mila
Hi,
Another really good online training site is Jewelry Training Solutions, with Peter Keep, out of Australia.
https://www.jewellerytrainingsolutions.com.au/
There are free videos, as well as paid subscriptions, and individual videos for sale at $10 and up.
Soham Harrison is featured in many of the shorter free videos.
I like this site because the videos are a range from hobbyist (beginner, advanced) to professional. These are great down and dirty technical videos, with emphasis on fabrication and stone setting.
I think that the hobbyist level videos are much more in depth than many of the free youtube videos out there…
There are many really in depth videos on various setting techniques…how to fabricate…how to set…
here is an individual video on making and setting a thick bezel stone ring:
(I have not watched this one)
https://www.jewellerytrainingsolutions.com.au/courses/thick-bezel-set-ring
also, click on the “download” tab to see a lot of great free information
Elliott- thank you for your great illustration! your pictures were worth a thousand of my words!..“upset”!.. that is the word I was looking for when I said “smush”
julie
Thank you
Jo
What a great site -thanks Julie! I have already subscribed. Watched a couple of videos already - so well explained and easy to follow. Thank you for this Julie!
Mila
Hi Mila,
“I love the thickness of the ring -that bold simplicity is exactly what I am after. Looks so simple but it’s very difficult to achieve.”
Thanks. That’s why I posted it as I thought that’s what you’re after.
I am definitely a bezels person! I have just spent a week attempting to make some prong settings for a pair of earrings for my daughter, who is going on a cruise and has bought a rather spectacular ball gown for the last evening’s ball. She needs bling to go with it. My plan was a square cushion cut at the ear lobe, then a round brilliant, and a huge pear-shaped stone at the bottom (all very good quality CZ that sparkle like you wouldn’t believe!). In the end, I only managed prong settings for the pear-shaped stones, so made a couple of round bezels, so each earring will be a round bezel-set CZ with a pear-shaped prong-set CZ as the dangle. A little different but hopefully still a hit. All fabricated, just need to set the stones in the morning. I never want to see another prong setting!!! I’ve decided that bezels are my thing!
Helen
UK