[quote=“cbutchko11, post:1, topic:68566, full:true”]
I would like to know how to set a stone iin a Y or T setting. Are there any instructions that I can print out and refer to? Also, if you can give me the name of this type of setting, I would greatly appreciate it.
[/
If you haven’t already, you might check out Potter USA on YouTube. Kevin has made videos covering the construction of this type of ring band.
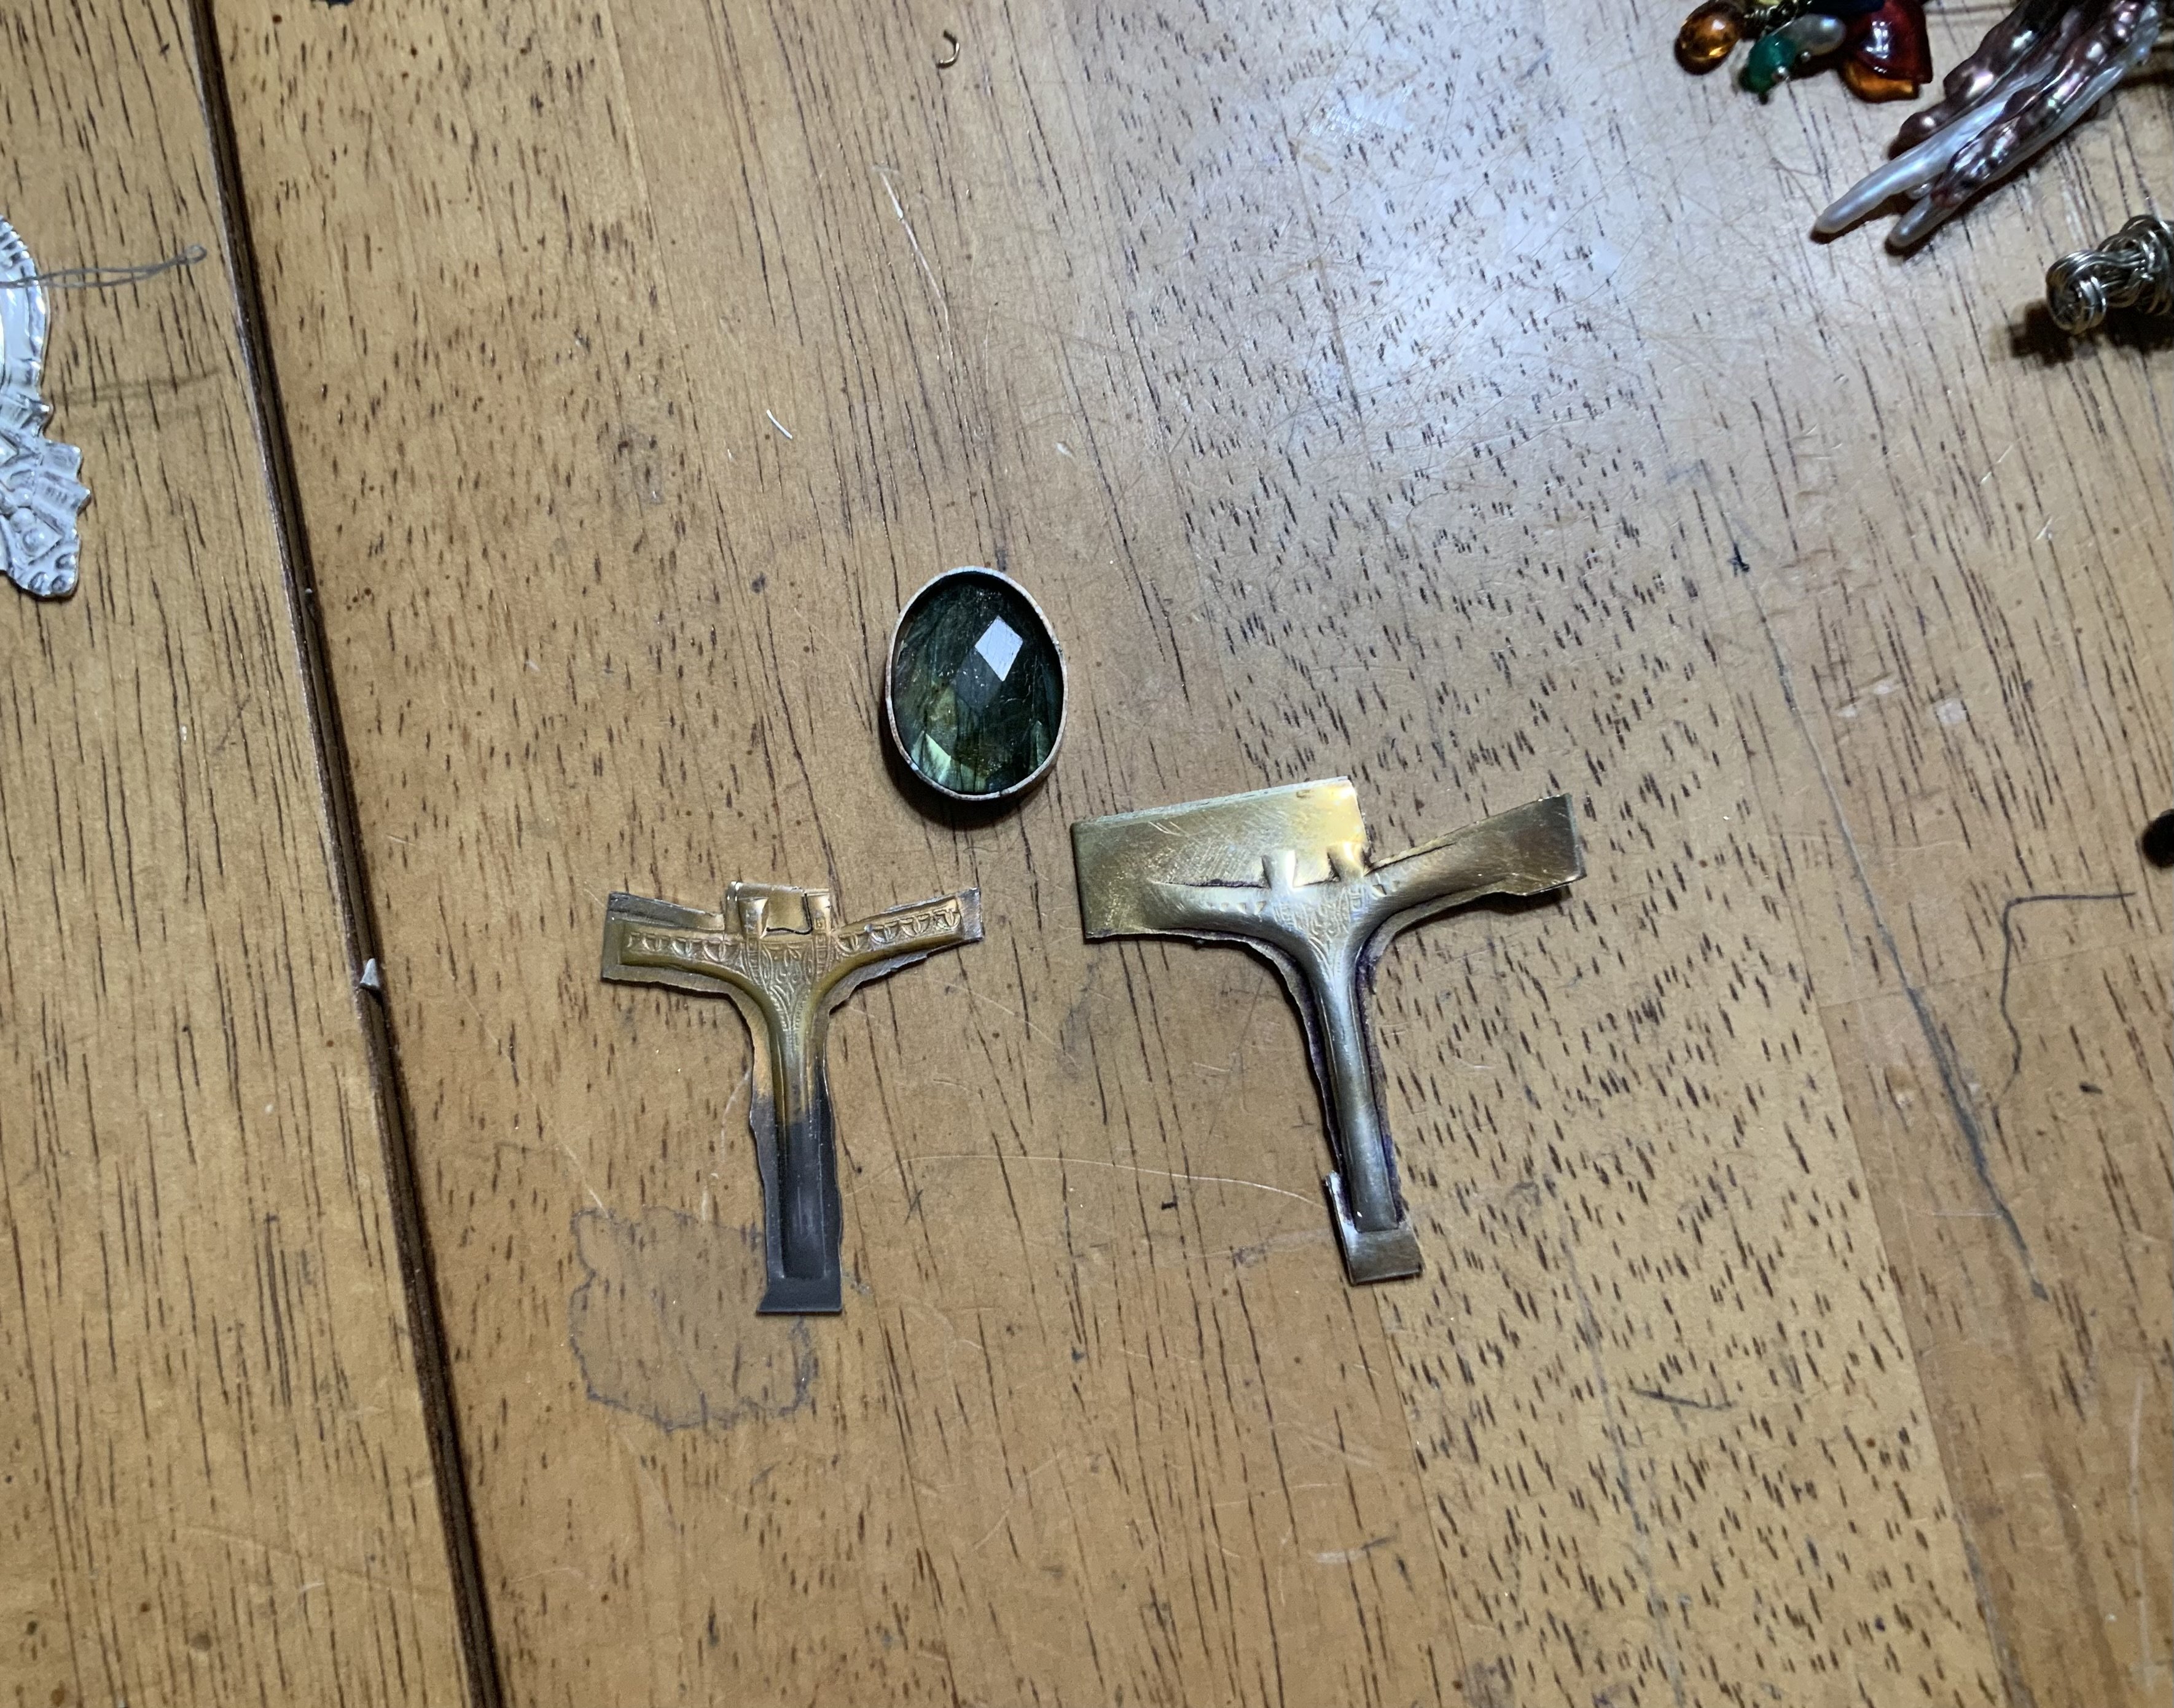
This particular pressing looks to have integrated tabs. You could, of course, choose to cut these off if you want to bezel set the stone. Once the band is soldered together, you’ll have to create a seat of some sort to support the stone.
You are limited to the diameter of the stone based upon the pressing. The cab you have in the photo may be too big for this setting. You’ll have to do the math.
Thanks for the clarification. I have seen these dies on Kevin’s website, but have never used them. It does look like they are too small for the stone. Since the OP already has the stone and bezel made, they might be able to be modified to make the rest of the ring. No matter what, as you pointed out, some sort of step needs to be made to go inside the bezel for the stone to rest on. I haven’t bought any of these dies because they seem like a lot of work. I don’t make many rings. When I do, I just start from scratch. I suspect that these dies were made for long runs where the repeatability of the design was needed…Rob
Hi,
perhaps file them/ clean them up
figure out length needed
then solder together at bottom of shank
then shape on mandrel to proper size
then use a flat/ round plier to shape the top “arms”
contemplate adding metal if arms do not touch
possible elements could be strip of metal…leaves….balls of metal…
I have made only one ring using this method. I found the pattern in either
Indian Jewelry", “The Complete Metal Smith”, or a large student manual which I think is the likely culprit. I made the ring but I didn’t think I wanted to hazard setting a stone. I made a table and soldered on a sterling silver dome instead. It polished up nicely and the customer was happy. I was pretty new to the bench at the time and felt the work was more complicated than I needed.
The end result was better than I expected. I think back then I could have made six bracelets in the time I spent on that one ring. Now, after quite a few years, I could probably do it quicker and if I can find the formula for sizing these rings I surely will.
One thing I remember about the pattern was it called for 20 ga. Silver which seemed lite to me, and it still does. I believe I used 16 ga. which I had and it was probably a little heavy for the job. The 16 ga. silver was hard to bend but I did use it anyway. Because the plan called for a ledge I put one in which goes along with my tradition of making more work for myself than I need.
As you may guessed my silver dome ended up sitting on the setting ledge so I may just as well have put in a stone.
i forgot to mention, you will need to create a seat/ ledge for the stone to sit on…using a round or square wire…even if you also use the bezel strip inside to capture the too of the stone…bezel soldered in first…