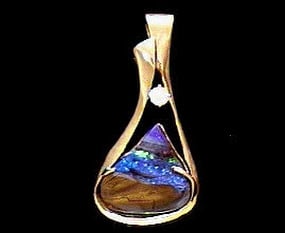
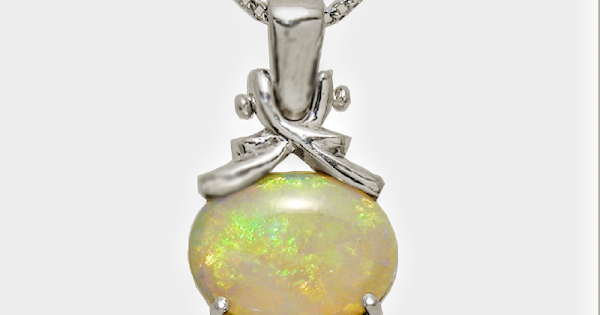
I have a really nice 14 carat opal that could potentially be set as a double-sided piece. The back is not flat, but slightly rounded. I would tend to avoid prongs if possible. Is it difficult to use a bezel given that the back is not flat?
Opals are soft and fragile. They should be set so as to minimize the possibility of scratching, chipping, or cracking. Having them open front and back could be asking for trouble.
Yes, agreed they are soft compared to many other gems. That is one reason I don’t like prongs for opals. I had hoped that for a pendant it might be ok. The wearer would be my mom, and to be worn only on special occasions, not daily.
Hi,
i am just pondering…double-sided…protected…perhaps a cage-like setting, intentionally designed to captivate the opal within the cage parameters…could be open-work of some sort…delicate or bold…or a window type structure…or as a recessed stone in a frame concept…or somehow suspended within, say, a double sided, domed, open in the center kind of thing…different levels…textures…shiny reflections…interesting design challenge…
julie
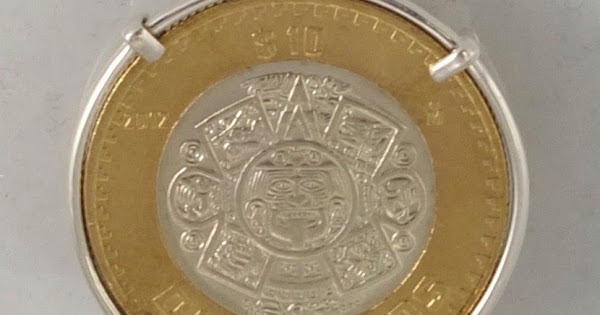
I set a lot of double sided stones in a frame that loosely follows the outline of the stone and add what I call tabs to just hold the stone inside the frame. The frame protects the stone and the tabs just keep it in place . I have never set an opal this way because I don’t work in opal.
I’ve set stones like this - I make a traditional bezel - over high - then cut out part of the back and - this is important - shape the opening with a file to perfectly fit the back of the opal. I’d use a very very heavy back plate so the opal sits like in a cradle. Then position the opal in the setting and carefully mark - I use a narrow scribe - inside the bezel to get the height correct.
It’s a pain to do this, but the result is a lovely setting that is sturdy and secure.
If you see any examples, maybe post them?
Probly beyond my meager skills, but maybe I can get a professional to do that.
I have found that using a “press fit” bezel for an opal works well and keeps the fragile edges of the opal from possible cracking. I should think it would work equally well for a double-sided setting.
Hi,
so…the goal is a double sided opal pendant…
one consideration is protecting the fragile stone…you mentioned 14 carats…what are the stone dimensions…?
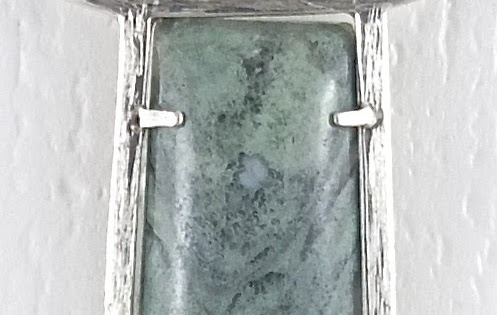
…here is one example…a shadow box type of construction…
to be considered for construction concept only…where the stone is recessed beyond its height…
which in your case, if it is created as a double sided version, would create a structure that reduces the chance of the surface of the stone (the side that is being worn against the skin/ clothing) from making contact/ rubbing/ abrading.
it would also, by design, protect the edges/ rest of the stone as well
in this case, the size/ shape/ depth of the shadow box is significant to this designer…your design choices may be very different while still allowing for stone protection…
your shadow box could be:
size/scale:
as wide or wider…or very narrow
edges could be rounded…knife edge…flat dime edge…open gallery work…
composition:
solid metal…various wire borders…open work wire structure…pierced…drilled…delicate filigree…enameled…granulated…bold geometric…
surface treatment/ embellishment:
this object is stamped…your embellishment/ treatment of the shadow box surface could be:
engraving…florentine lines…scrolls, baroque patterns…western…floral…
small varied sizes of gypsy set faceted sapphire colored stones…
a diamond melee halo…
full pave…diamonds…ombre sapphire pattern
julie
thanks for the interesting photos. How do you get the tabs to go down smoothly so clothes or hair doesn’t catch on them?
I smooth them off before folding them. I usually do this with my PUK 5.1…Rob
Hi,
i posted a shadow box example above, for your reference, but forgot to reply specifically to you…
julie
Is there an art to getting the prongs to fit tight against the stone, like for instance thinning the top or the bottom surface of the end of the prongs? I don’t have a PUK. Thanks for any ideas.
Remember, they are tabs, not prongs and not intended to be pin point tight on any one spot. Just make sure that they are smooth without any sharp points to avoid the problems that you asked about earlier. The PUK just helps me speed up this process. It also works great to smooth cut ends on wires, especially when I make ear wires. Lots of ways to get there. Good luck…Rob
Hi,
one technique for “tightening” prongs down, is to wiggle then side to side, and down, for that final push…
someone on the forum posted about a nifty brass pusher tool, that you use facing the prong end…it has a concave tip, that is used to burnish/ rub the prong tip down onto the stone…
one technique for rounding the prongs is to use a cup bur, before you have pushed them all the way down
another is filing to shape with an escapement barrette file with a safety edge…
julie
Hi!
Ah! i found the/a post describing this nifty prong pushing tool…the reply is by Ringdoctor !
here it is:
ugh! it won’t copy…!…search “claw setting tips”, and look for ringdoctors reply, as well as the whole helpful thread!
julie
When I approach a fragile stone like an opal, I will come at it much like Judyh describes, but with some differences. I will often prepare the front of the setting so that it’s basically finished, and then set the stone from behind using the minimum number of prongs. The back of the mounting can be made to be as interesting as the front, and if the setting is prepared properly, it doesn’t take much to hold the stone tight. The prongs can add some interest and they can be done in a variety of ways. Bezel setting an opal or any soft stone is a high risk endeavor, since one comes in contact with the whole circumference of the stone while setting it, but it’s a great look. By having one side all finished and prepared to hold the stone, the stone is less at risk.
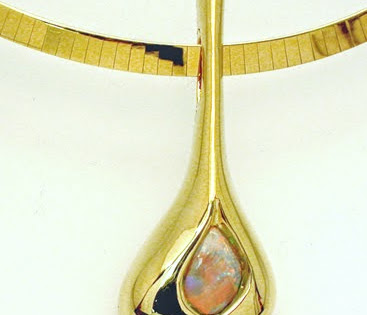
This photo shows how the prongs can be used to blend with the design. The opal was snug in the mounting before the prongs were bent.
In the photo below, I wanted a bold look, and everything was prepared to hold the opal before the two prongs were brought into place.
Let me say this about prong setting ~ one doesn’t “wiggle” them into place. Bending the prong from side to side creates tension in the metal and brings the prong down to the stone with less risk, and the stone can be tighten in the mounting. The prong also must be properly prepared. One can use a prong pusher or I would often use a small steel rod and small hammer to move the prong from side to side. The force is never toward the stone. If you push a prong directly toward the stone, there is a certain amount of spring in the metal that will make it very hard to tighten the prong onto the stone, and a greater risk of slipping with the tool, or pinching the stone from an improperly cut prong. By tapping the stone with your finger, you’ll be able to tell if the stone is tight. A loose stone in the mounting can sustain damage from wear.
As Judyh suggests, one must prepare the setting properly to hold the stone before any final setting is done. A well placed prong can be a very safe option for a soft stone.
Tjones
Hi Thomas!
Thank you for correcting my poor choice of the word “wiggle”…as you said, i meant moving from side to side…and i should also correct “down”…when i do this, the prong is almost all the way down already…so sorry !
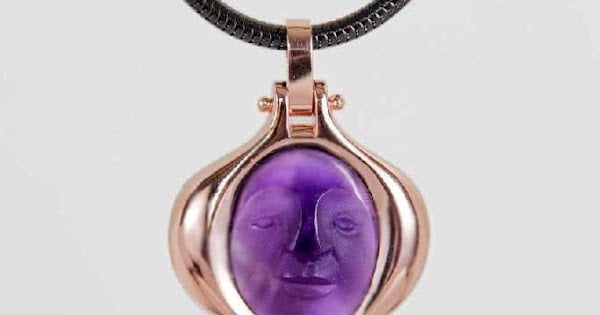
Also, thank you for posting photos of your work. The amethyst carved face setting is similar to one i wanted to suggest, but did not know how to describe… the idea was to have the setting edges be of a volume and shape that was a design feature, that also rose above the height of the stone. I am not sure if yours rises above the height of the stone, but it is similar in concept to what i was thinking of…
julie
