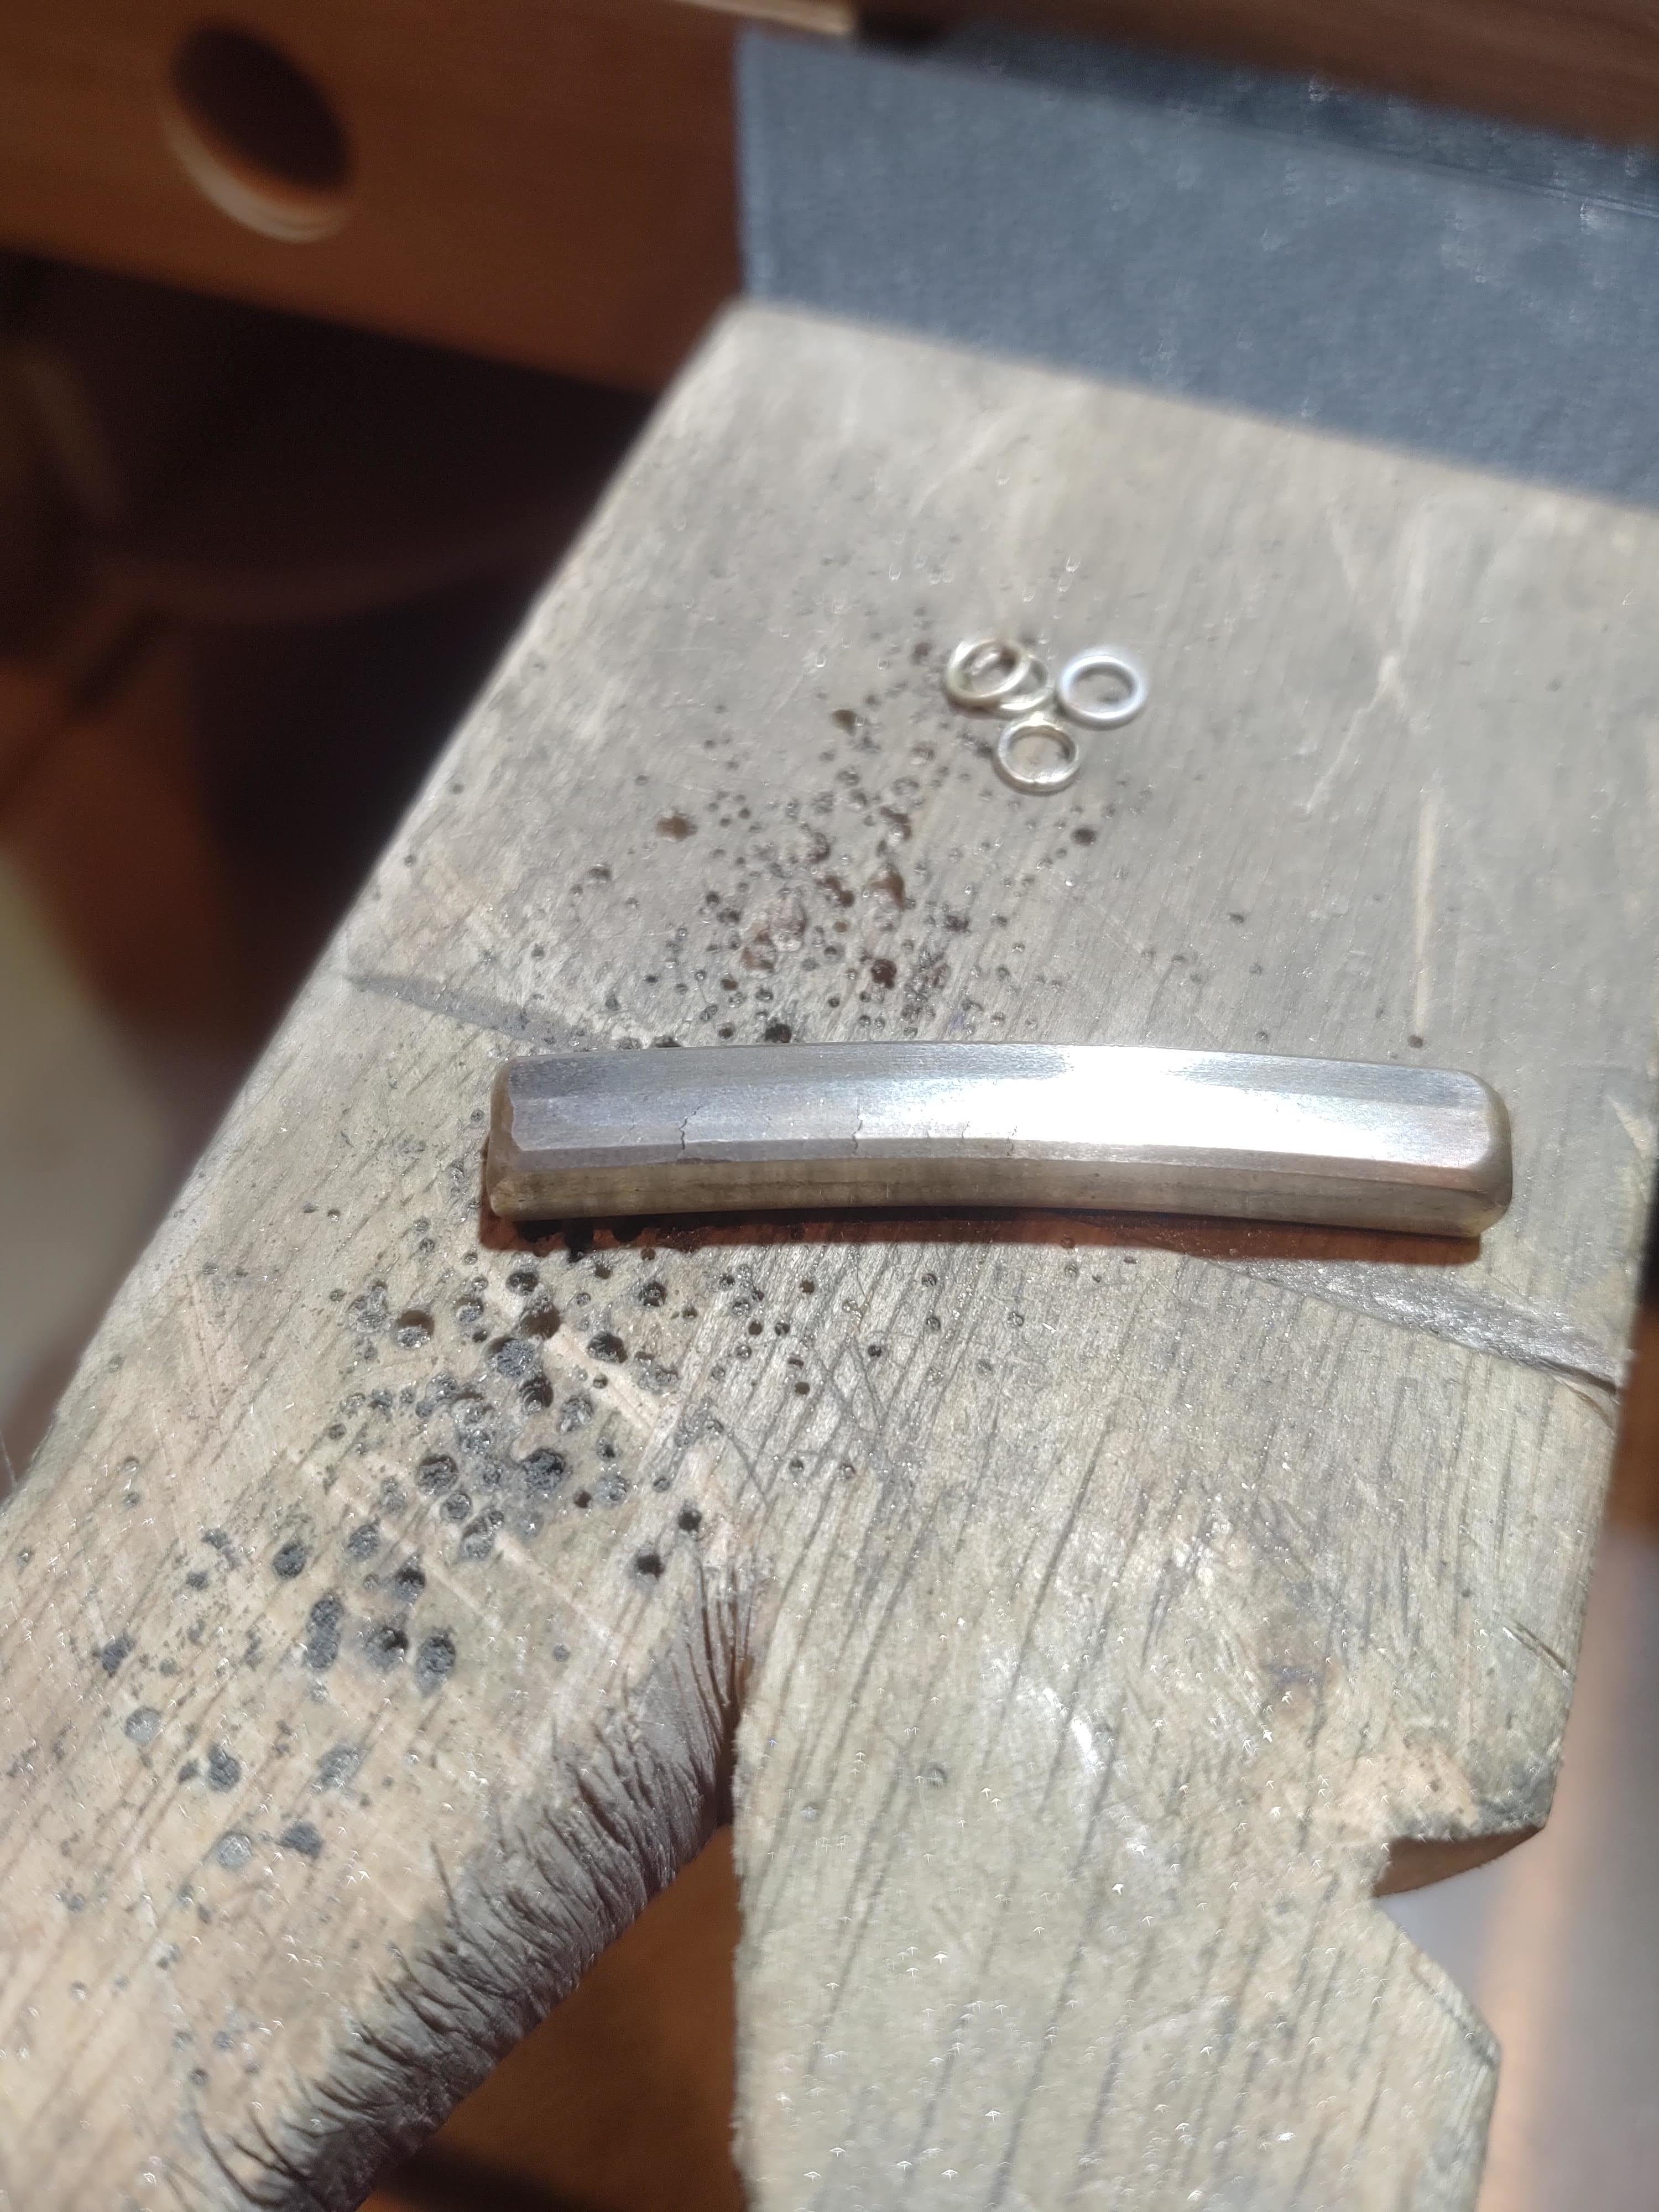
Good morning. I have been learning to pour and roll silver ingots, into both sheet and wire. I have a Durston rolling mill and a Durston convertible ingot mold. I also recently purchased the ingot mold from Drill Straight tools (love it!). I’ve been careful to use clean silver, get my metal hot enough, heat my mold, forge, sand the ingot smooth, anneal often etc… everything I’ve read about. But when rolling wire I consistently have cracking at the edges, as in this photo. Any suggestions or guidance would be so welcome. It’s becoming very frustrating.
1 Like
What you are experiencing is frustrating. Nine out of ten times, I have no trouble with an ingot. The tenth time is a problem. Do you run a magnet through your scrap, add flux to the melt (I use a salt shaker), stir with a graphite rod to remove any impurities that it will remove and add some new metal to the melt? I even add fine silver if I think that there might be a fair amount of solder missed in the sorting process. I get my best ingots when I cast the melt in a delft clay mold. For me, there comes a time when I collect all of my scrap, send it to the refinery and start over. God luck…Rob
1 Like
Welcome to Orchid Ganoskin! I’ve had similar problems with Gold. Clean copper, clean silver and clean gold but it cracked and cracked no matter chemically clean and supposedly properly treated metal. I’ve noticed depending on how the ingot is treated it can vary. I’ve had success using master alloys but that doesn’t really apply for silver. Perhaps try heating your ingot mold, pouring the metal and annealing frequently. I honestly don’t know past that.
1 Like
Thank you both for the response. How much forging is necessary before rolling the ingot? Maybe that’s where I’m going wrong…
In my experience, none. Forging is not necessary and your ingot shouldn’t be cracking that much. Forging is generally recommended and does improve the ingot but if it’s cracking that much I’m inclined to believe something else is at play here. Perhaps try with fine silver or a commercial sterling, to see if it’s your technique or the metal itself.
1 Like
With no metallurgical science to back up the practice, I always try to start pounding on one end and work towards the other, turn the ingot over and work that side in the same direction as I worked the other. If it is a square shaped ingot, do the same on all four sides…Rob
1 Like
I roll a lot of sheet. Sometimes it is to get enough flat material for a 1" disc. The melt is always done the same way. Clean scrap in a freshly seasoned crucible. A shake of boric acid powder, a little new metal, stirred with a graphite rod, poured into a hot mold. When I pull the ingot from the mold I file off the flash and anneal the metal(This step may not be necessary but it is part of my program and I see no reason to change). I then wash and scrub with a brass brush. I forge the ingot as Rob describes then I anneal, wash and roll the metal being sure to take small bites. I anneal and scrub every other roll or so. More often than not I have great results. The only part of the process I have any real control over is the cleanliness of the metal, crucible, and mold. If I get cracks or unusable sheet it will be because I messed up on my ritual in some way.
I don’t know if metallurgical science supports forging the ingots but my experience does for me.
Don
2 Likes
So, according to what you’ve said, I might not be annealing enough (I anneal every 5-6 rolls), and might not be adding enough new metal. Sounds like I’m forging enough… I’ll try more in the next couple of days. This has been so frustrating, but I’m determined to figure out what I’m doing wrong.
The general wisdom that I have read is to anneal when you have reduced the thickness by half. I try to do it more often. You haven’t mentioned what you do after you heat to anneal. I try to remember to place the annealed ingot on my anvil for a bit to cool it from red to black before placing it into water or pickle. This is all a bit of a choreographed dance, but you have to find the steps that work for you. About the time you think that you have, something will go wrong. Good luck…Rob
1 Like
Yes, I always cool it before I quench. I generally don’t pickle with every anneal since I worry about damaging my rollers.
Good to worry about your rollers. I have found this to be especially a problem when rolling copper. I usually just use water between annealing steps and then pickle when I am done. I also polish my rollers with simichrome after a heavy rolling episode or find a spot of corrosion…Rob
I had this problem quite a few times re-using student scrap, I got the feeling that impurities in the metal were probably to blame. I subsequently learned that commercial silver rolling mills always have a mechanical chisel contrivance which skims away the surface on both / all sides of wire or sheet to reduce or totally avoid problems with cracking; in other words, it was a surface phenomenon, and related to impurities tending to migrate to the surface after casting or heavy annealing. The skimmed material was sent back for refining.
I’m retired now, so it’s unlikely I’ll get a chance to research this further.
1 Like
For what it’s worth, I don’t anneal anywhere as frequently as stated. I pour my ingots whether flat or rod into a cheap open faced ingot mood. Sterling, bronze, 14k nickel white, palladium white, rose and yellow and 18k yellow golds in the same way )using different crucibles.
I let my ingots air cool. I forge them then roll. Annealing only occasionally when the metal seems to need it. I do this nearly every day. I’ve also found that initially larger bites with the mill is sometimes best. I was told years ago that we anneal too often and that a certain amount of cold work is necessary for a complete anneal.
That being said, everyone has a system that works for them. This is just another take.
Roll on! Andy in Seattle.
Please excuse any typos-- curse my clumsy digits…
2 Likes
That’s really interesting about the industrial process. Makes sense, and explains some of what we see.
I’ve also heard that one can over-anneal. I have no idea which side I’m closer to, but I’ll have to play around with that. So far it only takes a small number of rolls before the cracks appear, so I don’t think annealing, either too much or not enough, is the issue.
I’ve been reading more about too much oxygen in the flame and that can cause issues. I use a rosebud tip on my oxy/propane Little Smith. I usually only melt half an ounce or so at a time. Could this be an issue, and would I be better off using a larger MAP gas torch?
Try a bit more metal. My melts are usually 25 - 45 grams including new metal added to the scrap. If I do get the cracking that you describe, I will just start over. More often than not, it doesn’t repeat. I may already have mentioned it, but I especially like ingots that I have cast in Delft clay. I usually do this to get an odd shaped ingot. I have also laid out 1/4" square tool steel rods on my anvil in the shape of the ingot that I want. Place small magnets along the outside of the rods to hold them in place and pour directly into the mold on my anvil. Since I already have the rough shape, I don’t do a lot more manipulation of the ingot to get the final shape. All a lot f fun…Rob
2 Likes
I needed a piece of 18 gauge Sterling Silver sheet. Since I was going to cast some scrap into an ingot and roll it for this purpose, I decided to document the process and post it on this thread hoping that it might move the discussion along. Following should be a link to a PDF of annotated pictures of my casting and rolling process. Note that I originally posted this as a separate topic, but deleted it and made it a part of this discussion so that it would appear in a larger context…Rob
https://drive.google.com/open?id=13hgp9mVvN5PhLU2IdVuaZoF8a099aQh2
Nicely done Rob. The photos are clear as is the documentary. My one nit to pick is a photo of the hammer would have been nice.
Brother Don.
That picture was one of two that I took, but never made it out of the camera. I didn’t realize it until I had finished the PDF. Following is a link to pictures of my hammer. I use the chisel end. The closest I can come to it in the current Rio catalog is:
Peddinghaus Locksmith Hammer - item 112-530 = $20.15

Thanks for this, Rob. I have read about it many times, but it’s helpful to have it all in one place with the very clear pictures and essential text. My one question is whether you would have played the torch flame over the pouring metal if you hadn’t had the camera in hand, or is this just not necessary as would be advised in casting a jewelry piece?
Thank you so much, Rob, for sharing this!
I haven’t had too much time to work on this recently, but I’ve tried a few ingots. I did one that was fine silver and had no issues at all. The sterling ones are still getting cracking. One thing I realized is that I was not annealing enough, neither long enough or often enough. I’ll be doing more this week, and definitely appreciate you putting this together.
Carol