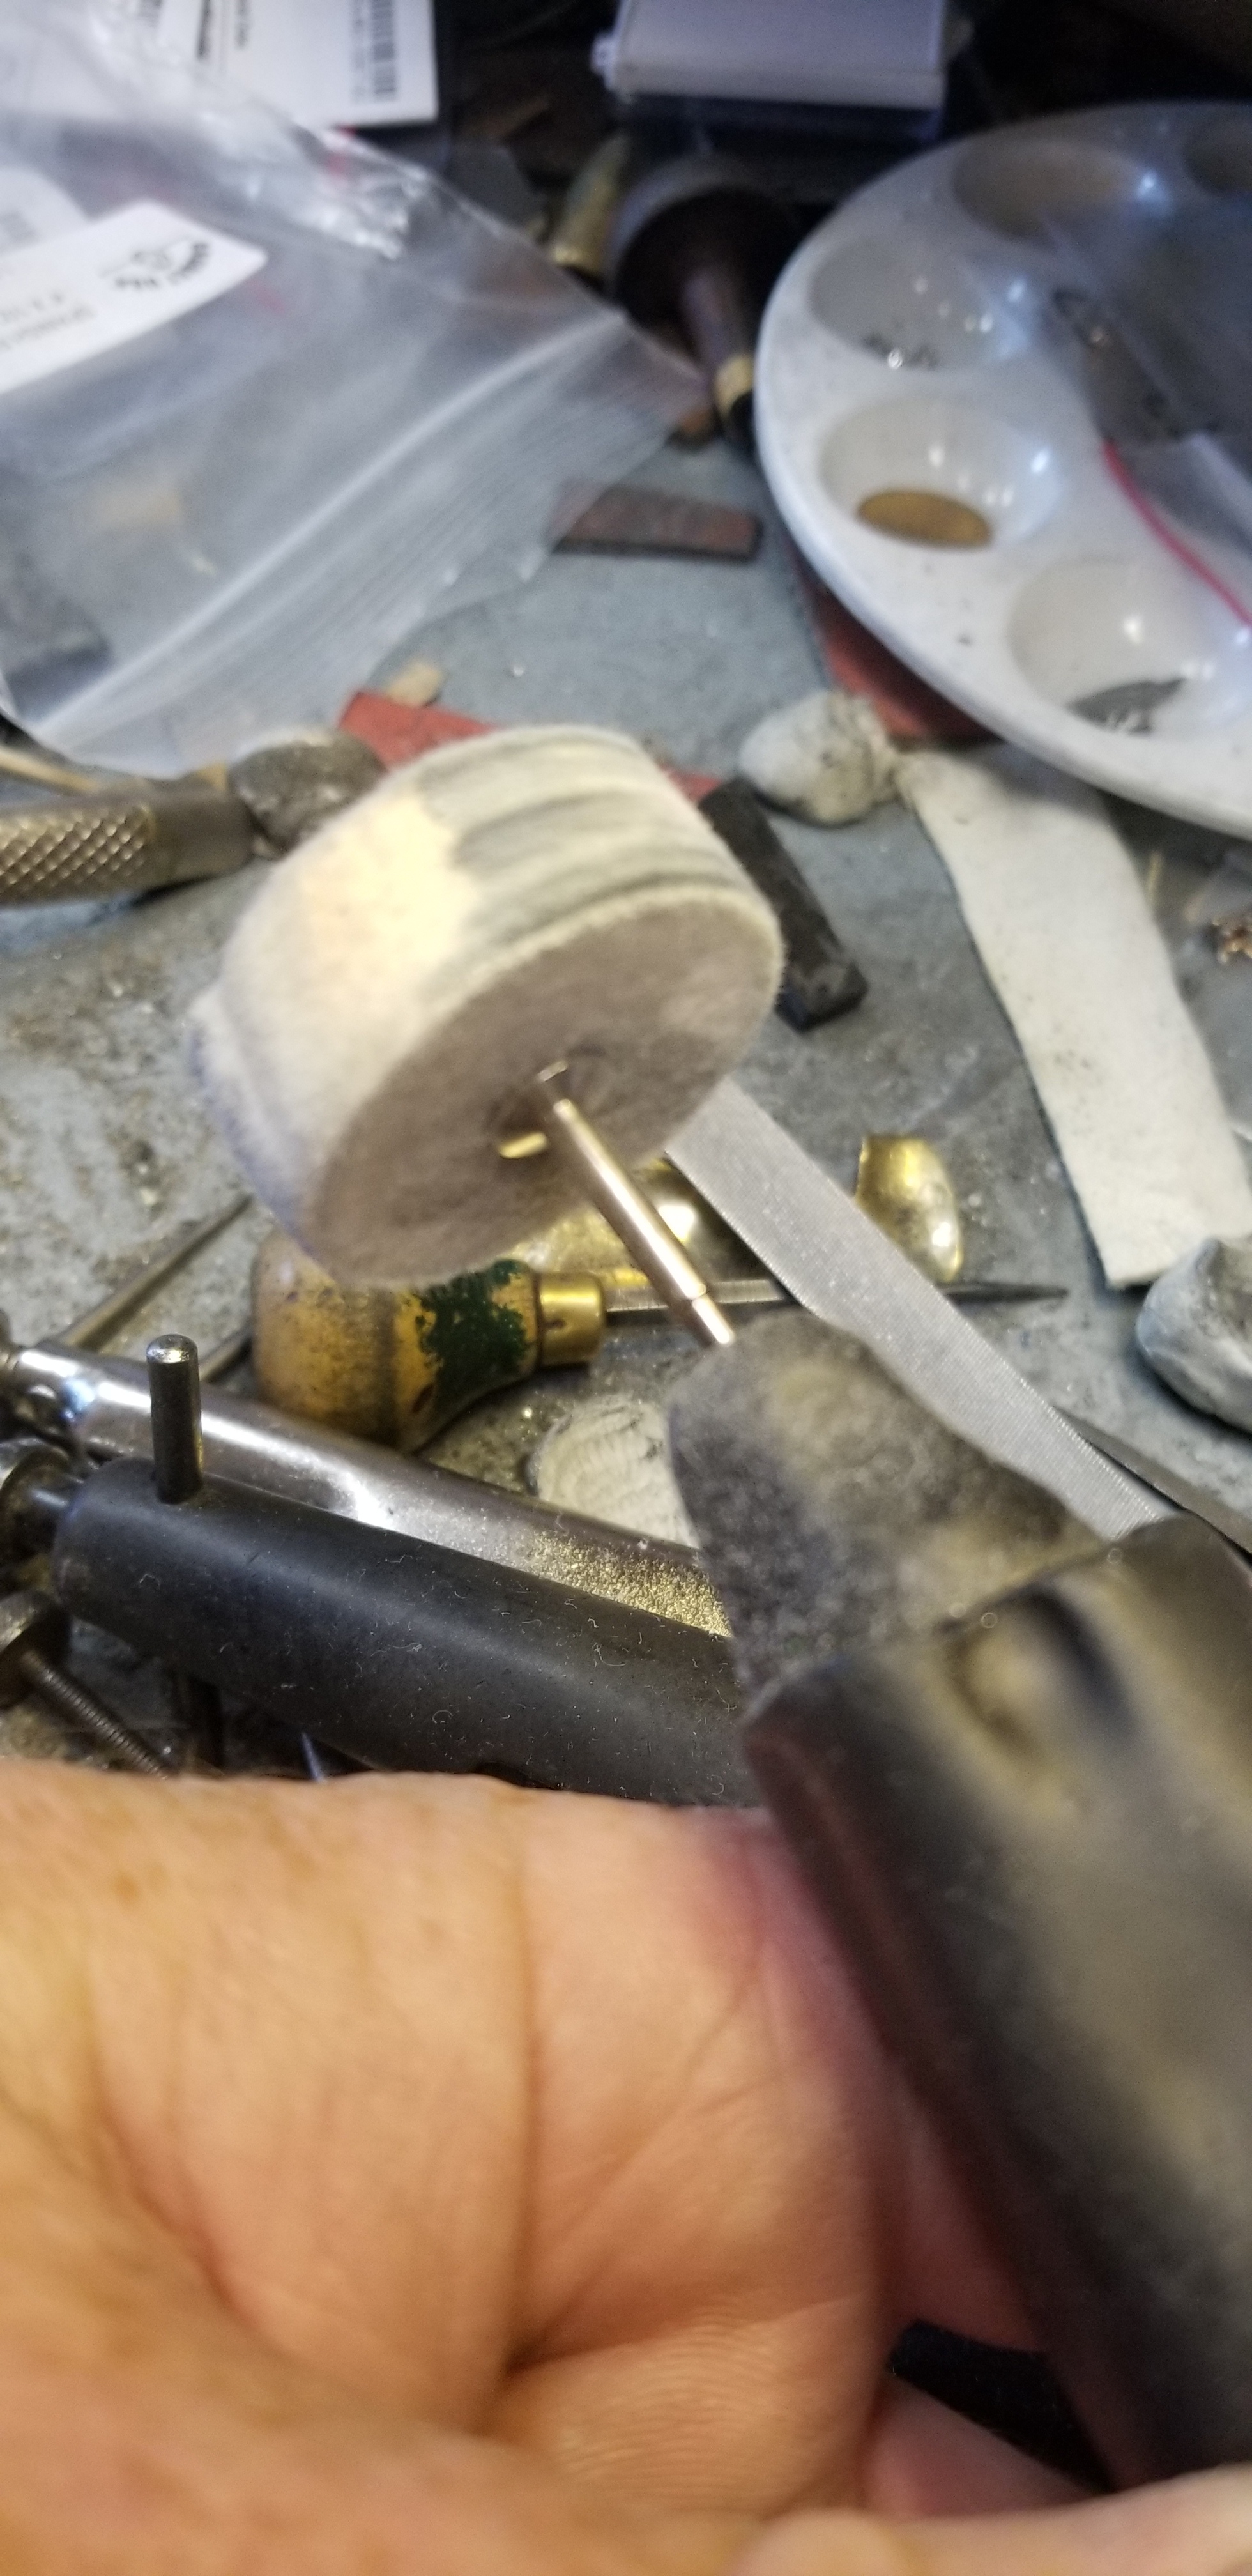
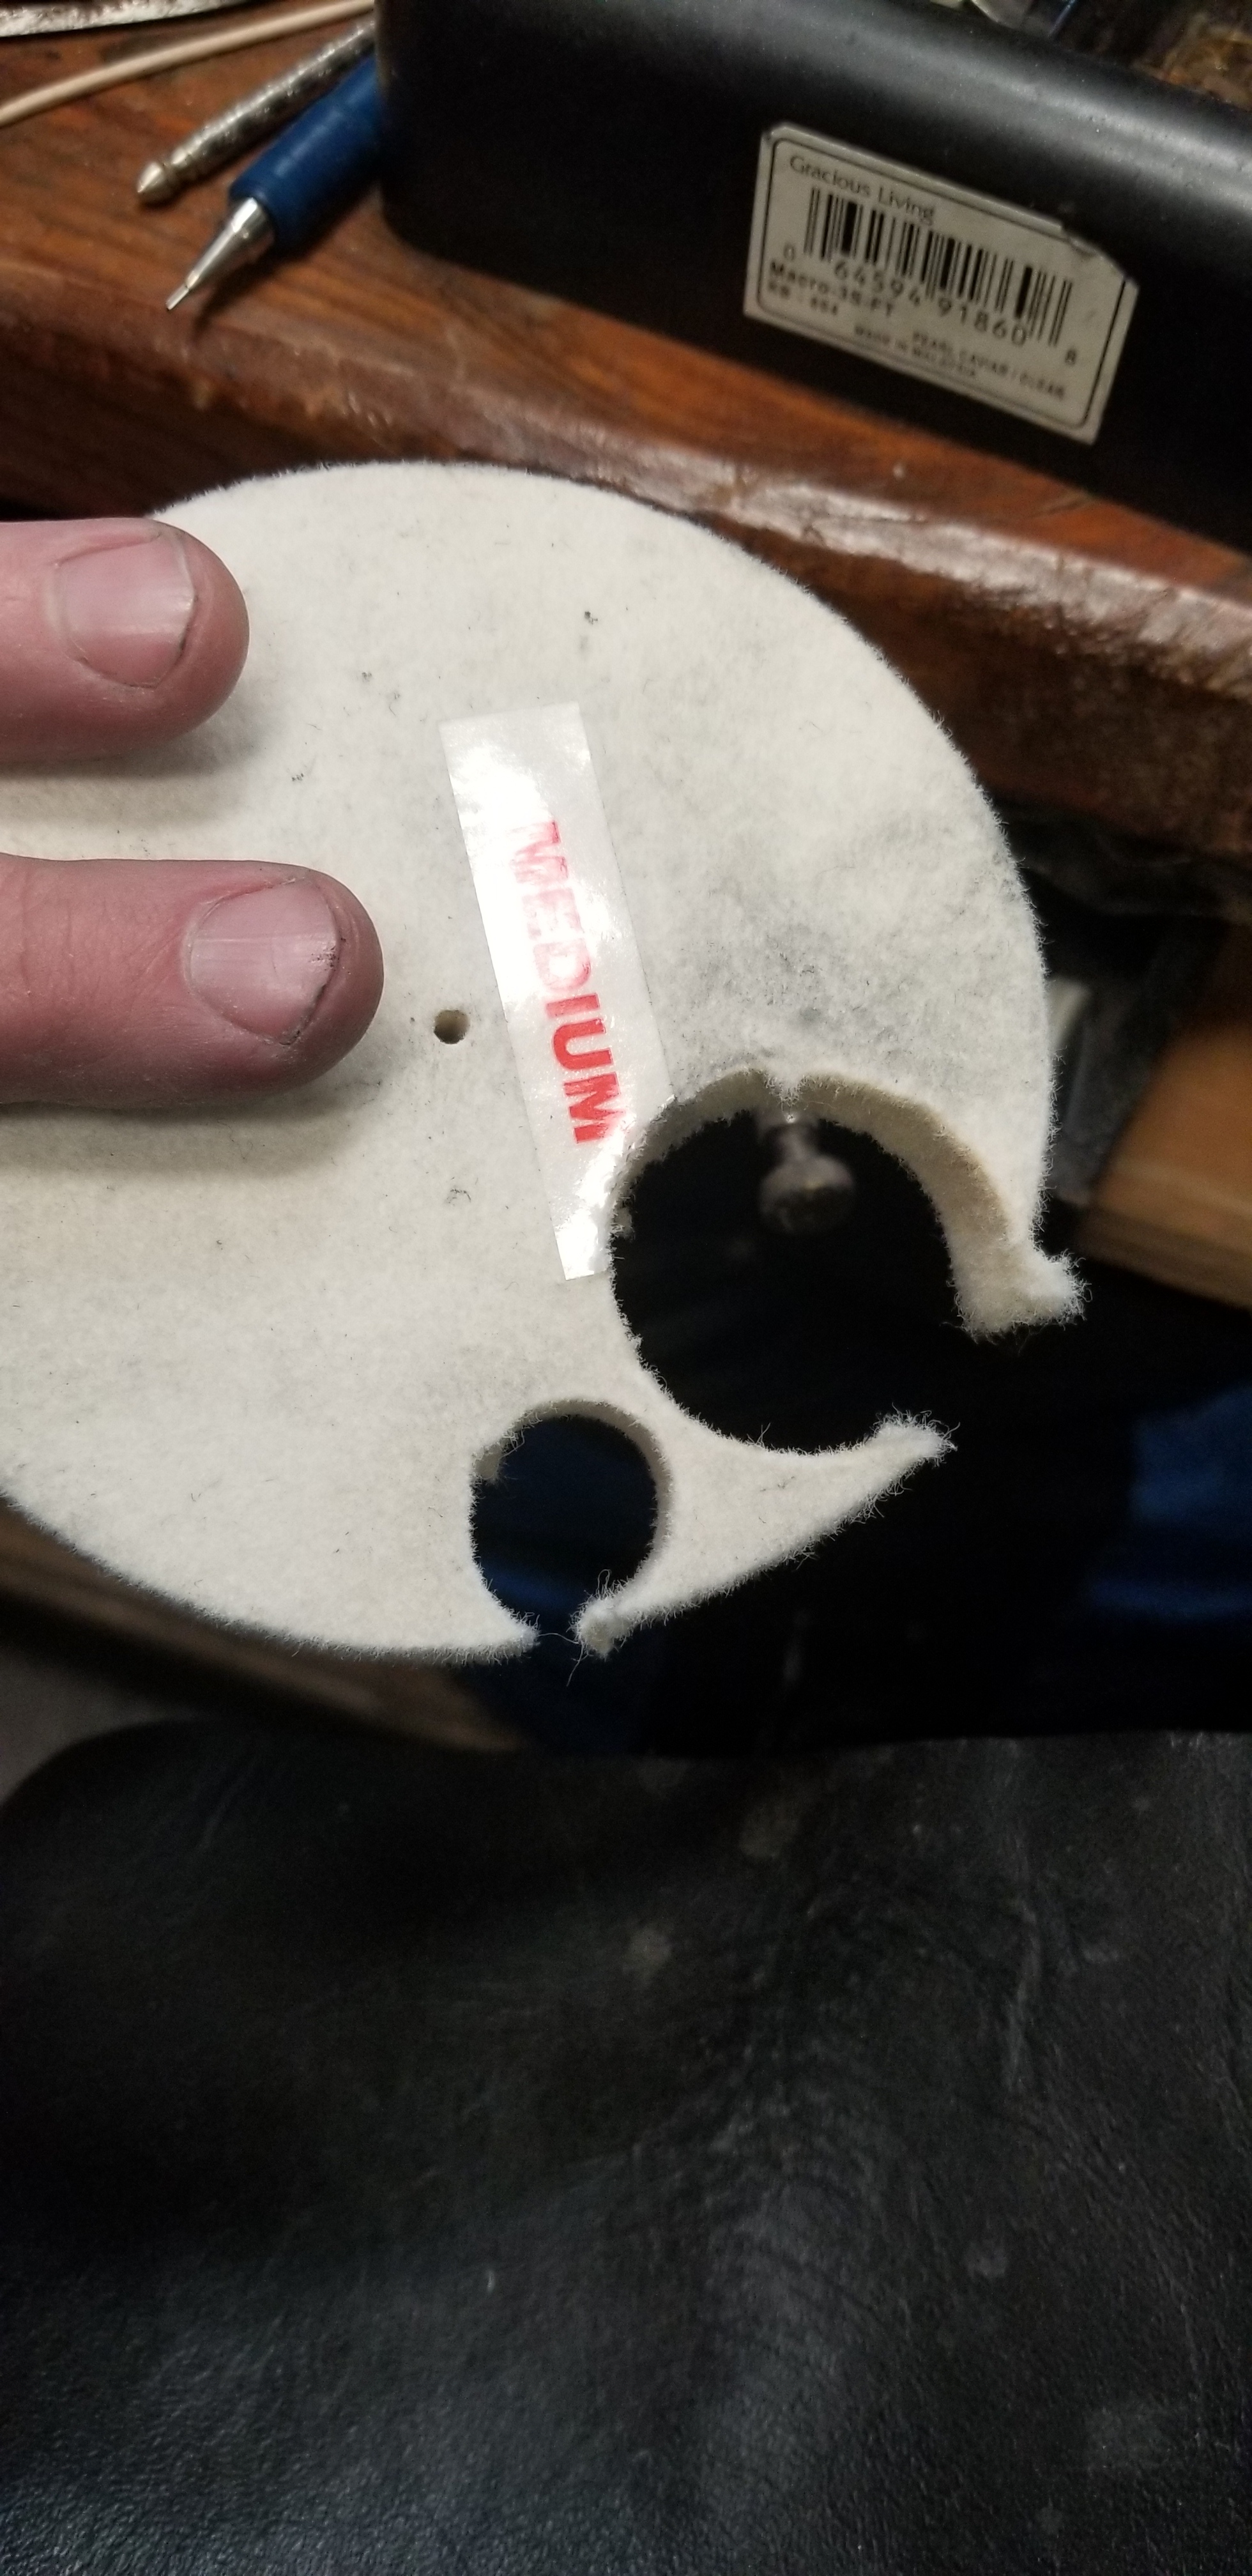
Hi all. Just a suggestion for you from a long time bench jeweler. Lately I’ve been polishing at the bench more because you can see better and precisely pick your spots you want to hit with a hard wheel as opposed to a buff. Here is a wheel I made recently and I love it. I had to extend the screw. I cut it out of a big felt medium hard buffing wheel. This thing is great. Other fun stuff at daltonsqr2 on you tube. I do have a fume collector you can see in one of these photos for polishing at my bench.
Shannon
8 Likes
Brilliant idea - thank you!
Yes, very nice, Shannon, but how was this cut out of the larger buff? With some kind of small hole saw? And how do you get the hole in the middle…or doesn’t it vibrate much even if not centered bcs rpm is slow? Or just doesn’t matter? -royjohn
1 Like

Brian Tran
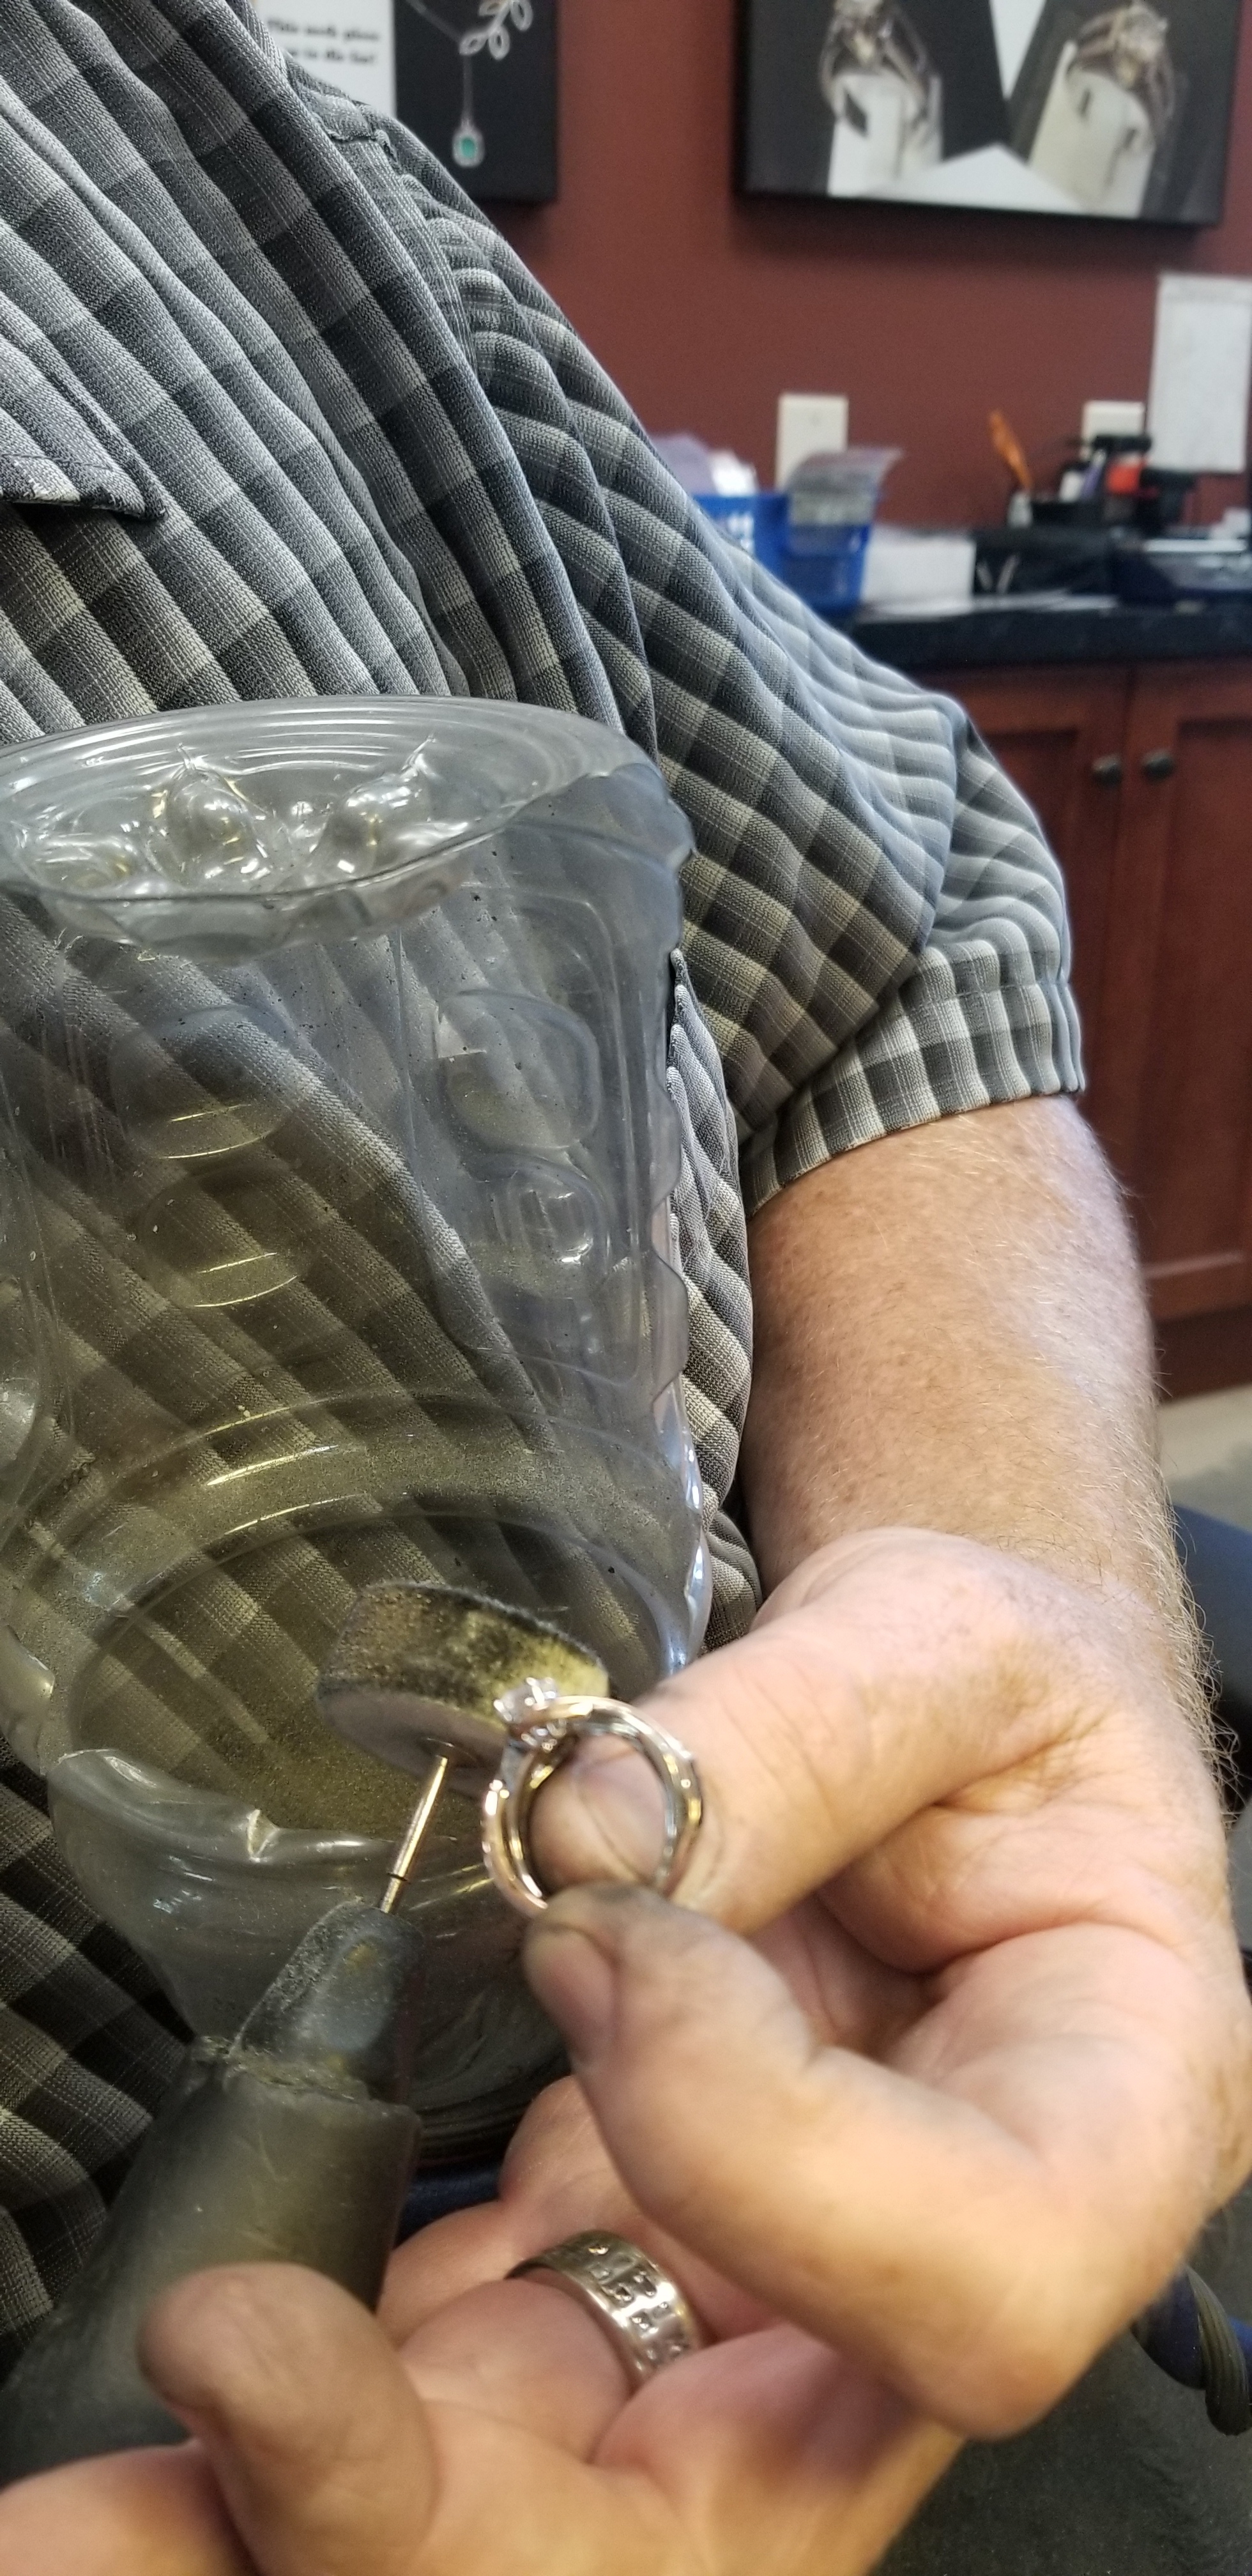
I use this for polishing at my bench. I mount it on my grs bench pin mount and has a outlet in the back to attach to the fume extractor. Hope you like this idea. I bought this from
Ebay
8 Likes
Love to know the seller you got that from!
I think that’s jewelryworks on Ebay and I think they’re in Amazon too
Brian Tran
I like your cut-down bottle for crap catching. Did you use a hole saw for extracting the cylinder of felt?
1 Like
Brian, I tried to find this item on Amazon as well as EBay and I struck out. Would you be able to provide a link for us, please?
Char
2 Likes
Hey, Brian,
I’m not the person who asked for the link, but thanks for it! It was on my list to make something like this and I’m the original “I-can-make-it-myself-thank-you” scrooge, but I doubt I could get the plexi and the glue for what that ebay item costs, and very nicely done, too! You’d have to be a pretty poor metalsmith if you couldn’t profit more making jewelry than cutting this out and gluing it…fascinated by making metal tools, but cutting plexi, not so much…-royjohn
Here’s another plastic idea (especially for polishing with a Dremel) – get one of those huge plastic containers of pretzels, (eat or share pretzels), cut a hole in the “bottom” end. A hand can be inserted into each end, and I think you can see the options from there.
Judy Bjorkman
3 Likes
Thanks Brian!
You’re very welcome Char Braun. Hope you like your new tool
Brian Tran
I actually just sawed it out with a jeweler’s saw. I think I traced a quarter for the size. Used a heavy sawblade. I had to extend the screw in the mandrel. After its mounted you trim it like a lathe in the handpiece with a dressing stone or an old file. Once its round it buffs fine. I use it for a pre high polish. Fluffy one for high polish or big buffing machine. Sorry for the lack of response. Didn’t get the usual email notification.
Shannon
2 Likes
That’s nice. Where do the fumes go? What do you use for a blower?
1 Like
Just a jewelers saw. You can make it a better circle after by turning it against a dressing stone. I had to extend the screw in the mandrel because of its thickness.
That bottle works awesome but it has a pretty big blower attached to it.
2 Likes
Shannon,
I’m trying to duplicate your wheel, it looks like a great idea.
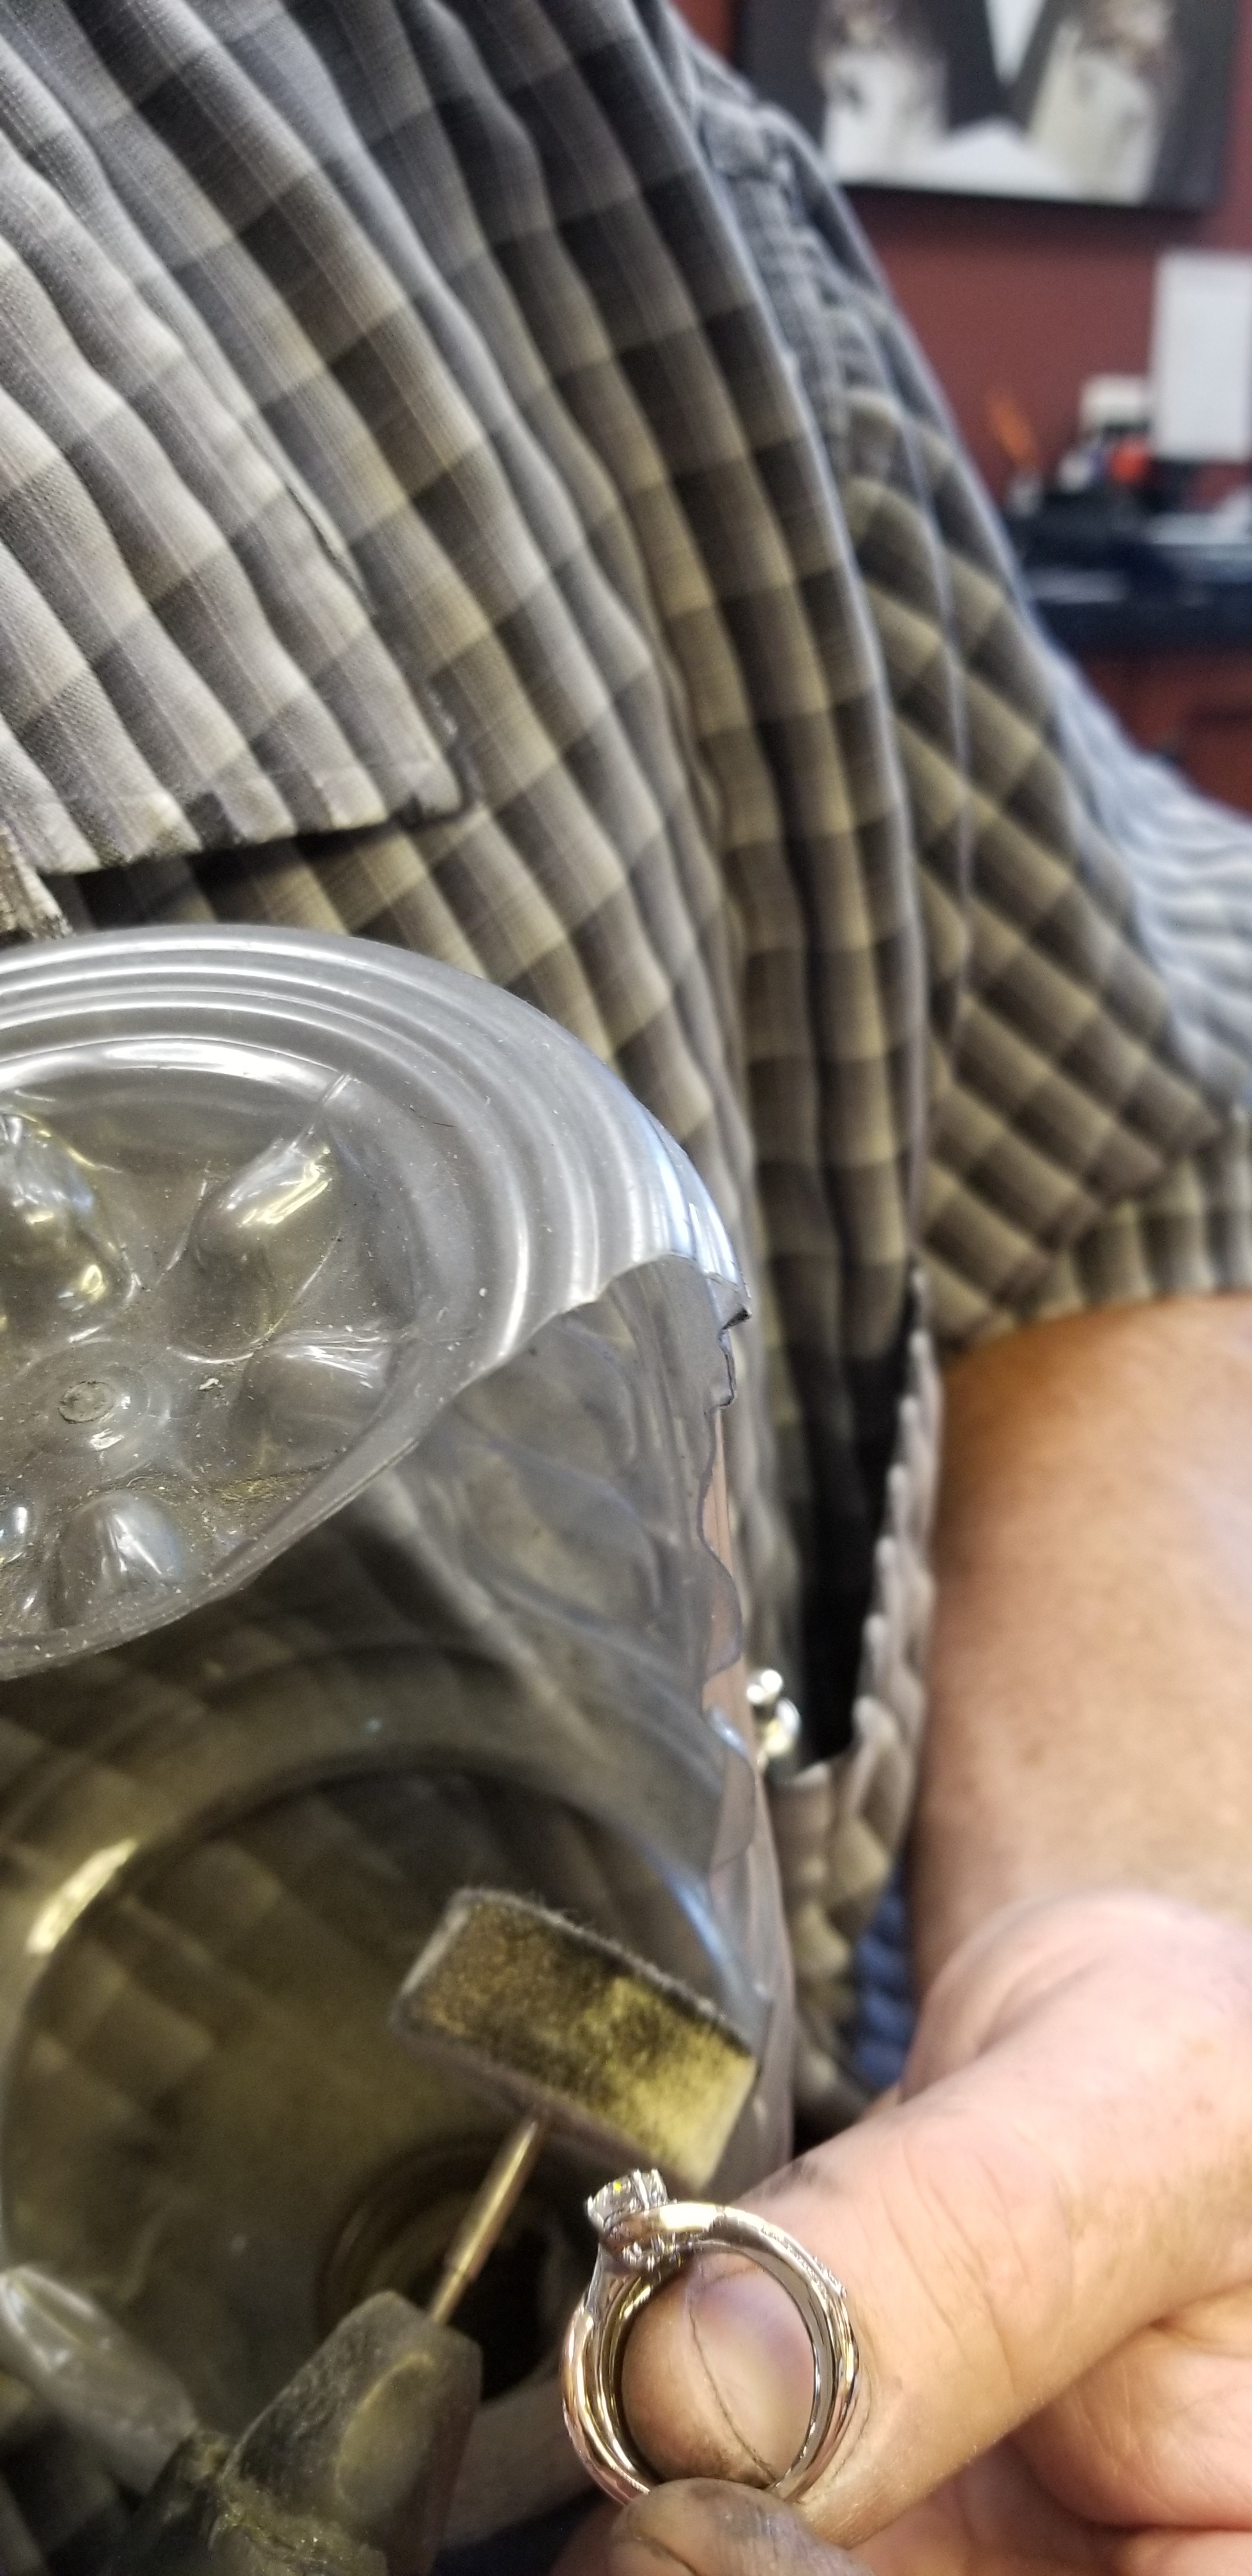
You asked Brian about fumes and a blower on his polishing box. In his post #4 and in his Ebay listing, Brian says his box has a 1 1/4" hole for fume exhaust. It’s hard to see in Brian’s photo in this thread, but if you look at the overhead light reflecting on the box at the curved seam, behind the reflection, you can barely see the hole on the back of the box near the top.
He says it’s for fumes but he does not mention particles.
The “must have” feature of Brian’s polishing box is how it attaches to the GRS mounting plate. But I think that fitting might be a weak point because the user will bump into the box while it’s attached, more than once, which would likely cause the plastic mount to break eventually.
Expand Brian’s photo to the maximum, and look closely at the plastic fitting. There are already fractures showing around the drill holes in the plastic fitting.
1 Like
I agree Betty2, I like the “keep it simple, stupid” mantra.
I really like my Gatorade bottle with the flexible hook/stand. I only grab it when I need it otherwise it’s just hanging next to me.
If you want this cut up wheel you can have it. I can extend a screw for you too cause I did that with a laser welder. Either way have at it. Let me know how it works
Thank you so much Shannon, but I’ve got to try extending the screw.
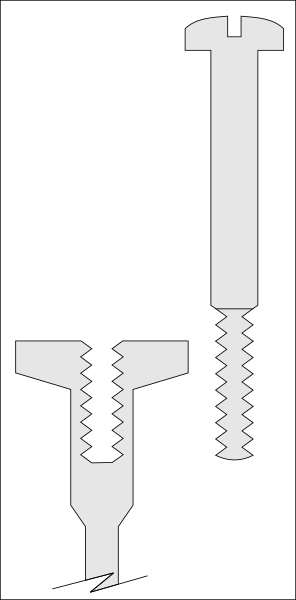
Would you describe what you did before welding? …for example, did you start with 2?
Did you cut the narrow part (point) off of one?
Then did you cut the entire threaded part off of the other one? When the two are combined, the new threaded length is about 1.5 times the original threaded length?
In this project, do the threads need to be perfectly aligned between the two pieces before welding?
You don’t need more thread than will bottom out in the socket, as that is the maximum amount of thread that can be engaged. The diameters of the threaded portion and the shank don’t even need to be the same. The only thing that is critical is that the long axes of the two are lined up, otherwise the disc will spin eccentrically. But at these small sizes even that is not hugely critical. Eyeballing the alignment should be sufficient.