Orchid Granulation Contest - With prizes sponsored by Scientific Alloys

Scientific Alloys @cpian and Orchid/Ganoskin have teamed up to host a contest where you will be able to showcase your best pieces that feature Granules! There will be five (5) winners chosen, and Scientific Alloys has donated $1,000 in Fine Silver Granules to be given out as prizes - each winner will receive $200 worth of granules directly from Scientific Alloys!

If you are not yet aware, Scientific Alloys offers the highest quality precious metal granules specially manufactured for Jewelers! You can learn more at their website or you can message @cpian here on Orchid.

How does the contest work?

It’s easy! To enter, you simply post up 3-5 pictures of your best pieces that feature Granules in this thread here on Orchid.

You describe the steps you took to add granules to the piece and why you think the granules were important for these pieces. Ideally in at least a few sentences or more so your fellow jewelers can learn from your experience.

We will be running this contest until March 21st at midnight, EST. Any Orchid member may participate in this skill contest, no purchase of anything is necessary.

How are winners selected?

Chrisopher Pian (@cpian) of Scientific Alloys, Jim Grahl (@JimGrahlDesign), and Seth Rosen (@seth-ganoksin-admin) will select the winners on the basis of the skill demonstrated in your posting. Unanimous agreement on winners will be required. Criteria will be;

  1. Overall quality of the design;
  2. Incorporation of granulation into the design;
  3. Quality of the post and quality of description of techniques utilized.

Discussion during the contest, and comments on posts, are welcomed! Chris is also available for any questions.

2 Likes

I used fine silver granules on these pieces, because I wanted the contrast between the enamel, the other textures and the granules. The granules also lend a slight difference in dimension that I believe adds to the visual interest of the piece.

Since I worked with fine silver metal clay (along with milled sheet) for this piece, the process for applying granules is unique to that medium. The granules were equally sized spheres of fine silver.

My process was as follows: moisten the area to be granulated on the leaves; apply a generous amount of metal clay Slip to that area; place the piece to be granulated in a small container; sprinkle the granules onto the piece, gently shaking the container; carefully lift the piece out of the container, allowing excess granules to fall back into the container; place piece on a flat surface and use a flat tool (I use the back end of a pair of soldering tweezers) to press the granules down gently; dry.

For the first piece shown, one thing I wanted to have happen is a slight curving of the leaf units, including the clasp. Because the granules do not shrink (think of these as immovable objects), and the body of the mc clay units will shrink during the firing, that shrinkage caused the leaves and the clasp to curve.

4 Likes

Not too many takers here. . . ? That’s odd. Maybe some encouragement will get a few more entries. So with that in mind, I’ll throw something in then :slight_smile:

Nearly all of my work incorporates granules in some fashion or another as I’ve decided to make it my specialty. I use granulation in particular because of the ancient and regal nature it exudes considering that my work is predominately inspired by the concept of “treasure”. The moment I first saw its use, I knew that was where I wanted to go with my designs and work.

To do this particular style of 18K granulation which is a bit different from the more typically seen 22K, copper salts (cupric carbonate. . . powdered malachite in ancient times) are used in a solution of flux,glue, and water and painted over the granules that have already been put and held in place by the aforementioned solution and then allowed to dry. As the piece is heated up, the cupric carbonate forms a thin layer of copper between the granules that creates a “solder” that melts just slightly lower than the primary metal. While not true “fusing”, it’s about as close as it gets (not to open up the can of worms regarding the technical matters around the use of metallurgical terms as seen here: Granulation basics - #2 by leonid_Surpin. This is more just “shooting from the hip” to get the idea across). From there, the piece can be cleaned up, stone set, and given its final polish. Incidentally, due to the nature of granulation and the fact that the granules are applied at the end of fabrication, it means that the entire fabrication process must be done via the cupric carbonate fusing method described above. Solder can only be used after granulation is completed or the piece would fall apart at the higher temperatures.

8 Likes

Erich, I’d love to enter a piece-that is if I had any granulation ones! Incredible work by both you and Linda, best of luck!

1 Like

The photos are inspiring. Time to explore granulation.

I would have loved to enter this competition, but we have recently moved house and I am waiting for a new workshop to be built before I can unpack my bench, tools and supplies. I have nowhere to create at the moment. Maybe something similar will be organised further down the line when I am back to making sparkly things.

All the best to those who enter the competition.

Helen
UK

Hi Helen,

Do you have any pics of completed pieces you could put up? No need to make something new :slight_smile:

Sadly not Erich. All the pieces I have granulated were given as gifts in the days before I thought to photograph anything. No matter. I look forward to seeing others’ beautiful designs.

Helen
UK

Bummer! Sorry to hear that. I look forward to seeing your creations once you’re unboxed from your move. :slight_smile:

I have been fascinated by fusing and granulation since I took a class at Revere Academy in the late 1990’s.
The beauty of the process of fusing cast a spell on me. I work in both high karat gold and Argentium sterling silver.
I make all of my own granules, and use a variety of methods to make them. I find the process of making granules and placing them one by one on my designs not tedious, but therapeutic. After firing a piece, after so much set up, and having all granules fused, it is a real thrill. I am now teaching fusing and granulation techniques to spread the allure and love of granulation.

It said in the above instructions you could add up to 5 photos of your work for the contest. It is only allowing me to add one photo. Please let me know if I can update this, I want to show more of my work

6 Likes

My current body of work focuses on both traditional and modern filigree jewellery. It is believed that the word filigree has Latin origins: filum meaning thread and granum meaning grain or granule. Hence most of my more traditional filigree designs incorporate granules.
I make my own granules. I start with sterling silver jump rings and melt the jump rings on a soldering block. I use jump rings as their uniform size allows me to repeatedly make granules that are consistent in size, by using the same gauge and diameter jump ring. While this process of making granules does work well, it is somewhat tedious.
My granules are attached to my work using hard paste solder. I do not use traditional granulation methods ie I do not attempt to create a eutectic bond between the granule and the subject piece.
I have attached three photos. Two of them are the first two pieces of a new series of work that uses twisted wire jump rings as the main filler element. The teardrop shaped pendant is set with an ammolite freeform. The round pendant is set with a 10 mm carnelian cab. The third pendant is a copy of a traditional filigree flower. It is set with a 6 mm carnelian cab. All three pendants have a LOS patina.

6 Likes

Looking for more entries! Six (6) days left, five prizes and only 4 entries!

The aspen leaf is very iconic in the region where I live… after studying repousse under Valentin Yotkov and several classes with Harold O’Connor, I wanted to try combining some of the techniques in an organic and loose style. I feel that the texture and contrast created by adding granulation is ideal for the organic and nature inspired pieces I enjoy creating… I also love the homage to techniques used by the Etruscan goldsmiths of long ago.

Thank you!

Sterling and Farmined 18k yellow gold.

6 Likes

Hi All!
About 5 years ago, my partner suggested I try granulation as a creative outlet for my perfectionist tendencies, and he was right, it’s a medium I just adore working in! I took a couple of classes with the excellent teacher Ronda Coryell, who teaches fabrication and granulation in Argentium silver and gold.

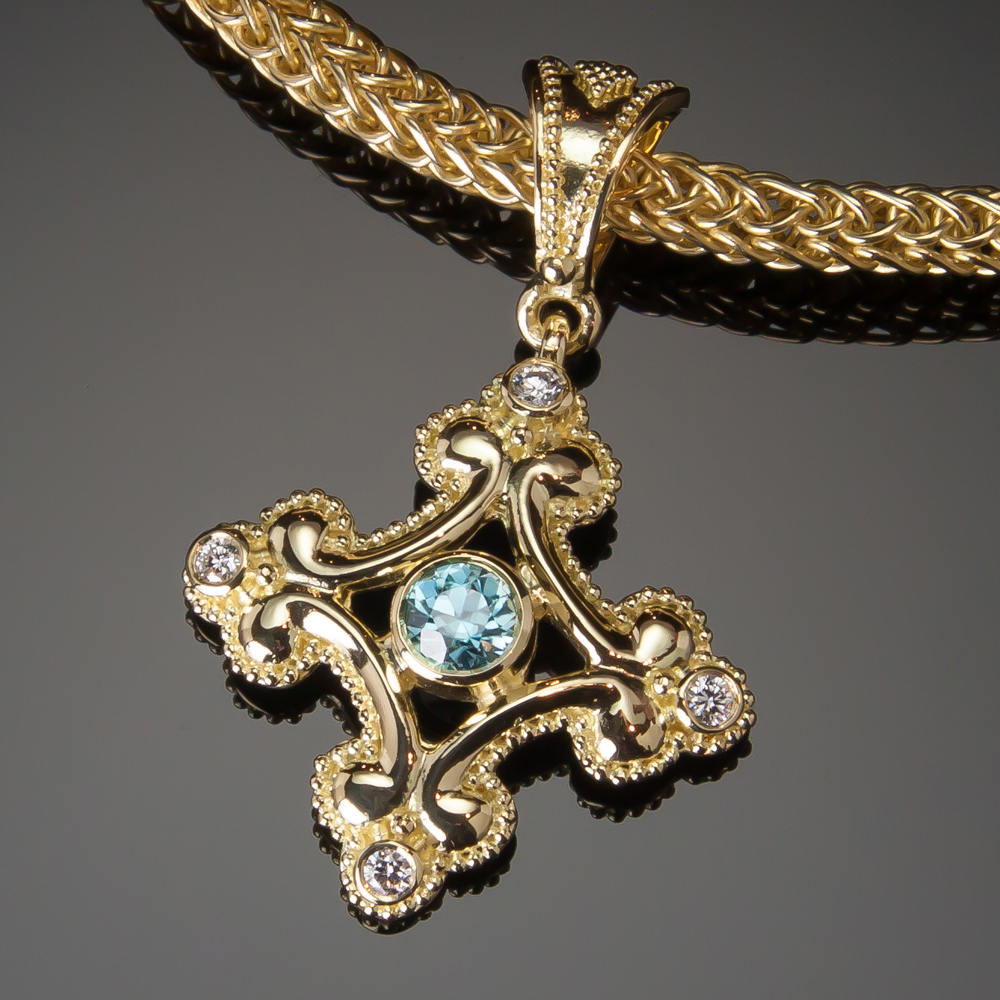
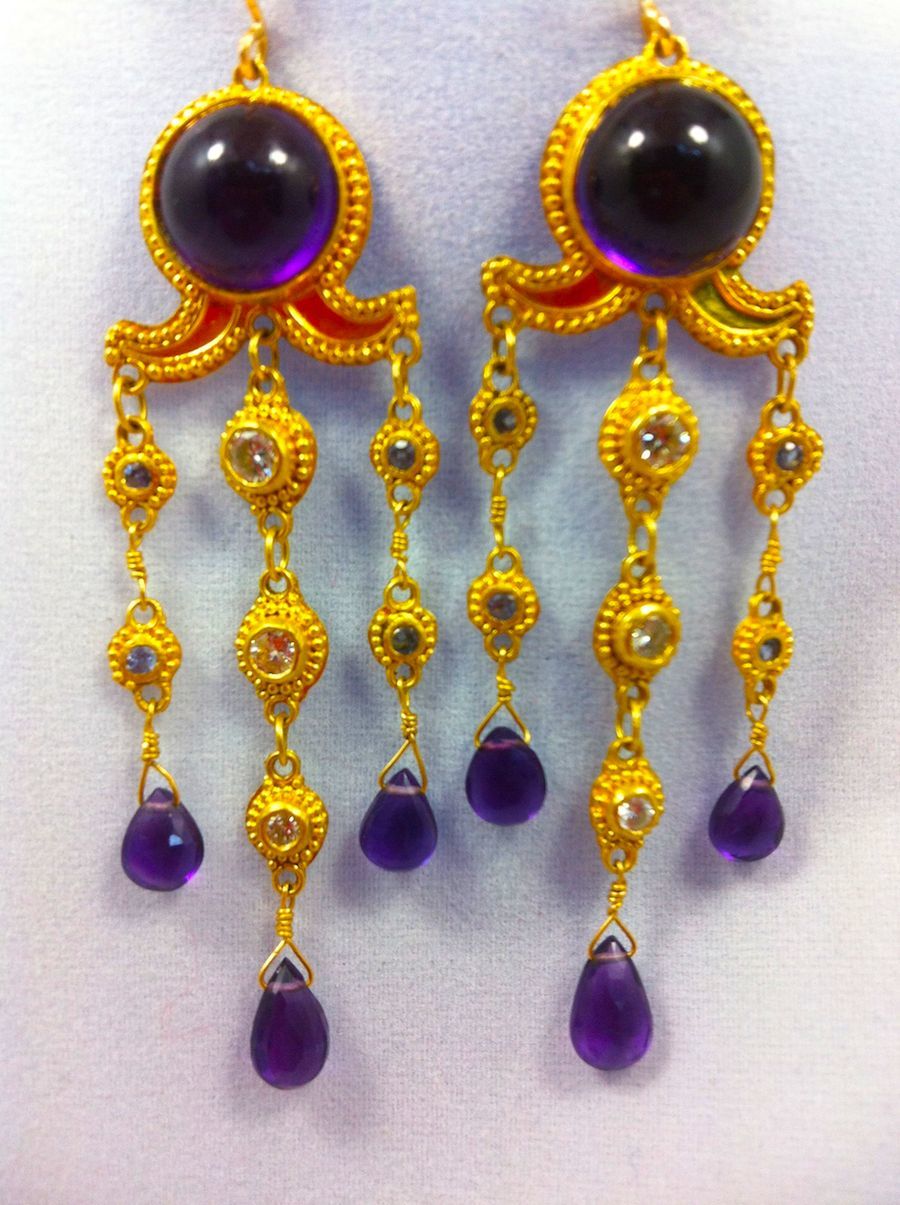
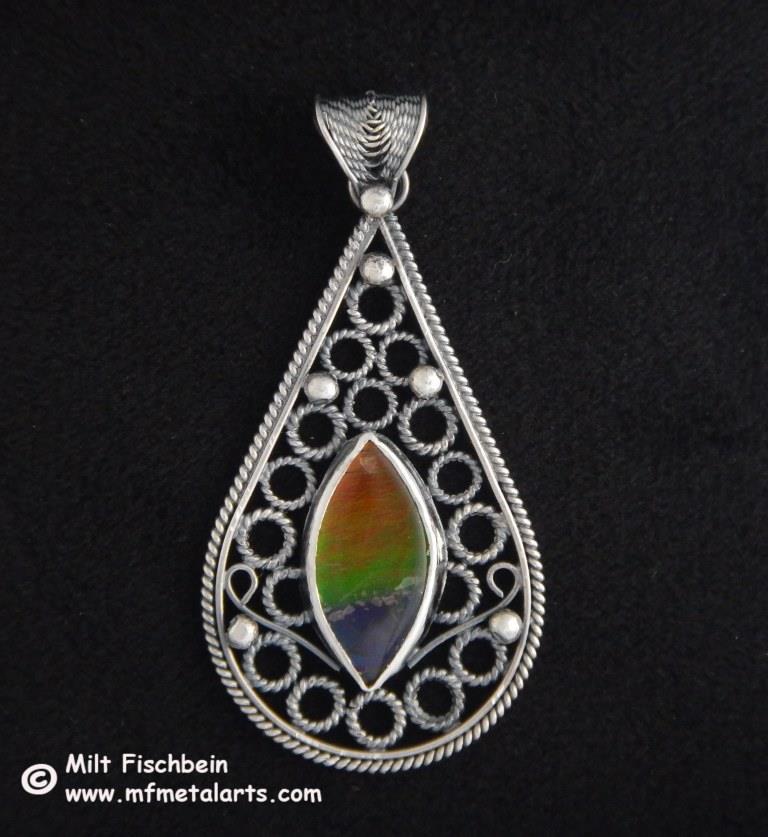
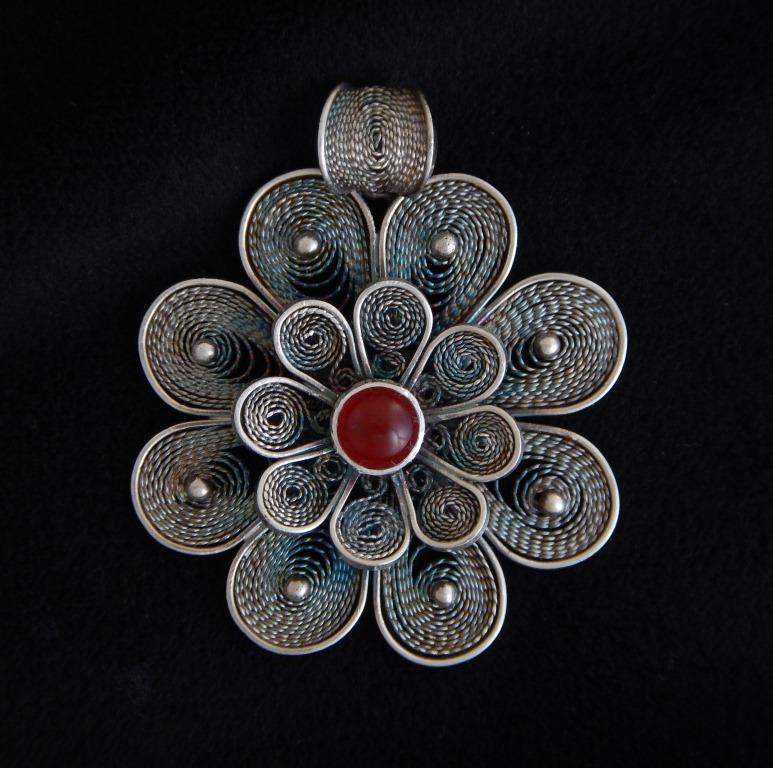
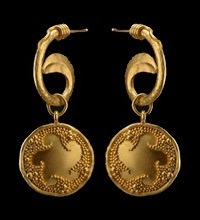
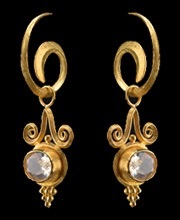
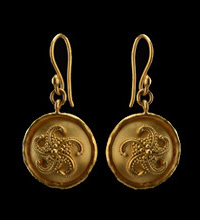
Granulation is the most important design aspect of all my pieces in one way or another. For some pieces, it’s about pattern and the way the granules arrange themselves. For others, the granules are more of a textural element adding sparkle and a tactile quality.

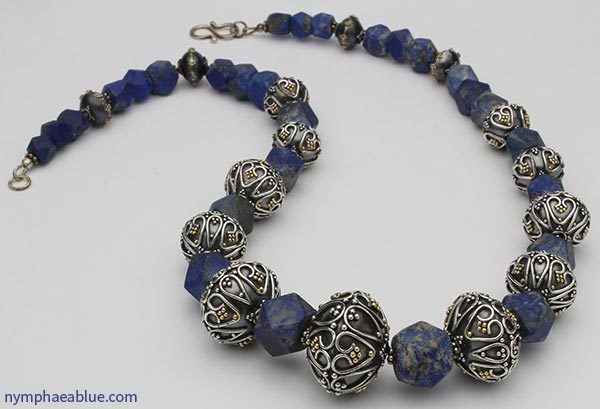
I also work with many ancient beads and carvings, some thousands of years old, and the timeless look of granulation creates an aesthetic context for these objects that both reflects their history and brings them into the present. As I work, I feel I am suspended in time, lost in the hours it takes to place the granules, working in a process that a jeweler from centuries ago would recognize.

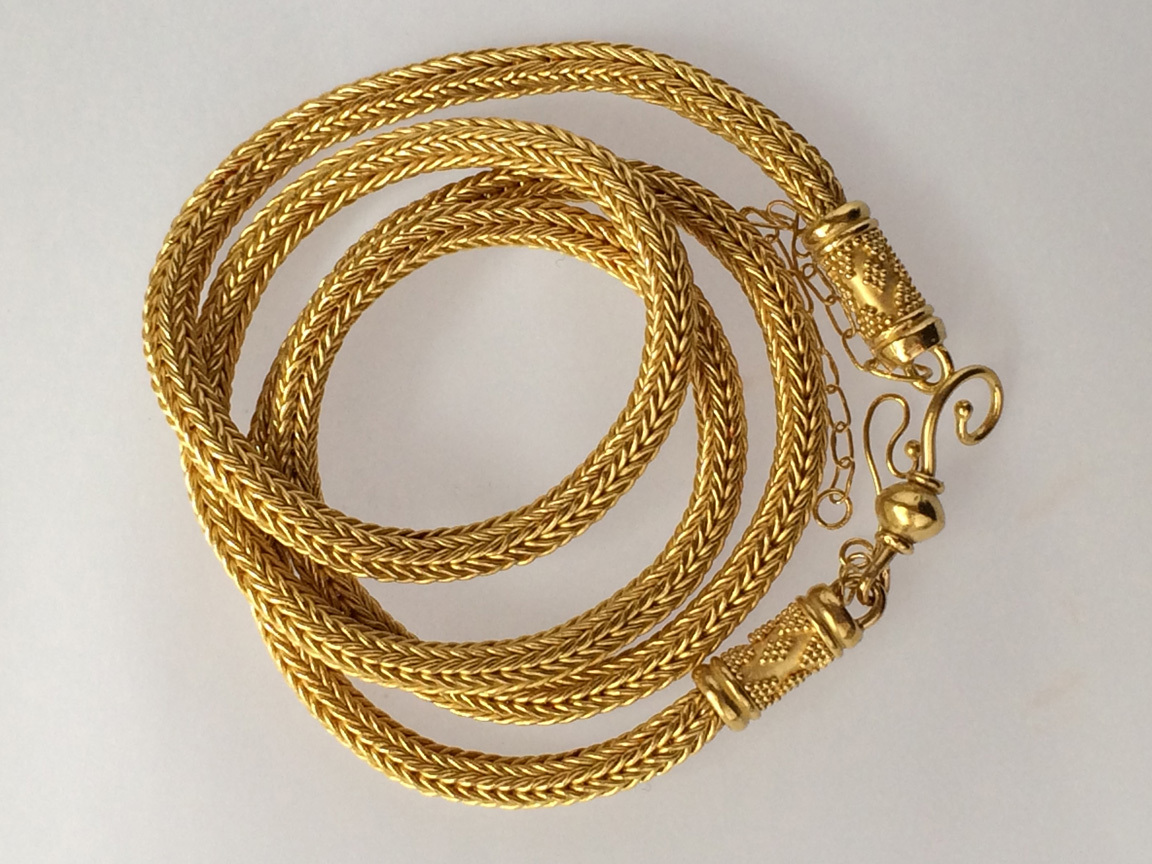
My main focus so far has been making beads. They all start as sheet, wire, and granules. I purchase my Argentium granules, but I make my own 18k gold ones from little snippets of wire. Sheet is cut into disks and dapped into half spheres, and wire is shaped into patterns and dapped to fit the spheres.

For the first firing, I place the wires in patterns that are sometimes planned, and sometimes spontaneous. Flux helps hold them in place, and also gives a visual indicator of their fusing under the torch, as well as helping the fusion happen.

After the wires are fused down, I place the granules with a paintbrush and more flux, and then fuse again. This fusing is the one I’m always striving to be better at. I watch the metal for a flash and slight mirrored quality that indicates just the barest skin is melted so the granules and base will unite. I try to keep that melting as minimal as possible so that the granules are properly attached, but just barely. When I manage to hit that balance, the design has a levity to it and seems to float.

The third and final fusing is to unite the two hemispheres of the bead, which is tricky and where it can all go wrong if I’m not careful. It’s a big relief when this part goes well!

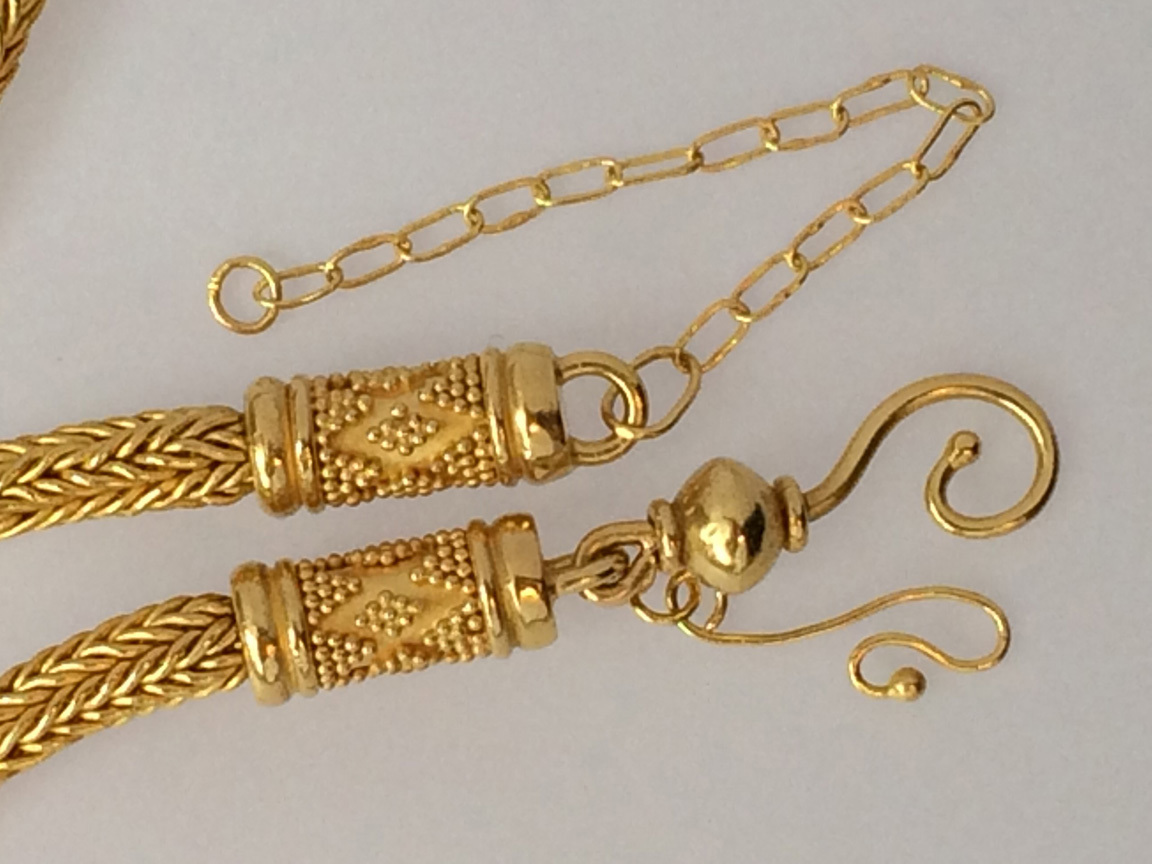
After all the firings, I finish to different degrees of polish, depending on the piece, and antique and highlight the design. Then, they’re strung onto wire or chain in combination with the ancient beads I’ve selected. Some chain I make myself, and I’d like to get into that more.

Some designs are geometric or artistic and just come out as they are in my head, while others I research and design to match the beads or ancient item I’m working with.

I’ll post my entries in replies below- the system won’t let me put them all in one post. Thanks for looking!

Micah Nilsson
Nymphaea Blue
nymphaeablue.com

For this necklace, I’ve used 15th century Afghani lapis beads which were cut in a sacred geometric shape, and the beads I created in Argentium and 18k are based on a pattern I saw on an Islamic prayer rug:

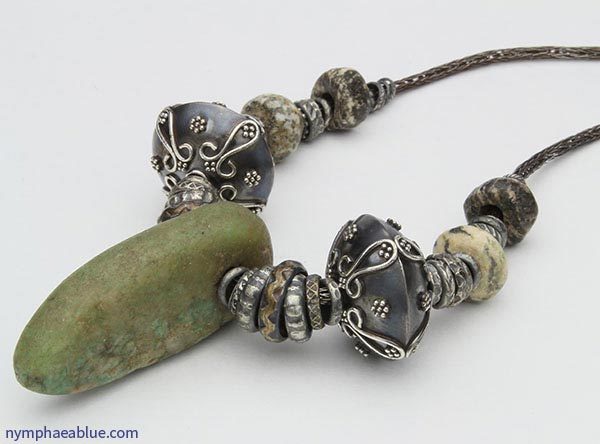
This necklace features a 2nd century Amazonite drop from Mali, with my granulated beads echoing the long shape of the drop:

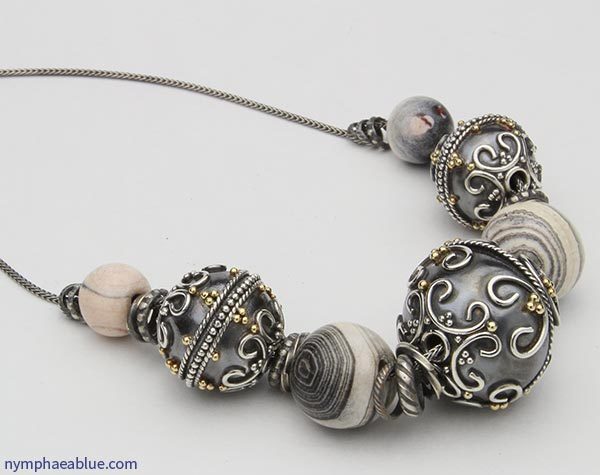
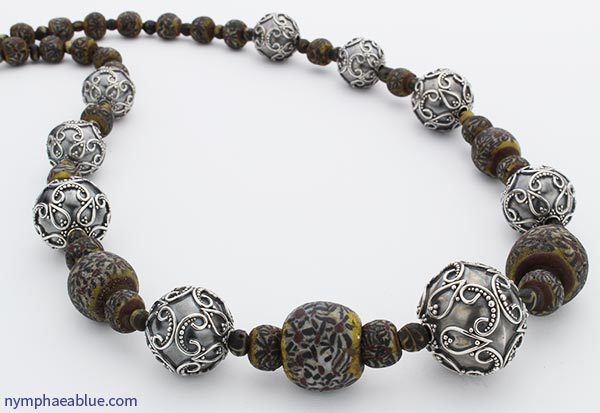
The glass millefiore beads on this necklace are Byzantine, in source and in their busy patterns, and I tried to match that ornate feeling in my beads:

Finally, these beads in Argentium and 18k were created first with layouts I had been playing with, and they turned out to be a good match for these Asian agate beads.

10 Likes

Those opal ear-rings are gorgeous!

2 Likes

Thank you very much Becci! :slight_smile:

Beautiful work - patience, indeed!

Alrighty guys and gals. 24 hours left for this one! Don’t procrastinate, all it takes is a few pictures.

And you know the old Chinese saying. Loosely translated…

“Getting $200 worth of silver granules for posting up a few pictures is a lot cheaper than having to buy them, plus you get to try out a cool product”

Actually… that’s not an old Chinese saying. But whatever. Post your stuff!

The hardest part of granulating the 22 karat gold termination for the quadruple link neck chain was pulling the wire through a filigree draw plate to 32 gauge. Sand paper was used to get the points of the wire narrow enough to fit through the drawplate and I used a needle nose player to grab the metal and pull.
A tool was made by pushing the point of a 19 gauge steel sewing needle into a dowel and glued. The wire was wrapped around this tool to make tiny jump rings which were then heated on a charcoal block to form 22 karat gold granules. After the granules were copper plated a mixture of hide glue, flux and water was used to glue granules in place. A beehive kiln was used to add extra heat and the piece was heated with an air-acetylene torch until a bond with the base metal was achieved.
I love granulation and would like to do more of it.

7 Likes

I learned 22k gold granulation in the 90’s and one of the things that I struggled with was creating interesting 3 dimensional shapes from the thin sheet metal needed for successful fusing. I have since learned chasing and repoussé and I am in love! These old world techniques make a perfect marriage and open up the doors for unlimited creations. Having said that, I only have one picture to post combining them.

I mostly make my own granules, particularly because I love to do more organic patterns and homemade granules more easily create those random shapes because of their slight imperfections. Having said that, when I want to make intricate geometric shapes or lines of granules, the perfection of the lab made granules can’t be beat. I still have a small stash of 22k gold lab granules left from the nineties when gold was $298/ounce!!!

To glue the granules on the piece, I use a small amount of copper carbonate mixed in with the classic mixture of 10-12 drops of water (less water for bigger granules) with 2 drops flux and 1 drop hide glue. Years ago when we were experimenting with the different ways to add copper to the granules, It seemed the addition of copper carbonate creates a more obvious flash when reaching the fusion point. The main thing to note if you use it, is that once the granules have dried in place, you must remove all the glue mixture from the tops of the granules and the rest of the piece to avoid marring the surface when fusing. Even the glue alone can do this, but with the additional copper it’s more pronounced. I dampen my tiny sable brush and use that to thoroughly clean off the visible glue. There is plenty left on the sides and bottoms of the granules for successful fusion.

I simply love the attention to detail that granulation requires. It is a meditative experience carefully placing each granule, and many’s the time I have looked up from a piece to see that the hours have happily fled and it’s 2 AM. One of the things I’ve learned as a jewelry designer though, is just because you CAN granulate something, doesn’t mean you should! Pay attention to whether it actually enhances your design.

8 Likes