Perfect timing on the reverse tweezers I have a small collection that are too worn out for soldering. I now know what I’m going to use them for. Thank you so much for sharing.
Rachel,
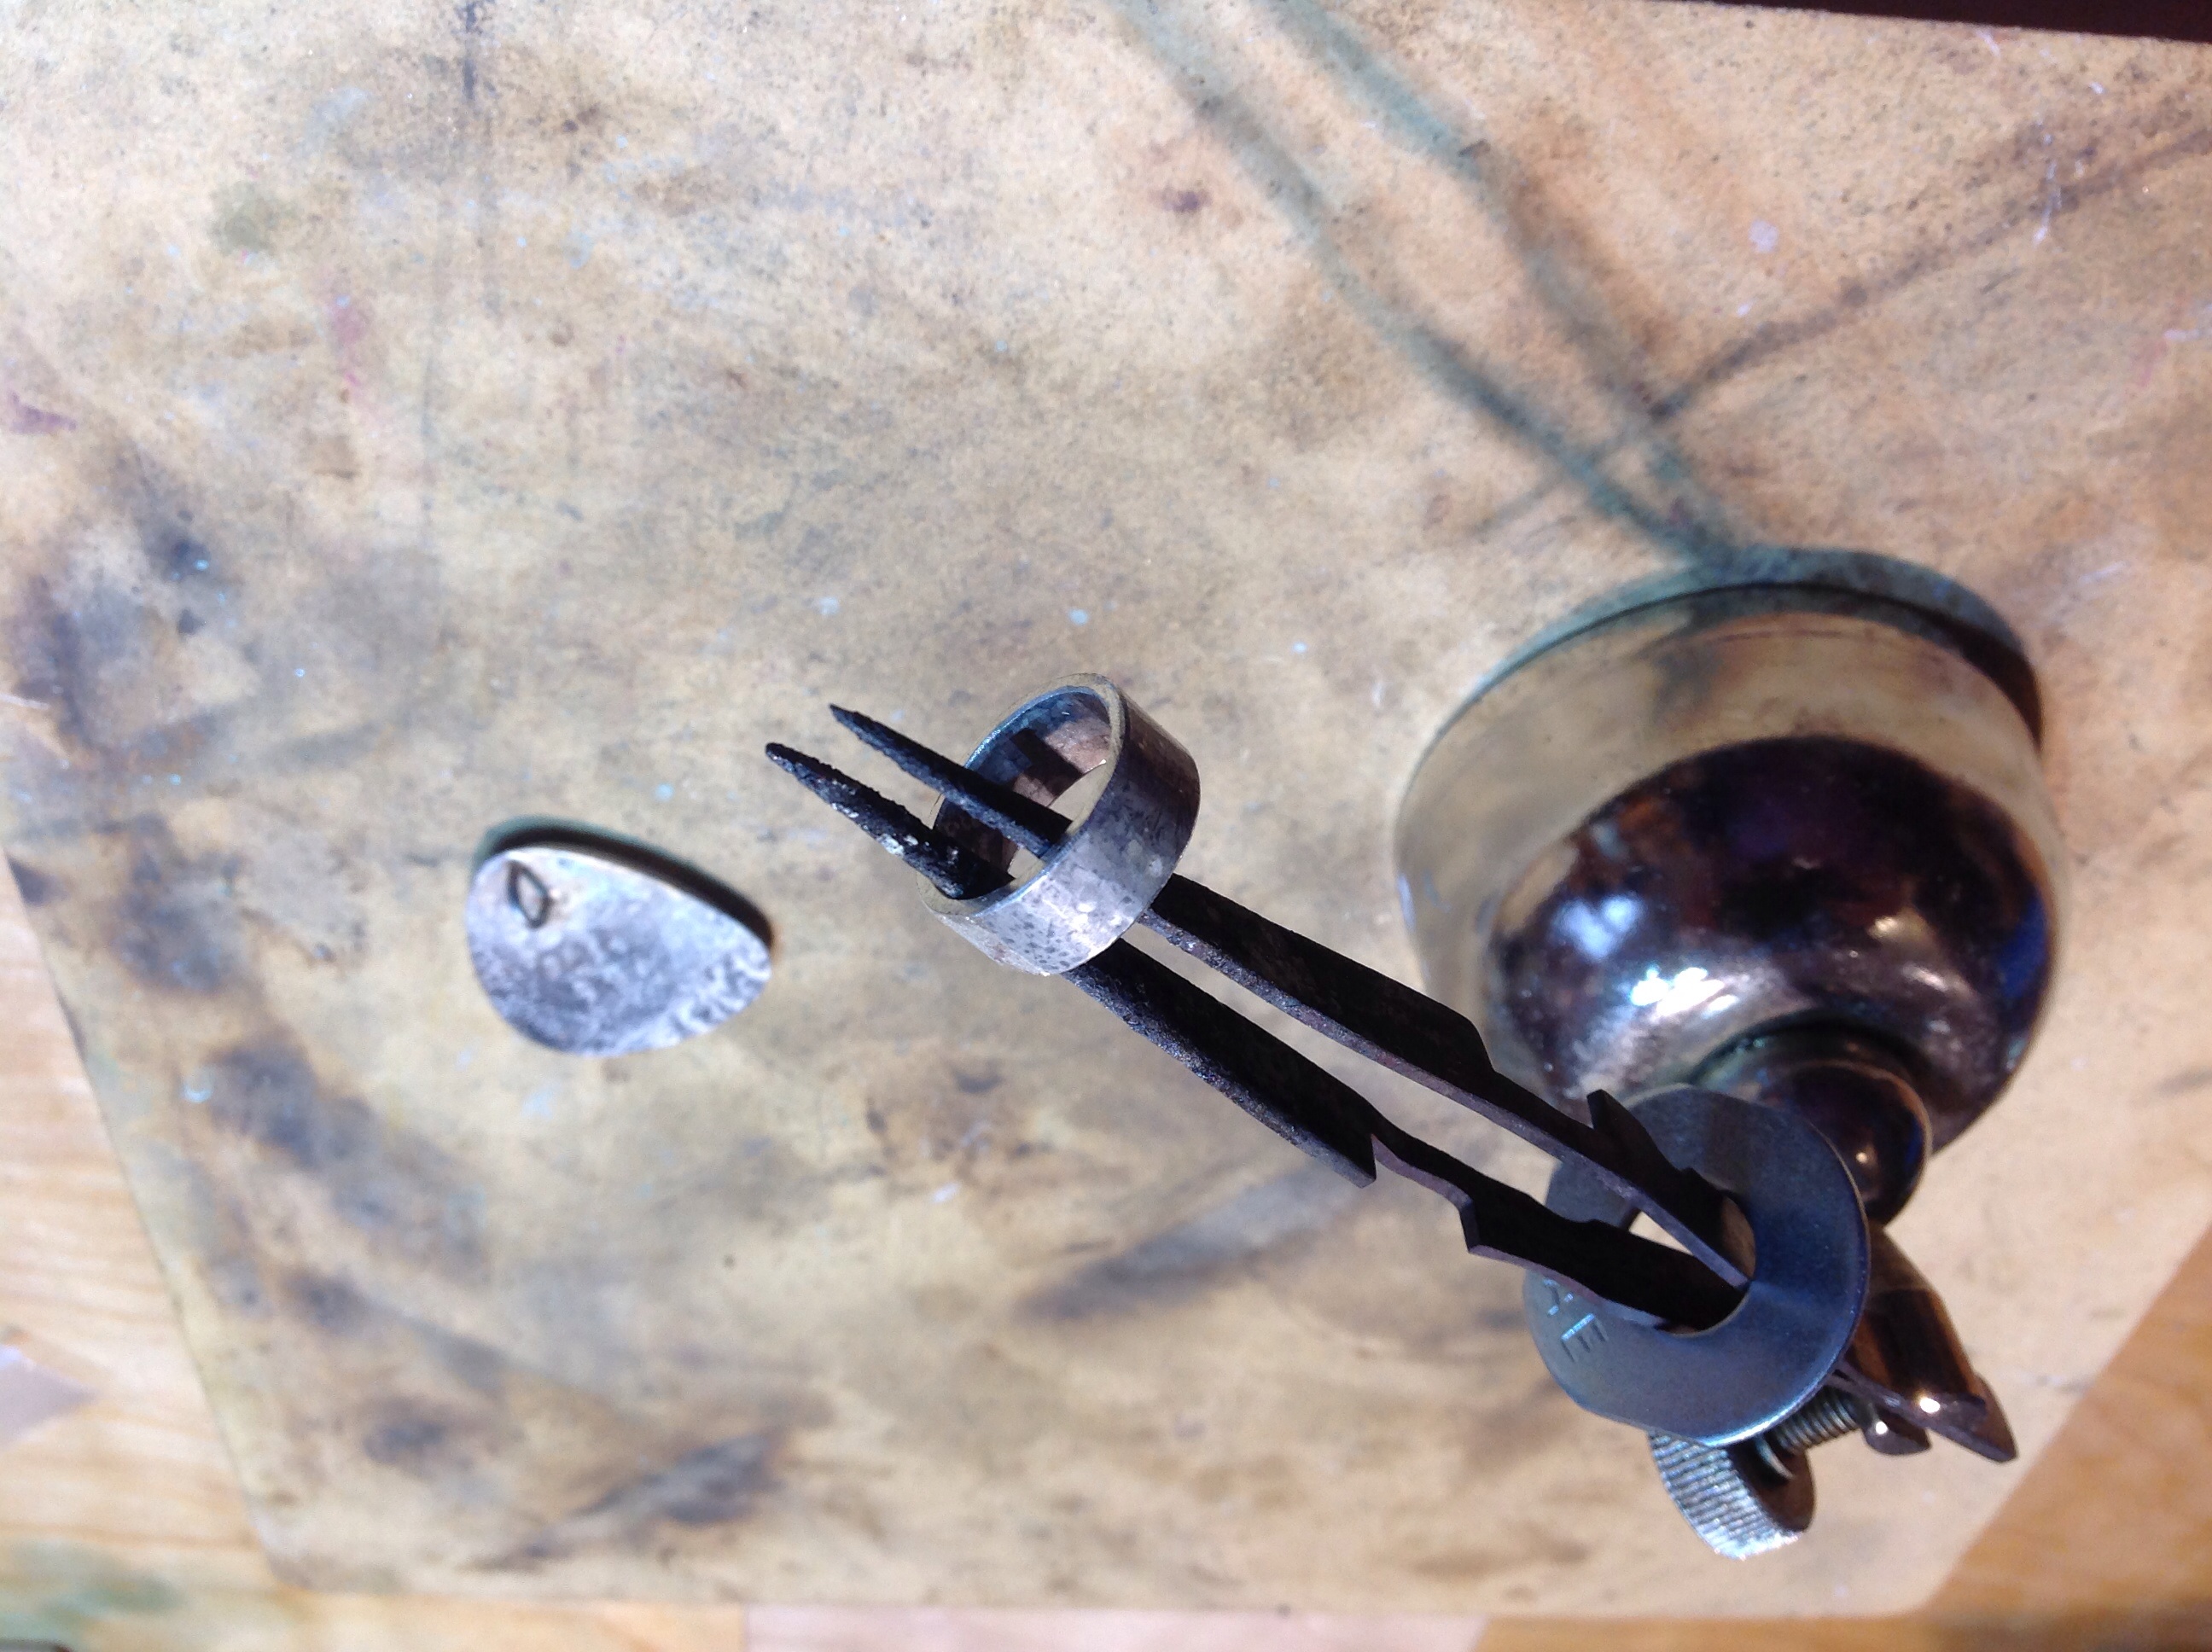
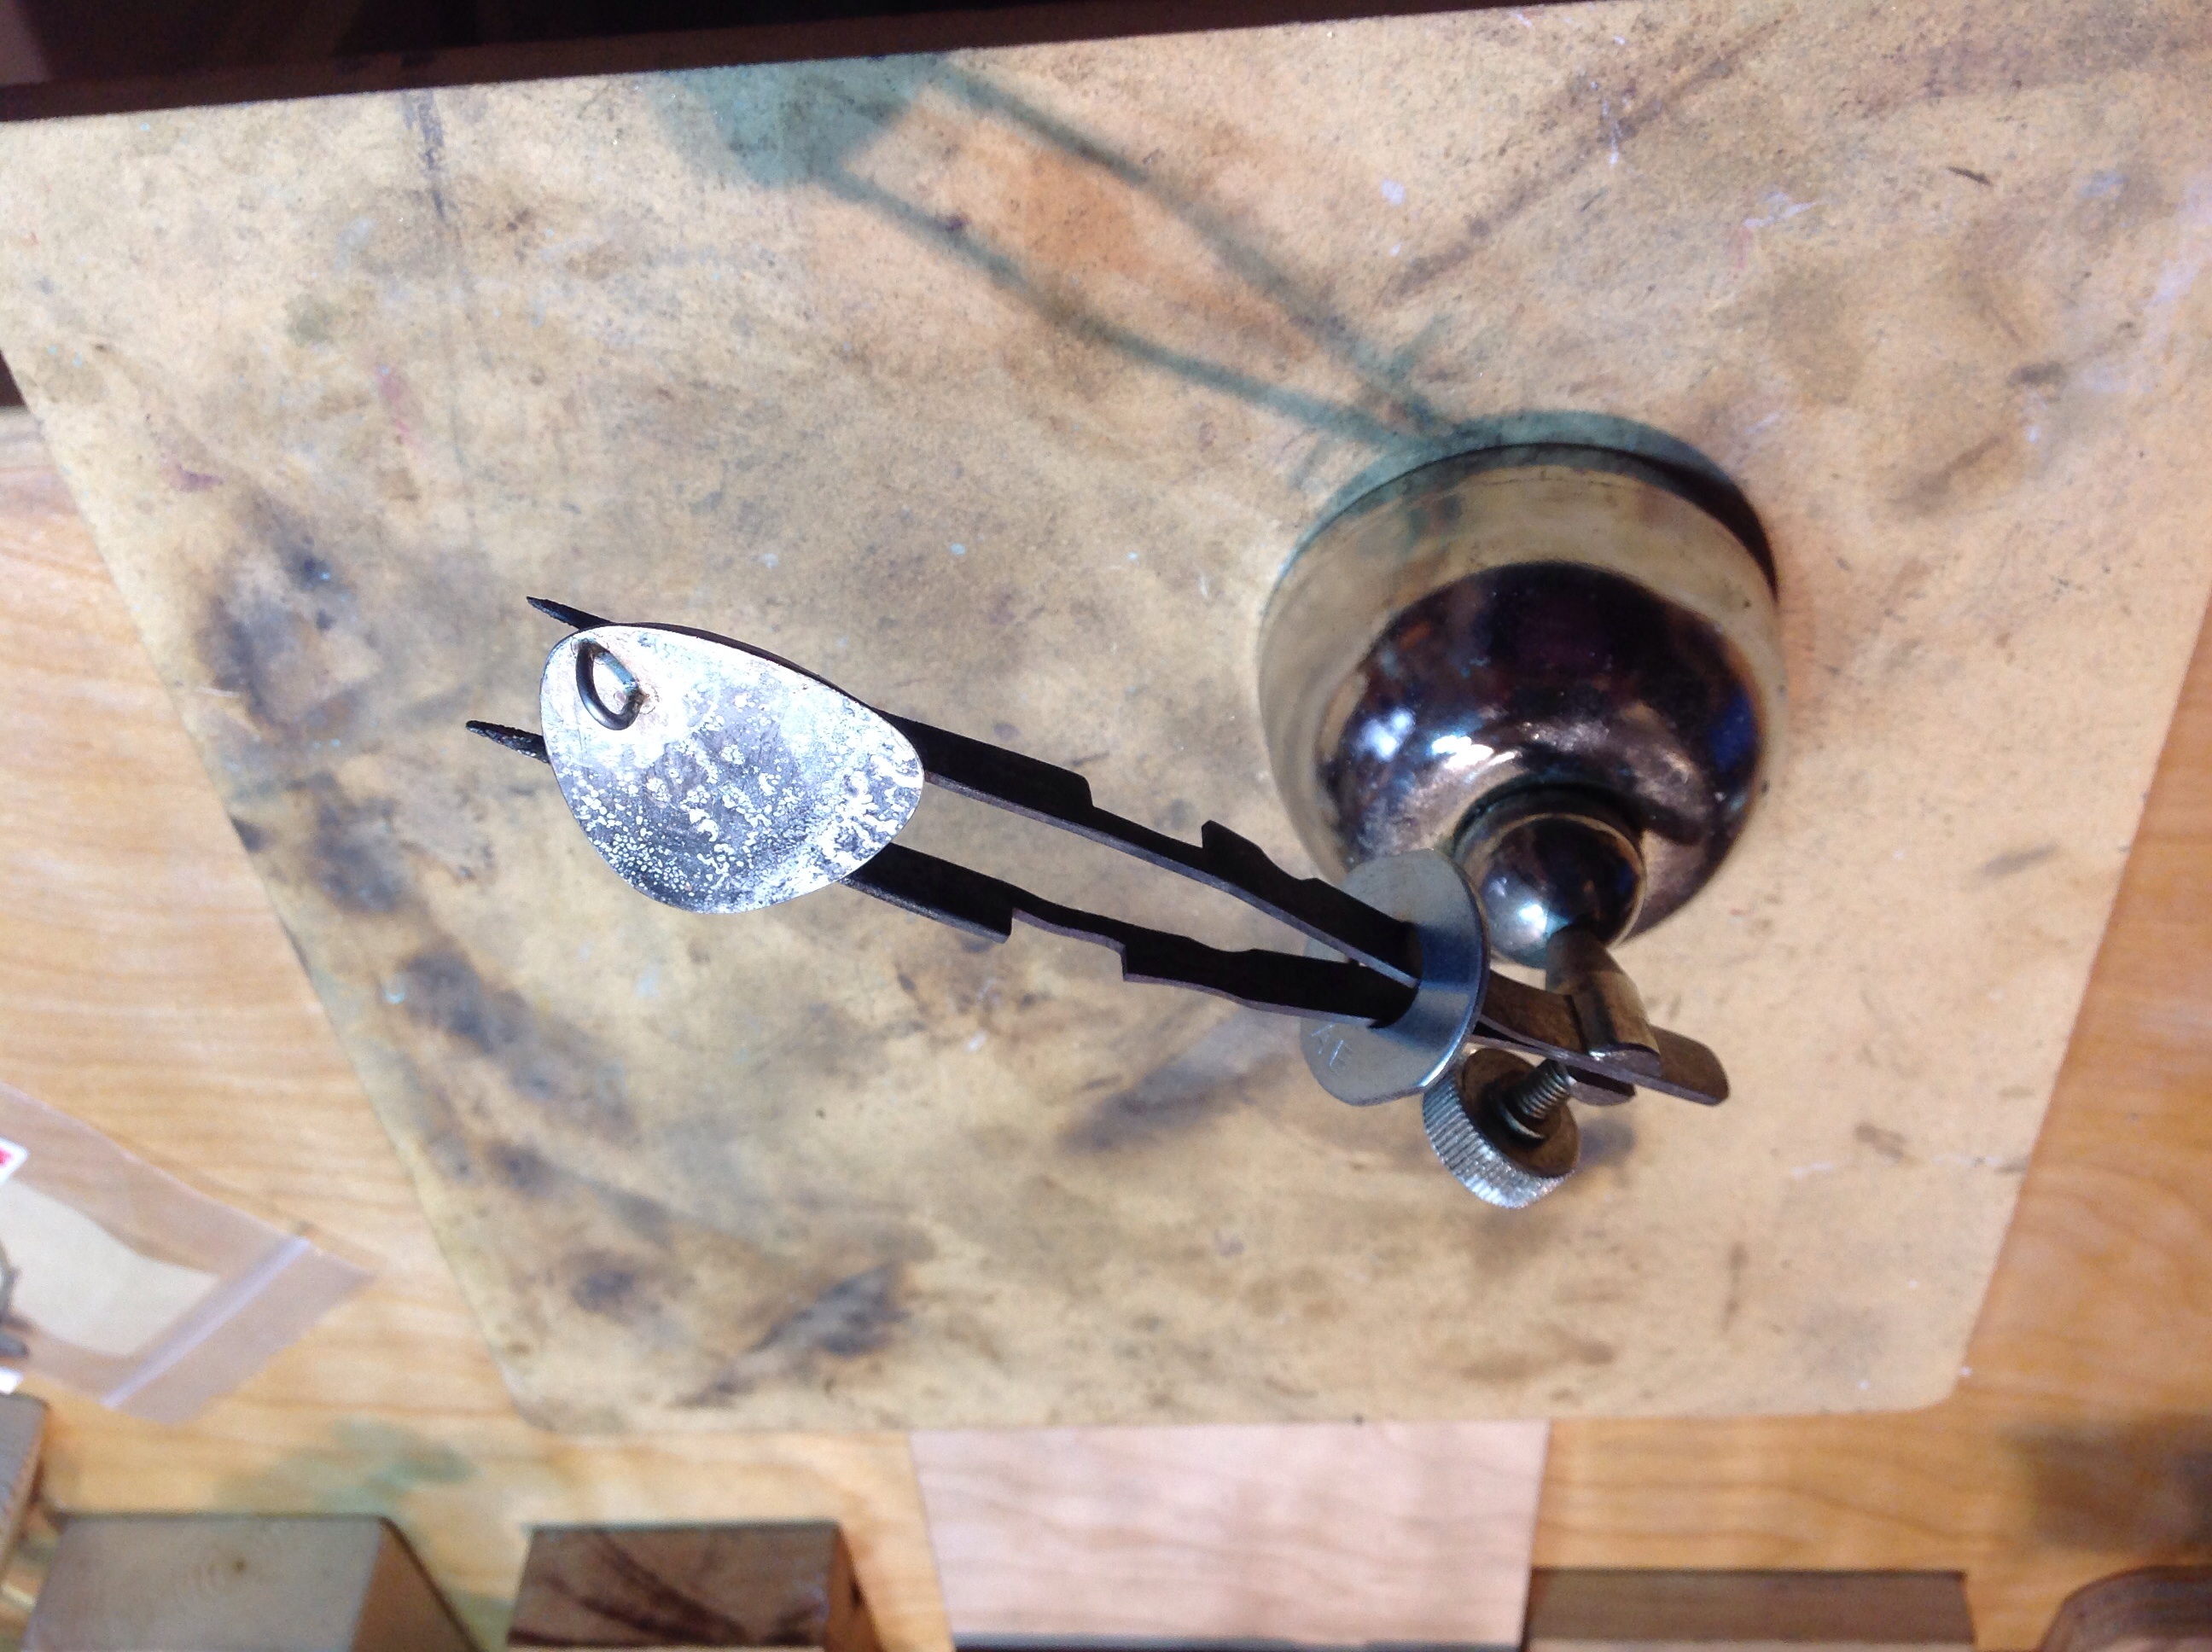
With a surplus of worn tweezers you might enjoy another use.
Again spread the arms so they spring open , place a washer over the back end
Slide the washer to adjust the spacing between the arms.
This now, when placed in a third hand soldering aid, makes a raised support for pieces to be soldered and welcomes using the torch from below.
Please reverse the pictures, I think that they loaded upside down.
Mike
2 Likes
Ah ha! That’s a great idea thank you for sharing that. The simplest conversions can be the best - that looks like it’ll be a real help.
Happy holidays!
Mike,
Does the entire setup was done by you alone or with the help of carpenter?
Awesome! The cockpit idea was though looks like mess but the pilot only
knows how comfortable it is😉. Great job and you are very innovative.
MANIMUTHU
Uma,
I am responsible for doing the whole set up.
All the woodworking is simple basic construction.
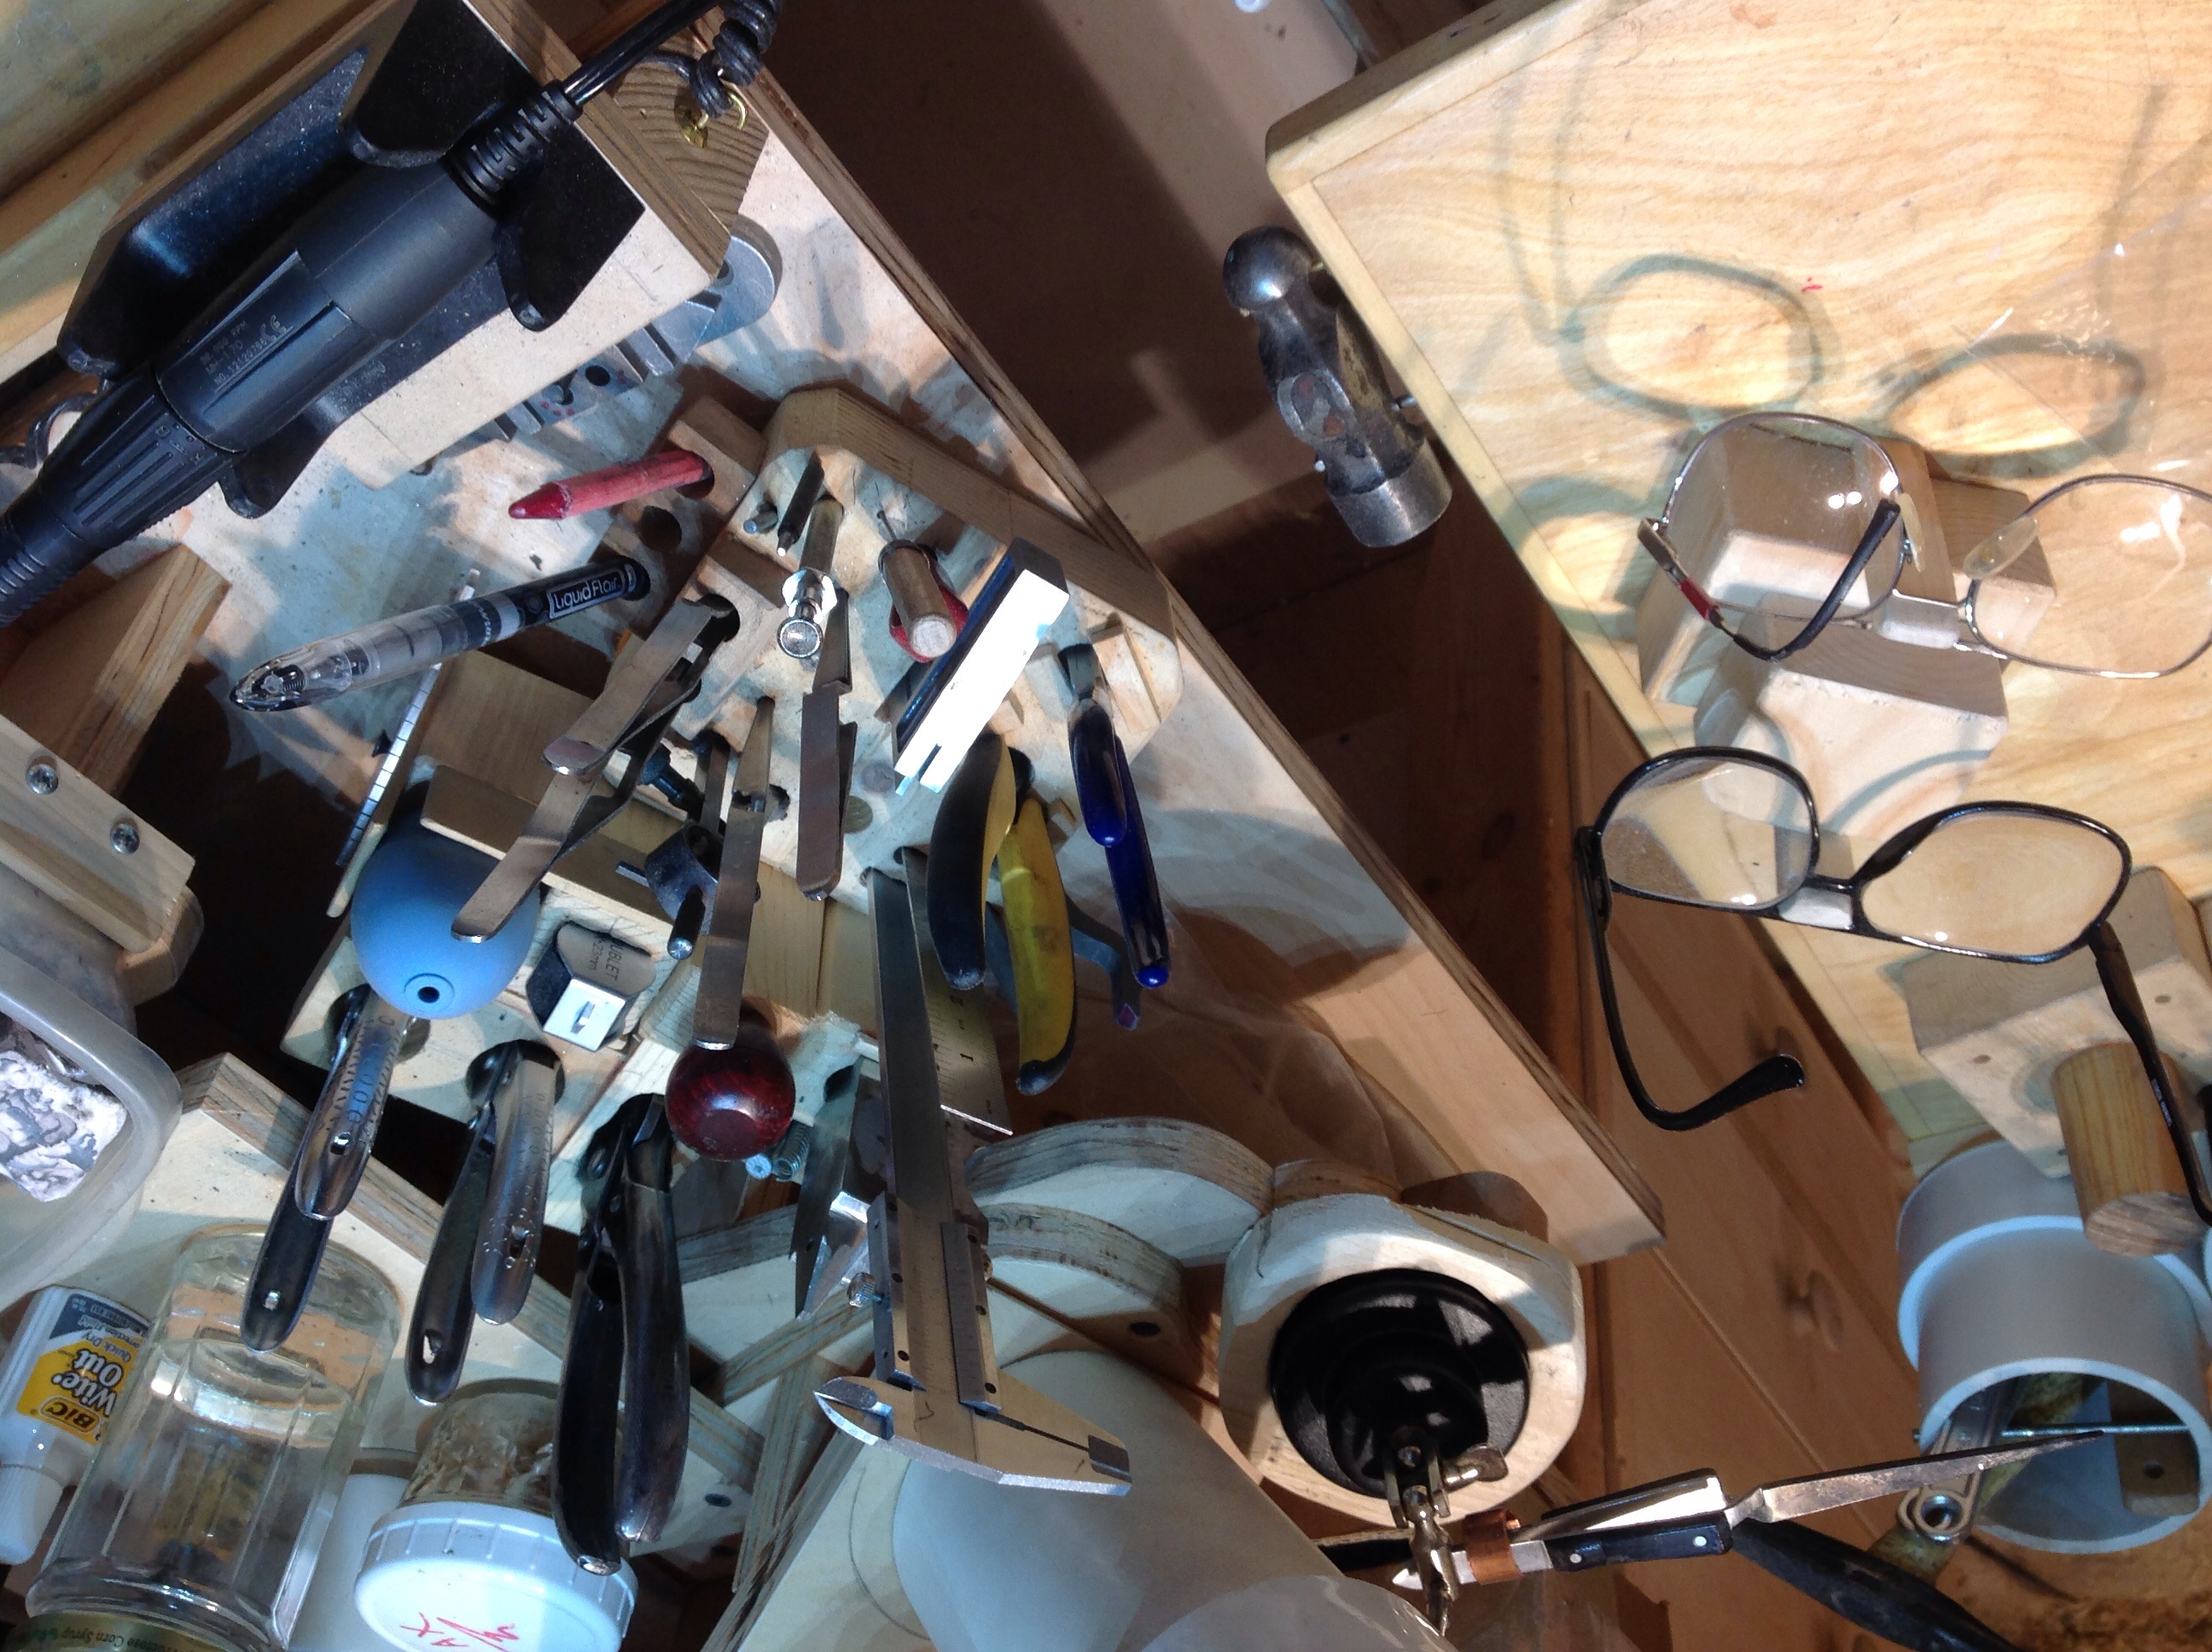
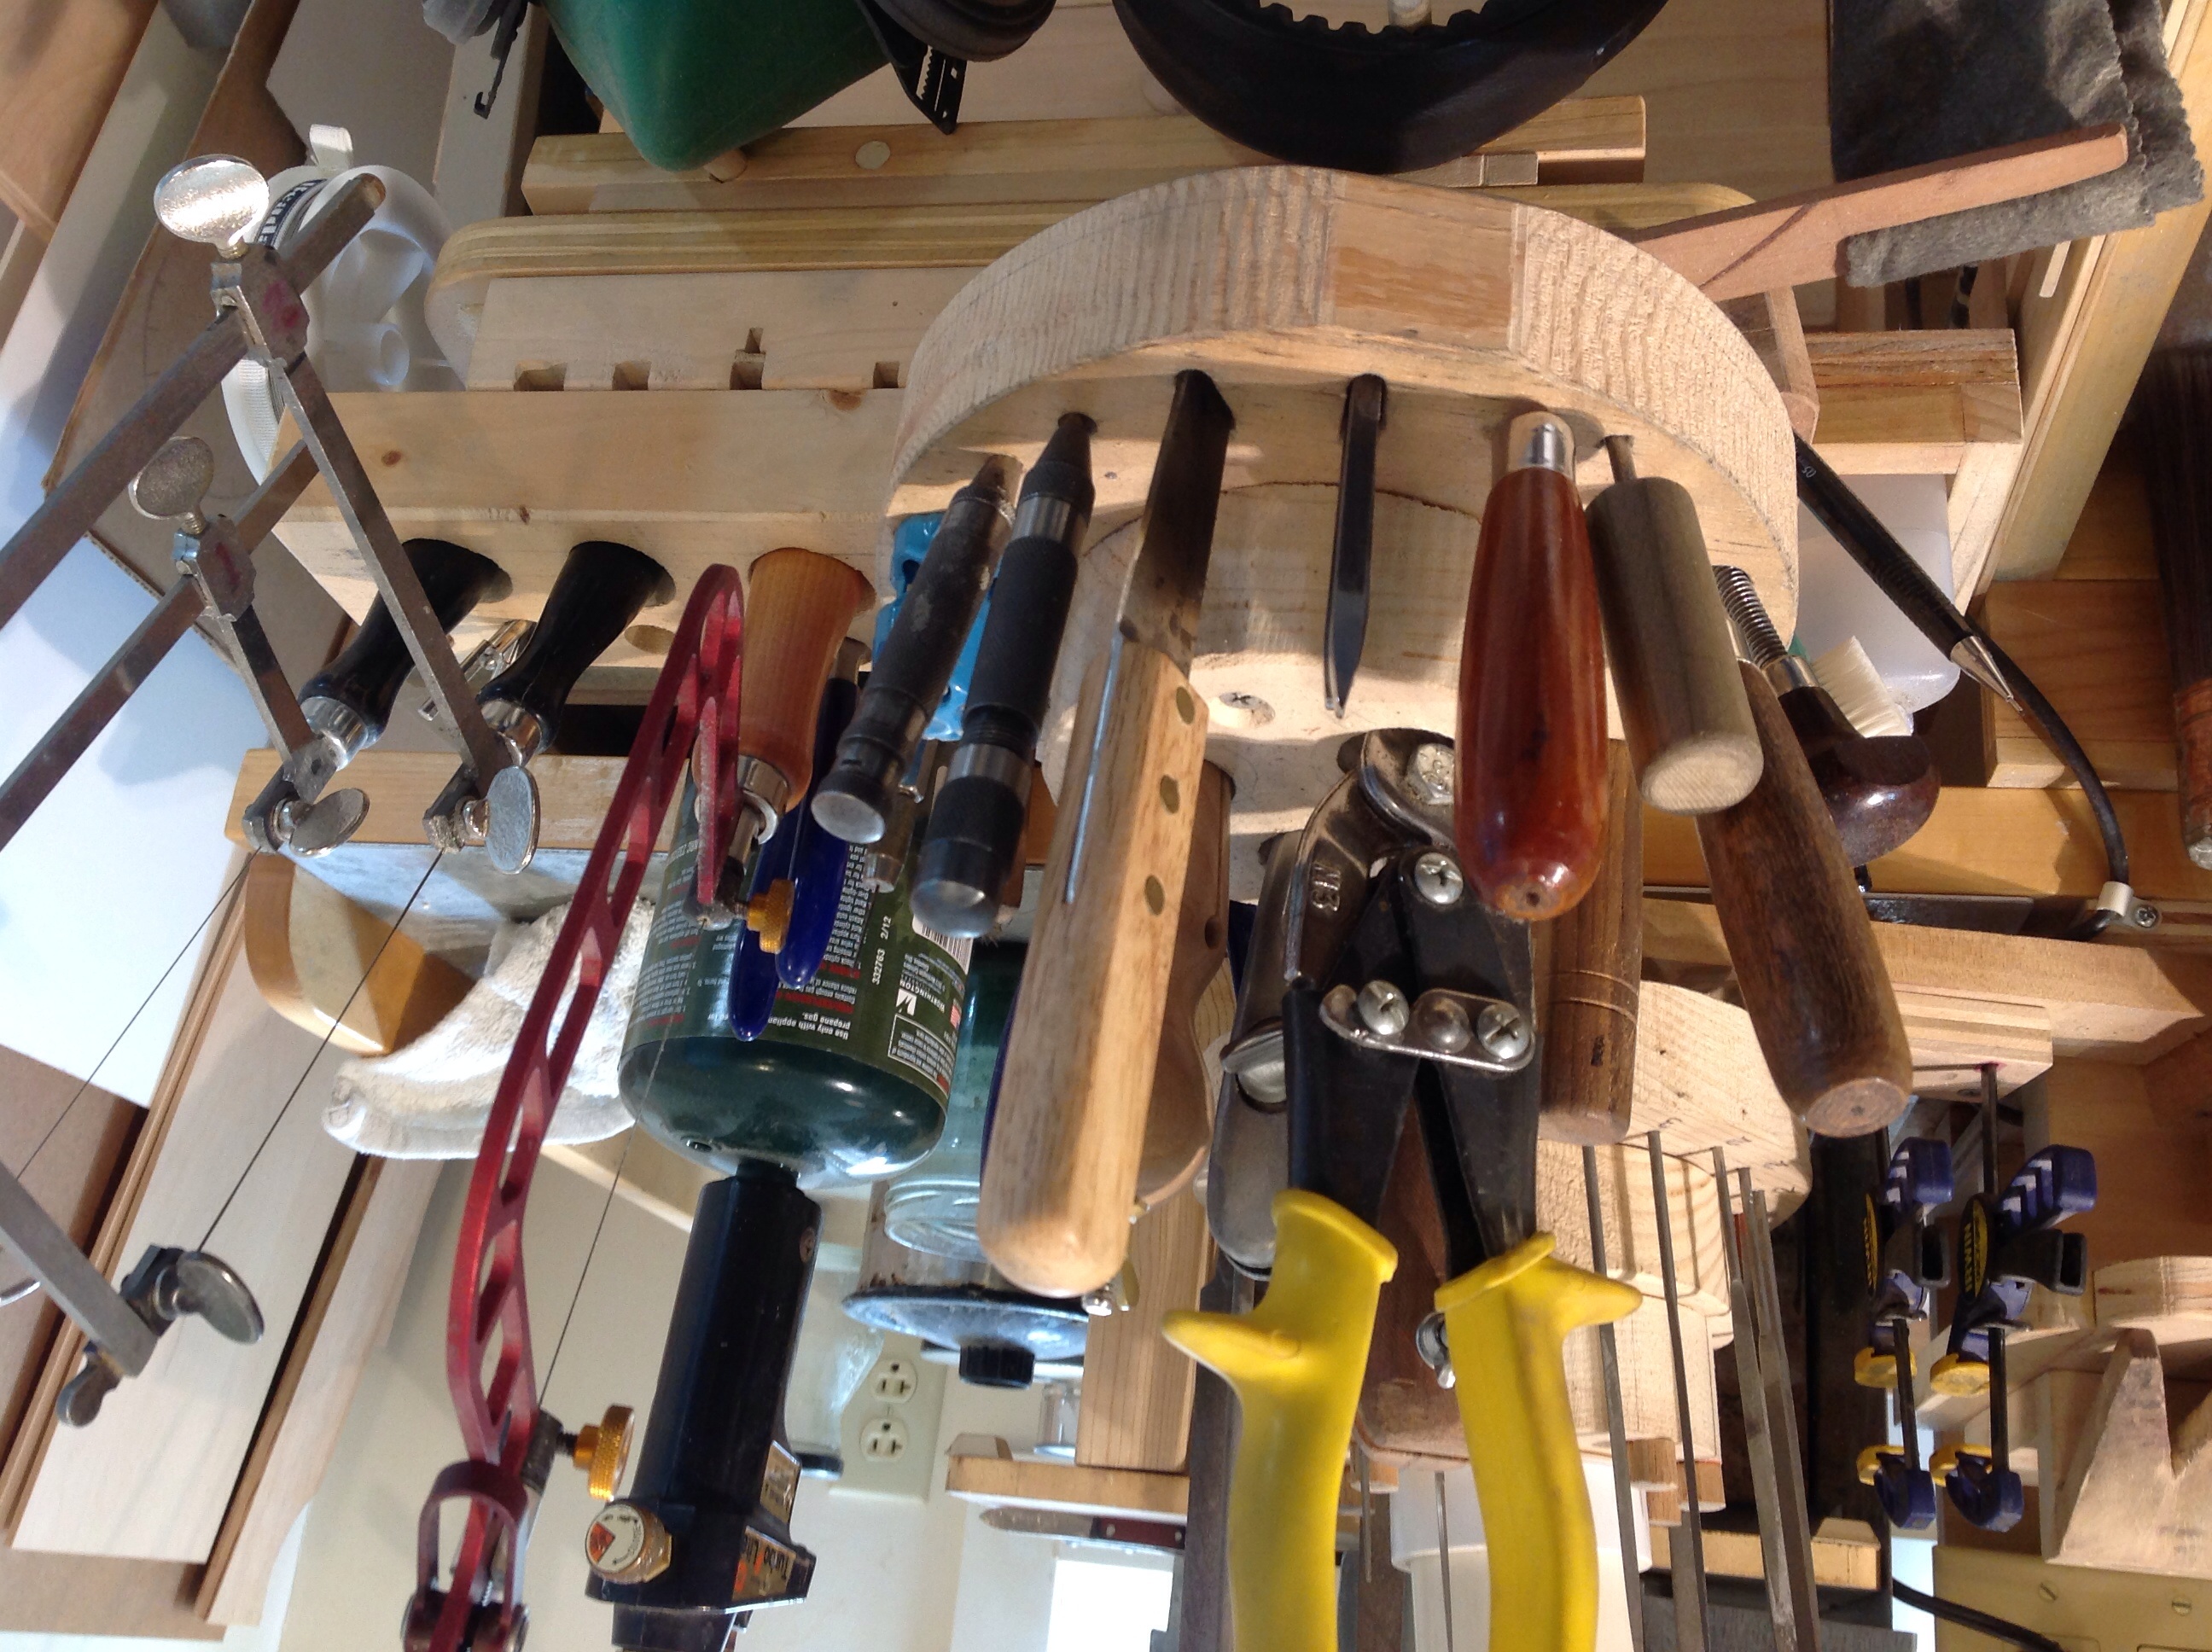
With the setup the tools used most often are the most conveniently located.
The holes that the tools nestle in are shaped to fit the individual
tool, using a ball bur in the hand piece for shaping the wood.
The spacing between the holes is adjusted for convenient access.
This also encourages replacing the tools when i’m finished using them, not
woking in a clutter.
I switch between prescription glasses and magnifing glasses, the holder
shown in the photo makes that convenient too.
Thank you for your interest and input.
Mike
Are you in Australia? ![]()
–Whit
3 Likes
Maybe you should check the 'Photo’s on your iPhone ‘desktop’ then 'edit’
them before ‘sending’ them, as I do 100% of the time. Many times they do
get to be reversed by a little photo-Gremlin!!!
*Gerry Lewy *
Toronto.
- (905) 886-5961 *
New York State, Hudson Valley
Mike
Love those yellow-handled aviation snips, Mike. I have the same pair. Although they leave little serration marks along the edge, I find they’re great for fast cuts even on thicker gauge sterling.
Alec
Hi Alec & everyone,
I would like to share this new addition to my bench.
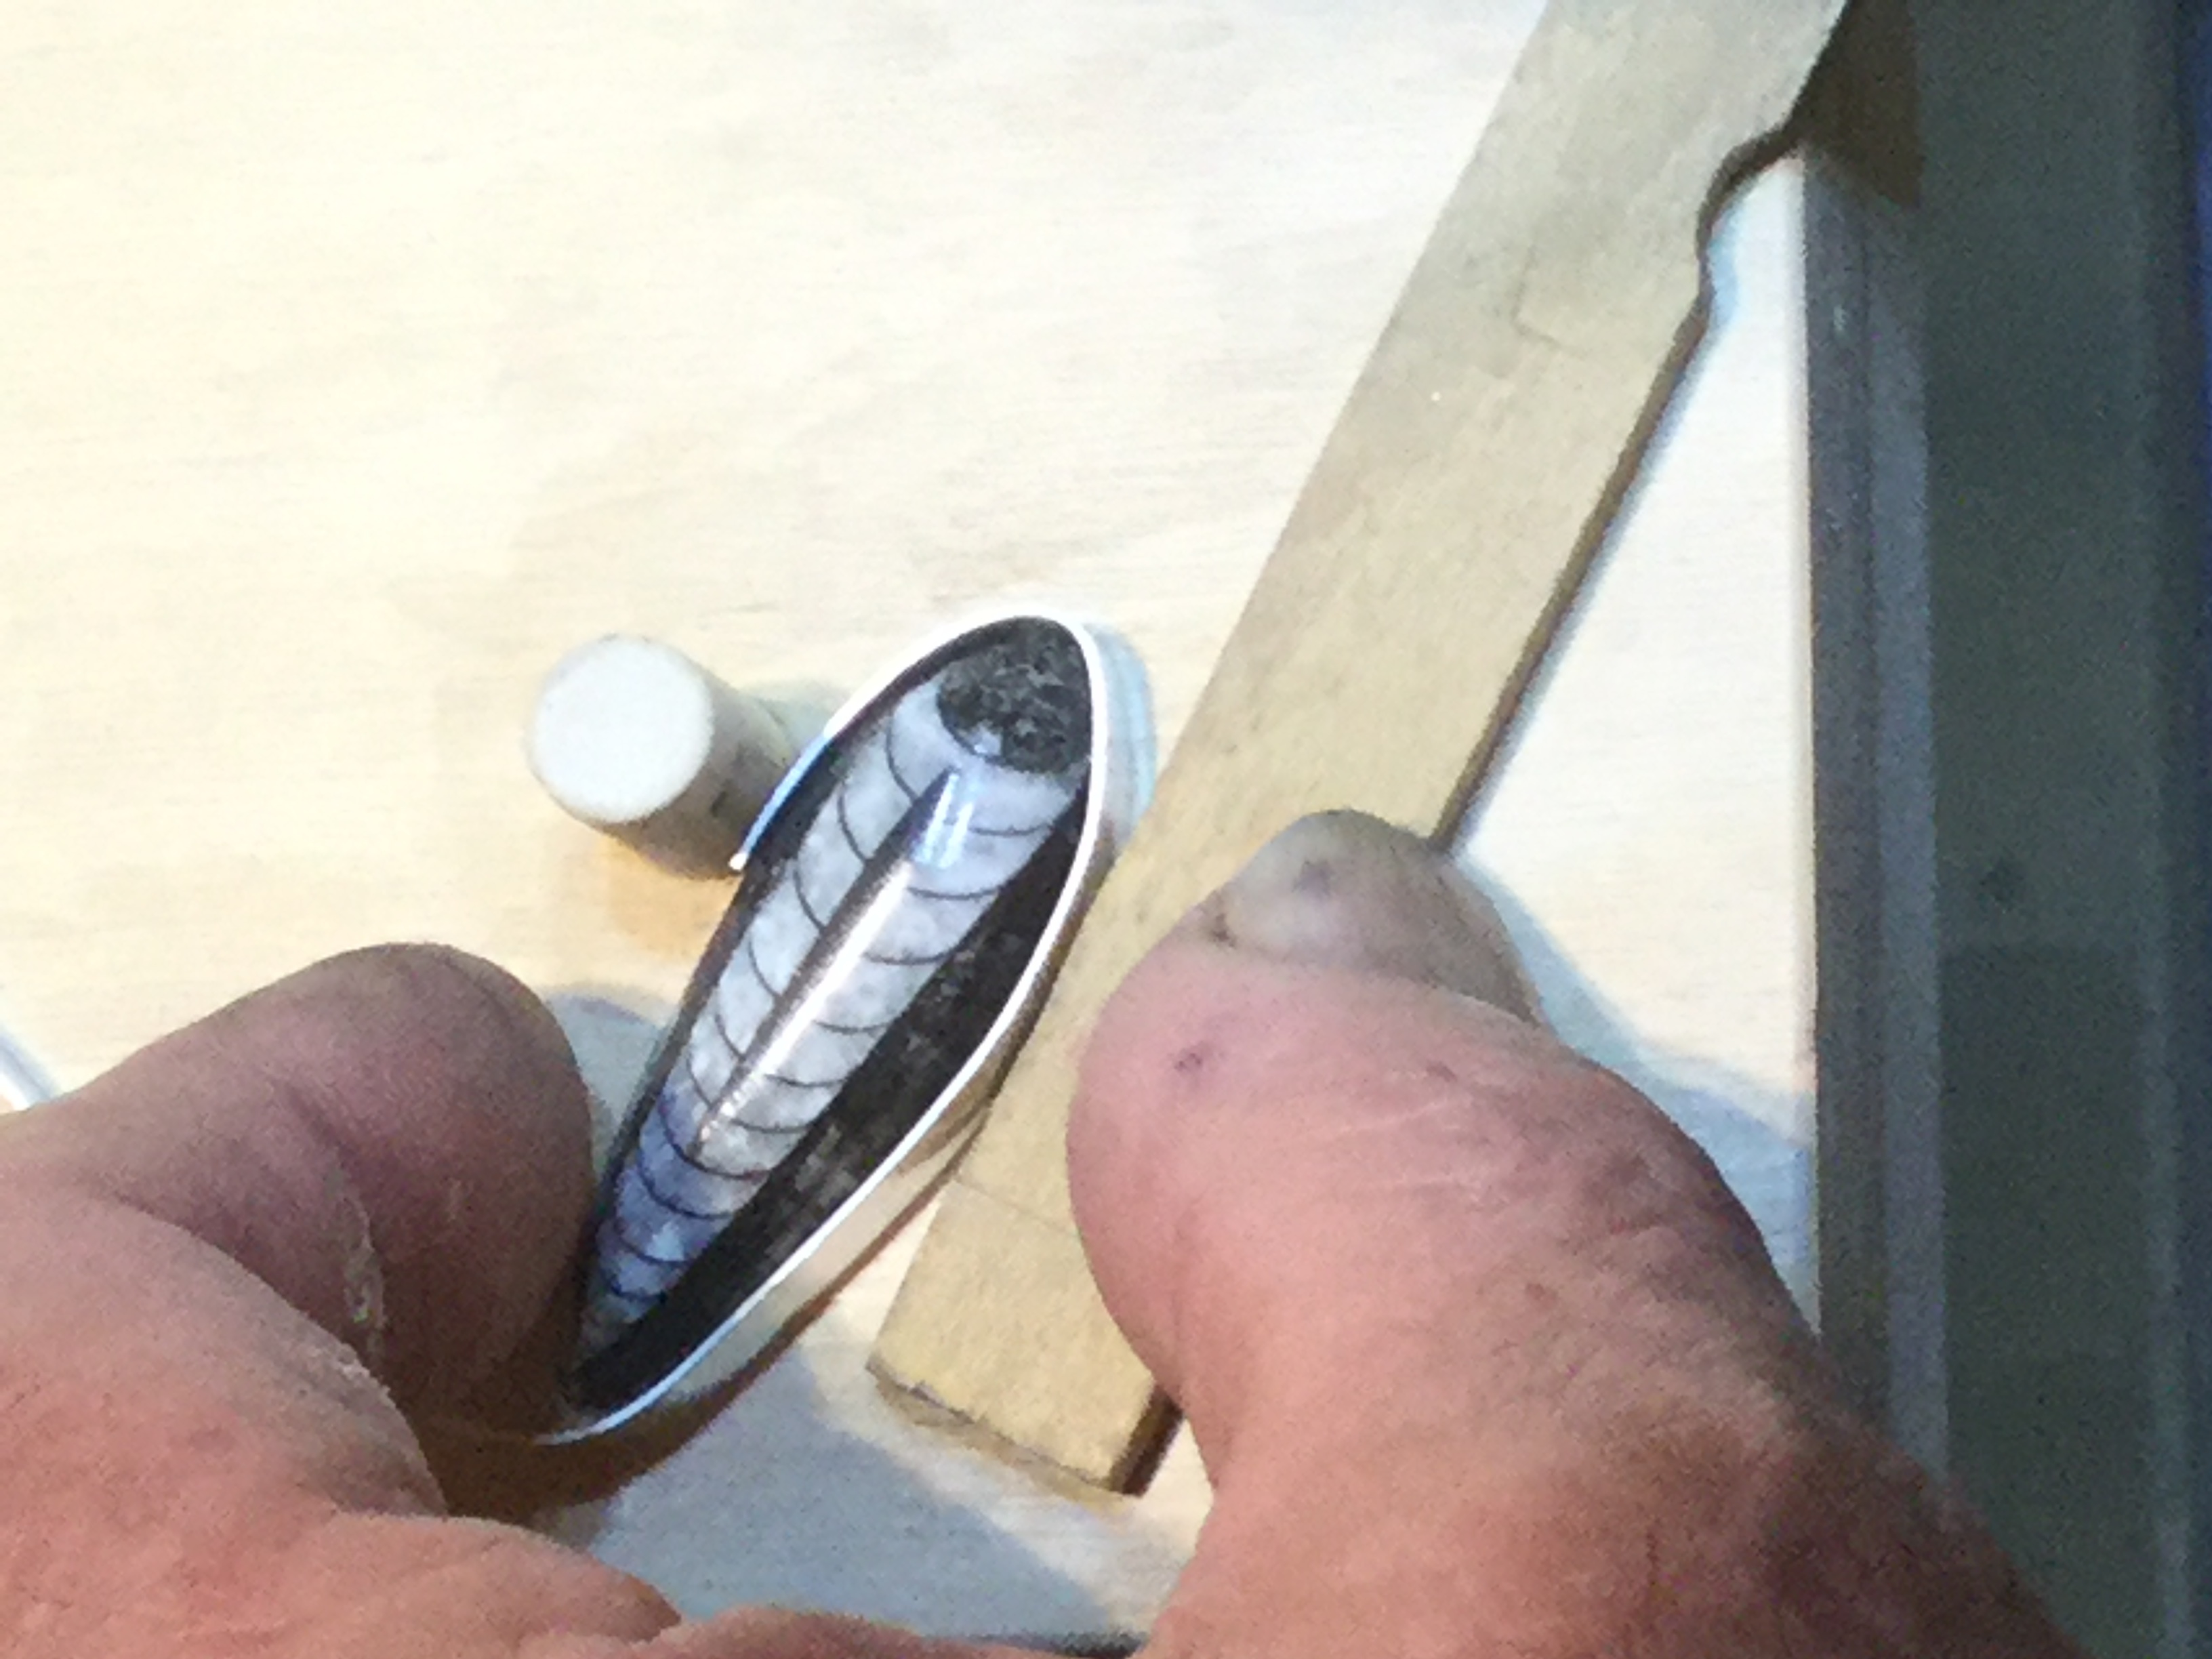
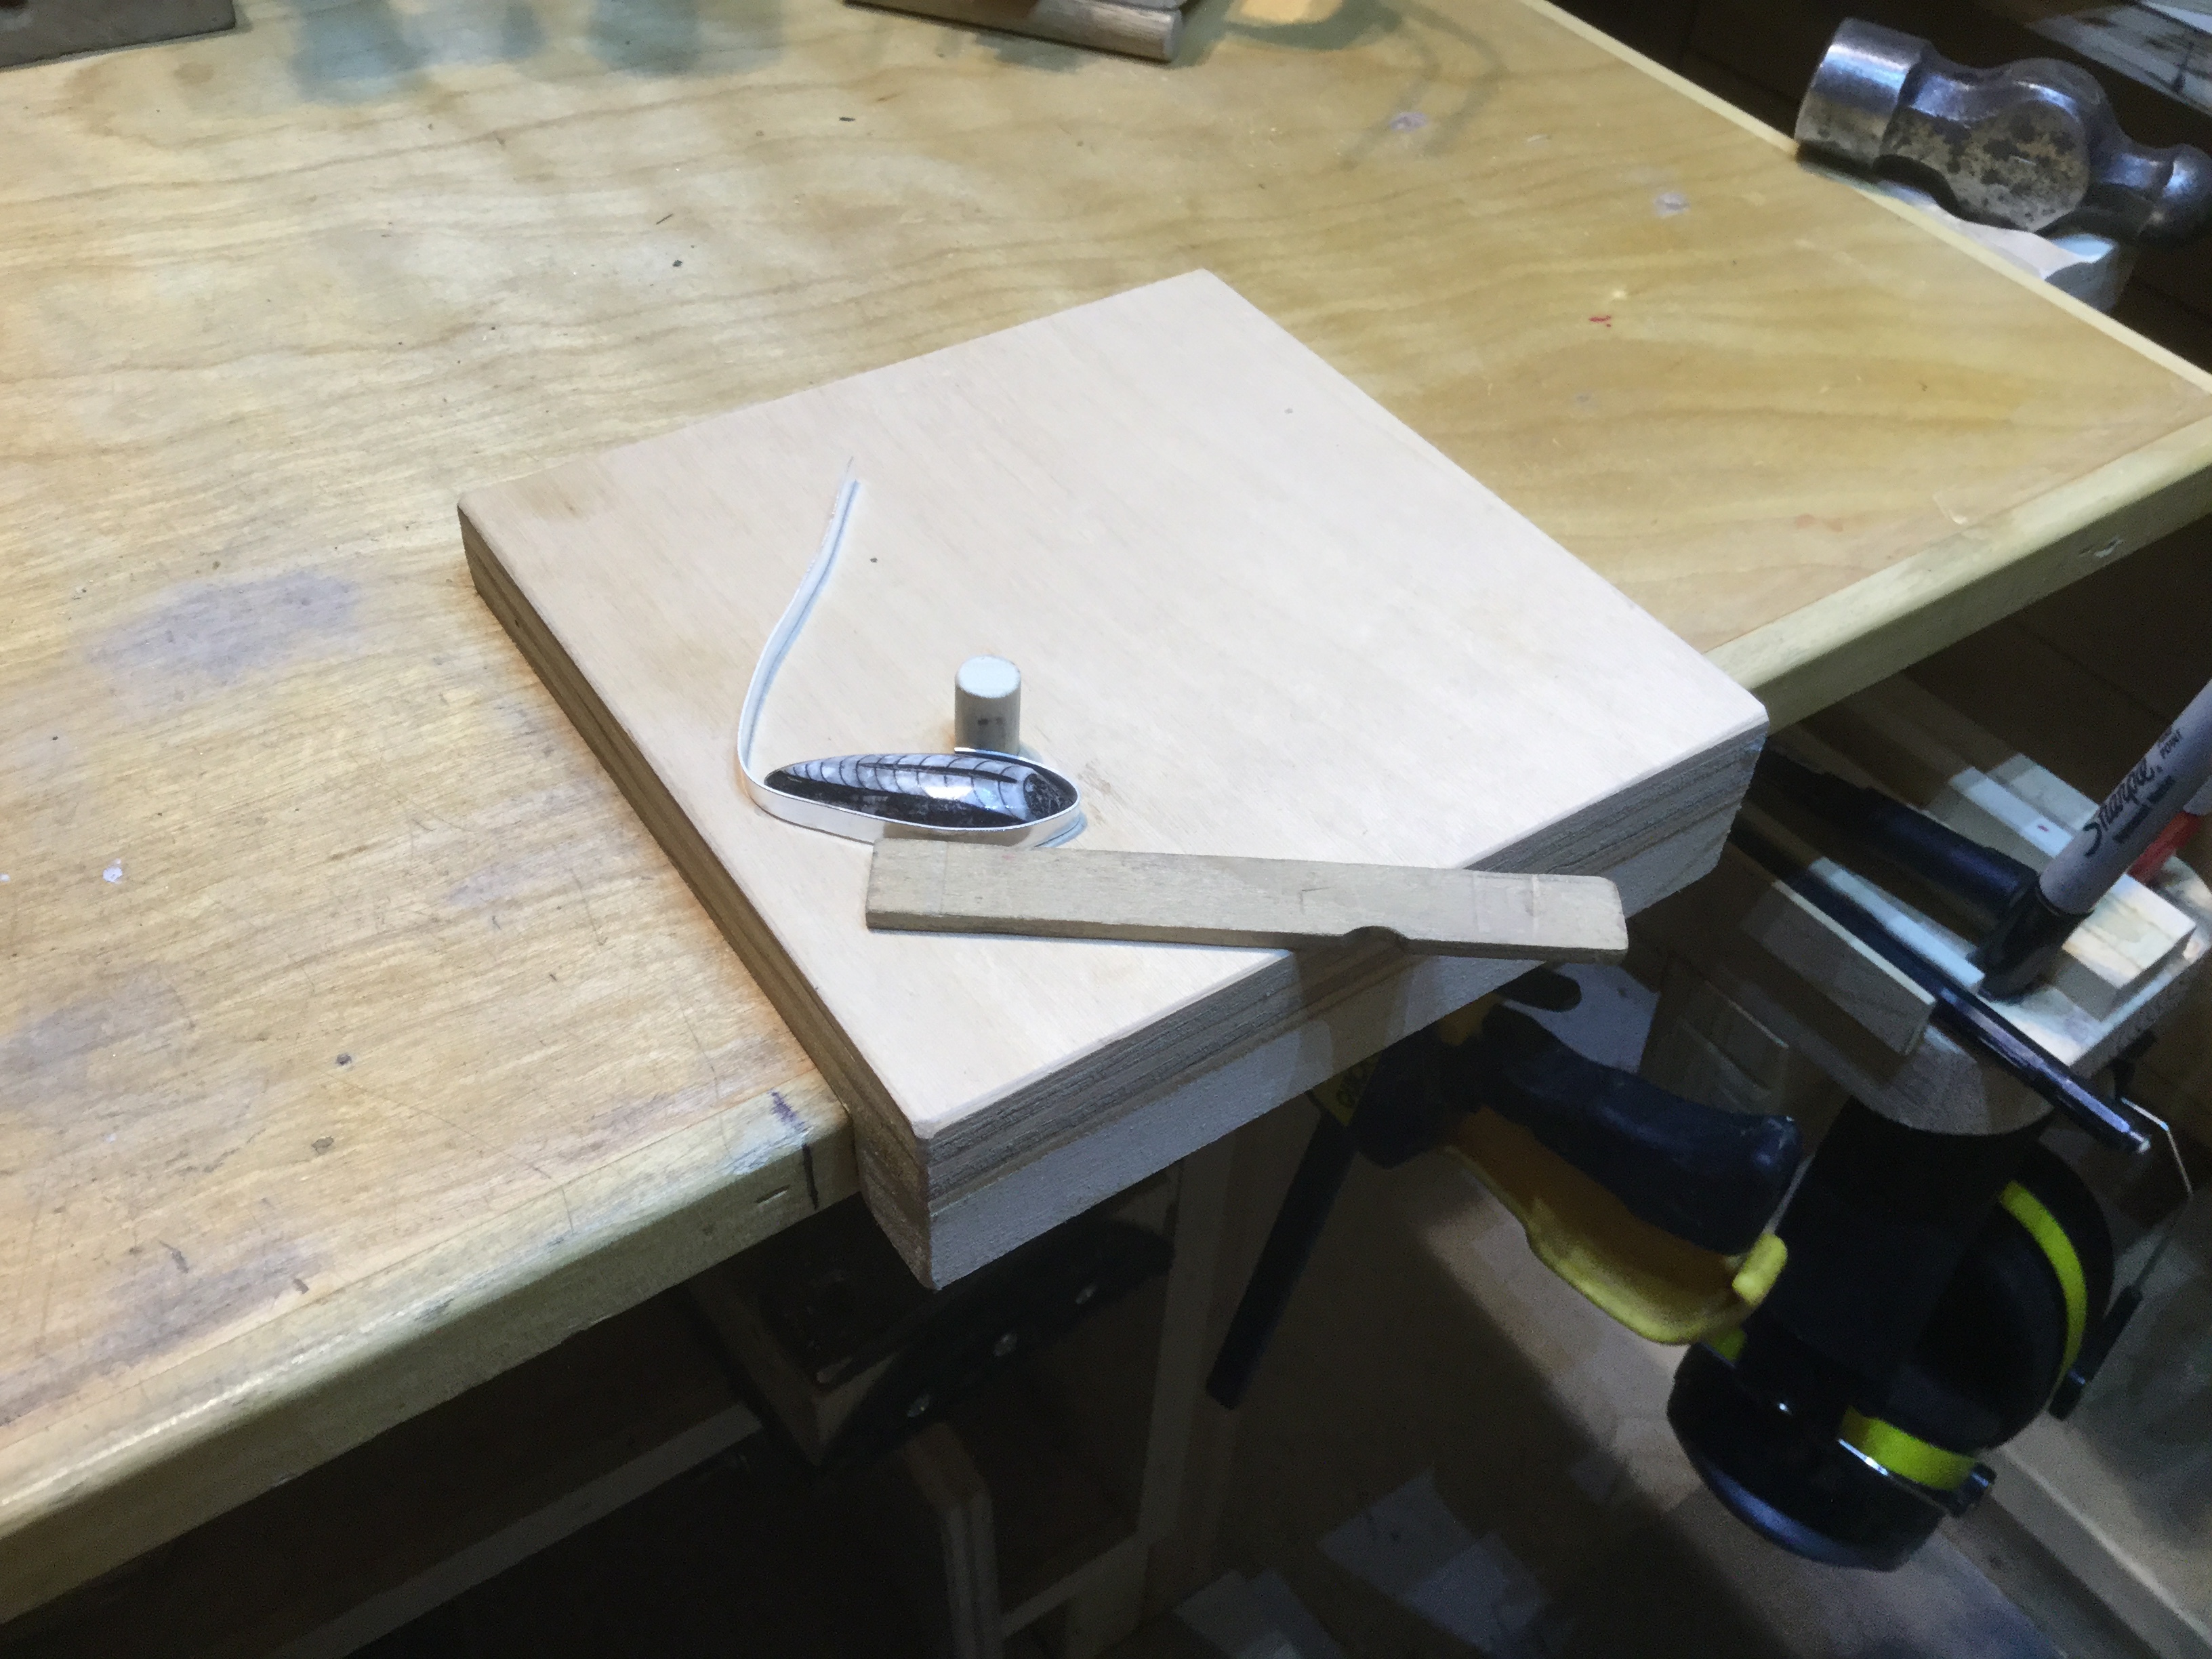
For me, an easier way to fabricate a bezel
3/4 plywood, 6’ x 6’ 3/4 ‘x 3/4 ‘ lip in front, as a stop, to rest against the bench top.
3/8’ dowel pin glued in a corresponding hole
I find it convenient to press the bezel wire between the dowel pin and the stone as I form the wire around the stone.
I use the 1/8 ‘x 1/2 ‘ piece of wood to press the wire to the stone as I wrap it
This way I find it much easier to keep the bezel wall perpendicular for a uniform fit.
After soldering, with the stone in the bezel, pressing it against the dowel and sliding around the whole piece, gives a nice easy slip in fit.
For me this is an improvement in my technique, as my fingers by them selves , made it difficult.
Hope some find this as useful as I do.
Mike
9 Likes
Mike,
I like your idea. I may make my own. What’s important is to shape the bezel using a tool that’s square with the edge of the bottom of the cab which will stop the perceived “shrinking bezel” syndrome a lot of newby metal workers swear up and down when their cab won’t fit into the bezel after its been soldered on the back plate because they shaped the bezel using their fingers and inadvertently shaped their bezel to the bevel of the cab.
Rick Copeland
2 Likes
Rick,
You described it perfectly.
Mike
Mike,
This is great. I love the simplicity. Easily understood, easily made, easily used… brilliant.
Alec
“But it fit perfectly when I dropped it over the top of the stone.” 
1 Like
Rick & Alec,
It is good to know that my idea is useful to others.
Thanks for the feedback, it is much appreciated.
Mike
That is such a help! Thank you, thank you!
Running out to the garage to make one now.
You are welcome. Over the years, so many people have shared their good
ideas with me, it is a pleasure to return the favor.
Rick, Alec and Jean Marie and anyone else that might find this useful,
The interest shown in the previous posting regarding forming a bezel against a pin, makes me feel that I might put this out there too.
Woodworkers use the principal of working against a stop, this spills over in to jewelry making too.
First using a dowel pin to form a bezel. Then working against a fence continues it
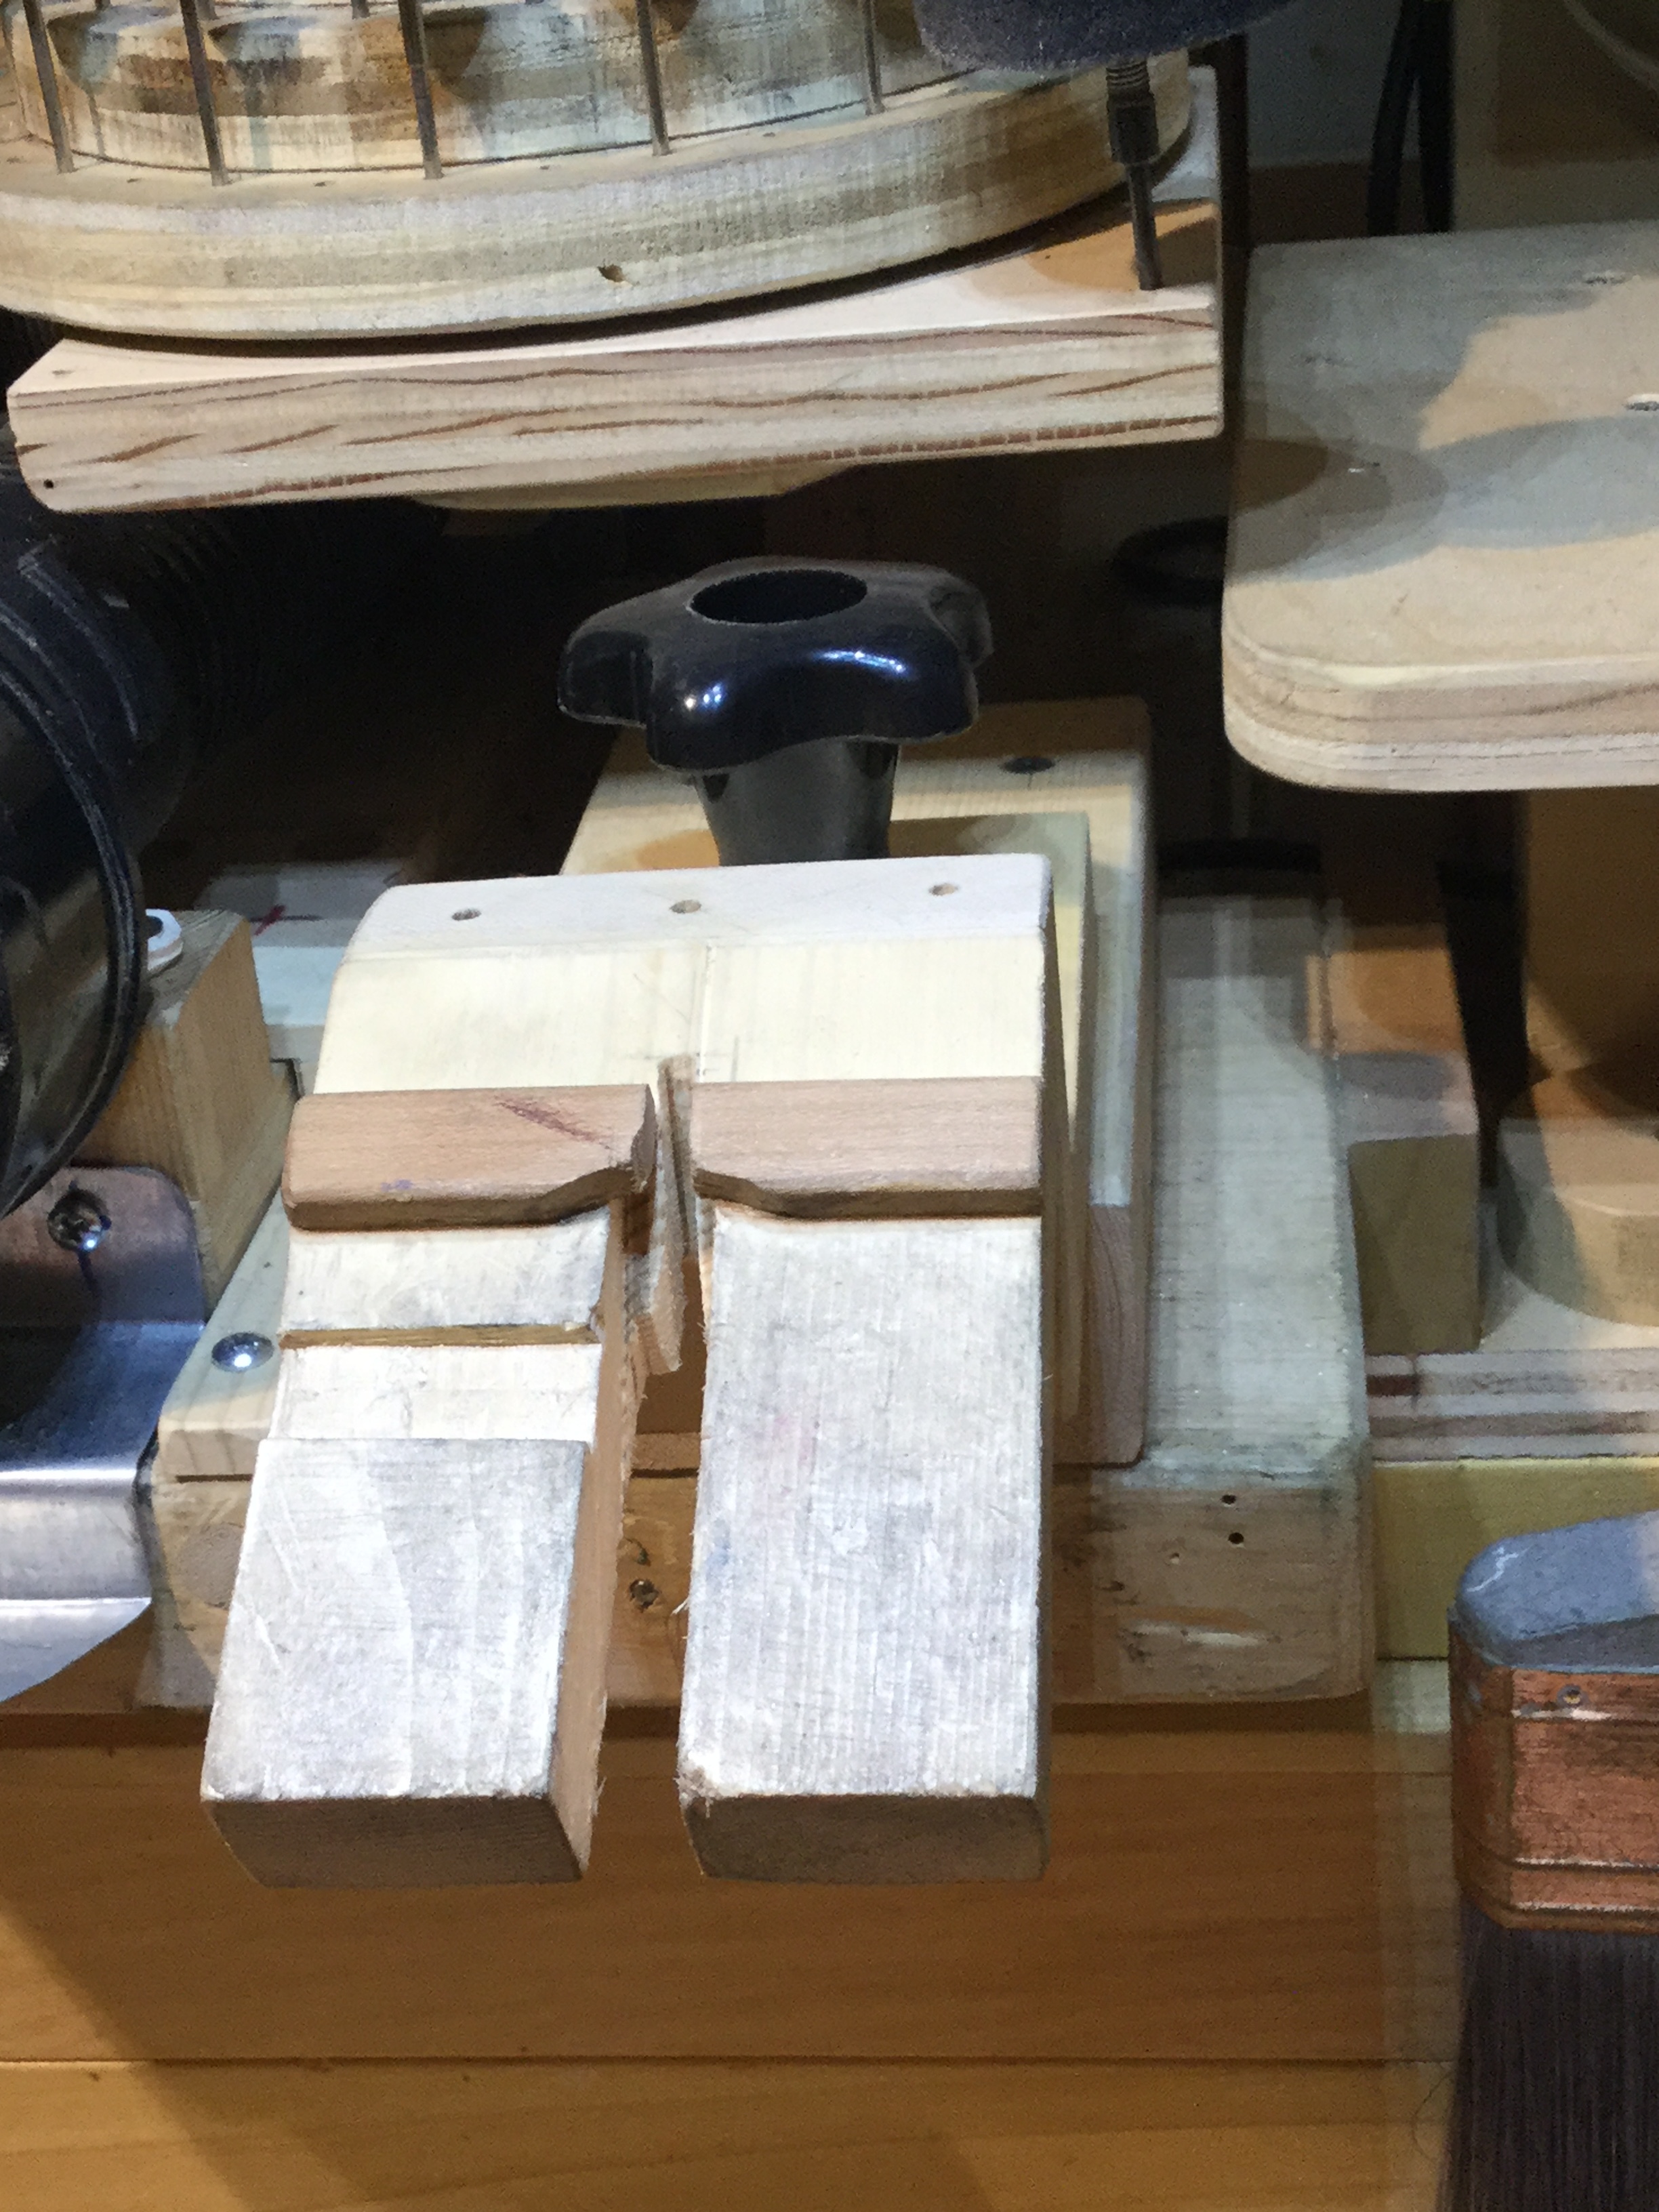
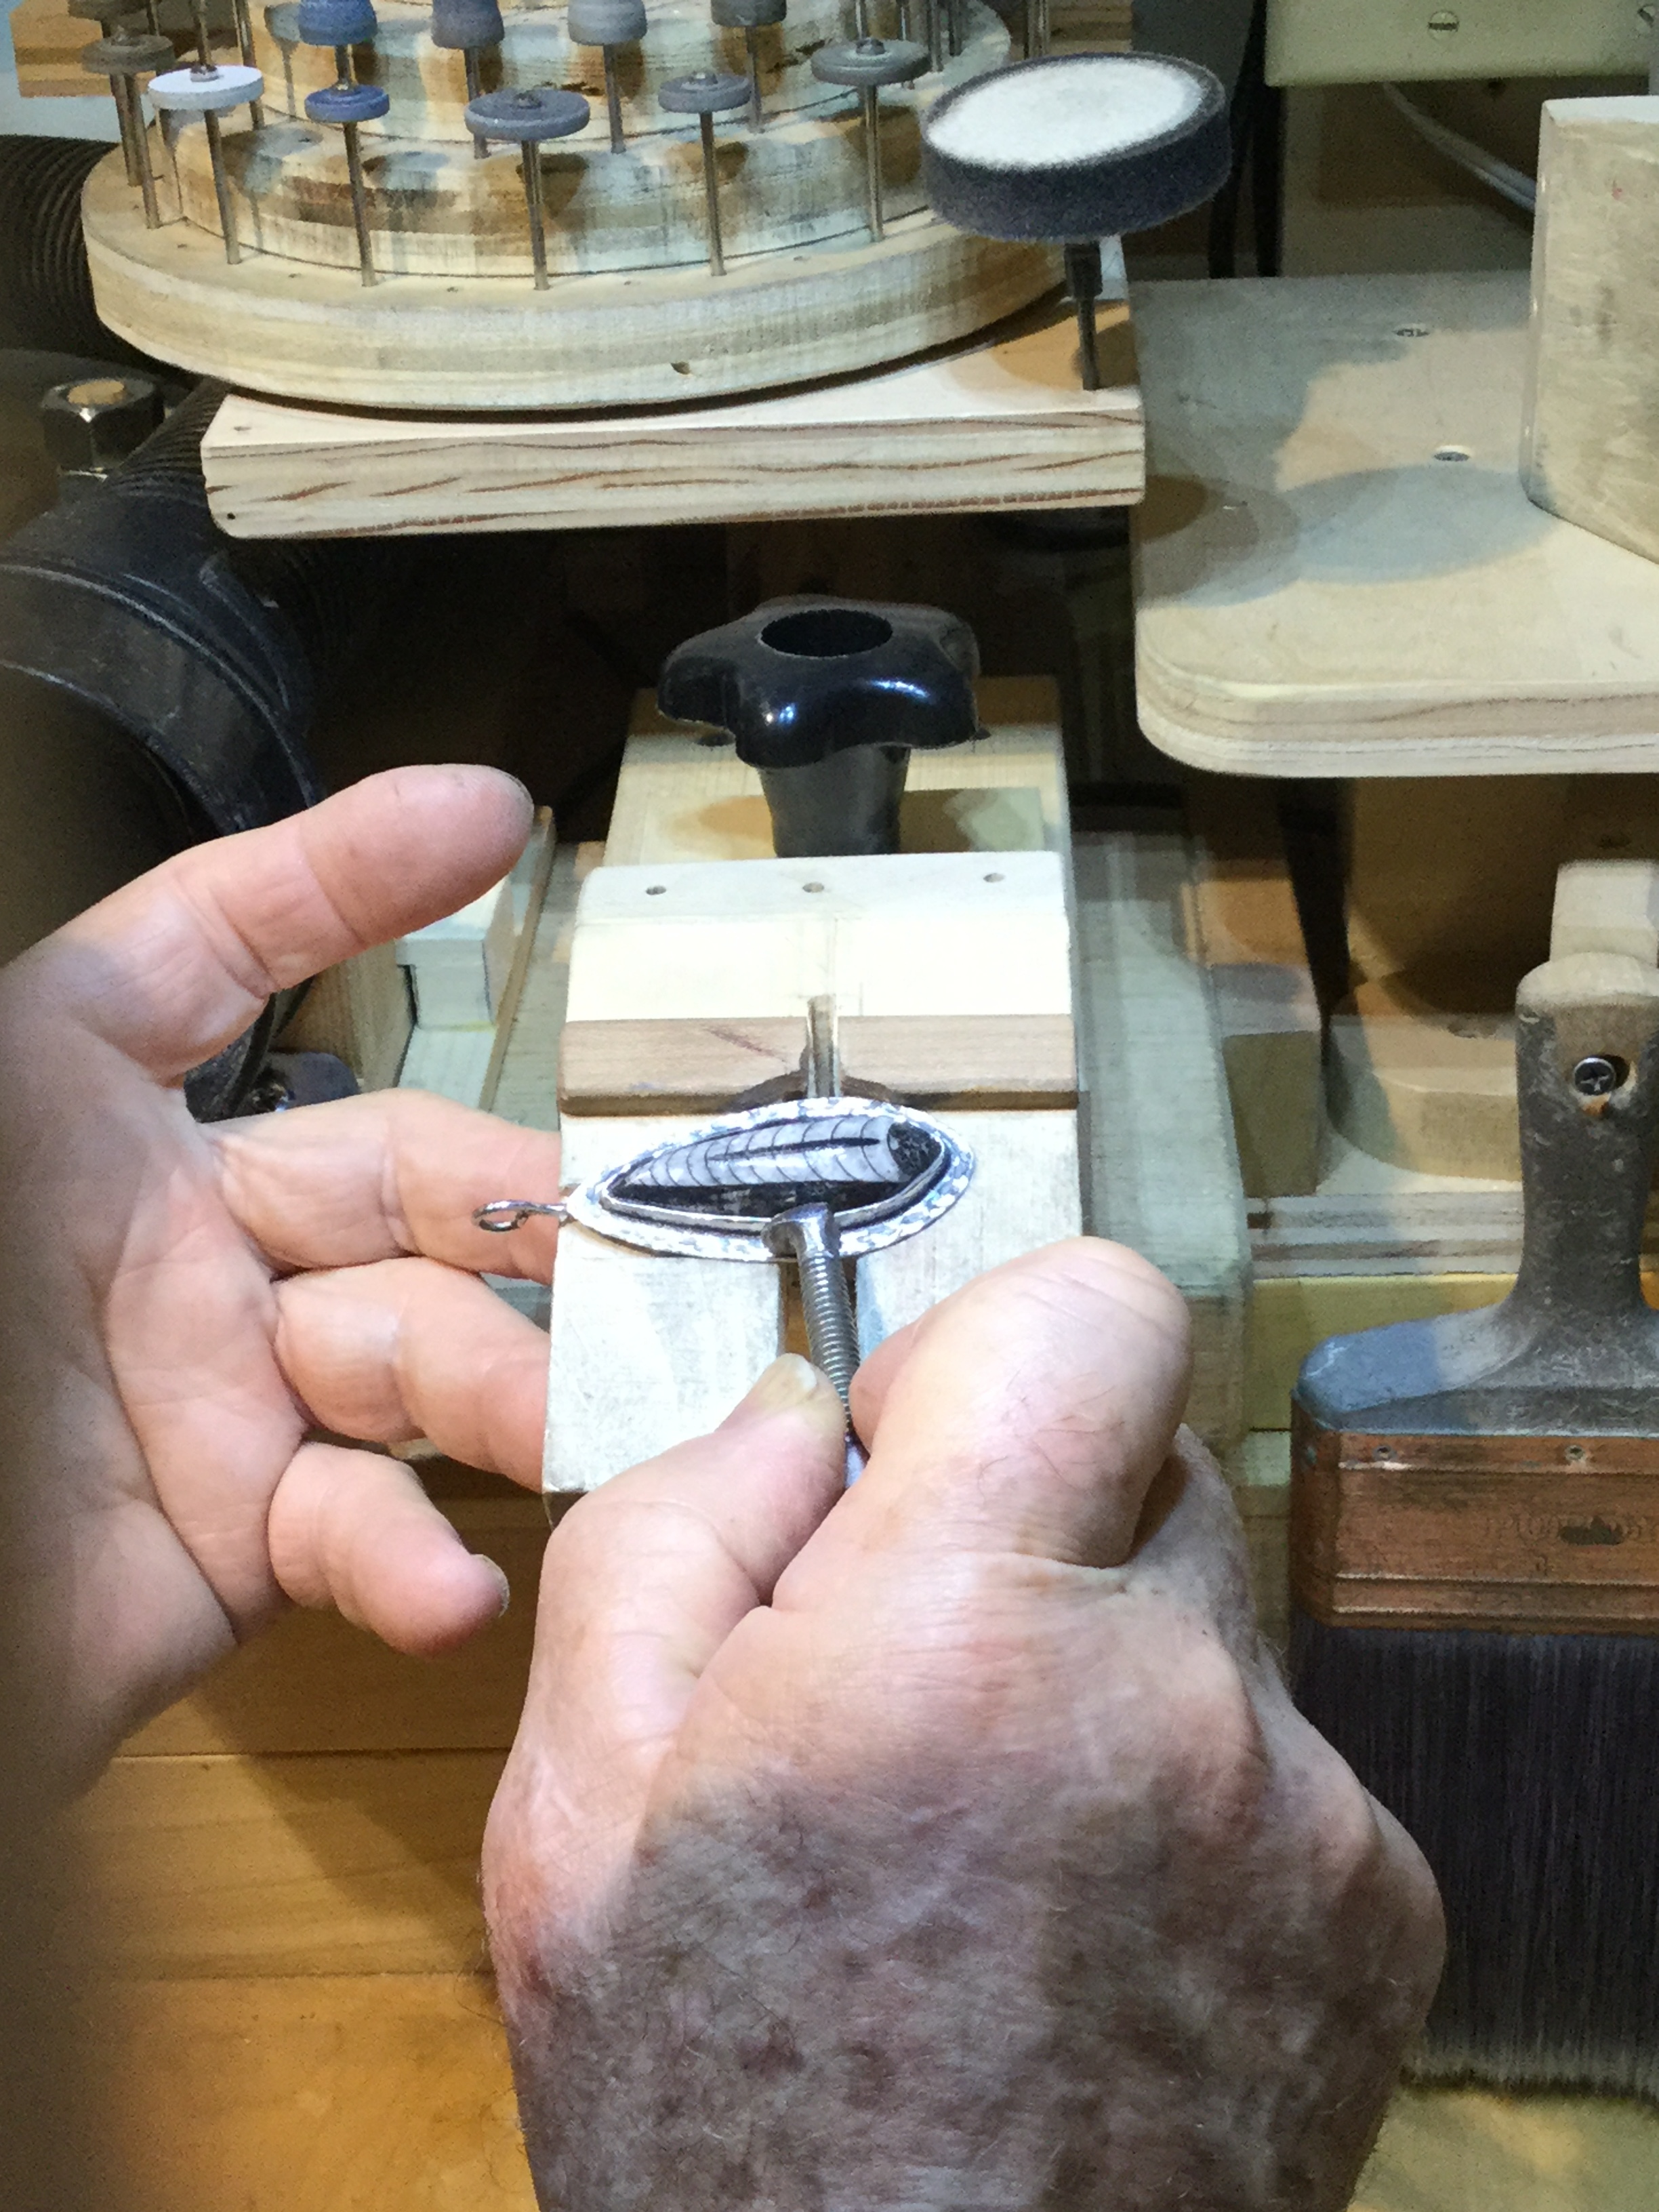
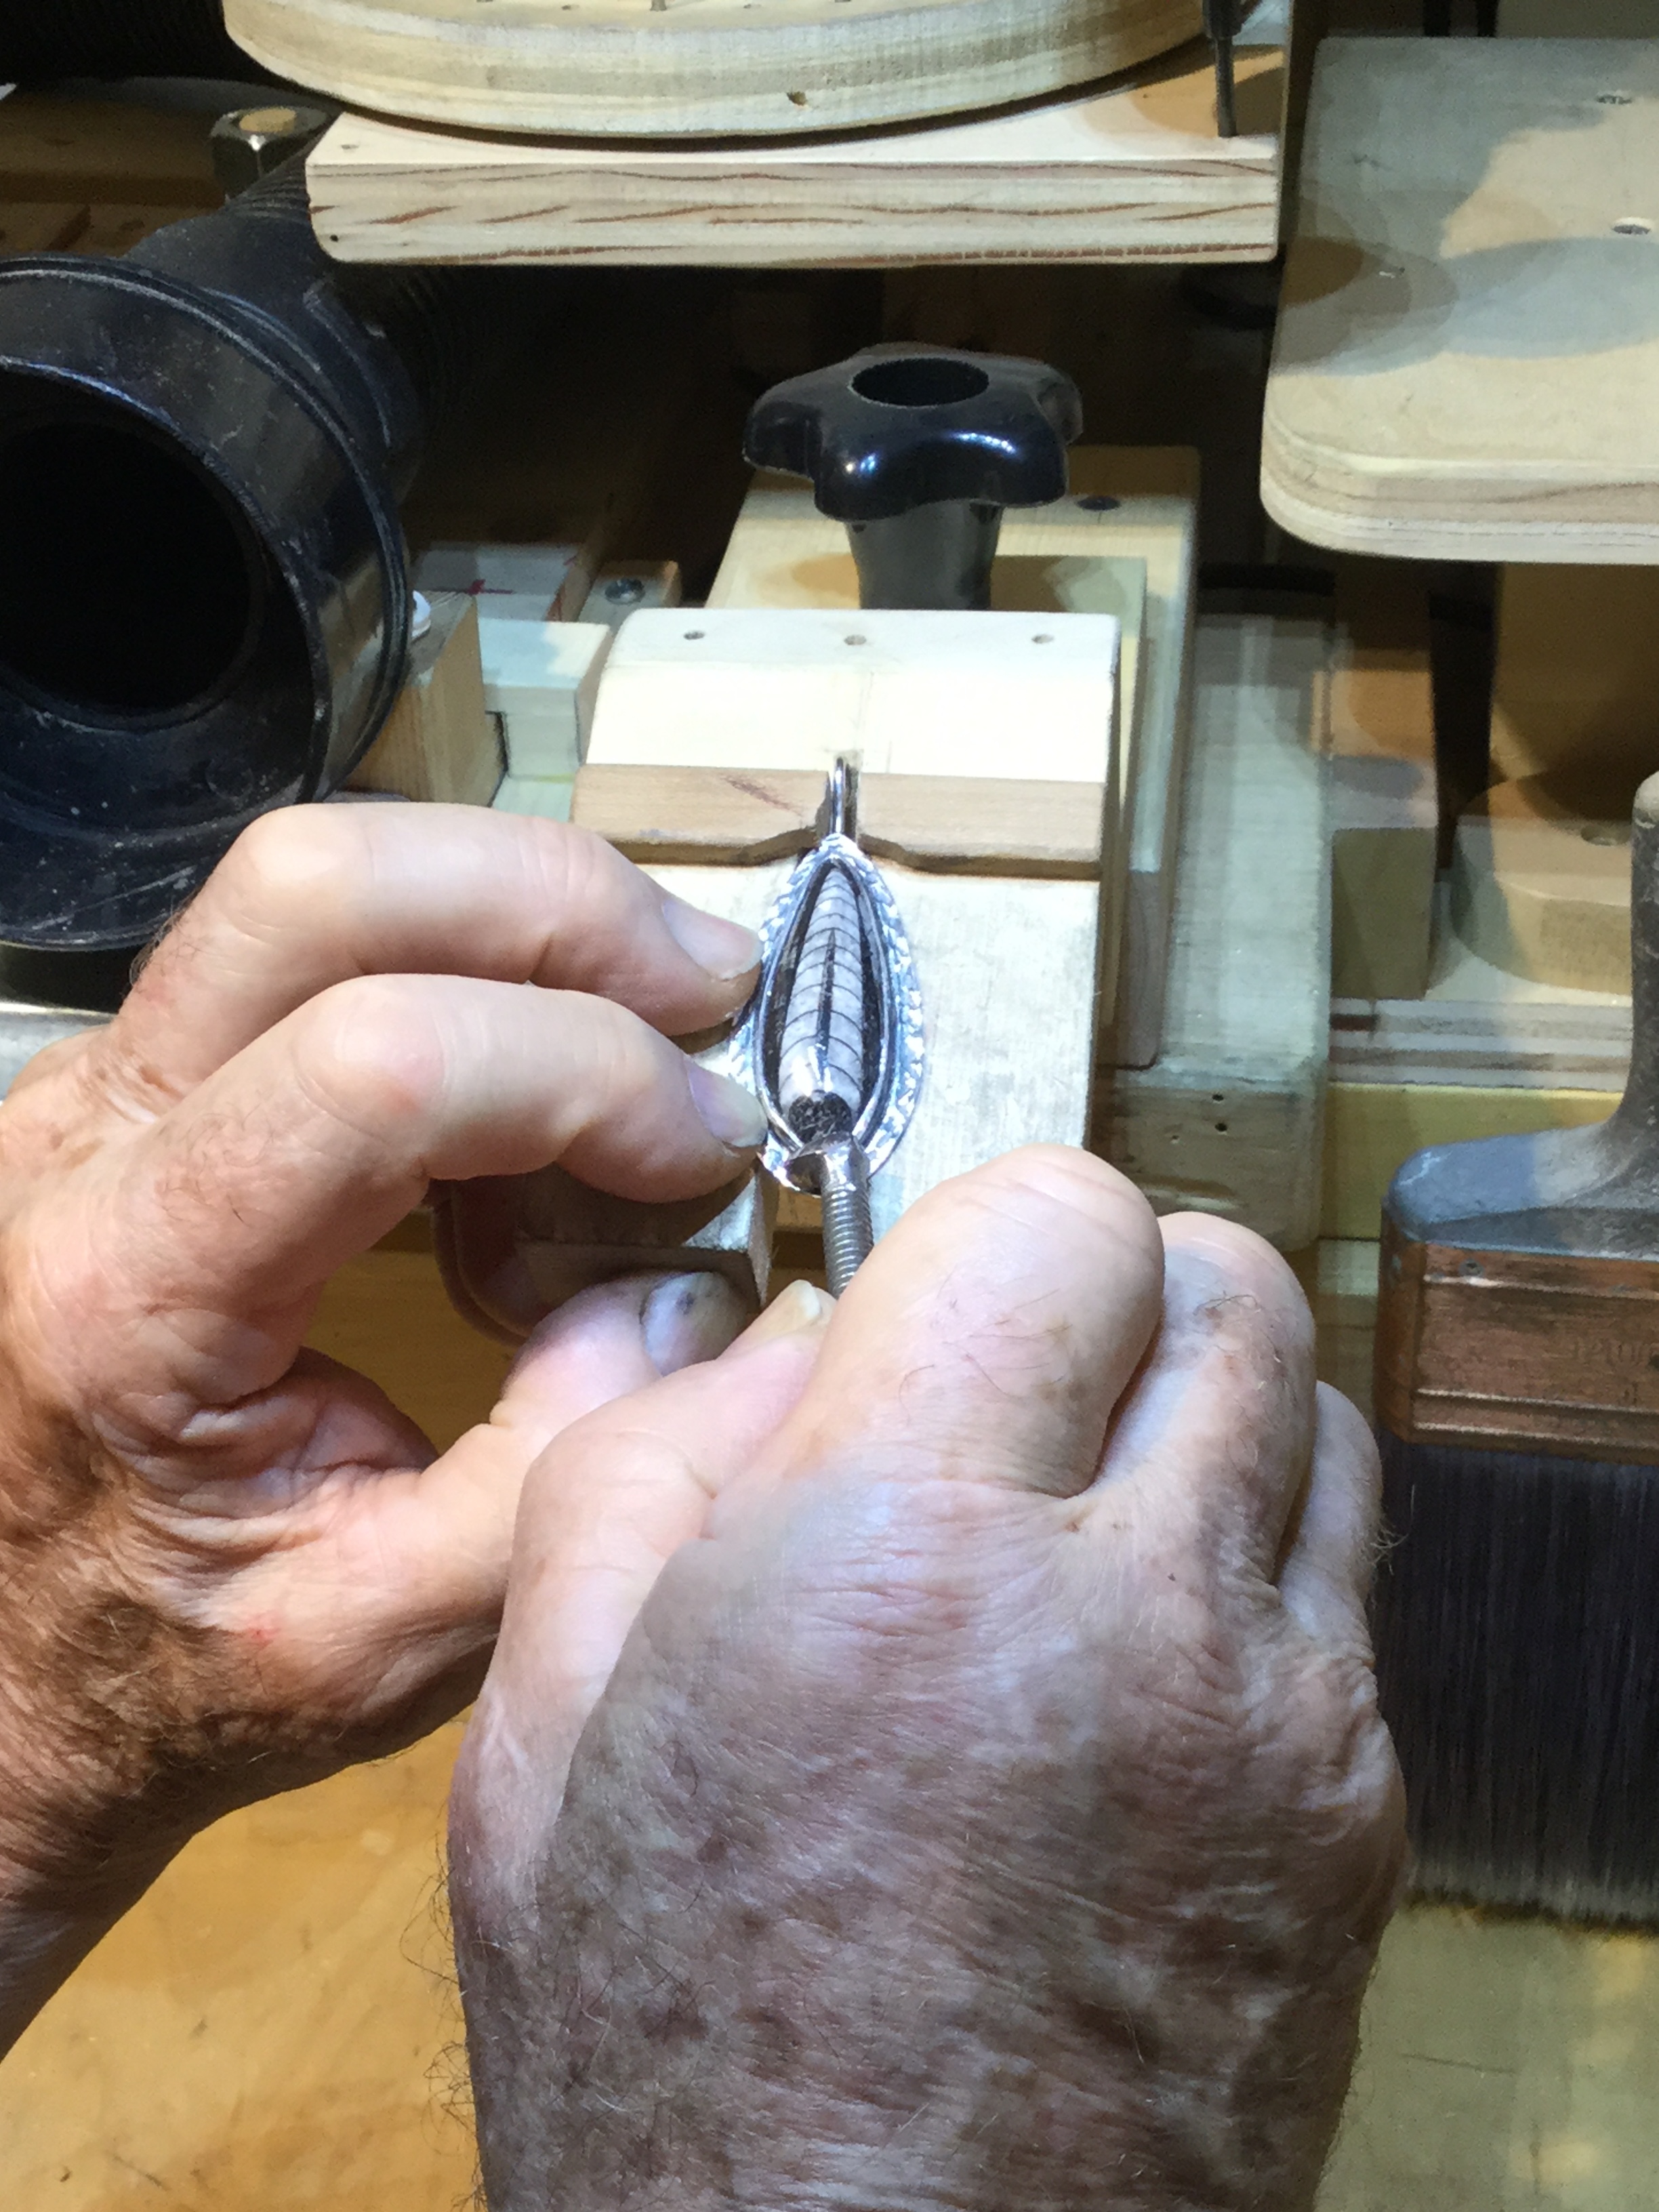
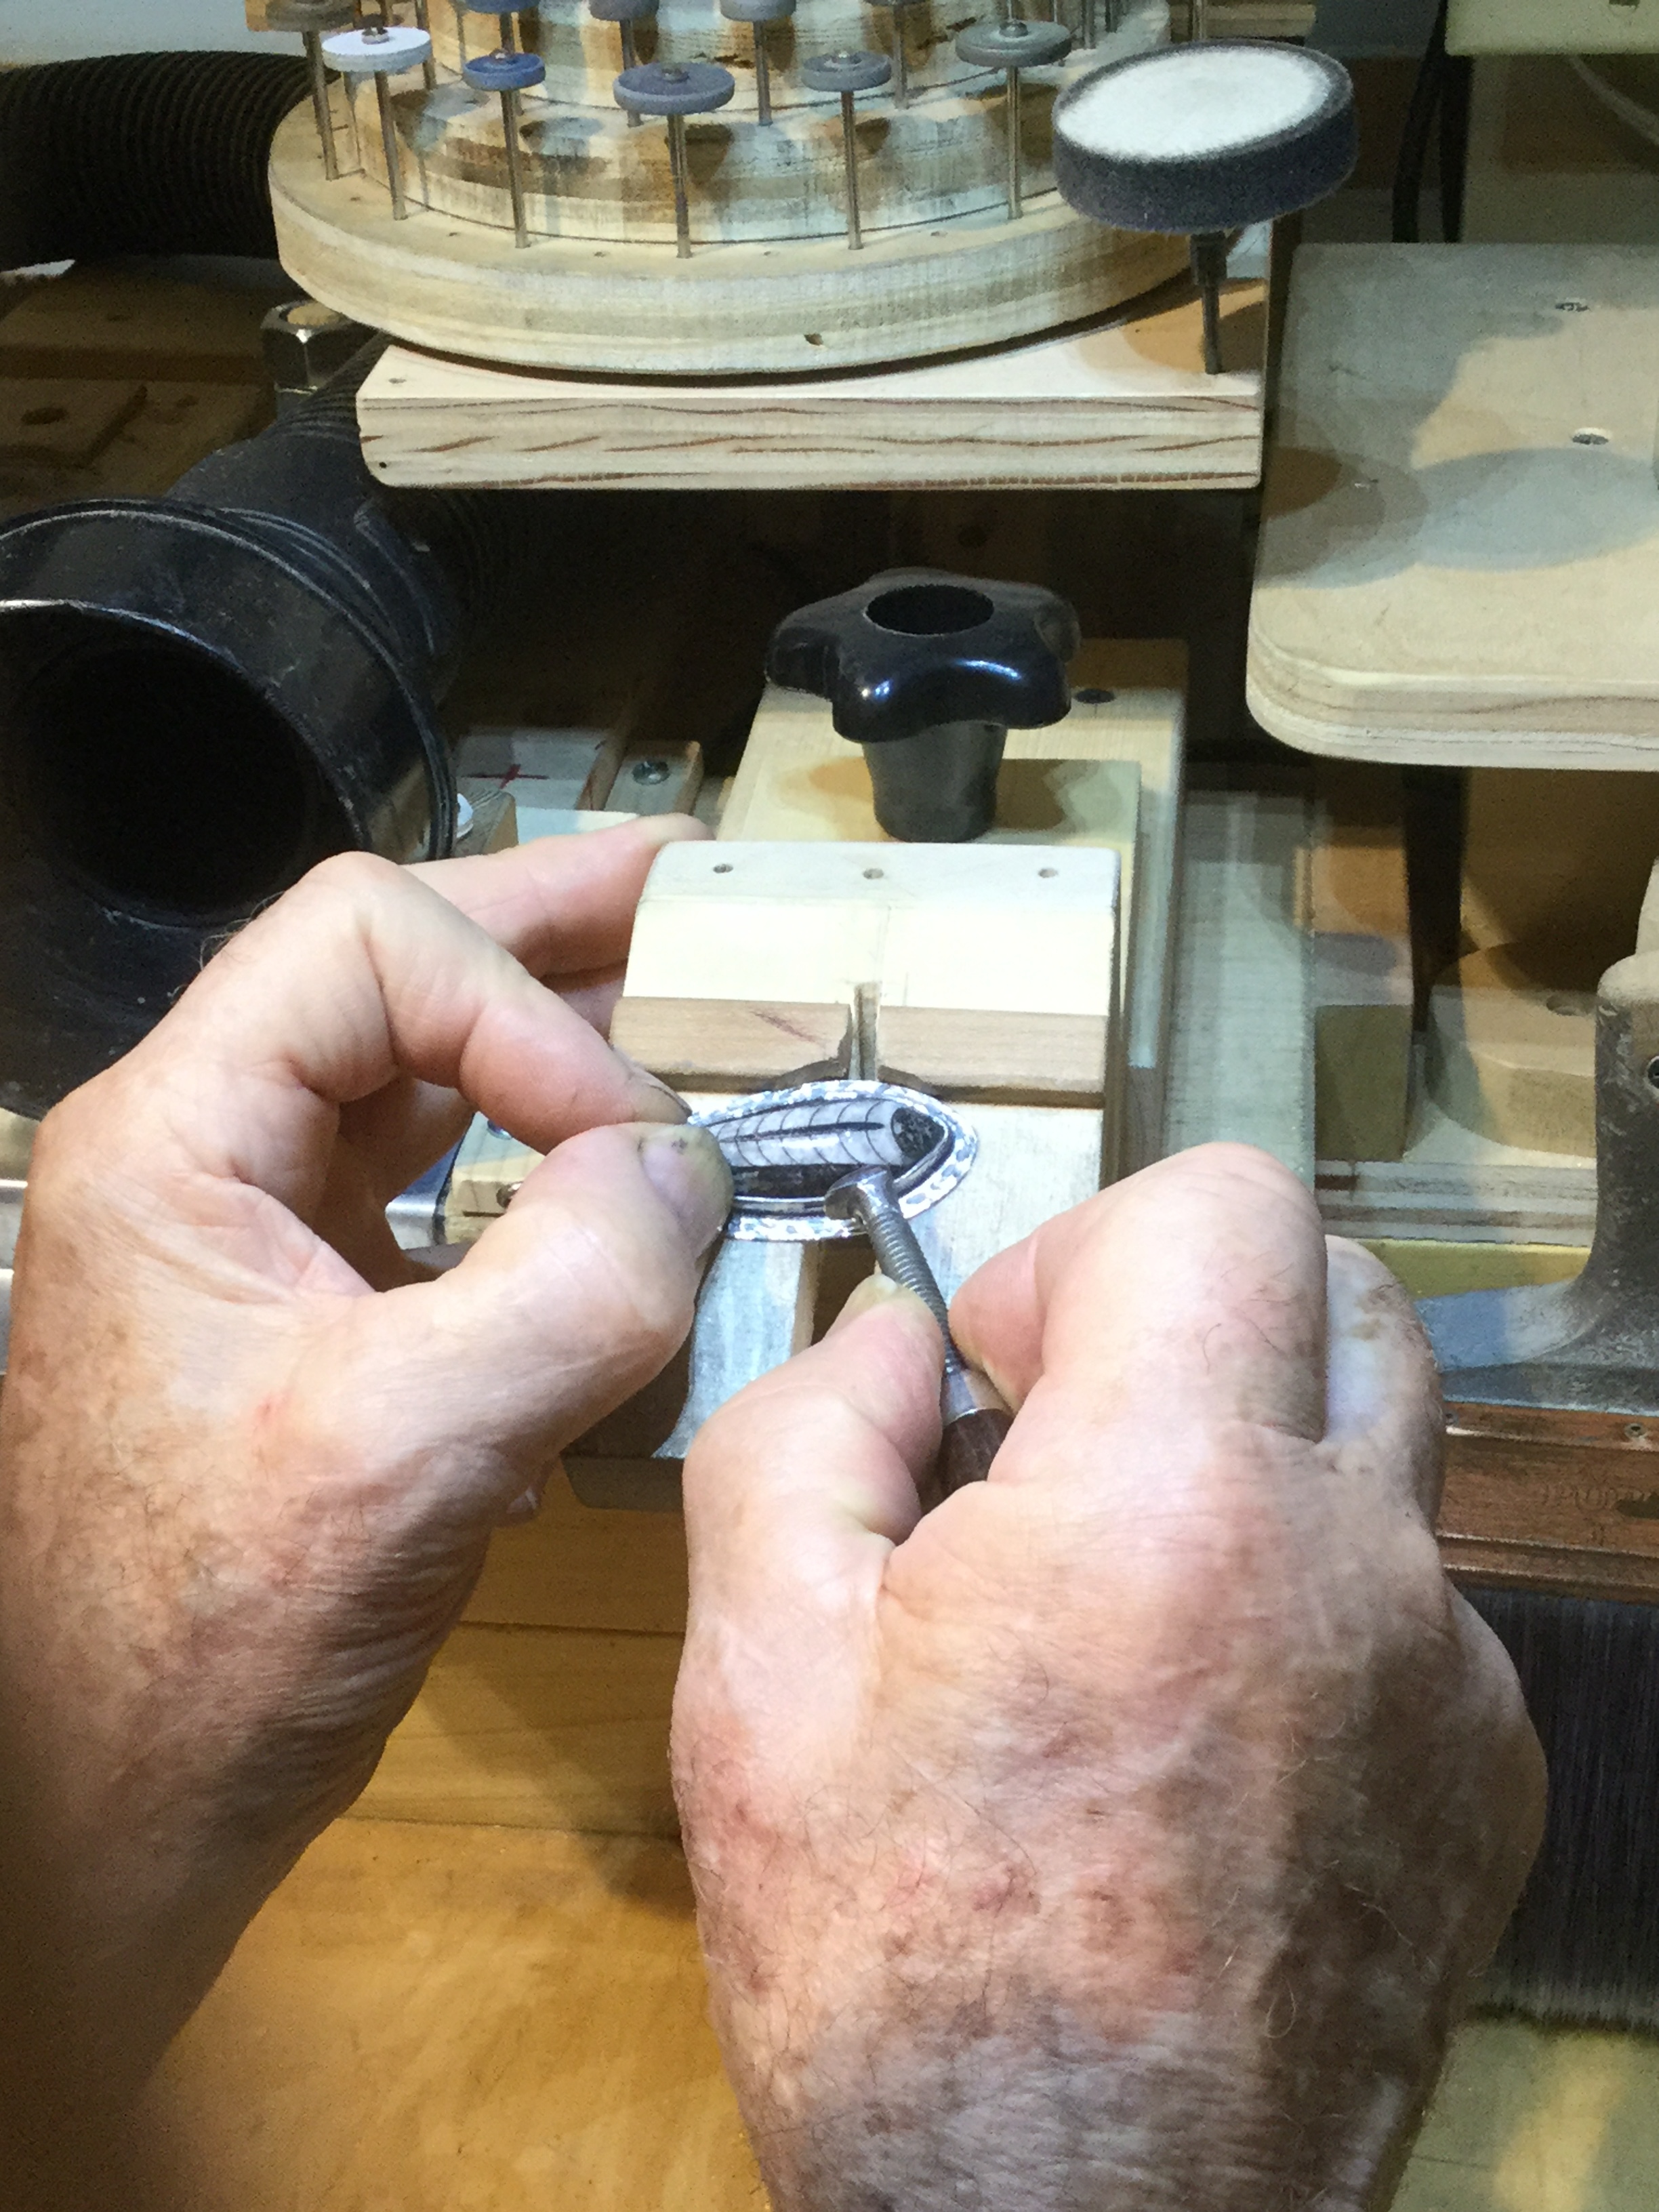
The photos show a specialized bench pin that I fabricated for setting stones on a pendant.
A little more complicated to make, but still easy to put together.
Photos are self explanatory but, questions are welcome.
Would much enjoy seeing adaptations or adjustments to the idea.
Hope this is useful too.
Mike
5 Likes
Again, very nice Mike.
During college, I worked summers as a machinist in my dad’s shop. I learned many things that I apply routinely in my own studio today. One of the most important, and pertinent to your last two topics, is that the setup for holding your work is half the battle. Once you’ve got that down, it’s so much easier to move forward to the “real” work.
-Alec