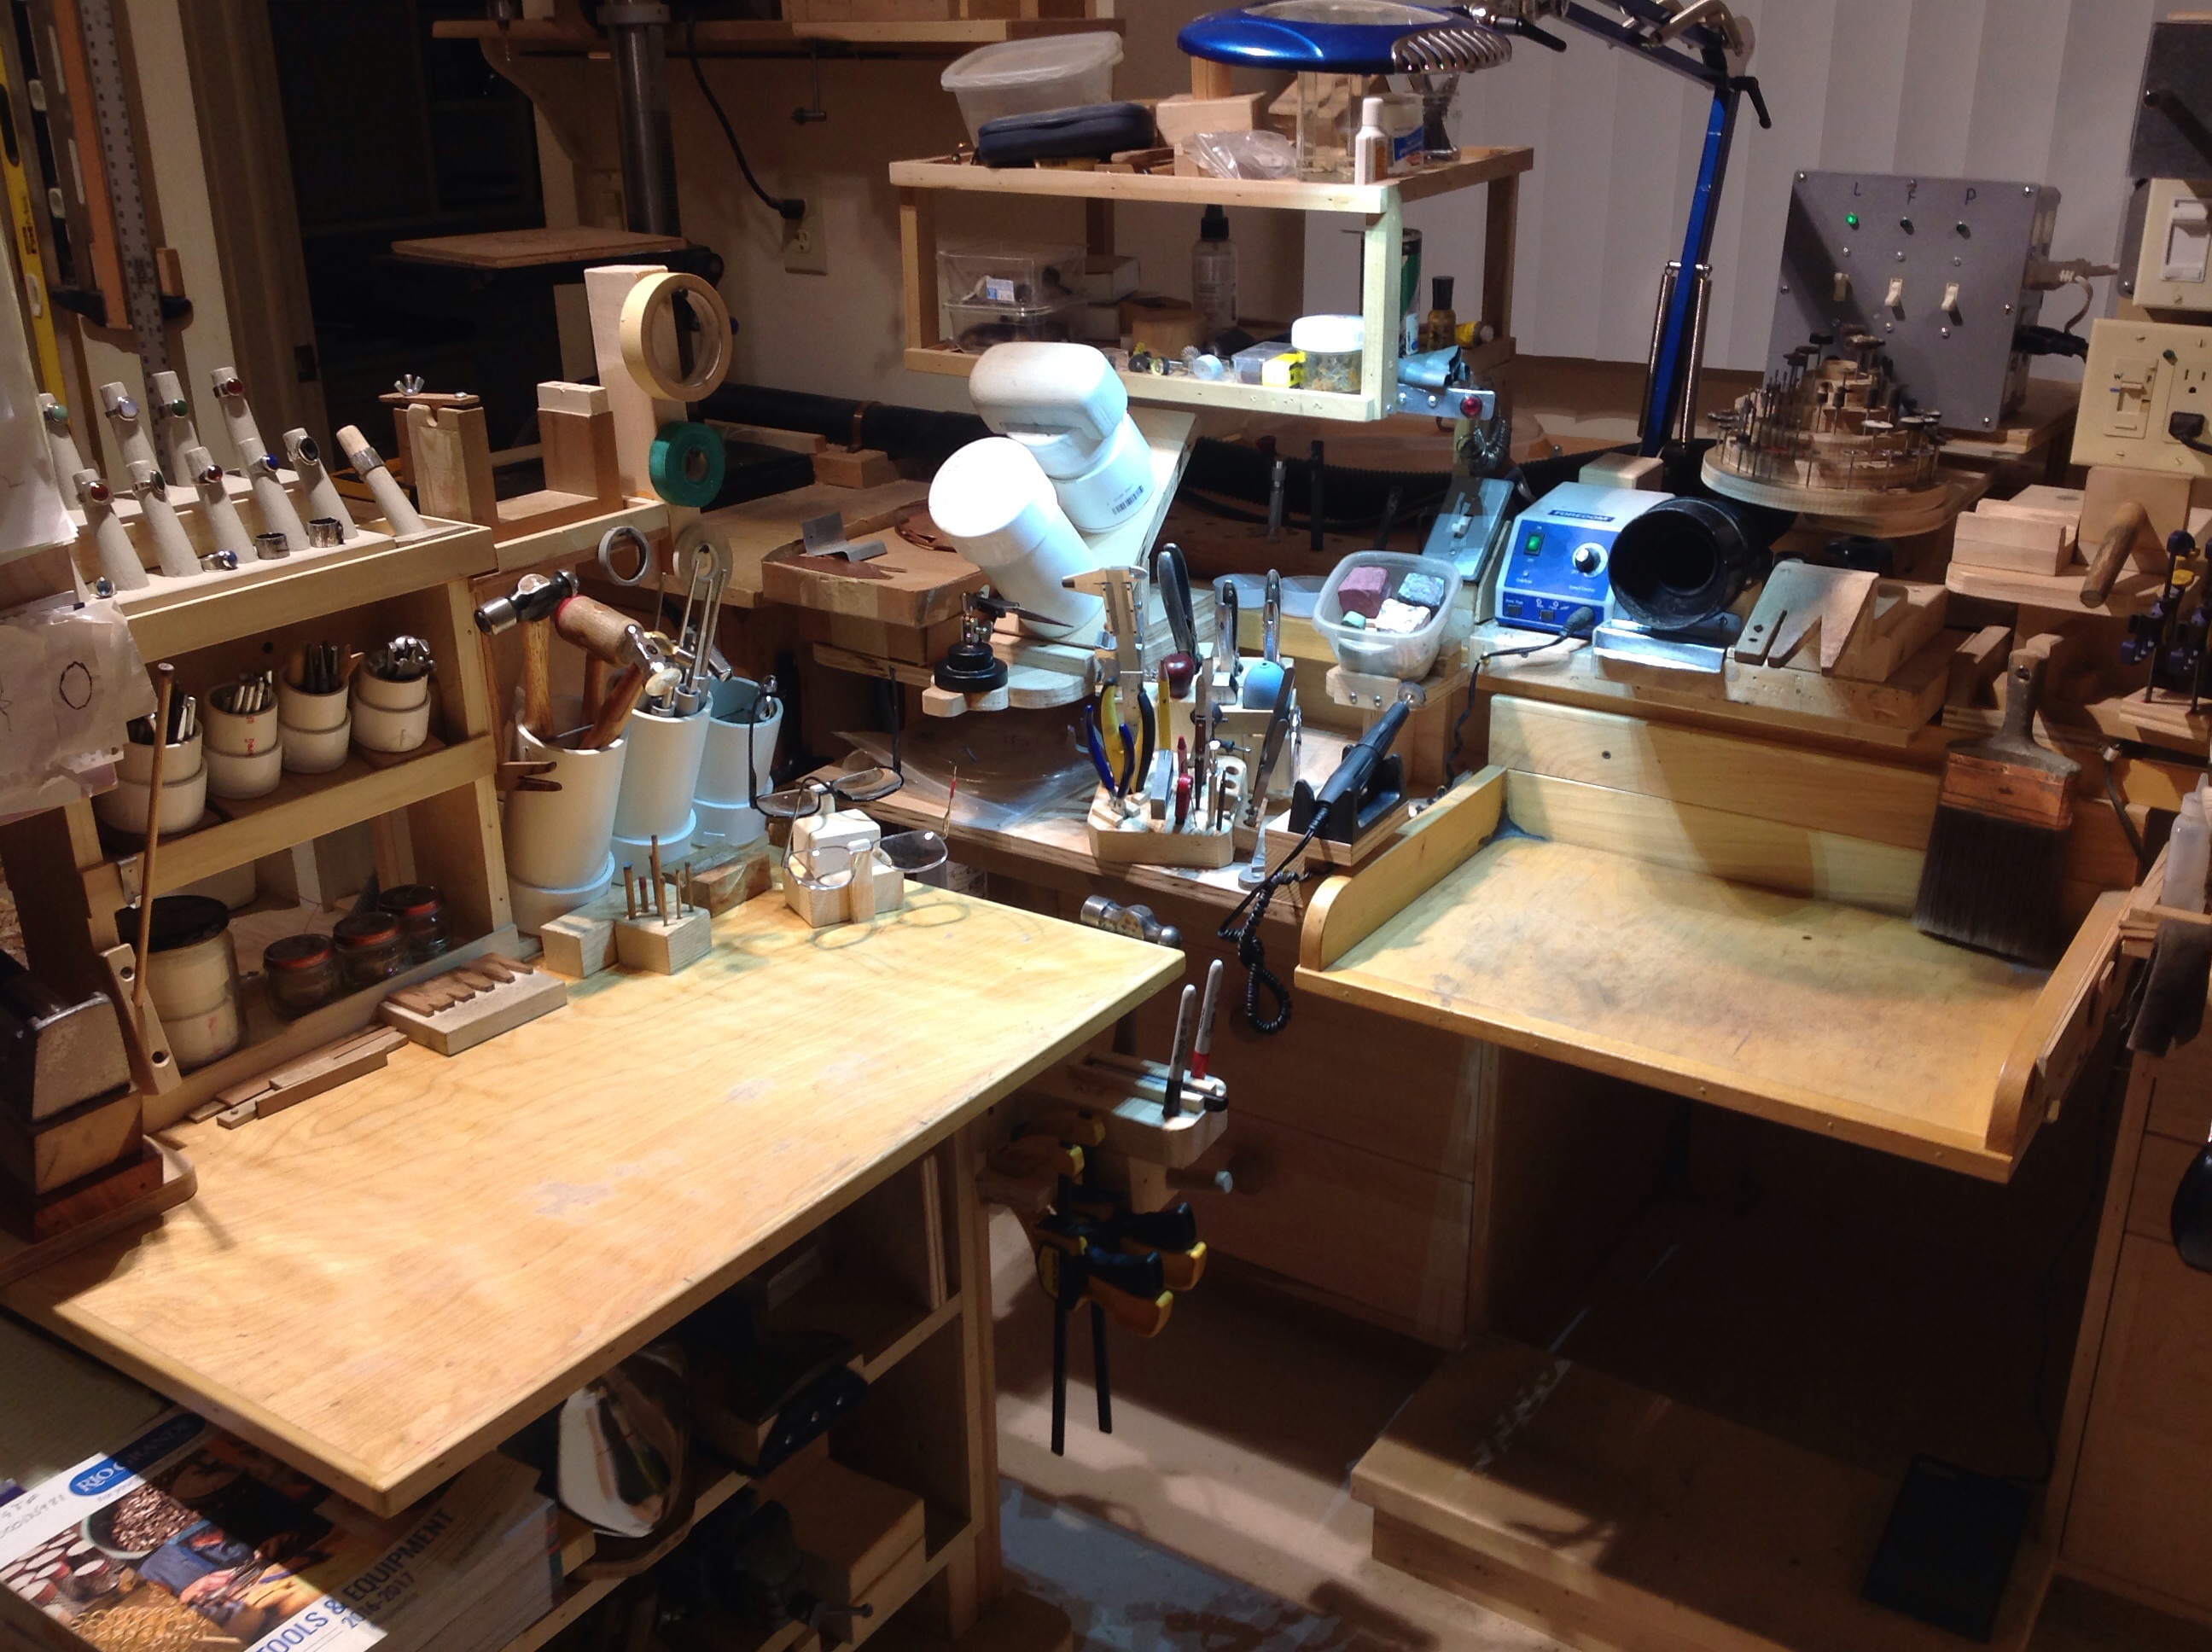
My bench is in a space 8 ft by 8 ft
Being small, it has to be well organized, but everything is at my finger tips.
In itself it is an ongoing project with some recent changes.
I do my grinding and polishing in front of a vacuum port that is on a simple slide, to move it out of the way when not used.
The bench pin is on a pivot too.
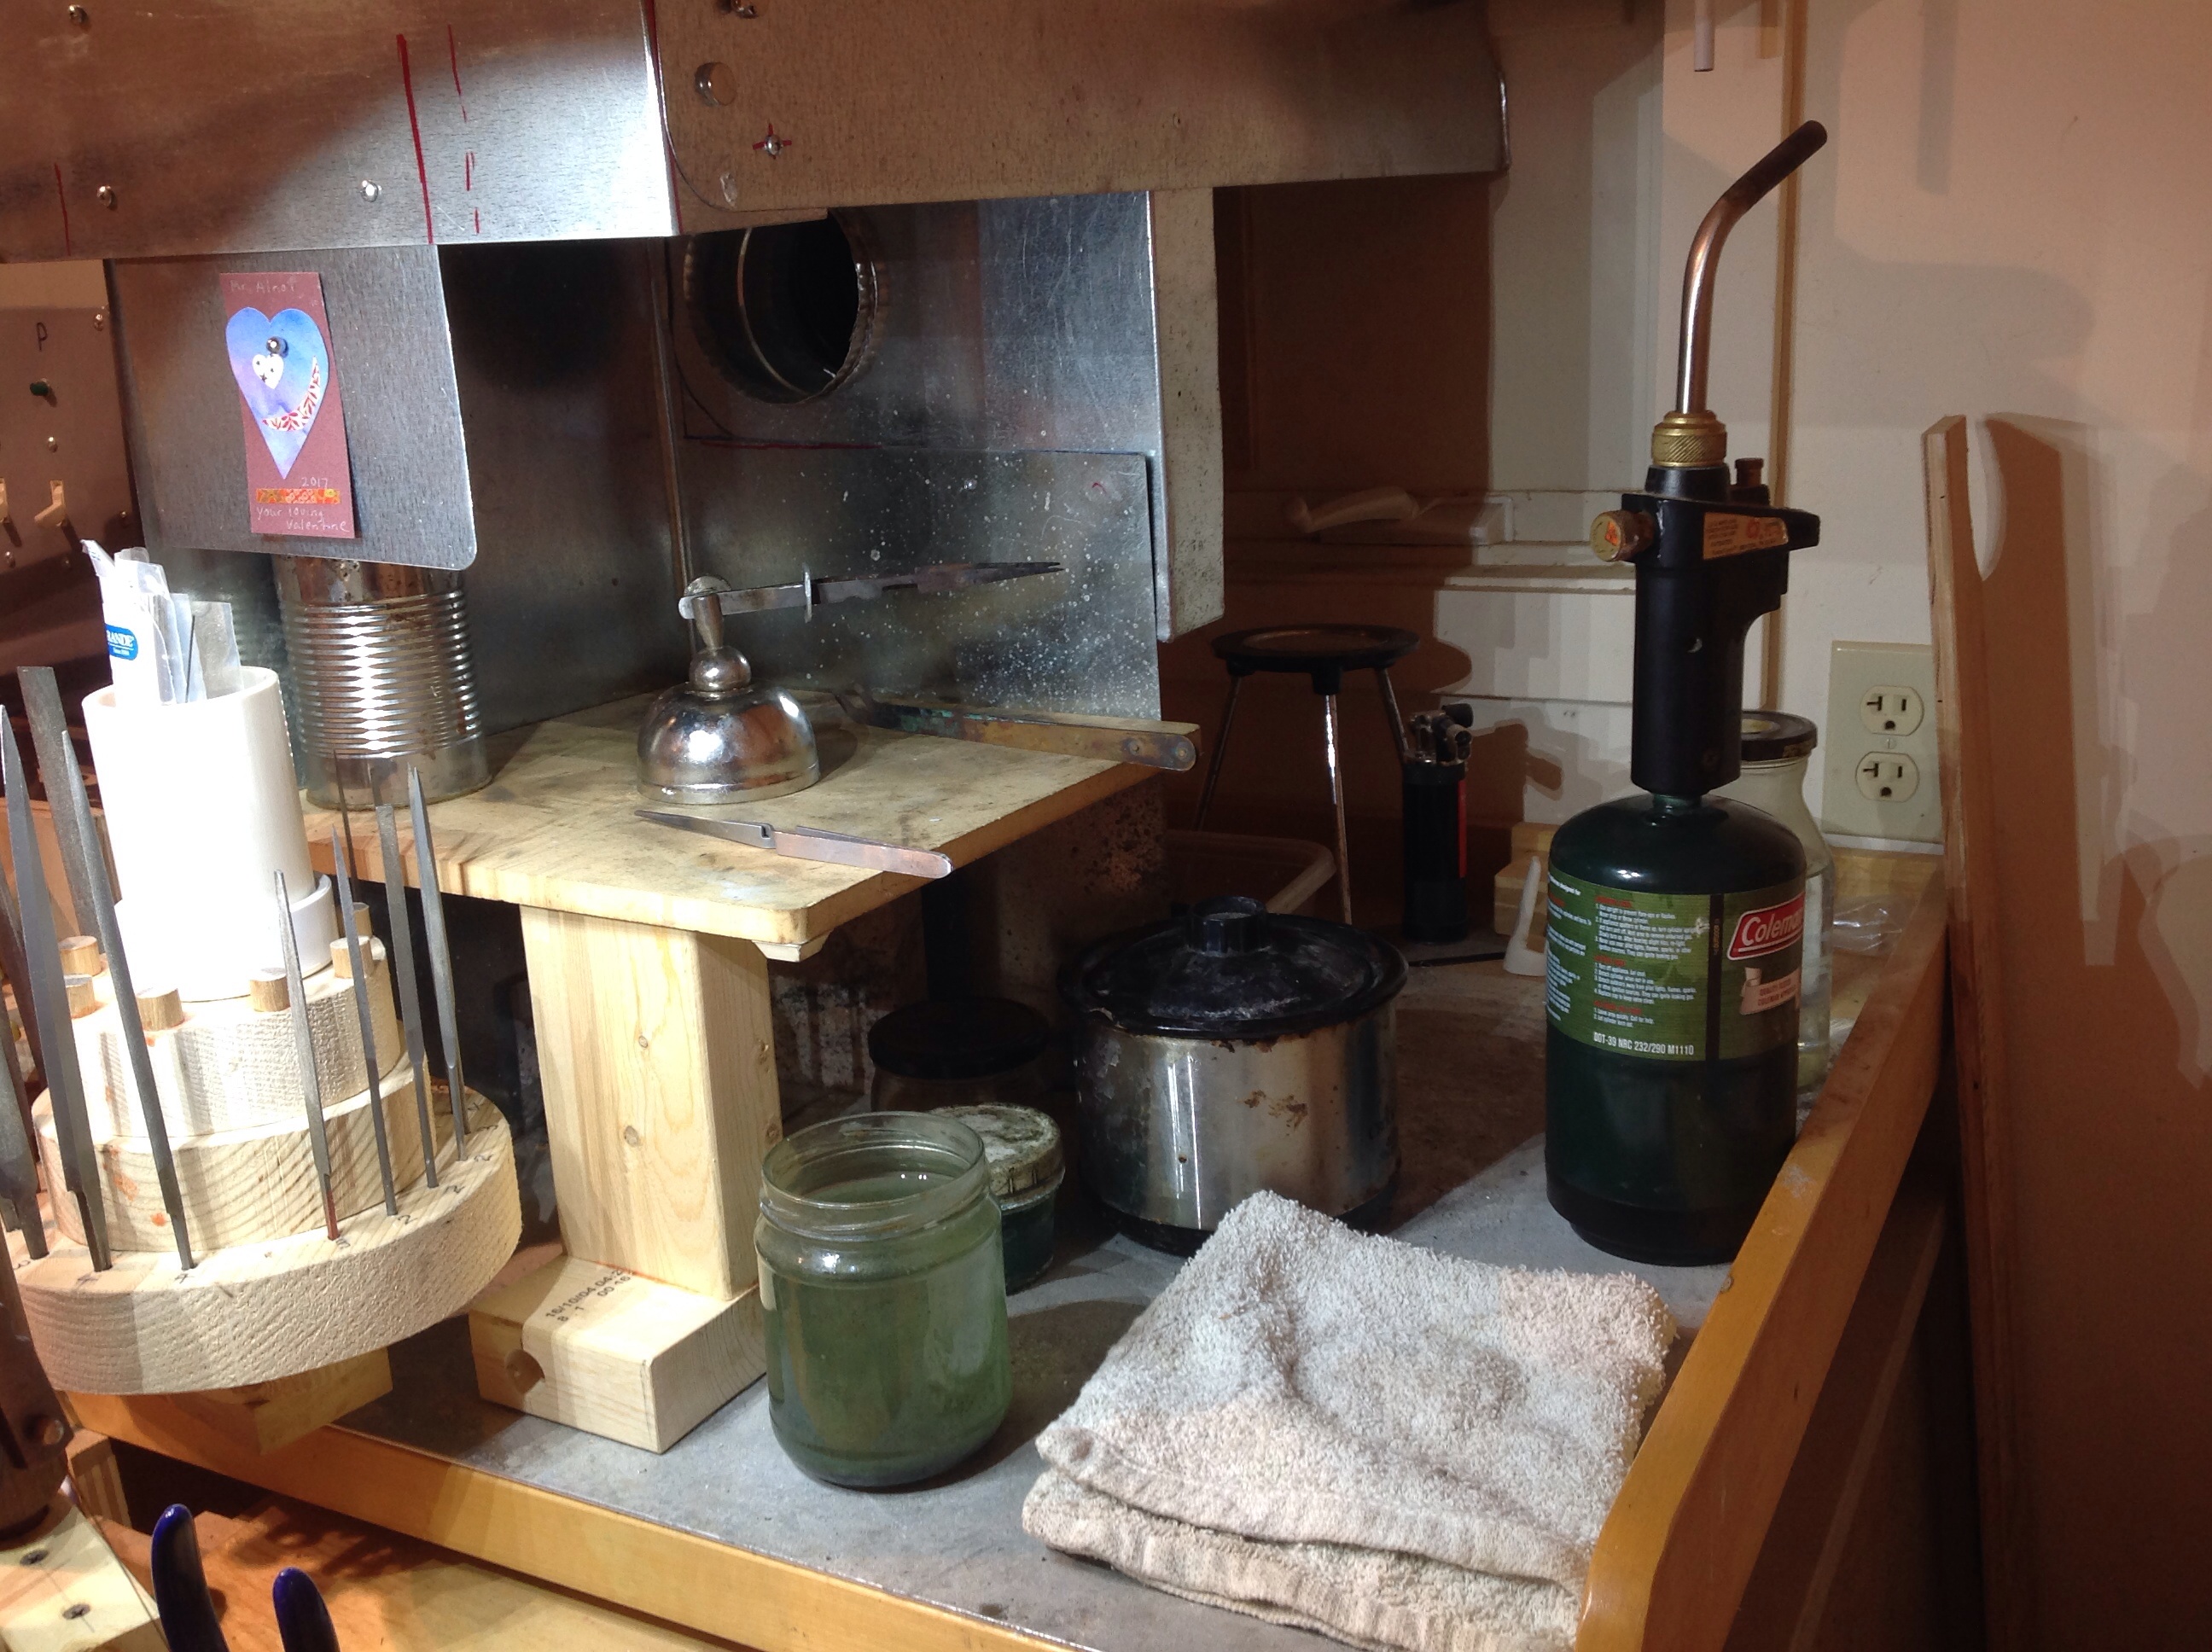
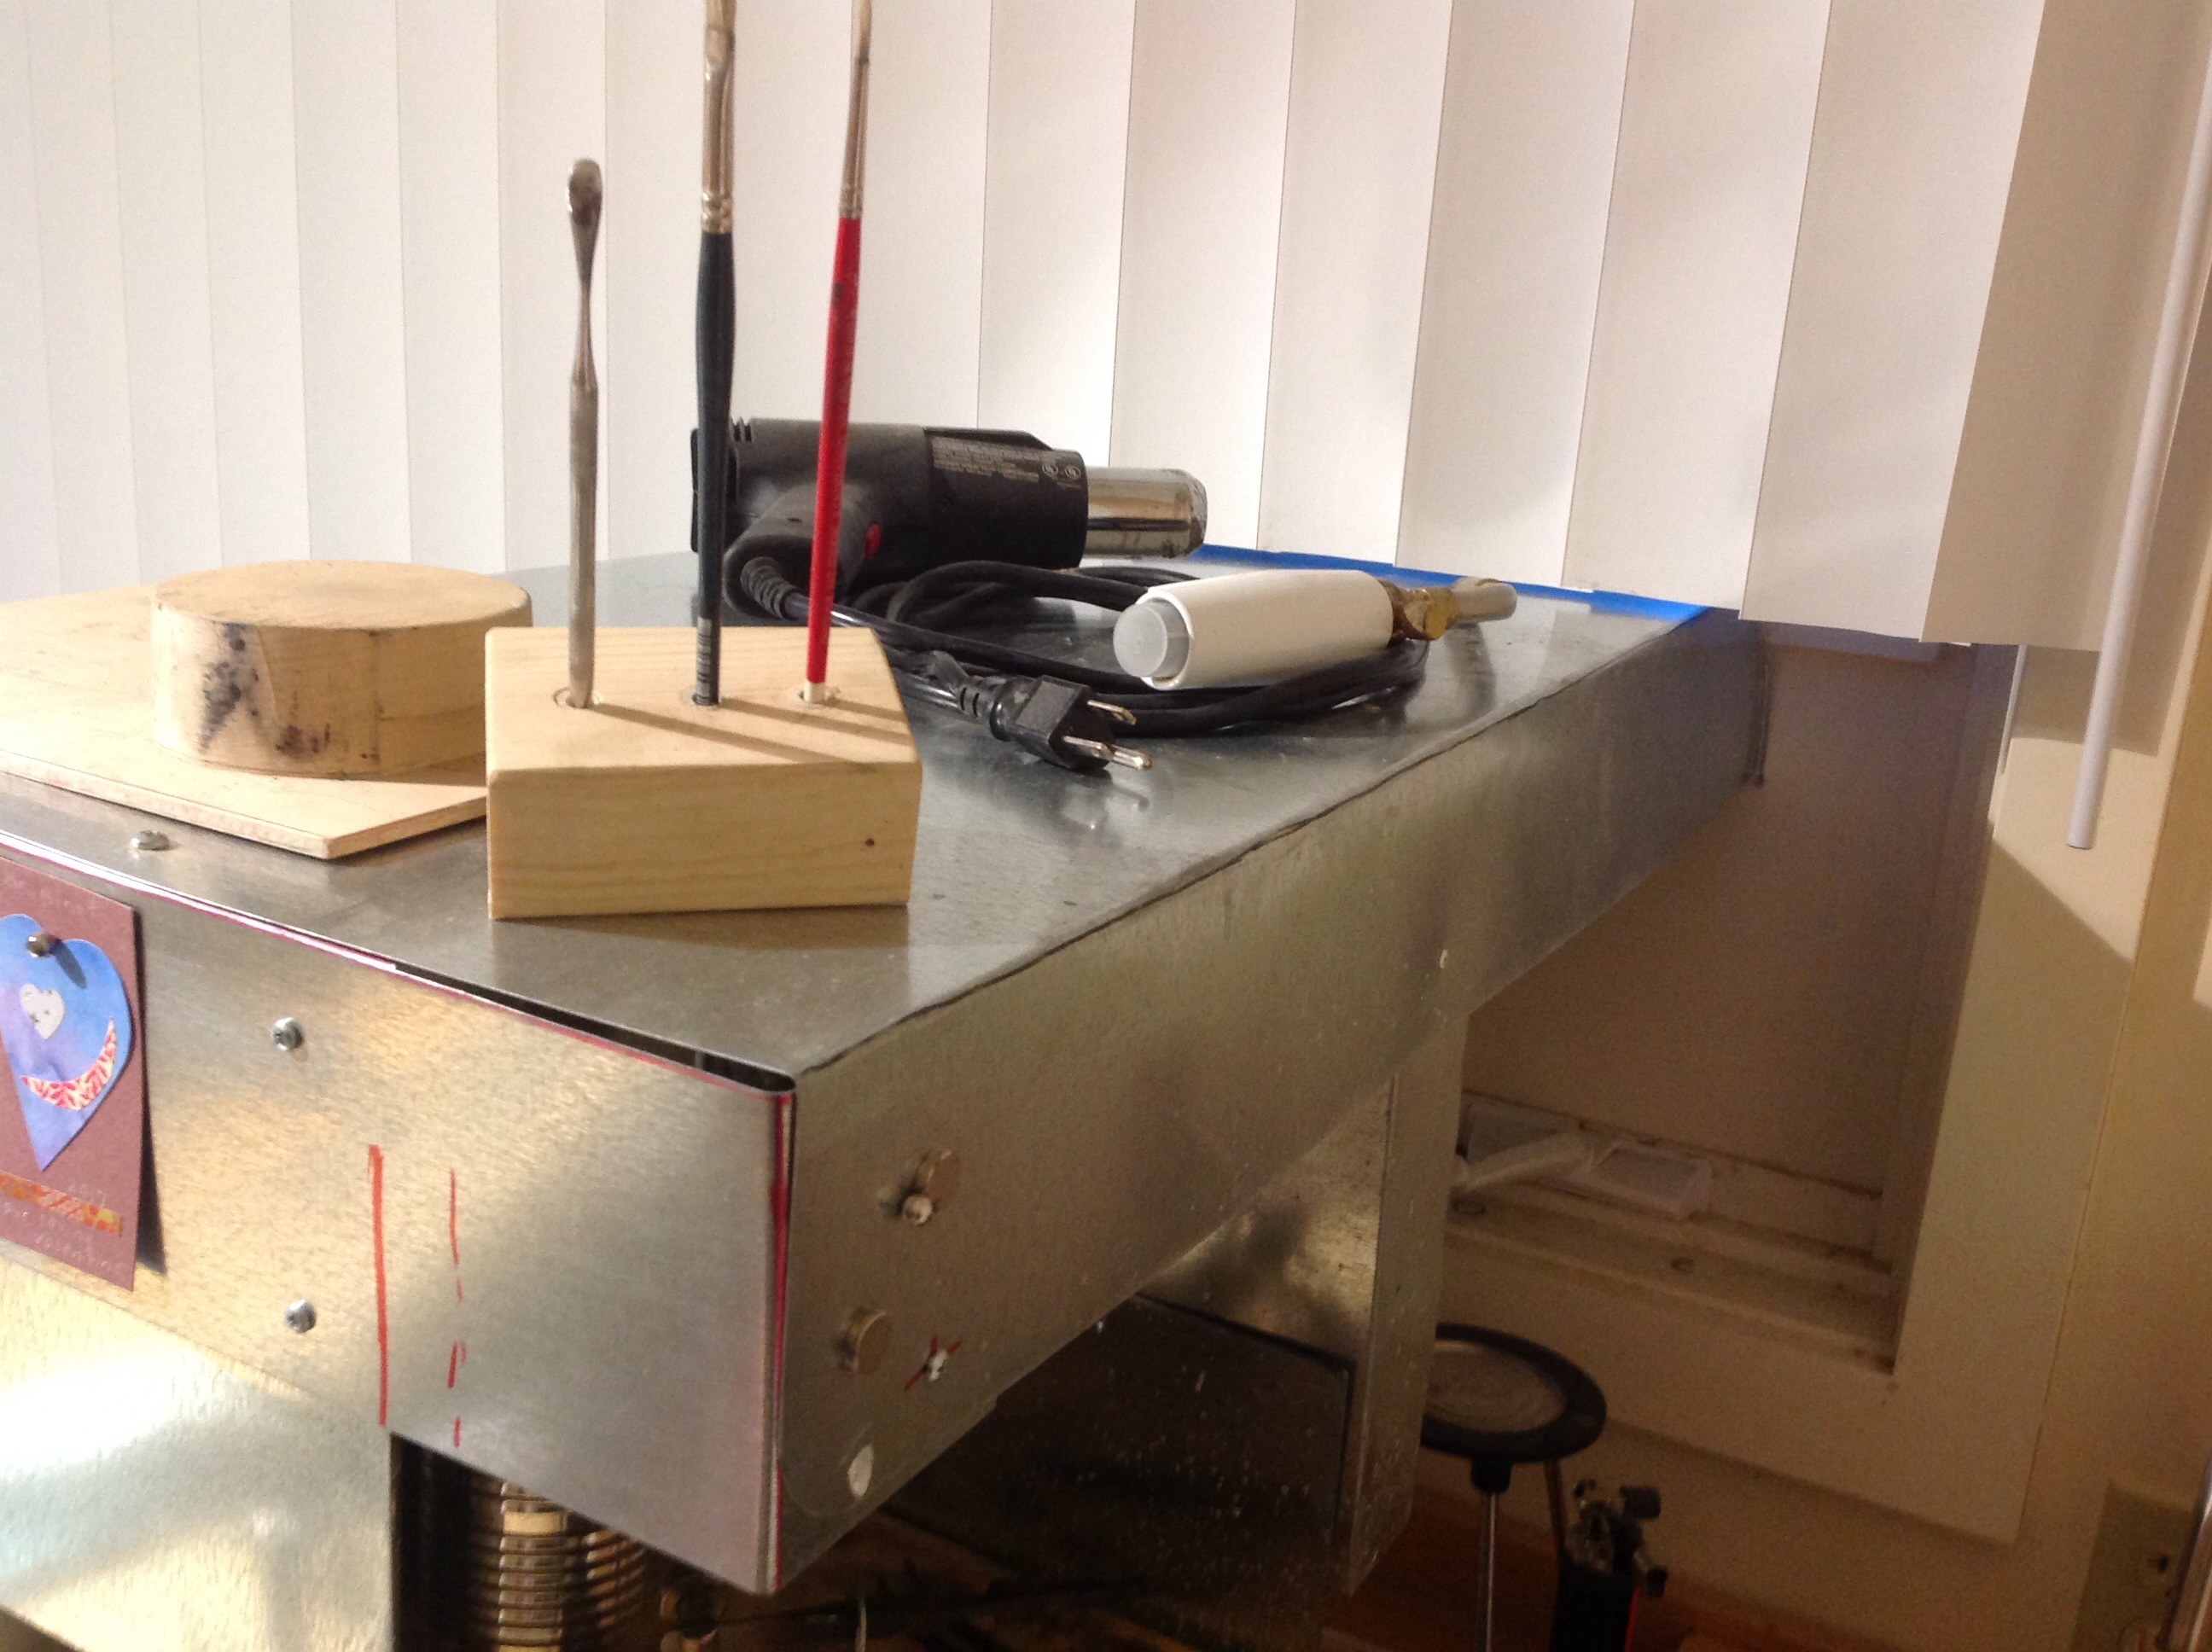
The soldering station has a dark area for annealing and a well lit area for normal soldering.
Visible in the pictures is my Foredom Micro Motor, was purchased from Rio a number of years ago. It serves all my hand piece needs.

16 Likes
I really like your cockpit-like set up. You have some innovative ideas, the bench pin for one. Also like the pvc pipe containers. Nice job!
Mark
really neat set up!
The ideas have been refined over a period of time, might be of help to people just setting up a bench.
One is my plywood bench drawer
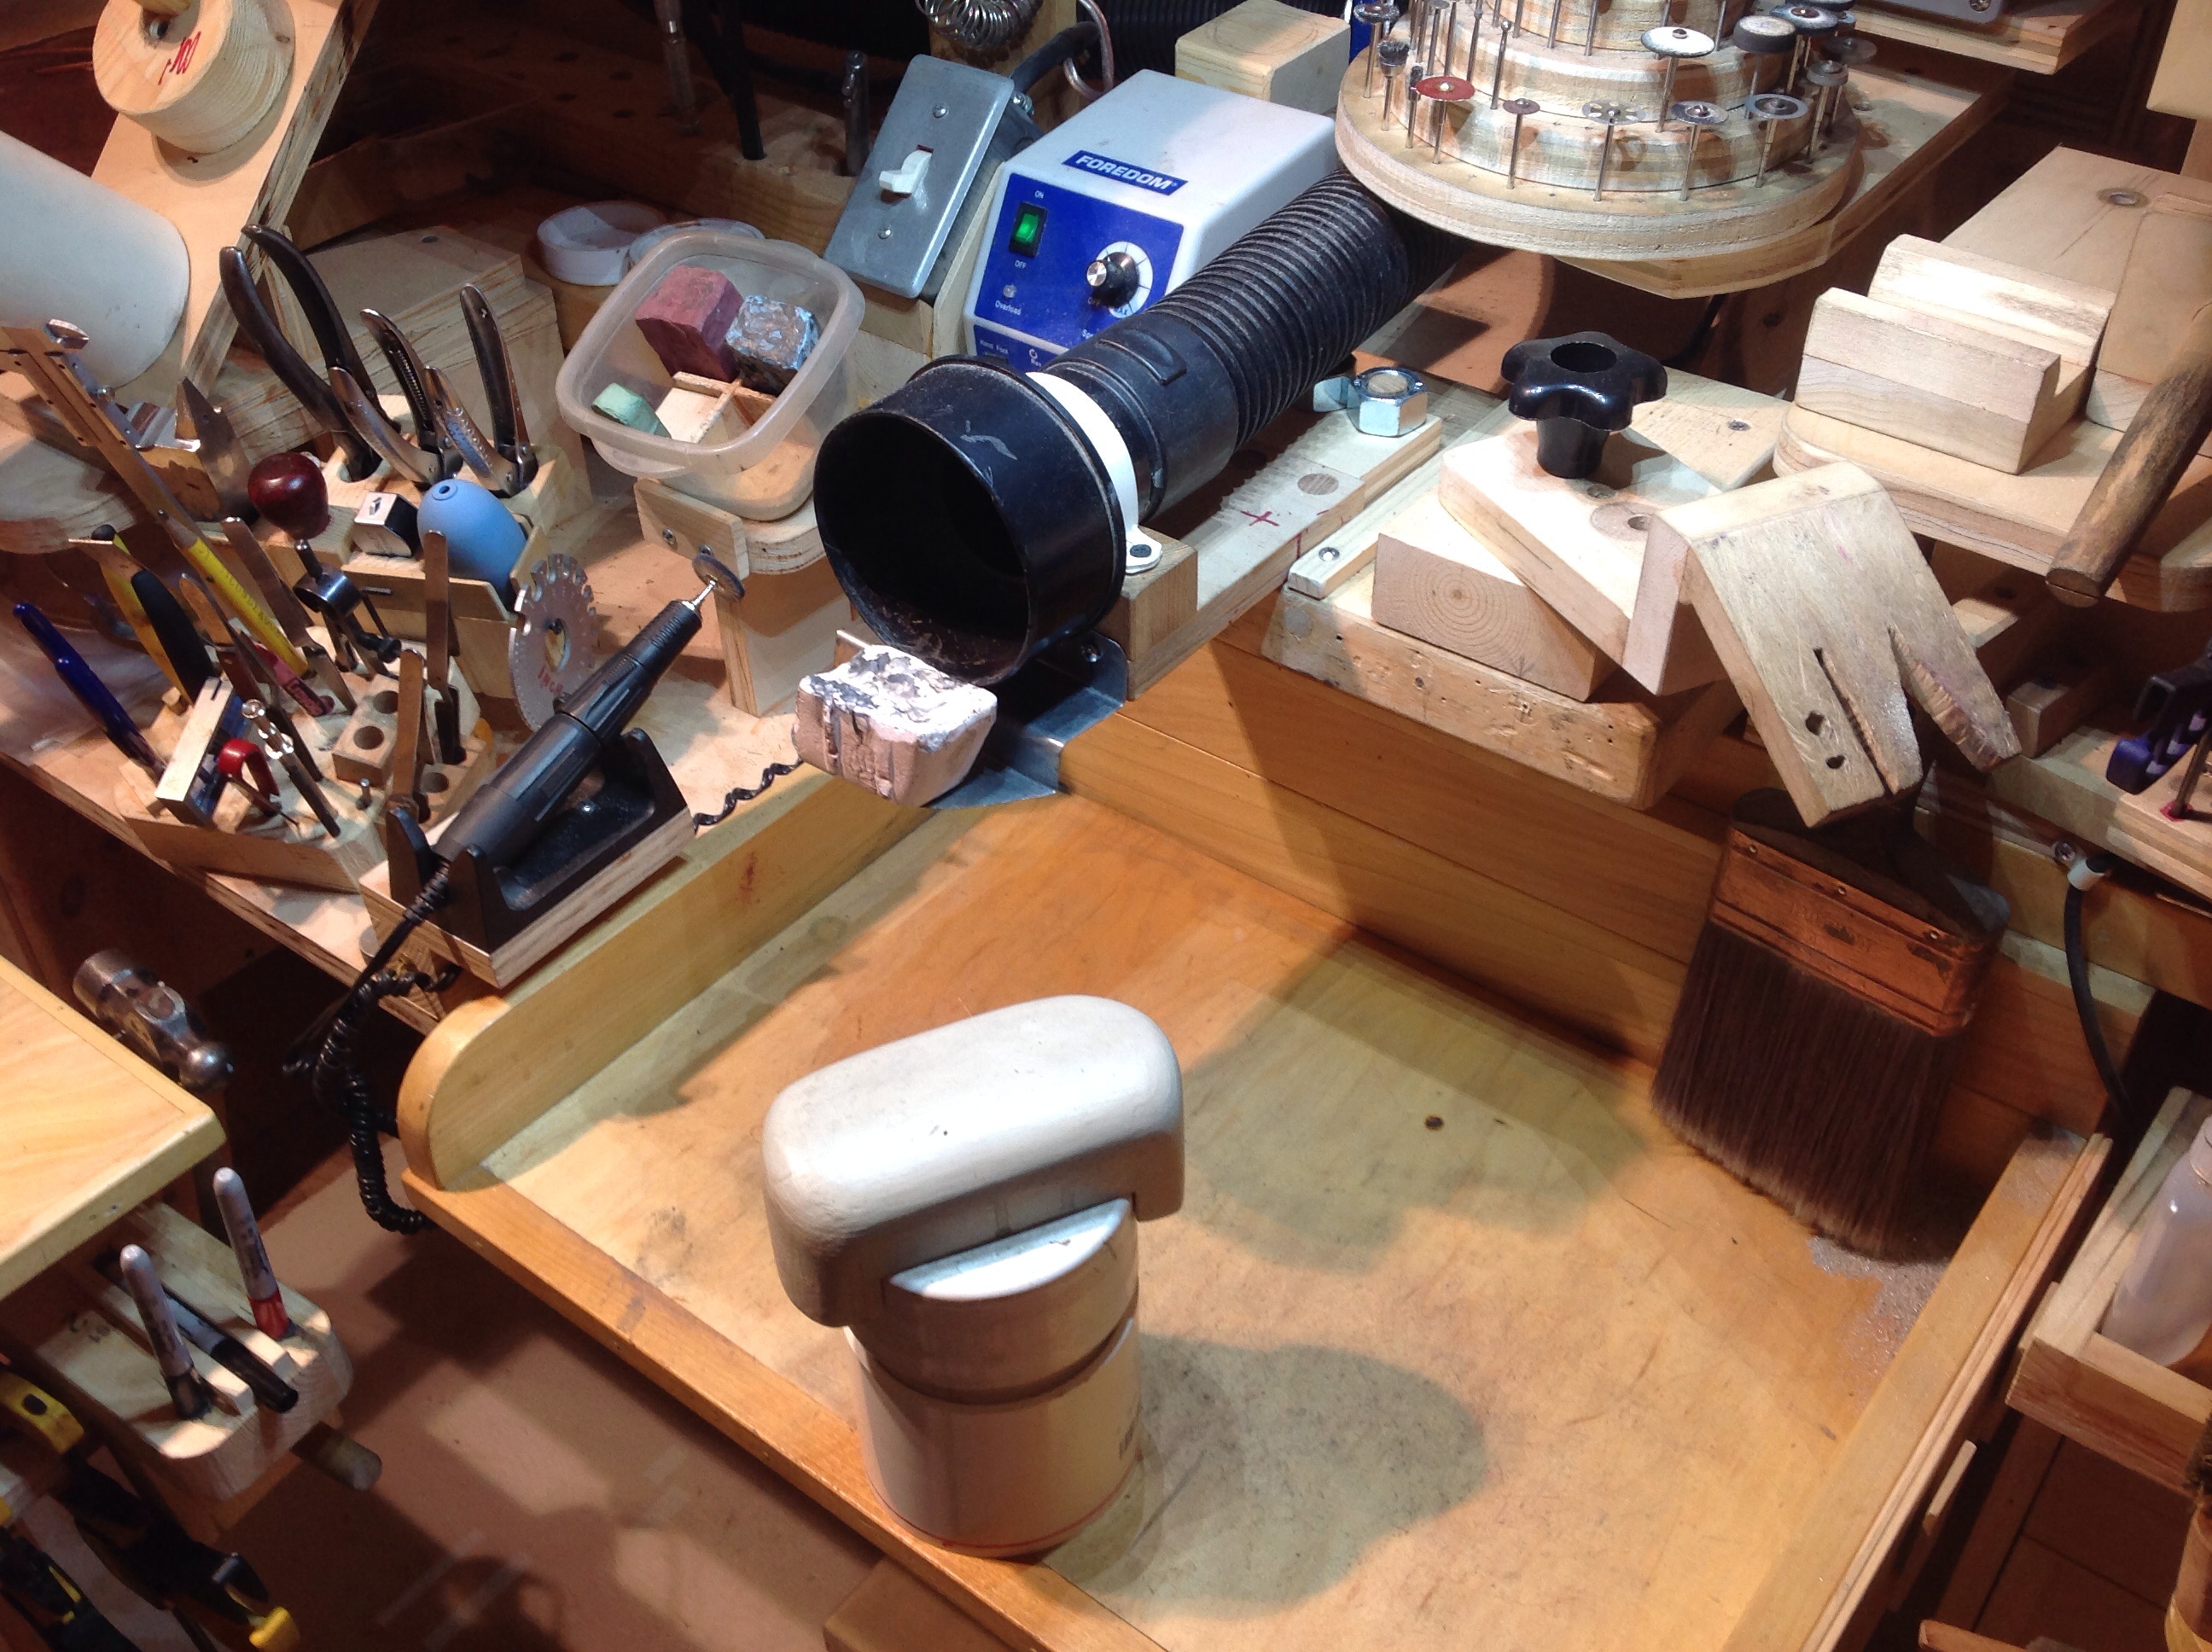
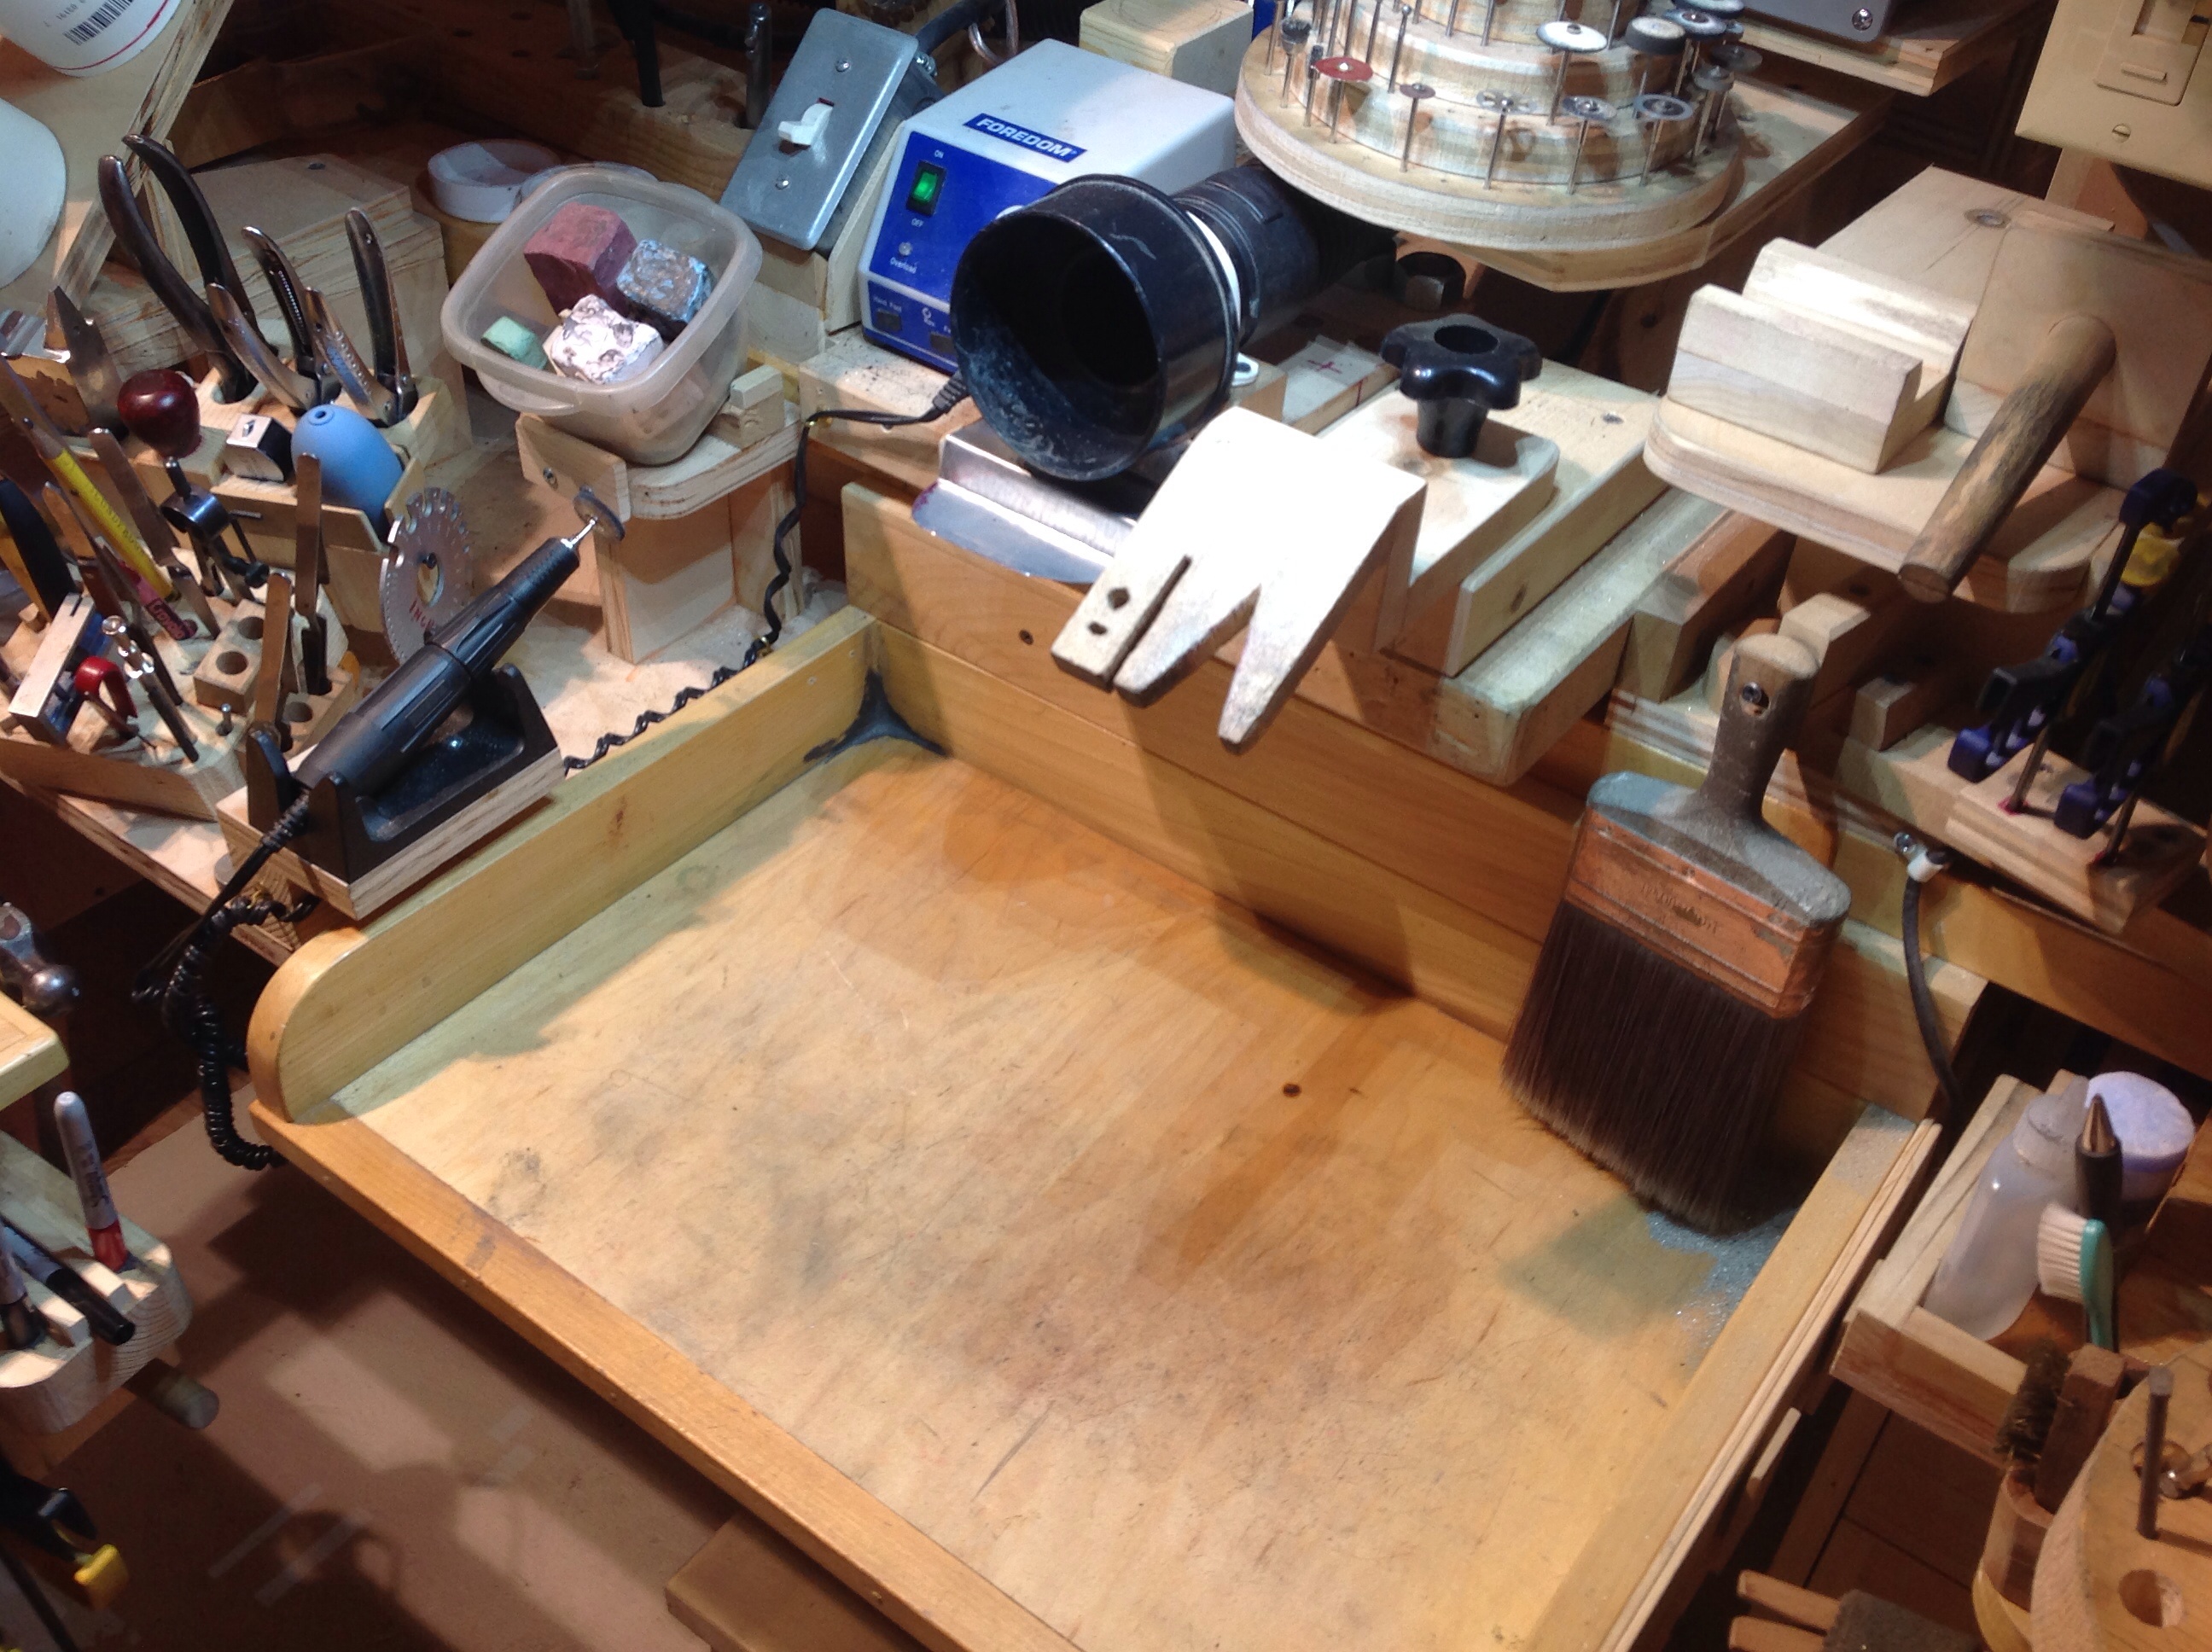
Grinding, filing and sawing, are done towards the back, sweepings are collected the rear corners with the 4 inch paint brush hung close by.
The rear corners are filled with epoxy putty fillets to make them easy to sweep towards the front using the “V” made by the side and bottom and into a container held at the front edge.
All the polishing is done with the hand piece in front of the sliding vacuum port.
Slid towards me when working, back and out of the way when not needed.
There is a small metal shelf below the vacuum port to hold the polishing compound and load the buff.
The grey object on the 3 inch pvc pipe is a hand rest made and shaped from a piece of 2 x 4 , this slips off and the flat top of the pvc end cap becomes a raised work platform when needed.
All of the above is visible in the pictures, be happy to explain further if needed.
Mike
1 Like
Love to see this. Please post photos.
Denny
Denny, thank you for showing interest.
Just to explain briefly what motivates me.
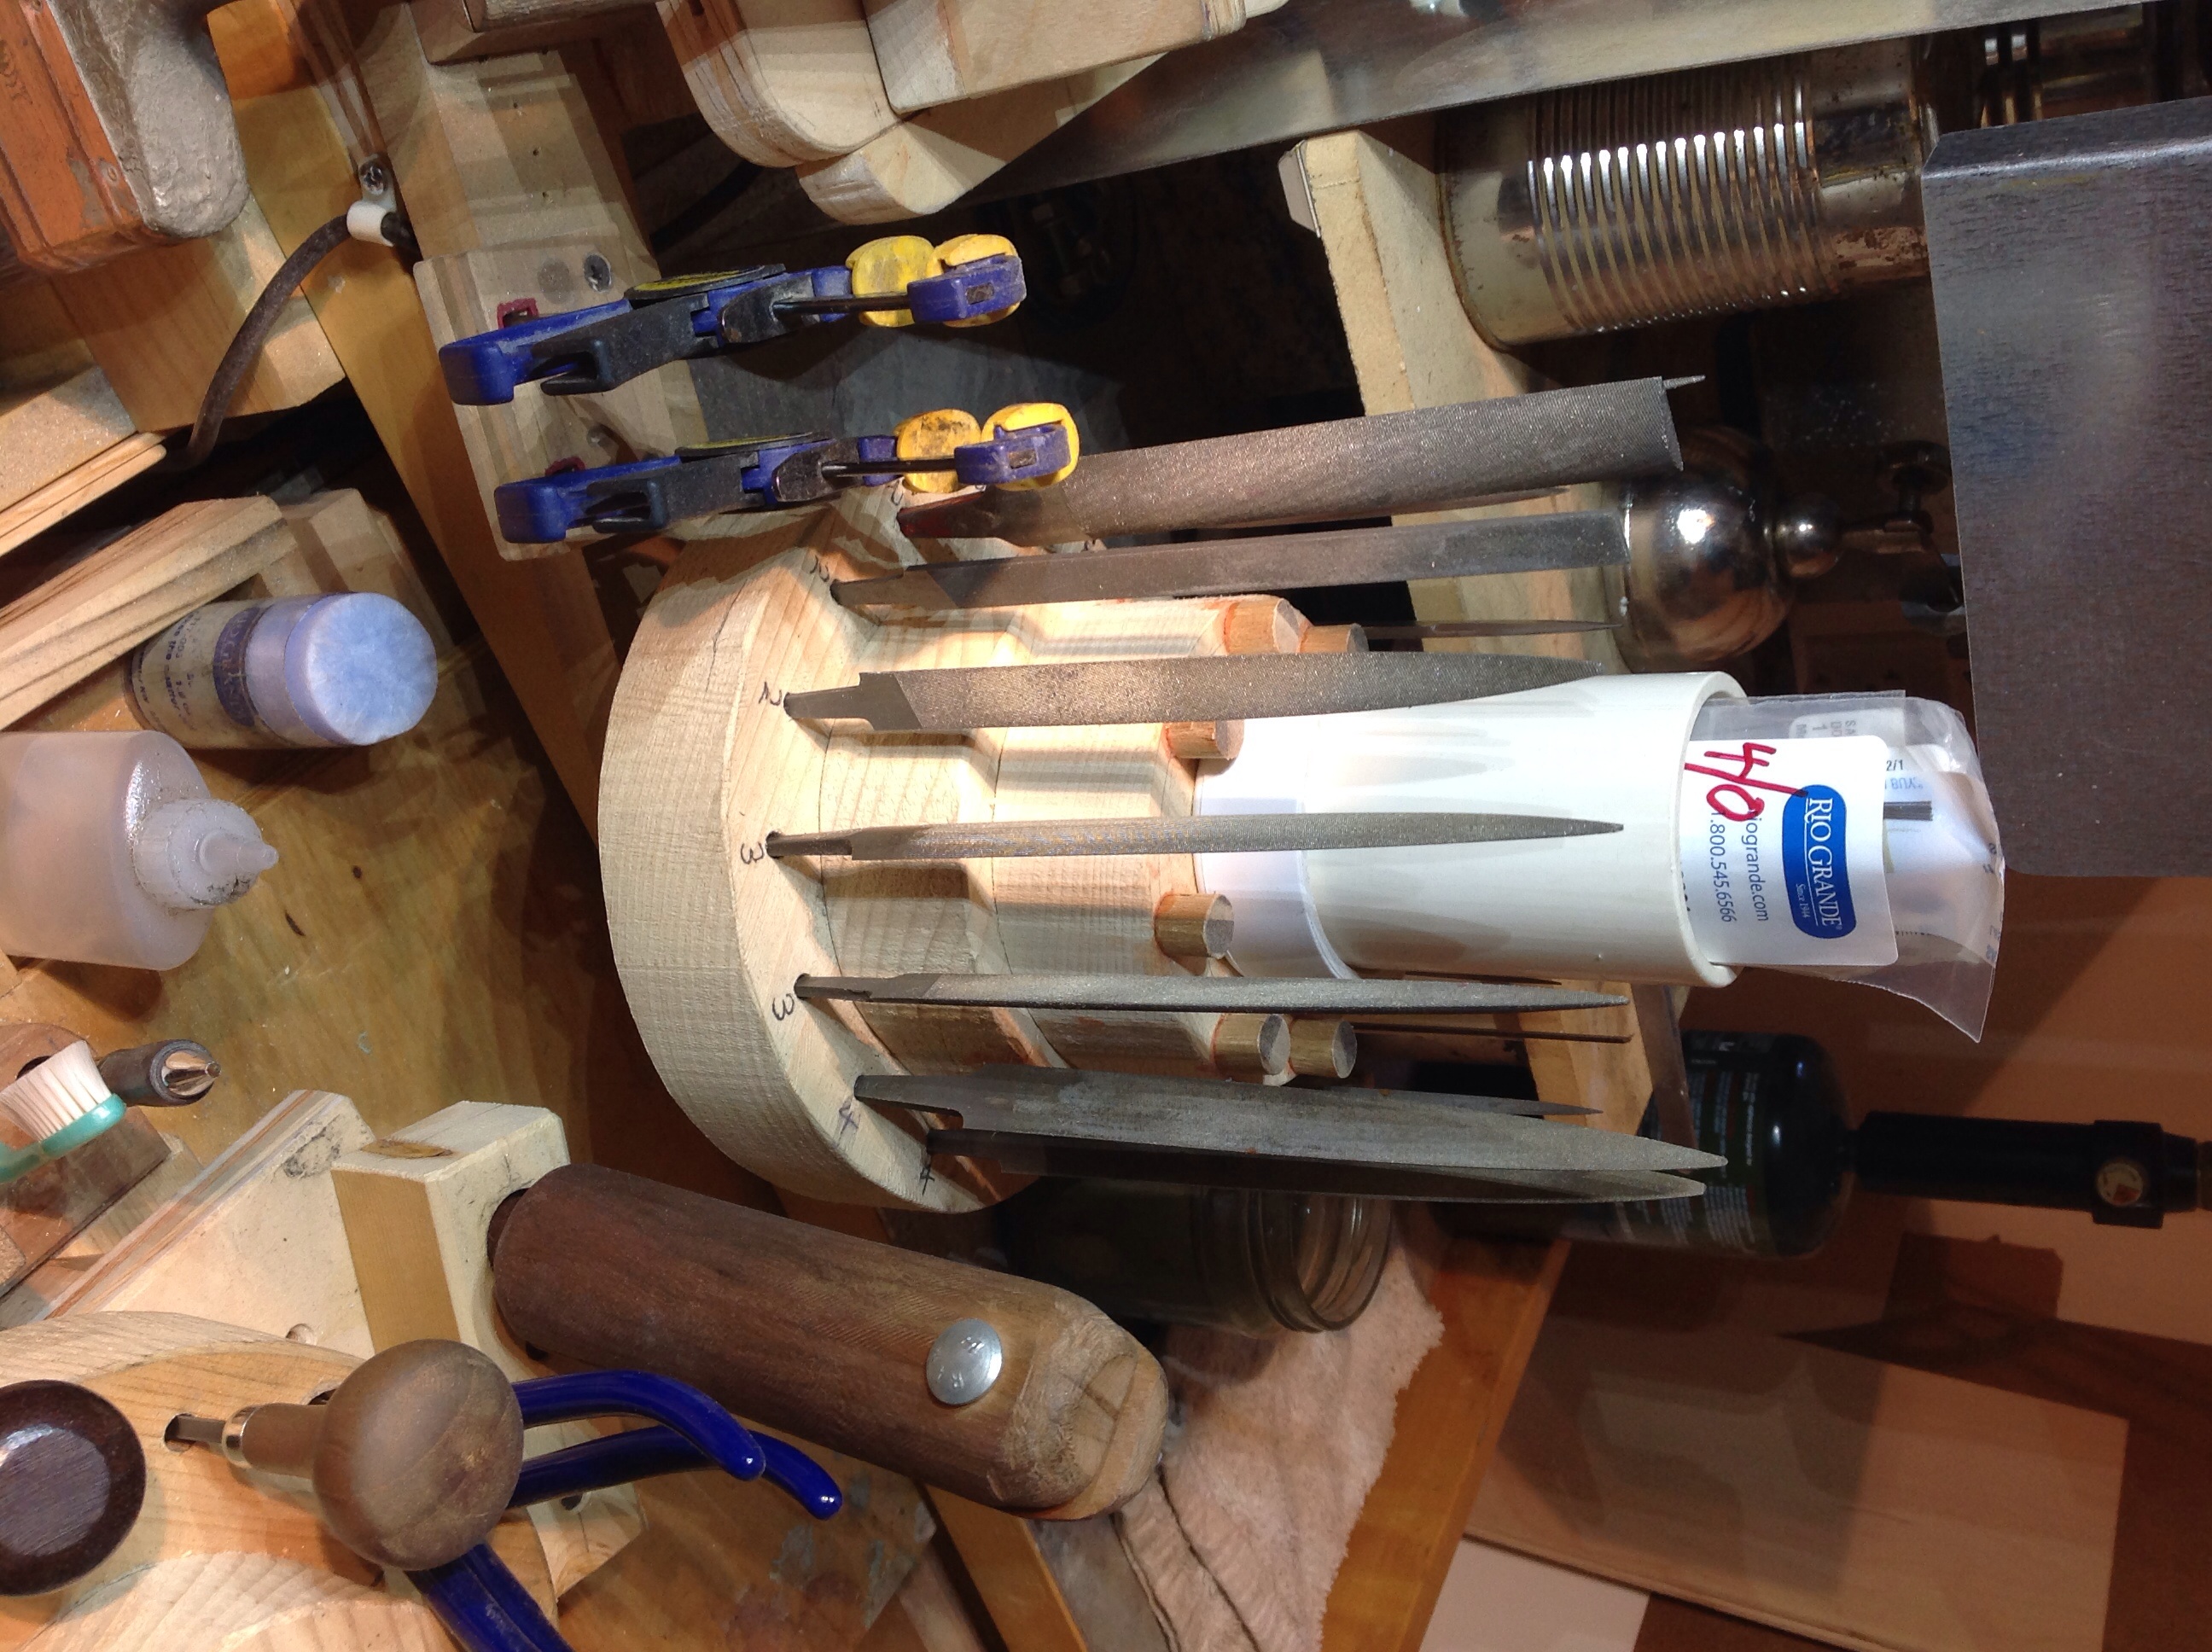
I used to store all my files in one container, they rub together and get dull.
Now i use this rotating disk with the " cut number " written below each file and i put a file back before i take another one out.
It requires some some self control, but I found that accessible tool storage helps to keep me from working in a mess and actually protects the tools sharpness too. A gravers sharp edge dulls easily when it contacts other tools.
8 Likes
Nicely done! Thank you for sharing.
Denny
Denny,
I’m realizing that more explanation might be a good thing.
Looking at the first photo, the one of the soldering station you can get the idea.
The file holder is made from a piece of 2 x6, 3 disks, the smaller one glued on top makes a convienent shelf to hold a container for my
saw blades.
The bottom disk has holes drilled round the top, a bit in from the edge, deep enough to support the files without them leaning over and rubbing on one another.
The pivot in the center is a drywall screw.
Mike
This is a great idea. Thank you.
Denny
Mark,
A few years back I read an article in Orchid by Charles Lewton-Brain.
He expressed that a bench should be organized like a pilots cockpit, every thing within easy reach.
Apparently that influence shows.
Thanks for the compliment,
Mike
3 Likes
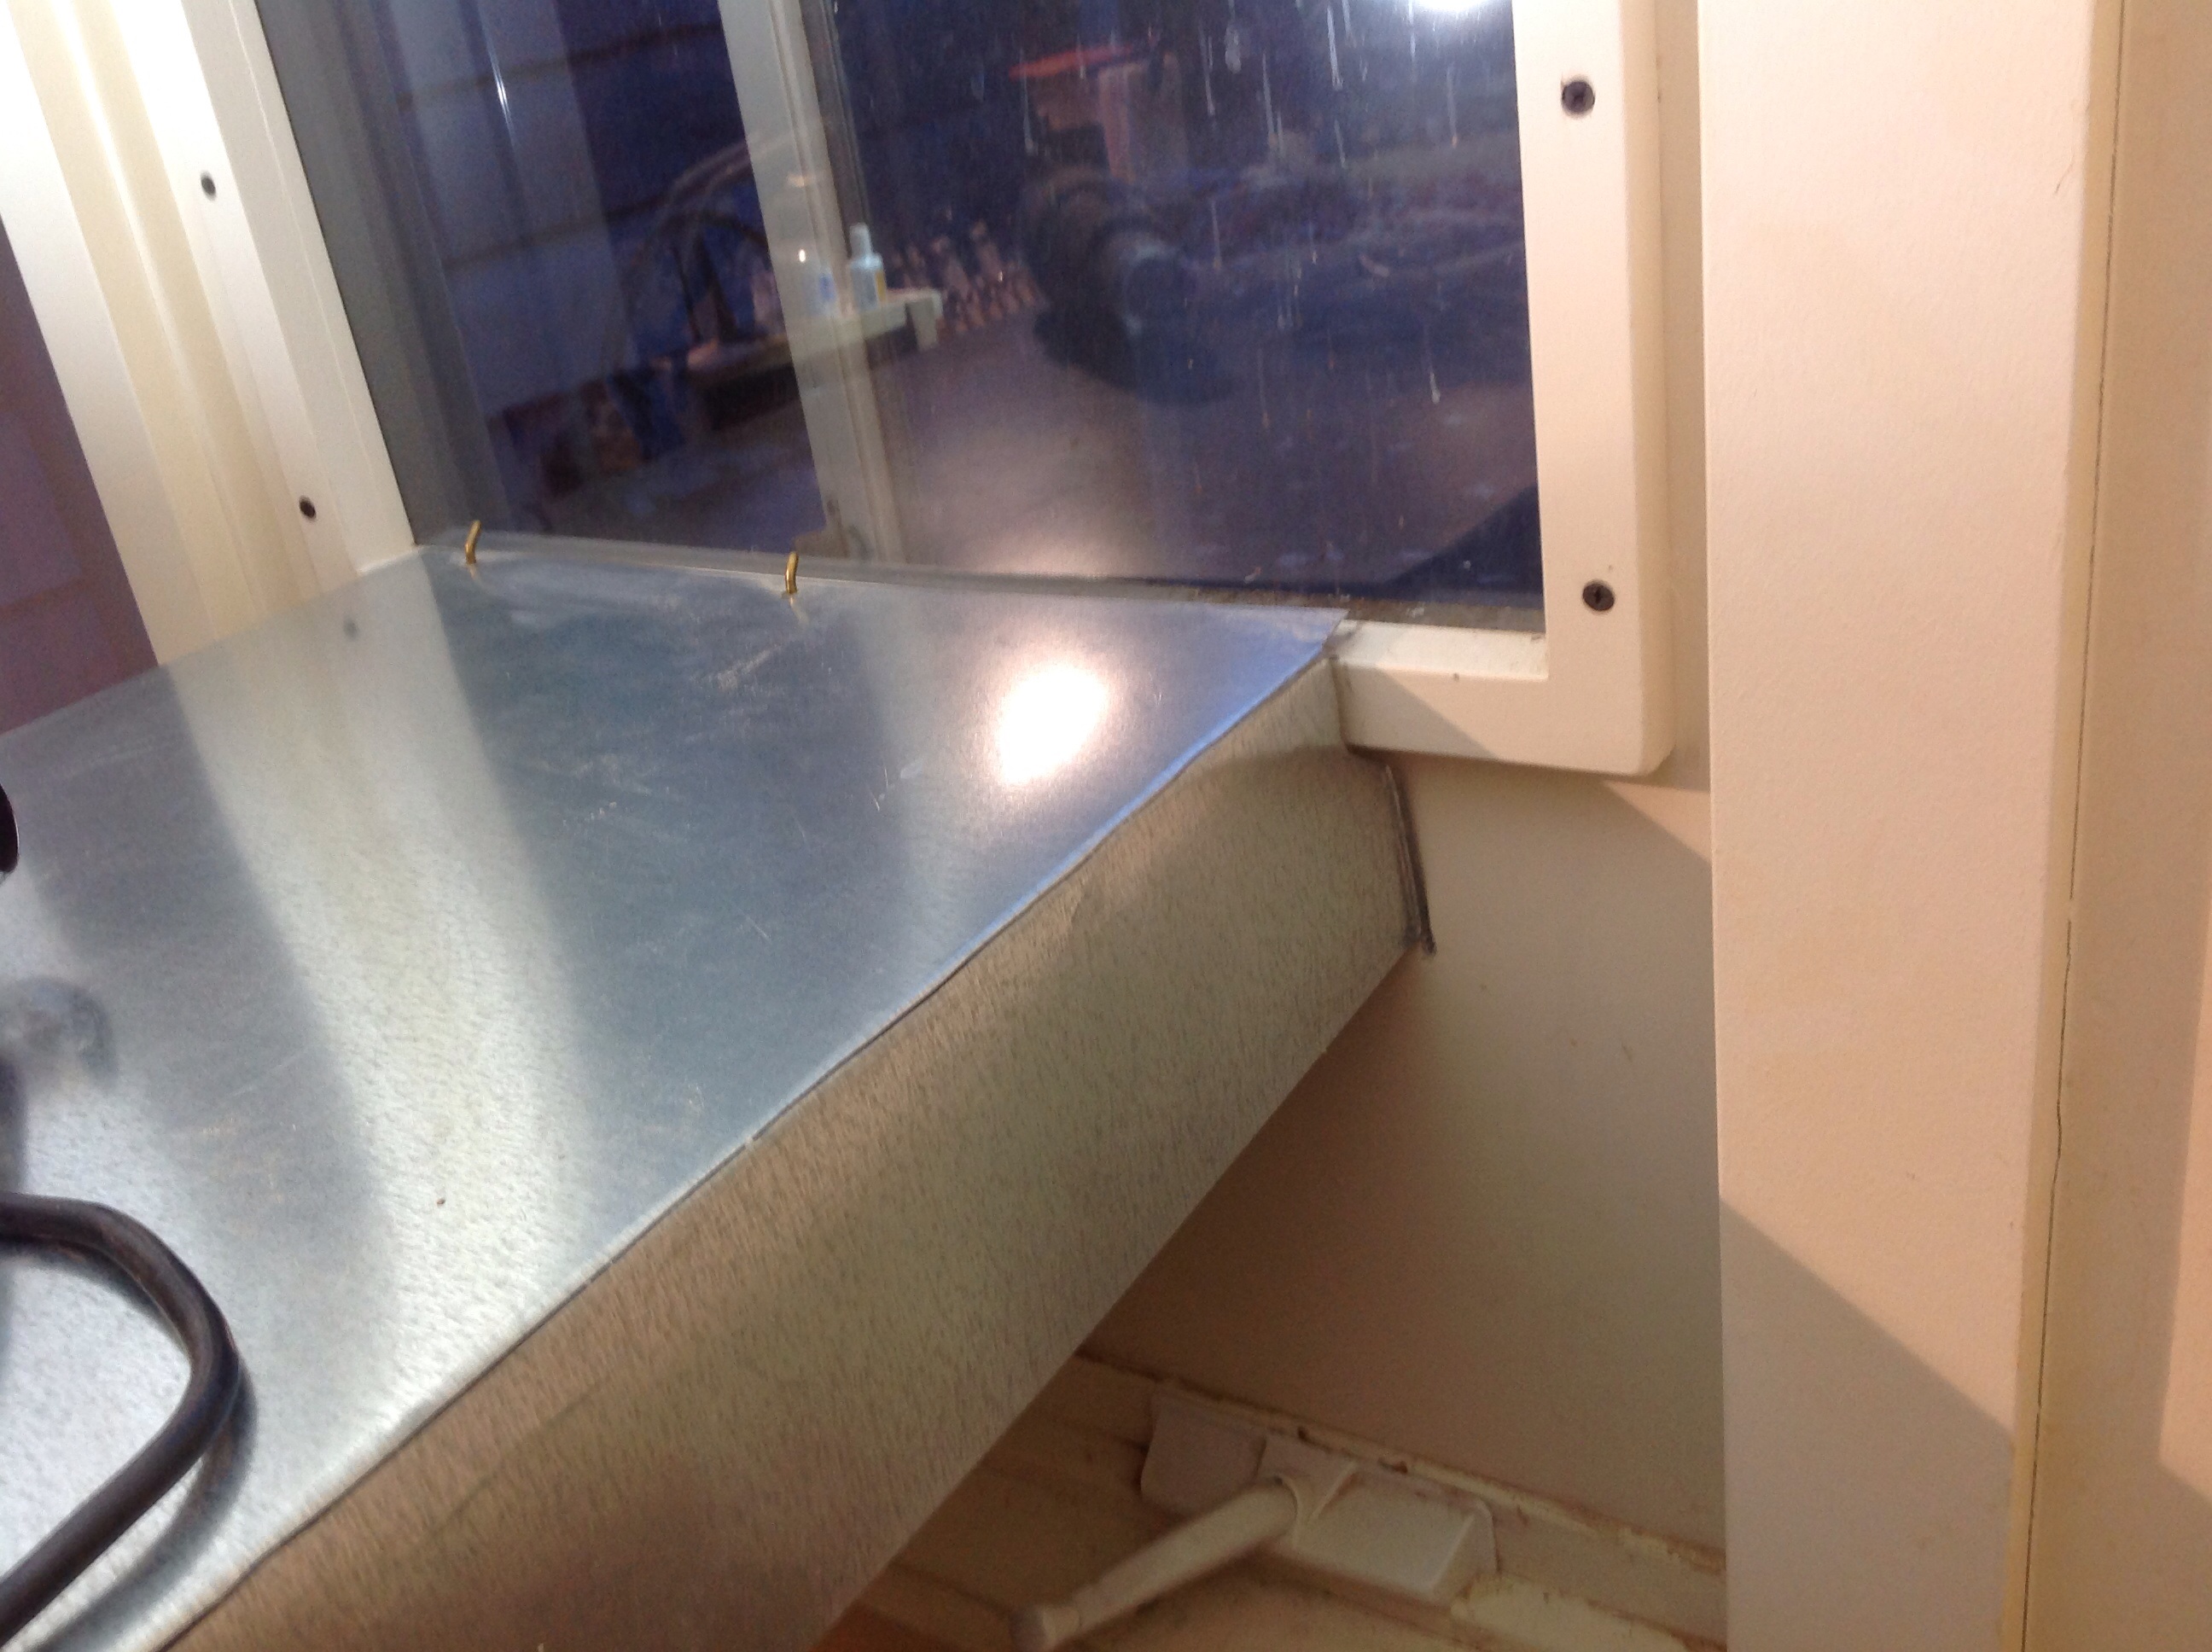
Good job on the ventilation system in your soldering station.
2 Likes
Jose,
Thanks.
The hood is made out of 24 ga galvanized sheet.
Easy to bend and made stiff by the 90 degree corners
The hood top surface gives efficient storage too.
The fan is an inline fan using 4 inch aluminum dryer duct : Fantech FG Series Round Inline Exhaust Fan, 4" Duct (170 CFM)
Fantech RSK4 4" Duct Backdraft Damper ( auto open & close)
The raised shelf : Silquar 12 x 12 solder board from Rio Grand item # 502-006
The photos are self explanatory, if not please ask.
Hope this is informative,
Mike


4 Likes
Very nice.
John,
Thanks ,
Some of the refinements made for my bench might be useful to others.
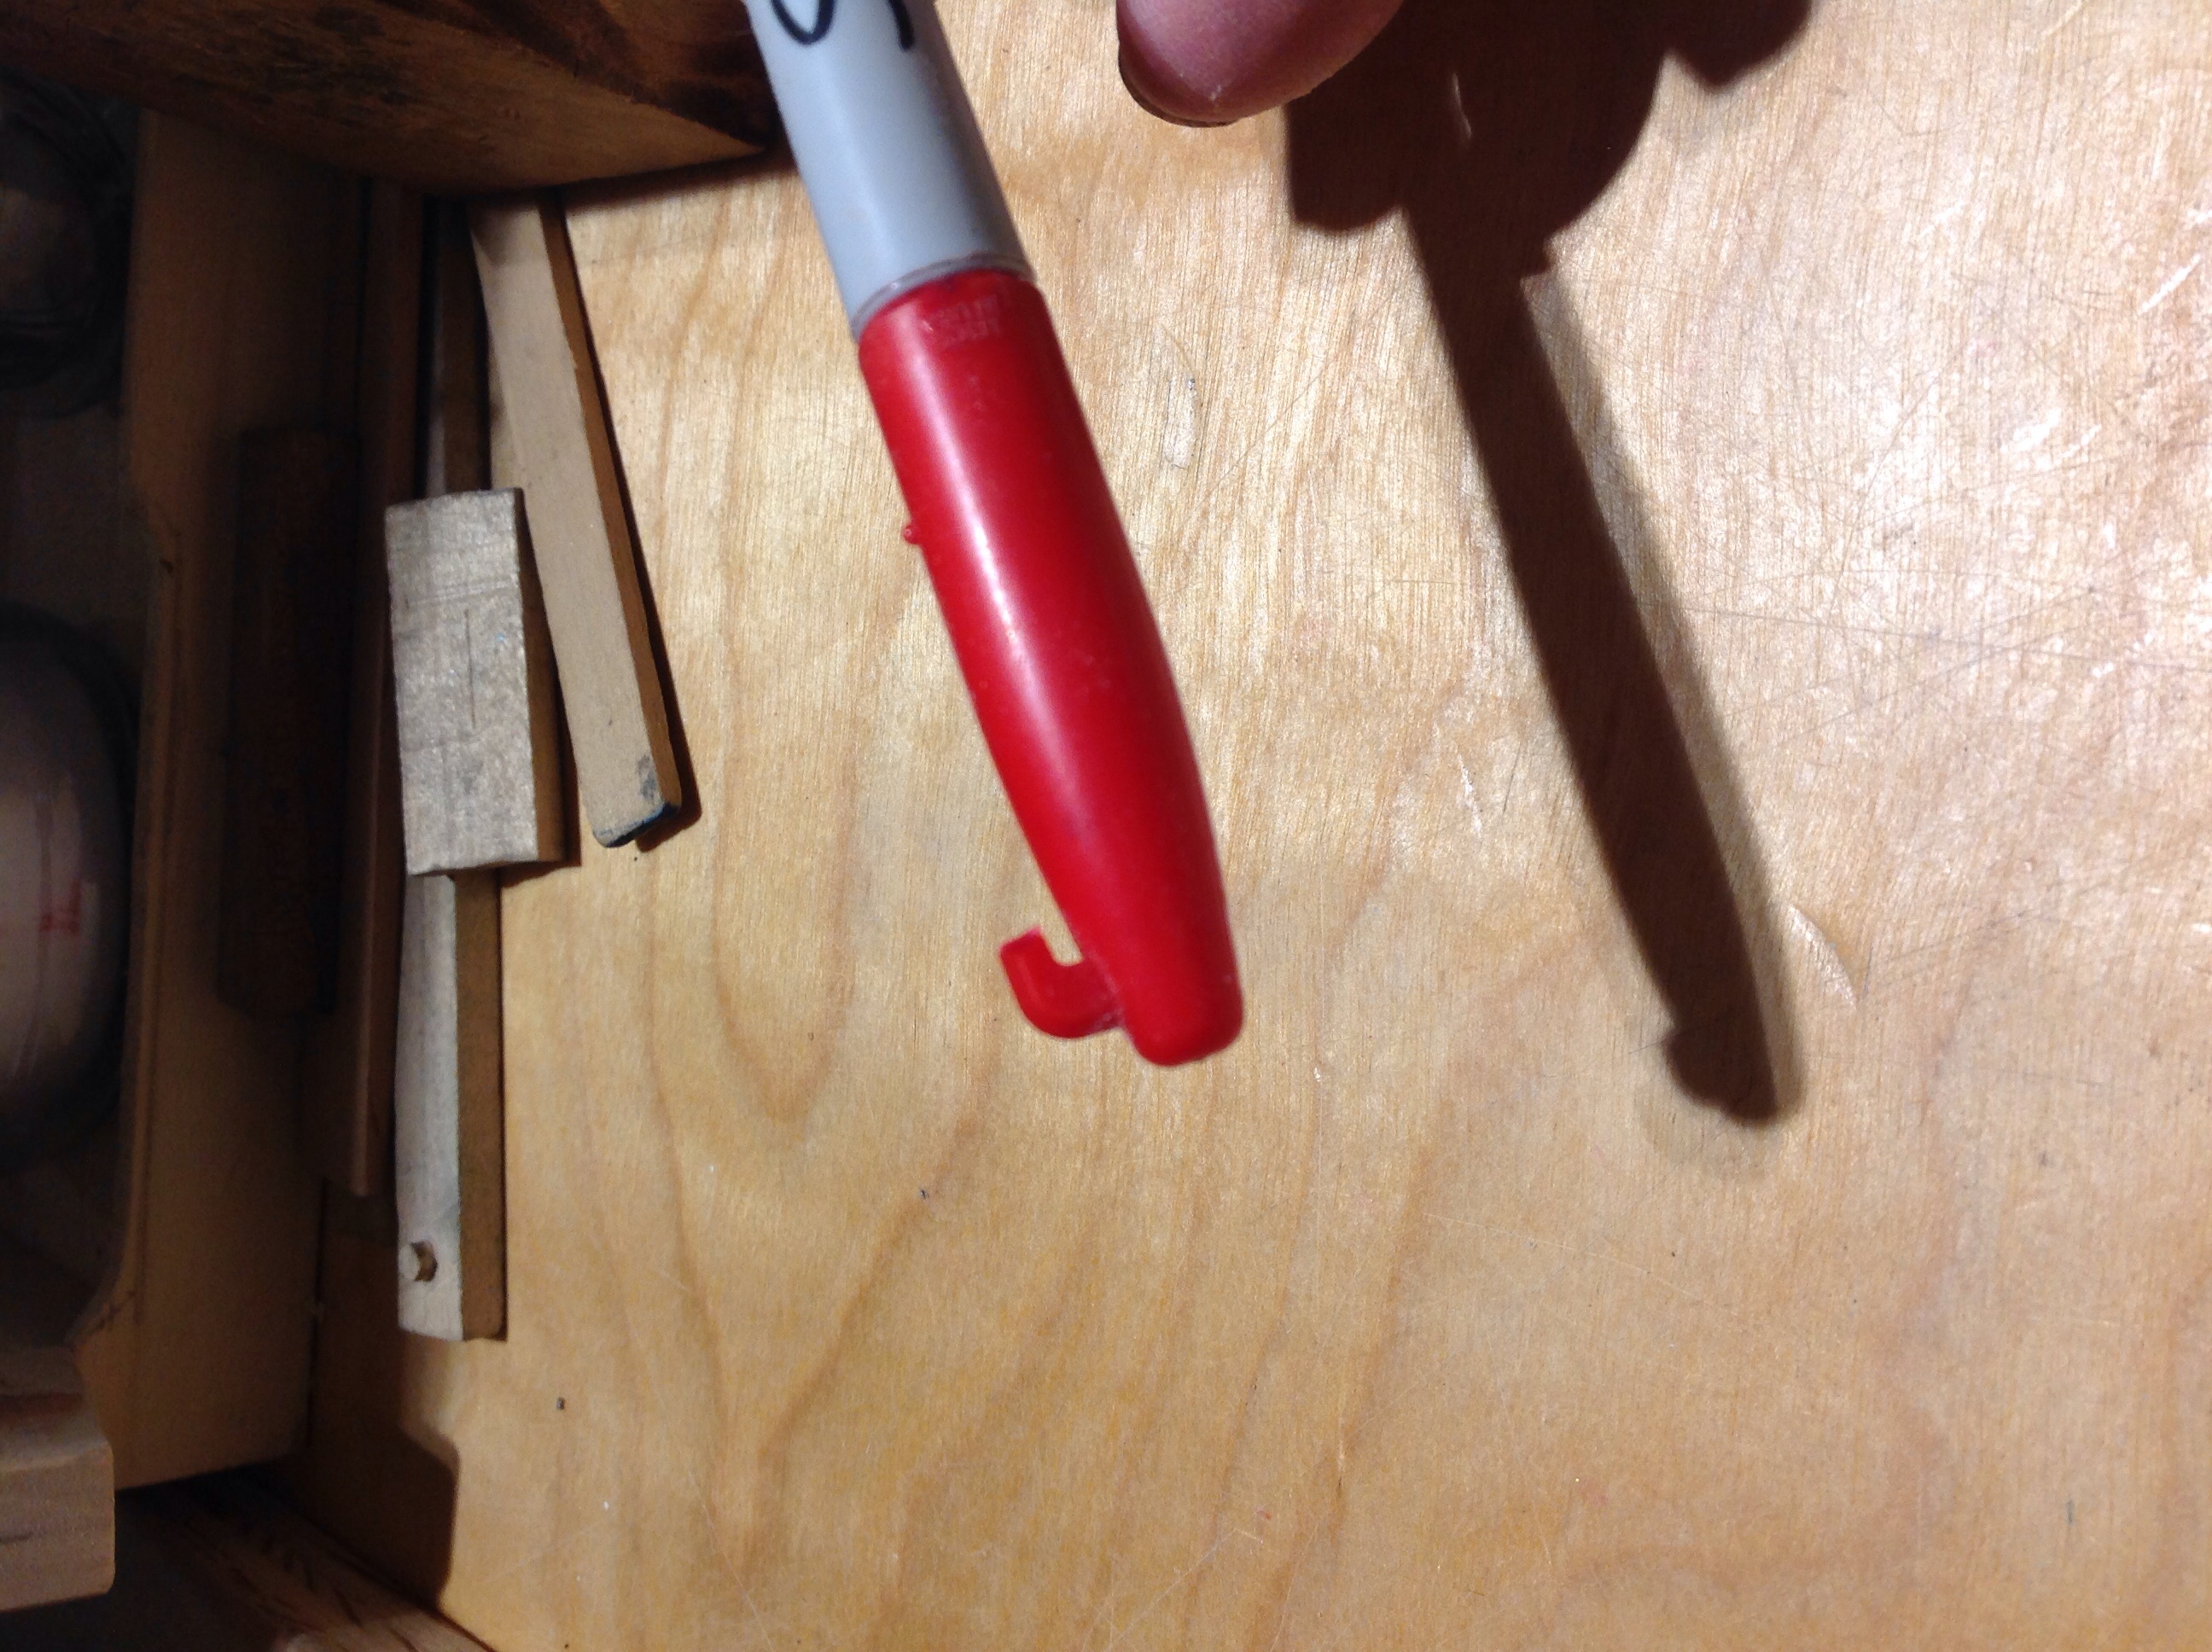
A good many of us use Sharpie Markers,
This bracket made of 2 x 4e ( again for thickness ) deep holes needed, rough up the caps for grip.
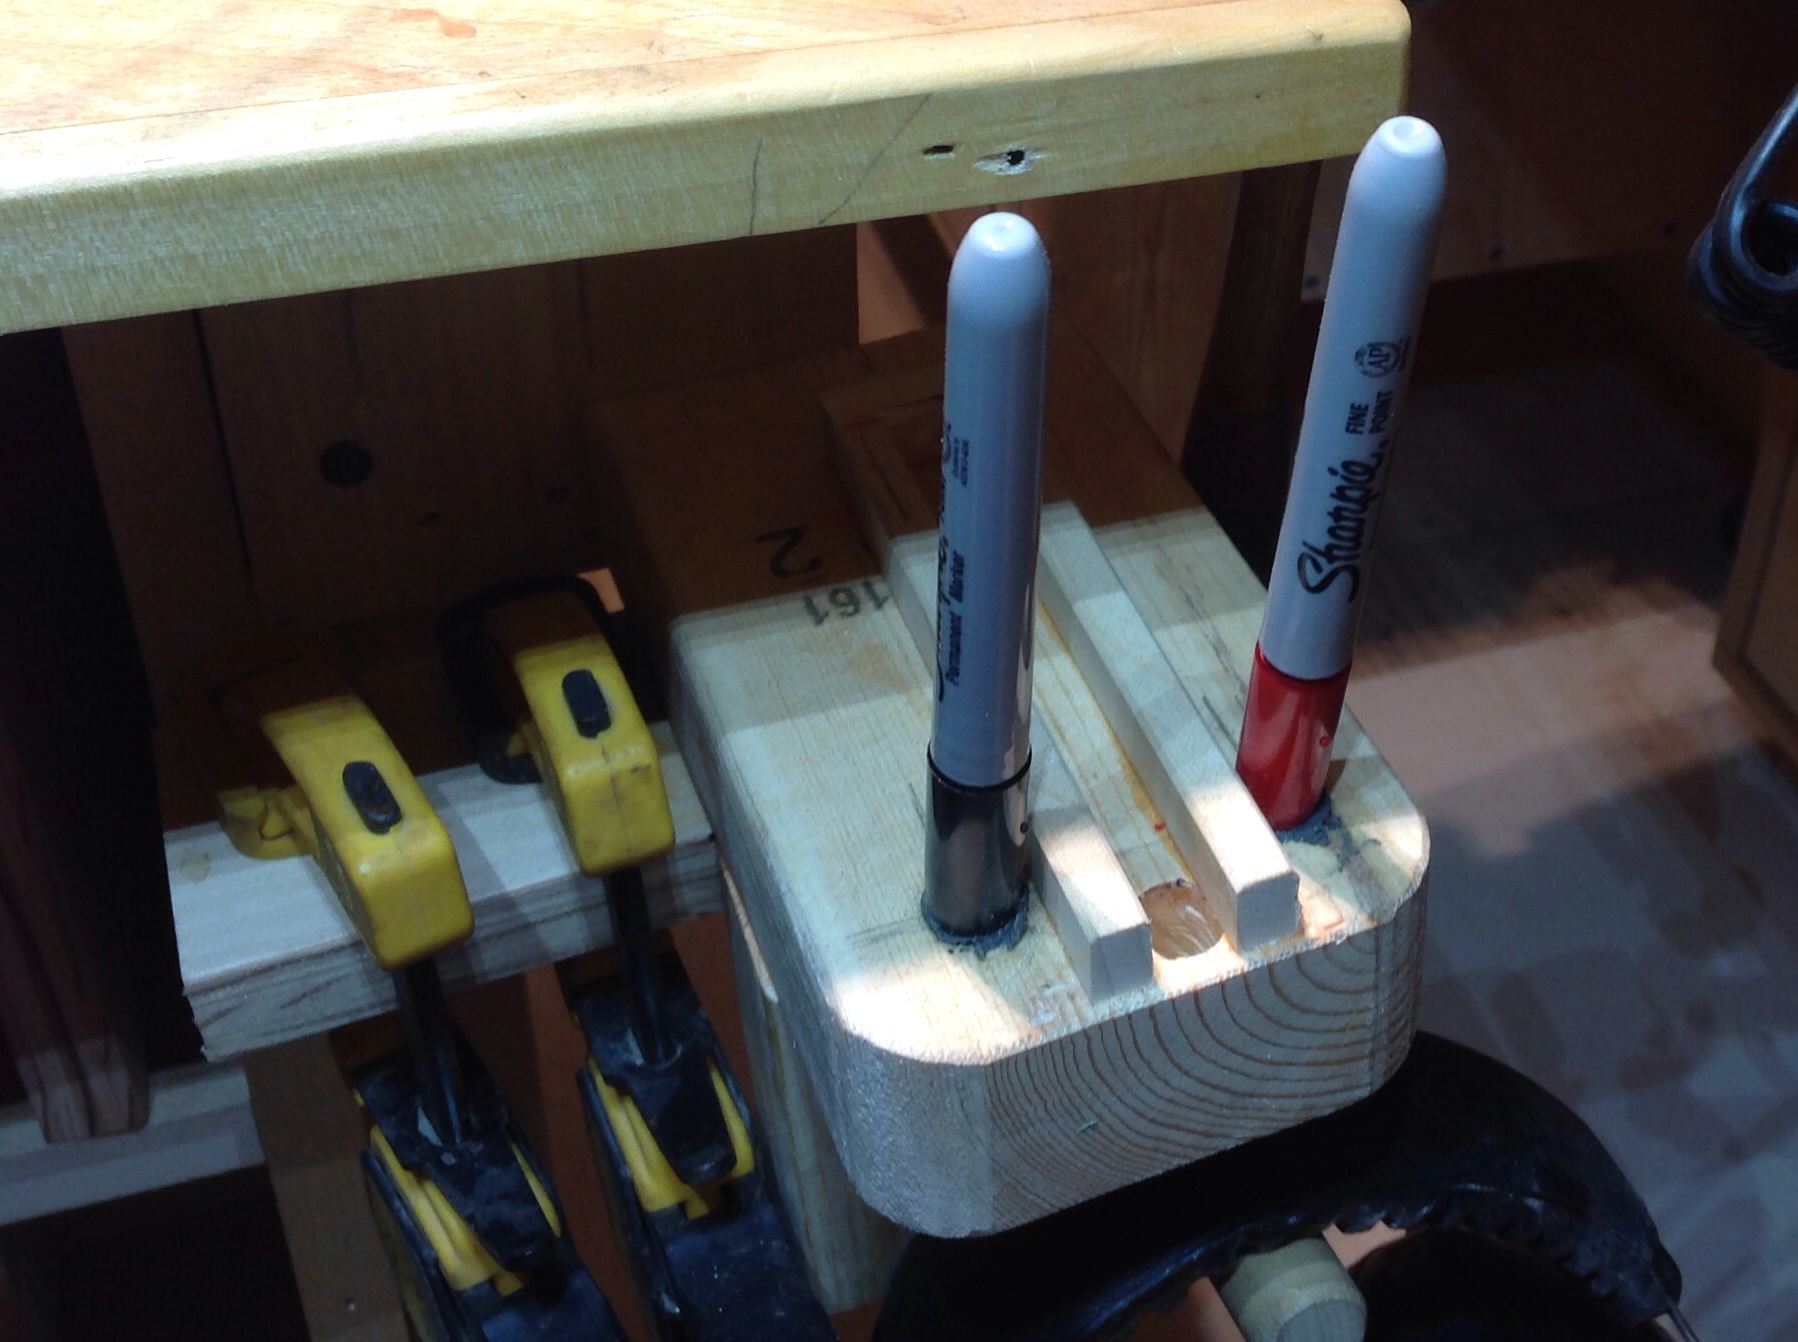
Glue them in the holes with epoxy putty.
When the bracket is mounted, it makes for one handed use of the sharpie
Mike
7 Likes
“Sharpie Markers” as Mike Bremerton used are invaluable EVEN in setting, why so?
Even when I set a multitude of stone or even one I’ll mark that one claw that needs refining. When you mark with a different coloured claw, you can catch it again. During my 3-city tour, I showed the “Sharpie-Marker” claw touching constantly!
The reasons are when you rotate the ring, your eye can’t always remember which claw needs to be redone… Markers are a part of my case of tools! I also mark my files-grit with Sharpies as well, I use this for quick retrieval instead of searching among my collection…ah, there it is!!!
Thanks Mike B. for that useful idea, it can be applied everywhere…
Gerry! On my Travelling iPhone!
4 Likes
Gerry
Great to hear from you.
Thanks again for the many useful ideas you shared with me when you visited
my bench a few years back.
Mike
Great thought on the Sharpie holder!
Bob,
Your response to the Sharpie holder is much appreciated.
The feedback that I’m getting encourages me to explain my side bench design.
It is basically a four sided 3/4 inch plywood box, with open ends front and back, in the middle is a verticle divider that creates both a front compartment and a rear compartment, this also strengthens it against side to side movement ( racking load )
.A shelf is added in the front to make an upper and lower space, same thing in the back. The box measures 30 " wide X 24 " high.
I use the front for larger tools, the rear for storage
The legs are made from 2 x 4 's screwed and glued to the side corners of the box.
The 3/4 in plywood top is screwed on from underneath, also using Tite Bond wood glue,
This in effect creates a nice 1 1/2 inch thick top good for pounding on.
infact the whole assembly is done with screws and glue for strength.
Adding the legs and top bring the work surface 30 " from the floor
On the left side is a shelf added with two " L " brackets, i keep my catalogs there.
I’m happy to answer any questions .
Orchid is an unusually wonderful way to share information and learn.
As a member over the years i have been on the receiving end of much valuable information, it is pleasure to have the opportunity to give back.
Mike
1 Like
Mike
Two important words that keeps this forum working…”share & learn” and do it freely. At no charge. The other member (no name) thinks everyone should charge for this, WHY?
Gimme a break!..;(
Gerry! On my Travelling iPhone!
3 Likes