So I’ve got a question for everybody on metal forming sterling silver 3D daffodils. You know the trumpet thing (I think it’s technically called the ‘corona’) that comes out of the center of a daffodil, it sticks straight up as a tube then the edges flare out dramatically with frilly edges at the top? I’m struggling with this. At first I thought I would make just a tube then flare one end so that it has that frilly look on the edges around the top and flatten it so it would spread out fully. I put one end of the tube on the horn of a miniature anvil. It didn’t work, the tube seam split open REPEATEDLY no matter how many times I tried it. So then I decided to make a tube that was naturally wider on one end than the other so when I put it together it would already be a little flared. It really didn’t work well, the flare was too gradual, and the trumpet thing in the middle of daffodils has a much sharper turn at the top, it goes from a tube into a flared full circle spread with frilly edges at the top. Now, other than carving this thing in wax and just casting it exactly the way you want it, do you have any ideas on how to metal form this thing? I can’t find any decent videos or books on how you would go about metal forming such a thing. Basically all I’m trying to do is take a tube and spread/flare one end a lot. This doesn’t seem like it would be that complicated, you can take a sheet of silver and turn it into a bowl for crying out loud, why am I having so much trouble with this? Any help, tips, and advice would be deeply appreciated!
Hi,
…my brain is thinking repousse, medium pitch in a pitch bowl, and and a few chasing tools…
embossers
liners
i love Victoria Lansfords chasing tool set, and her dvd is very comprehensive…in my personal opinion, a game changer for high relief techniques…
I also like Saign Charlesteins chasing tools, primarily because he sells them individually, in sizes…as well as in sets
I have not tried Nechamkins chasing sets…when i looked at them, my personal opinion was that the sets seemed to have more chasing and planishing tools, and less embossing tools…but, i could be mistaken…
julie
Since it’s your solder seam that keeps splitting on you, I’m wondering if it would work to reverse engineer it by making a pattern to saw out, then hammer the frilled edge, and then form into a tube to solder.
You haven’t offered us any idea of the scale of this piece. You might look for seamless tubing that you can use to start with. That all being said, a well soldered seam should withstand a fair amount of abuse. You might go back to your idea of a cone shaped tube and work on refining the shape of the cone as well as how you are soldering it. If you are using a low melting point solder, you might try something a bit harder like medium. Finally, rather than a butt joint, try overlapping the seam. I have done a lot of lilies with this type of joint.

This is a fairly complicated project, so don’t beat yourself up over it. If you want to see amazing floral pieces done in metal and enamel, look at James Miller’s work. Good luck…Rob
Hi?
perhaps it is a multiple part flower, with the trumpet portion consisting of a tapered cone (perhaps textured/ striated) and topped off (on the larger end) with a flared/ fluted rim made from a washer type shape (soldered onto the larger openning)…and then the balance of the petals can be added as tiered flower layers…or added individually overlapping….![]()

uss pieces of wood that you hammer dents into…either in the middle of the wood to dish out…or on the edges of the ends of the wood to flute and wave…
julie
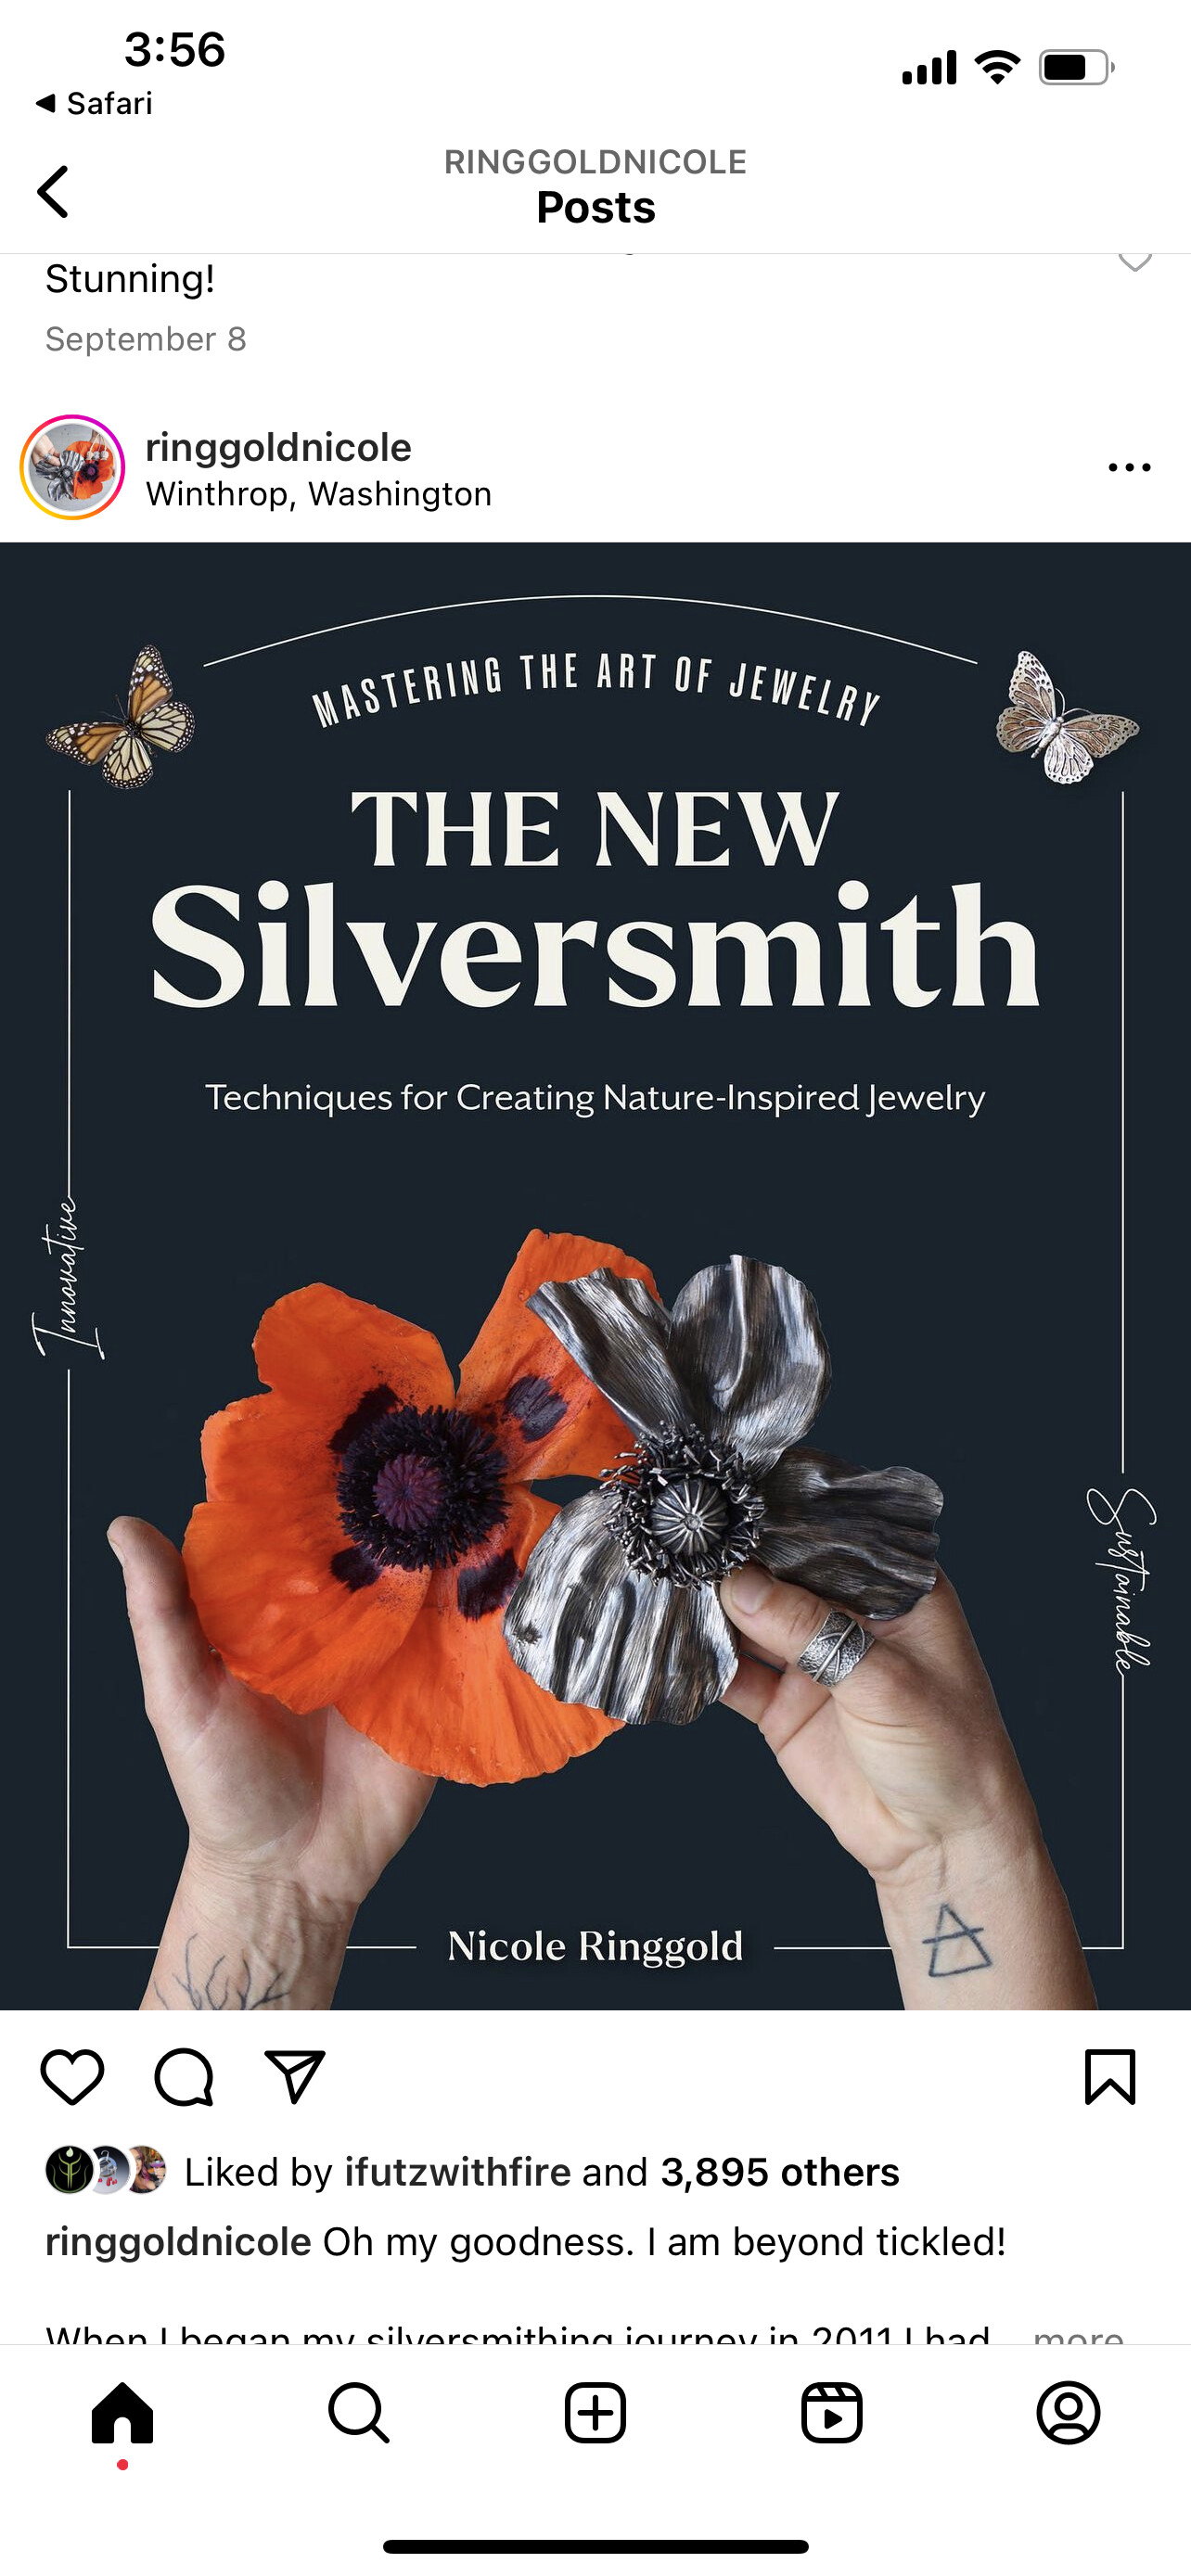
It’s not a clear how to answer, but I’d encourage you to look up ringgoldnicole on instagram. She does this type of work and you might learn from her.
Hi,
good call! i see she has a daffodil and she shows how she makes it!
julie
I was thinking along those lines too Marlala! I also thought about making darts around the frilled edges to indicate the folds of the corona. I’ve never done any fold forming but surely that is possible.
She does crazy good th8ngs with fusing, I am humbled by her creativity and her no fear of fire scale
I just preordered her book, didn’t realize she had an online following as well.
Lots of awesome ideas here, I’m going to try some of these and see if I can’t get this project done to my satisfaction. Thanks again everyone!!!
So I see the daffodil. Where does she show how she makes it??
This video shows a great way to make lots of different flowers. One of my favorite variations is to flame patina copper to make it red, to make red copper roses.
You can scale this technique up for sculptural metal flowers or down for jewelry scale flowers.
Thanks for sharing it Julie!
Jeff
I’m REALLY looking forward to this book being released because the kind of stuff she makes is exactly the kind of stuff I like to make, especially the floral stuff. April 2, 2024!!!
So the link above took me to her Instagram page, right? Everyone keeps talking about a video, but all I see is her Instagram page. I see the picture of daffodils she made, but there’s no video from what I can tell about how she went about making it. Where is this video everyone keeps talking about??? Am I looking at the wrong thing??
Hi,
so if you go to her profile page, you will see thumbnail pics…scroll thru them…the ones with a little video icon are videos where she often shows parts of her process…or tap on the middle icon for “videos” to filter just videos…
you tap on the thumbnsil to enlarge that one post, an the video should start to play…
julie
I know it’s not a daffodil, but I thought I’d share an image of a holiday ornament that my students made one year as fund raiser for our jewelry program. We made a pile of these and sold all of them except this one that I kept. They’re life-size, red heat patina copper roses. This ornament has been sitting in a window for 10+ years and still has a lot of that beautiful red copper color.
Cheers!
Jeff

I’ve been making roses, but this is a much different technique. Did they take like a scalloped bezel and form it in such a way that it was at an angle so it spreads at the top? It’s the how-to and the techniques used that I’m really curious about. I love this red copper patina, I must use this at some point, it’s absolutely beautiful. I love floral metalsmithing mixed with Victorian scrollwork, engraving, and stone settings. That’s what I want to do, that’s my thing right there, I love it. I’m going to post a question at some point with some pictures asking for advice, but I’m not quite ready yet.
This is a simple copper fold form flower that I make to stick into outside flower pots. This one was freshly pickled. They take on a very weathered patina after being outside for a season. I think that someone may have mentioned Fold Forming by Charles Lewton-Brain. It is a great resource…Rob

Our roses were made pretty much like the person showed in the video, except the petals are thinner and there are more of them. I think the copper was 22 ga. We fine-tuned the shapes of the petals by bending and folding the thin annealed copper with our fingers. The other difference is that instead of a rivet we attached them to an 8 ga brass rod stem by drilling and tapping a hole in the top of the rod and screwing the whole flower together with a miniature brass bolt.
The leaves were a basic fold form from Charles Lewton Brain’s Fold Forming Book.
Thanks to Rob for mentioning fold forming! Charles’ book is a treasure chest of easy to make organic shapes with sheet metal.
Jeff
I’m actually reading that book very carefully right now. I’m about halfway through it. I’ve noticed that it seems he likes to use foldforming to make pretty abstract things, and I don’t really do abstract art so I’m trying to figure out how to apply his techniques to make the things I’m interested in, which is challenging because the examples are all abstract, not representational, so I’m trying to figure out how to cross that bridge. Jewelry is often very small so trying to figure how to foldform something that’s super tiny instead of a large sheet is difficult. I’m struggling with applying his techniques mainly because of those two reasons. Andrew Berry has some videos in his paid content of using foldforming to make (smaller) jewelry, I plan on checking that out soon once I’m done with the claw settings I’m currently working on. I can’t wait for the book Nicole Ringgold put out, her stuff is right up my alley!!!