I’ve been using a barrel tumbler, but have just acquired a magnetic tumbler, mainly to get to areas that the barrel media won’t reach, but also wanted something quicker. I knew it resulted in a matte finish, but I was surprised at the degree of “matte-ness”. I’ve used it on one piece and was not happy with the “machine gun” finish. Is the degree of the finish adjustable by amount of media, water, etc?
My polishing strategy consists of going through 3 or 4 grits of the Luxi compounds, but even the coarsest (asian blue) struggled to get rid of the micro dents made by the tiny pins. Any recommendations for a pre-polish that will smooth out the magnetic tumbler finish?
1 Like
I have never had the pins in my magnetic finisher leave a matte finish or any micro dents on my work and sometimes I mag finish very thin fine silver. So, that being said, can you send us, here at Orchid, an image of the finish and the dents and also of the pins that you’re using, and also the level of water you are using in the tub of the finisher. Those variables, plus the kind of burnishing/lubricating liquid will effect the surface of your metal. I use the extremely fine pins, that look like snippets of steel wire, and I use Sunsheen burnishing liquid. I fill the tub about 2/3 full, with about 3/4 cup of the pins, and about 1 teaspoon of Sunsheen. Granted, I’m not going to a mirror finish, but my mag finisher gets me pretty close to that.
3 Likes
Could you please specify the actual amount of water that you use? It would help to show the ratio of pins to liquid. 2/3rds full only helps if others have the same bowl size.
3/4 cup is a lot of pins compared to what came with the finisher I have.
Except for jump ring chains & bracelets, which come out beautifully, I definitely get an orange peel surface with any kind of stainess steel media in any type of machine. It would be nice if it were otherwise.
Neil A
Thank you LaLinda and Neil. I will show a pic the next time I use it, I’ve somewhat polished out the previous piece. This is the tumbler I have:
It has a very large bowl, 7" wide x 4.7" high. I use the 200g of the tiny burnishing pins (the 0.5mm width ones) that came with it and filled it up with about 1" of water above the pins and piece to be finished. I pre mixed the Sunsheen with water at the recommended concentration and added enough of that mixture to the water to produce a “medium” amount of foam. Hopefully I can adjust this and get a flatter finish. One thing, I ran the unit several times before adding jewelry and the pins, as delivered, were super dirty. They are cleaner now, but still smell bad, like dirty metal. I have some pins from Rio (the 0.3mm thick ones), maybe I should try them?
I get it, Neil A. Proportion is important. So. . . that being said, let’s say that I use enough of the very fine stless steel pins to cover the floor of the container about 1/4-1/2 inch thick. I have never, never, never measured that amount exactly. You don’t need much more of these pins. Follow the manufacturer’s instructions for these and also for the amount of water (best to use distilled water, if you are using water with a high mineral content) and also for the burnishing liquid. I don’t understand why you are getting an orange peel texture on your metal. Can you post an image of the shot you’re using? Let me describe what I use again. . . it looks like very short pieces of wire, about 22 gauge (maybe). Here’s what they look like: https://smile.amazon.com/Stainless-Polishing-Magnetic-Tumbler-Polishers/dp/B07M91FQ94/ref=sr_1_3?dchild=1&keywords=stainless+steel+shot+of+magnetic+finisher&qid=1630176109&sr=8-3 (if the link doesn’t work, just copy and paste it into your browser). They came with my mag finisher that I bought from Rio, but Rio does not carry them. Each is very light weight and they slide, rather than bang against my jewels. If you’re using shot designed for rotating tumblers, that might be the problem (Rio only seems to stock that kind of shot currently). Hope this is helpful. The ease of use and short time necessary for a nice surface finish make magnetic finishers so useful. The model I bought has a container that is about a 5" diameter and ca. 8" high. It has lasted me for over 10 years and only had to replace the switch on it once. Otherwise it’s a great little workhorse that Rio continues to stock. Here’s the link to it: Model 100 Magnetic Pin Finisher - RioGrande
Just a word: I have no connection, other than being a customer, to either Rio or Amazon or to the manufacturers of either the pins or the finisher.
Hi Linda,
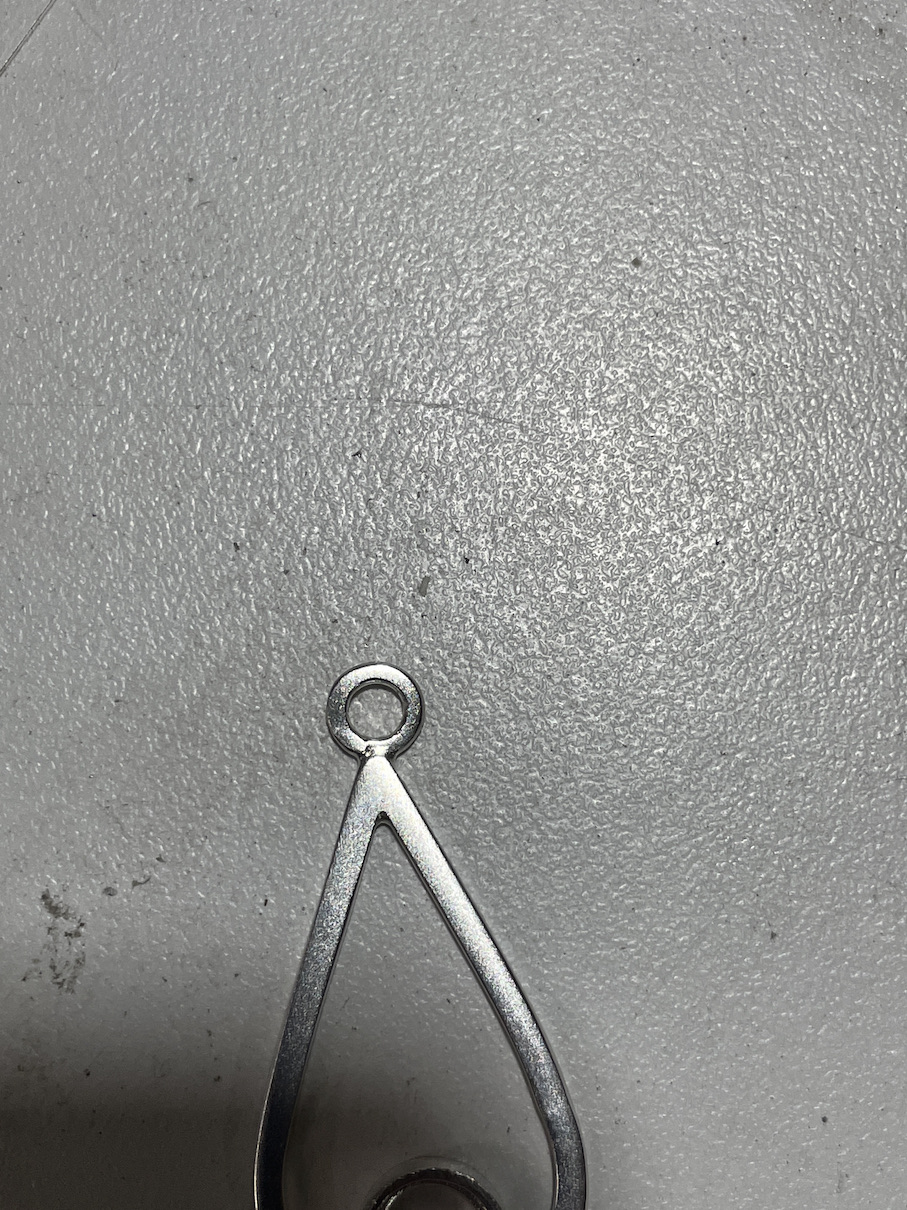
These are the pins I have:
I don’t understand why you are getting an orange peel texture on your metal.
In high school 4 of us would go fishing together and one guy always caught all the fish. (It wasn’t me). We changed positons, swapped fishing rods, same result. Maybe my ‘luck’ is consistent.
Have you tried fishing? ![]()
Regards,
Neil A
1 Like
i have the magnetic finisher you mentioned. it is third hand and i have no printed guidance on use. thank for the tips! i see that i perhaps need to put in more pins (i do have a supply). I’m having a problem with only the bottom half of my work being finished. i tried to get advice from Rio, but no follow thru after the first contact. they don’t have the replacement bowls that they mention in the product description either
joanne from Asheville, NC
I"m not familiar with this finisher. Your comment on the pins suggests that they were coated with oil, which I believe is done to prevent rusting during production nd shipping of them. Odd, because the only kind of pins to use in this type of machine are generally stainless steel (hence, no rusting). However, that being said, carbon steel pins alone should not produce a matte finish or micro-dents. Any oil or other substance on the pins that is causing them to smell would interfere with the action of the Sunsheen. Your attempt to clean them in the container of the mag finisher may have left some of whatever the substance is on the inside of the container.This is the Sunsheen that I use: https://www.riogrande.com/product/super-sunsheen-burnishing-compounds/339323gp It does not require mixing prior to adding it to the container of the mag finisher. I simply add it to the water in the container, throw my pieces in and turn the machine on. One more comment, if you are pre-polishing with polishing compounds, you must remove every trace of the compounds from your pieces before using the magnetic finisher. These compounds can contaminate the liquid of the finisher and the container itself, interfering with the efficacy of the burnishing compound and therefore, that of the mag finisher itself. I know that sounds obvious, something you might have done, but, just in case, I mention it here. So, to state the obvious: 1. make sure that your pins and container and your pieces are absolutely spitspot clean before beginning to use the machine; 2. Add the water (distilled if necessary) and burnishing compound (in my case, liquid Sunsheen) to the container (just a note here: as you continue to use the same liquid, it will darken which doesn’t really matter. after a while, you can add a little more b.c… eventually you will need to change the liquid out for clean and clear); 3. Add the jewelry pieces to the container.; 4. Start the machine.
2 Likes
hi all,
i have a magnetic finisher from rio…but rarely use it…i only used it for items with lots of detail and minimal flat surface area…
i do recall that the surface gets softly burnished to a softly shiny finish…(as opposed to what i call a hot bright mirror finish shiny surface)…and that mine did impart a very slight, fine surface texture…
pins look the same…sunsheen burnishing compound used…
may i ask how long you all are running?
i feel the urge to drag mine out now! haha!
i should re-visit all my mass finishing stuff…
i was just at the bench yesterday, working on a heavy ring with a wire scroll basket under gallery…
wondering why i always default to abrasive paper, and then buffs and compounds…when i have a bench full of flex shaft attachments…
strips of thin sandpaper in slits
folded sandpaper corners and edges, etc
so, i pulled out various attachments and used them to smooth things out…finishing burs…crosscut tapered burs…krause burs…abrasive points…rubber wheels…but i always wanna revert to abrasive papers…
i need to master attachments…to achieve a smooth surface…no grooves…the areas to finish are always soo small…
i was experimenting with feathering movements…light pressure…reverse motor…
(sigh!)
julie
julie
Thank you Linda-
I am using super sunsheen
I’m guessing its just concentrated sun sheen, hence the instructions to dilute with water before using. I do pre polish but only after I tumble.
Thank you for sharing such great detailed information! 
So, the finish from my mag tumbler is quite unacceptable for about 99% of the pieces I make. Here is a photo of a piece after 20min in the mag tumbler. When I put it in, the piece had been emery finished to 2000 grit. I had to start over with 400 grit to get rid of these micro dents.
Also, here is a link to a video that shows it being tumbled.
I’m hoping there is something I can do differently, otherwise I probably won’t use the mag tumbler again ands will just stick to my rolling tumbler.
The texture hou see is a reflection of the underlying crystal structure. The crystals and grain boundaries between them vary in hardness/density. The mag tumblers pins are tiny enough to fit into and reveal the structure. It would not do this to pieces fabricated from rolled sheet, drawn wire, or die struck pieces. Your fix might be to follow up from the mag finisher with a rotary tumbler using standard steel mixed shape tumbling shot. These heavier and much larger shapes usually will burnish down the pebbled finish from the mag finisher. At least in my experience, that results in a nice almost smooth finish wherever the tumbling shot can reach, and leave the mag finishers finish in all the hard to reach little spaces where the larger shot can’t reach. For me, usually this is OK, since these are often areas you cannot easily reach with hand buffing methods. If you want better, either using a buffing motor and suitable buffs/compounds will finish the pieces, and the final result will be substantially better than you would have gotten if you’d just skipped the tumbling altogether, since the tumbling thoroughly burnished the surfaces, closing pores and defects. If you don’t wish to hand polish, tumble drý, with walnut shell or similar media, with suitable compound. You can use a rotary tumber, but its slow. I use an Otec Mini disc finisher using the Otec suggested compounds. Last time I bought it was from Otto Frei. Note that while this give a good finish, nothing quite compares to the high polish buffing with a good quality red rouge. You still get your hands dirty…
Thanks Peter-
That explanation is fascinating actually!
Yes, I always hand polish, three Luxi grits with a flex shaft. I dont always tumble, just to get to places that are hard by hand. I actually got the mag tumbler because I had a piece that the rolling media wasn’t getting to. After getting it I fell into the convenience of 20 minutes vs hours with the rolling tumbler. I will reserve the mag tumbler for the pieces that originally motivated its purpose and follow with the rolling tumbler before polishing.
I use the mag finisher for raw castings. Any dishwashing detergent works very well. I will also add about 10 drops of phosphoric acid. You can also use RC cola (it has the highest content of phosphoric acid). (I stopped using Coke when they became political) You have to use 2-3 ounces of cola to get the same effect.
I originally purchased a mag finisher about 20 years ago, $1800 from Gesswein to eliminate the need to “bomb” jewelry. It will remove your “orange peel” which is actually firescale from casting.
For polishing a vibratory tumbler and walnut shell works great although it does take 8-10 hours.
A magnetic tumbler is used primarily for two things - removing investment and for pre-polish on difficult to reach parts like heads. You will get a sparkly finish if your work is annealed or freshly cast.
To get the best possible polish, first clean up the piece(s), then run in a rotary tumbler with stainless steel mixed shape shot for 30 minutes. Then using a vibratory tumbler, for cast pieces - run for 4 hours with a medium grit abrasive. For fabricated work and for the second step with cast work, run for 4 hours with a fine abrasive media, again in your vibratory tumbler. Then run in your rotary tumbler with steel for 30 minutes. If you are hand polishing, this gives an excellent start to your process. If you are running production and want to machine finish entirely, run for 24 to 36 hours in a dry media charged with simichrome for either silver or gold. If simichrome is not available you can use chrome oxide in oil suspension for silver or Iron oxide (rouge) in oil suspension for gold. All of these processes work best if you use the compounds created for the particular process - i.e. a burnishing compound for steel in a rotary tumbler rather than a drop of dish soap. There are special compounds for magnetic finishing too. In all cases, clean up your tumblers and use clean liquids daily.
In all cases, a short run in steel in a rotary tumbler yields a better final finish, even for hand polishing.
Judy Hoch
3 Likes
Thanks Judy, great explanation.