I am trying to figure out the steps to secure a 15.57 mm round
obsidian bead to a wide, hammered brass ring band using a rivet. I
have found a B&S 14 gauge dead soft sterling round wire is the
correct size to snugly fit in the bead’s hole. Having read
practically everything I can find on rivets, I find myself turning
to the Orchid community for some advice here. I envision the
following sequence to secure the bead and would appreciate some
advice on this:
Cut the correct length of wire slightly longer than the bead’s
diameter. Sand and shape to the correct form one end of the rivet
wire to fit on the brass band. Solder the shaped end of the rivet
wire to the brass band. Insert the bead on the soldered rivet wire.
Mark the wire to the length needed to form a rivet on top of the
bead. Remove the bead from the rivet wire and sand and finish the
remaining end of the wire to be riveted. Replace the bead and form
the
rivet, somehow.
My questions are, should I use a rivet hammer or another tool to
form the rivet’s head? In the new book on stone setting by John
Cogswell, there are many pictures of rings that show stones riveted
to bands, but no instructions on how to accomplish this type of
setting, or connection. Also, in the other books I’ve checked
riveting always involves upsetting the rivet wire on two sides, not
just one, and usually involves only flat pieces which can be flipped
and riveted from both sides.
Some of my concerns are:
How to form and attach the rivet without making an unsightly mess on
the inside of the band. Forming the top rivet so the bead is securely
attached. Not breaking the bead in the process.
Any experience or insight you can pass along would be greatly
welcome. I have searched and searched the Orchid’s archive and read
and collected as much as I found on riveting, but nothing really
addresses precisely what I want to do.
why not do it the other way around. Make rivit head fit bead on wire-
drill hole for wire to go thru to back of ring pull wire thru with
bead against rivit head- keep tight and solder wire to back of ring ?
fix up solder area ?
The length of wire extending past the bead should be no more than 50%
of the thickness of the wire… Hammer on it pushing the metal
outwards on each side. You may want to use the pointy part of the
hammer at first. Trim, smooth and polish.
What you are going to run into is the wire deflecting or bending
rather than mushrooming over. 16mm is pretty long for an unsupported
rivet of that description. What may happen is as the wire deflects it
busticates your obsidian in two, because you keep hammering thinking,
as you watch the wire end get shorter, “Hey, this is working”, until
of course it doesn’t.
Also obsidian is pretty brittle, risky to hammer on top of it.
I might suggest this…
If the brass band is of sufficient thickness, drill and tap the band
to suit the wire, Use a matching die on the wire(switch to a harder
temper). After you screw the pieces together simply upset the wire
from the inside. Use a chasing tool or fine chisel to basically stake
the wire in place, preventing it from unscrewing. You support the
shank and hammer against that instead of thru the bead.
Alternatively, you could hold your breath and simply melt the wire
end to a ball. I think using gold wire will give you a nice
temperature buffer as it will ball more easily and cleanly and
quickly.
Or…solder a stiff thin wire to the shank. Use a piece of capped
and maybe decorated tubing inserted thru the top of the bead to press
fit onto the wire, use some stout glue. If you can deal with some
extra length above the bead you could crimp the tube to the wire,
similar to old fashioned spring loaded shirt stud findings.
However you do it remember that any stress applied to the bead during
normal wear will tend to concentrate where the wire meets the shank,
possibly overcoming any mechanical connection. You might be best to
have someone laser the wire in place. This is how I would do it, but
I have a laser handy.
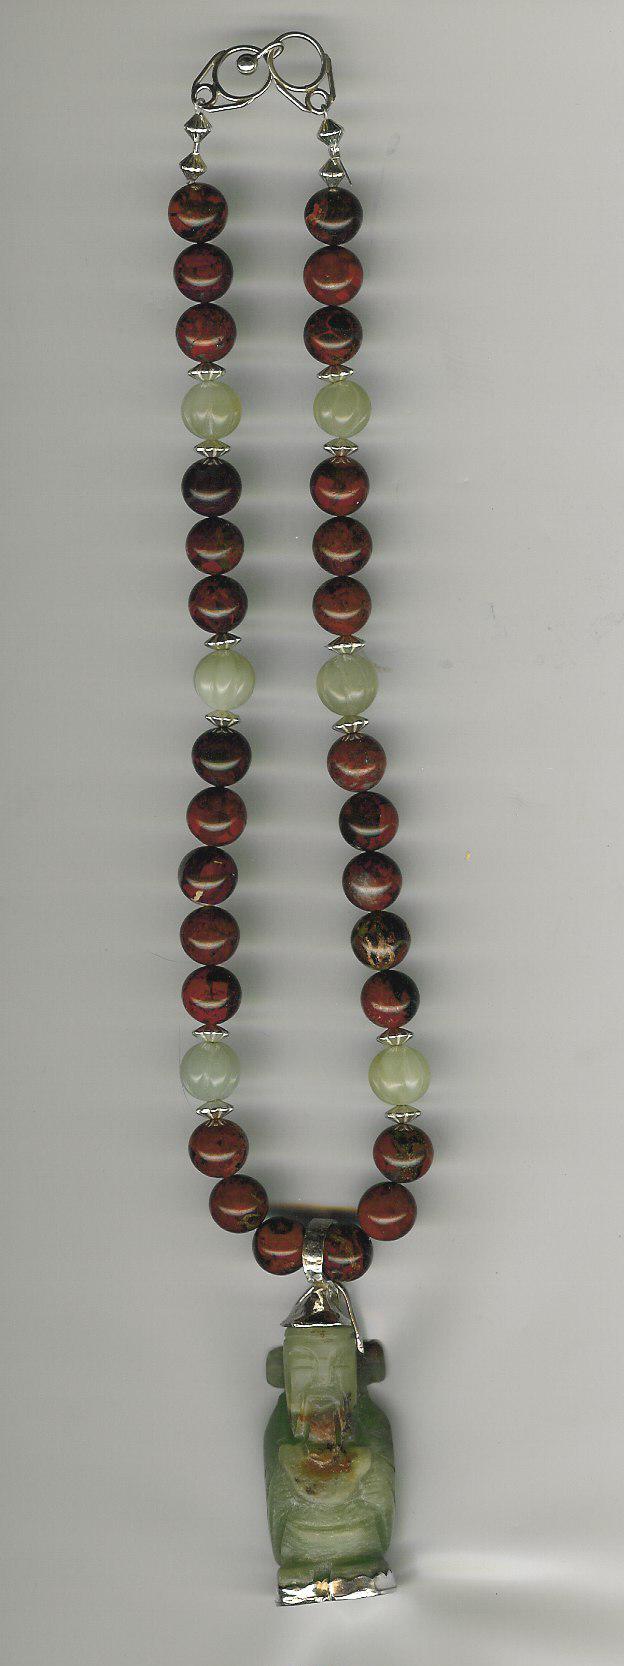
I had a similar problem in dealing with the center hole on this
Pendant. I agree with replies to this point, in that the bead may be
too large to secure it safely. I am concerned that applying heat
will impact the bead as well.
Keeping the focal bead centered was also a problem for me, so I
created a seat and a hat in order to do that. I don’t know if this
may help, but I know setting a rivet onto a round bead will not be
easy.
Neil the Jeweler, thank you for the wonderful analysis and the tips.
This is exactly what I’ve been worried about. Just didn’t know how
to explainit. Yes, I’ve also envisioned deformation of the riveting
wire inside the bead’s hole while I"m trying to form the head,
hammering happily away, thinking it’s working, then the pressure
breaks the bead… I sigh, start again, try another, it’s working,
and then,… frustration sits in!).
Another member contacted me offline with a great perspective and
description of how to accomplish setting the bead with the one-sided
rivet, which is below and I thought I’d include here for future
Orchid members to find when they search the archives:
"I've done this a lot both with wire rivets and tube rivets.
There are many ways you could go about this, but if I were doing
this on a ring, with the stone sitting on top and the rivet going
straight down onto the shank I'd probably drill a hole in the
shank, solder in the wire, then place the bead, cut the wire to
the right length (a few mm extending beyond the bead), then
gently form the rivet with the round end of a ballpein hammer
with the ring on a ring mandrel. (having the ring on a mandrel
will give the support on the other end of the rivet) You don't
really need to pre-measure the wire, it just needs to be long
enough to accomodate the bead with some left over, once the bead
is placed you can mark and cut it to the right length. The wire
should be a tight fit to the bead and with only a small amount
extended beyond. I cracked a few beads early on but since have
set quite a few this way....it takes a bit of practice is all. I
know somepeople use the flat end of a hammer, either a riveting
or something else, but I love the round end of a hammer for
setting rivets (both kinds) as I like to hammer on the edge of
the wire and sort of pull towards me to help burnish the wire
outwards. I also like the slightly domed appearance this leaves
on the rivet head. Sometimes I hammer until the wire/rivet head
is smooth but sometimes I leave it with the texture the round end
gives this way it has a 'faceted' look to the head of the rivet
which can be a nice effect."
There were a couple of other offline emails that helped too, in
asking so me questions and offering additional observations or
suggestions. So, with some tweaking of my original idea, I think I
will now give this a try. Details details. It’s all in the details.
And experimenting! Thanks again. Ganoksin RULES and the Orchid forum
kicks some serious BUTT! - Aurevoir! Hobbs