I know it’s a bit late, but for those that have a GRS Benchmate (probably everyone lol ), is the support arm worth the extra cost on the Encore QCX? Any accessories for the GRS worth mentioning before the big Rio sale?
Thank you 
I know it’s a bit late, but for those that have a GRS Benchmate (probably everyone lol ), is the support arm worth the extra cost on the Encore QCX? Any accessories for the GRS worth mentioning before the big Rio sale?
Thank you
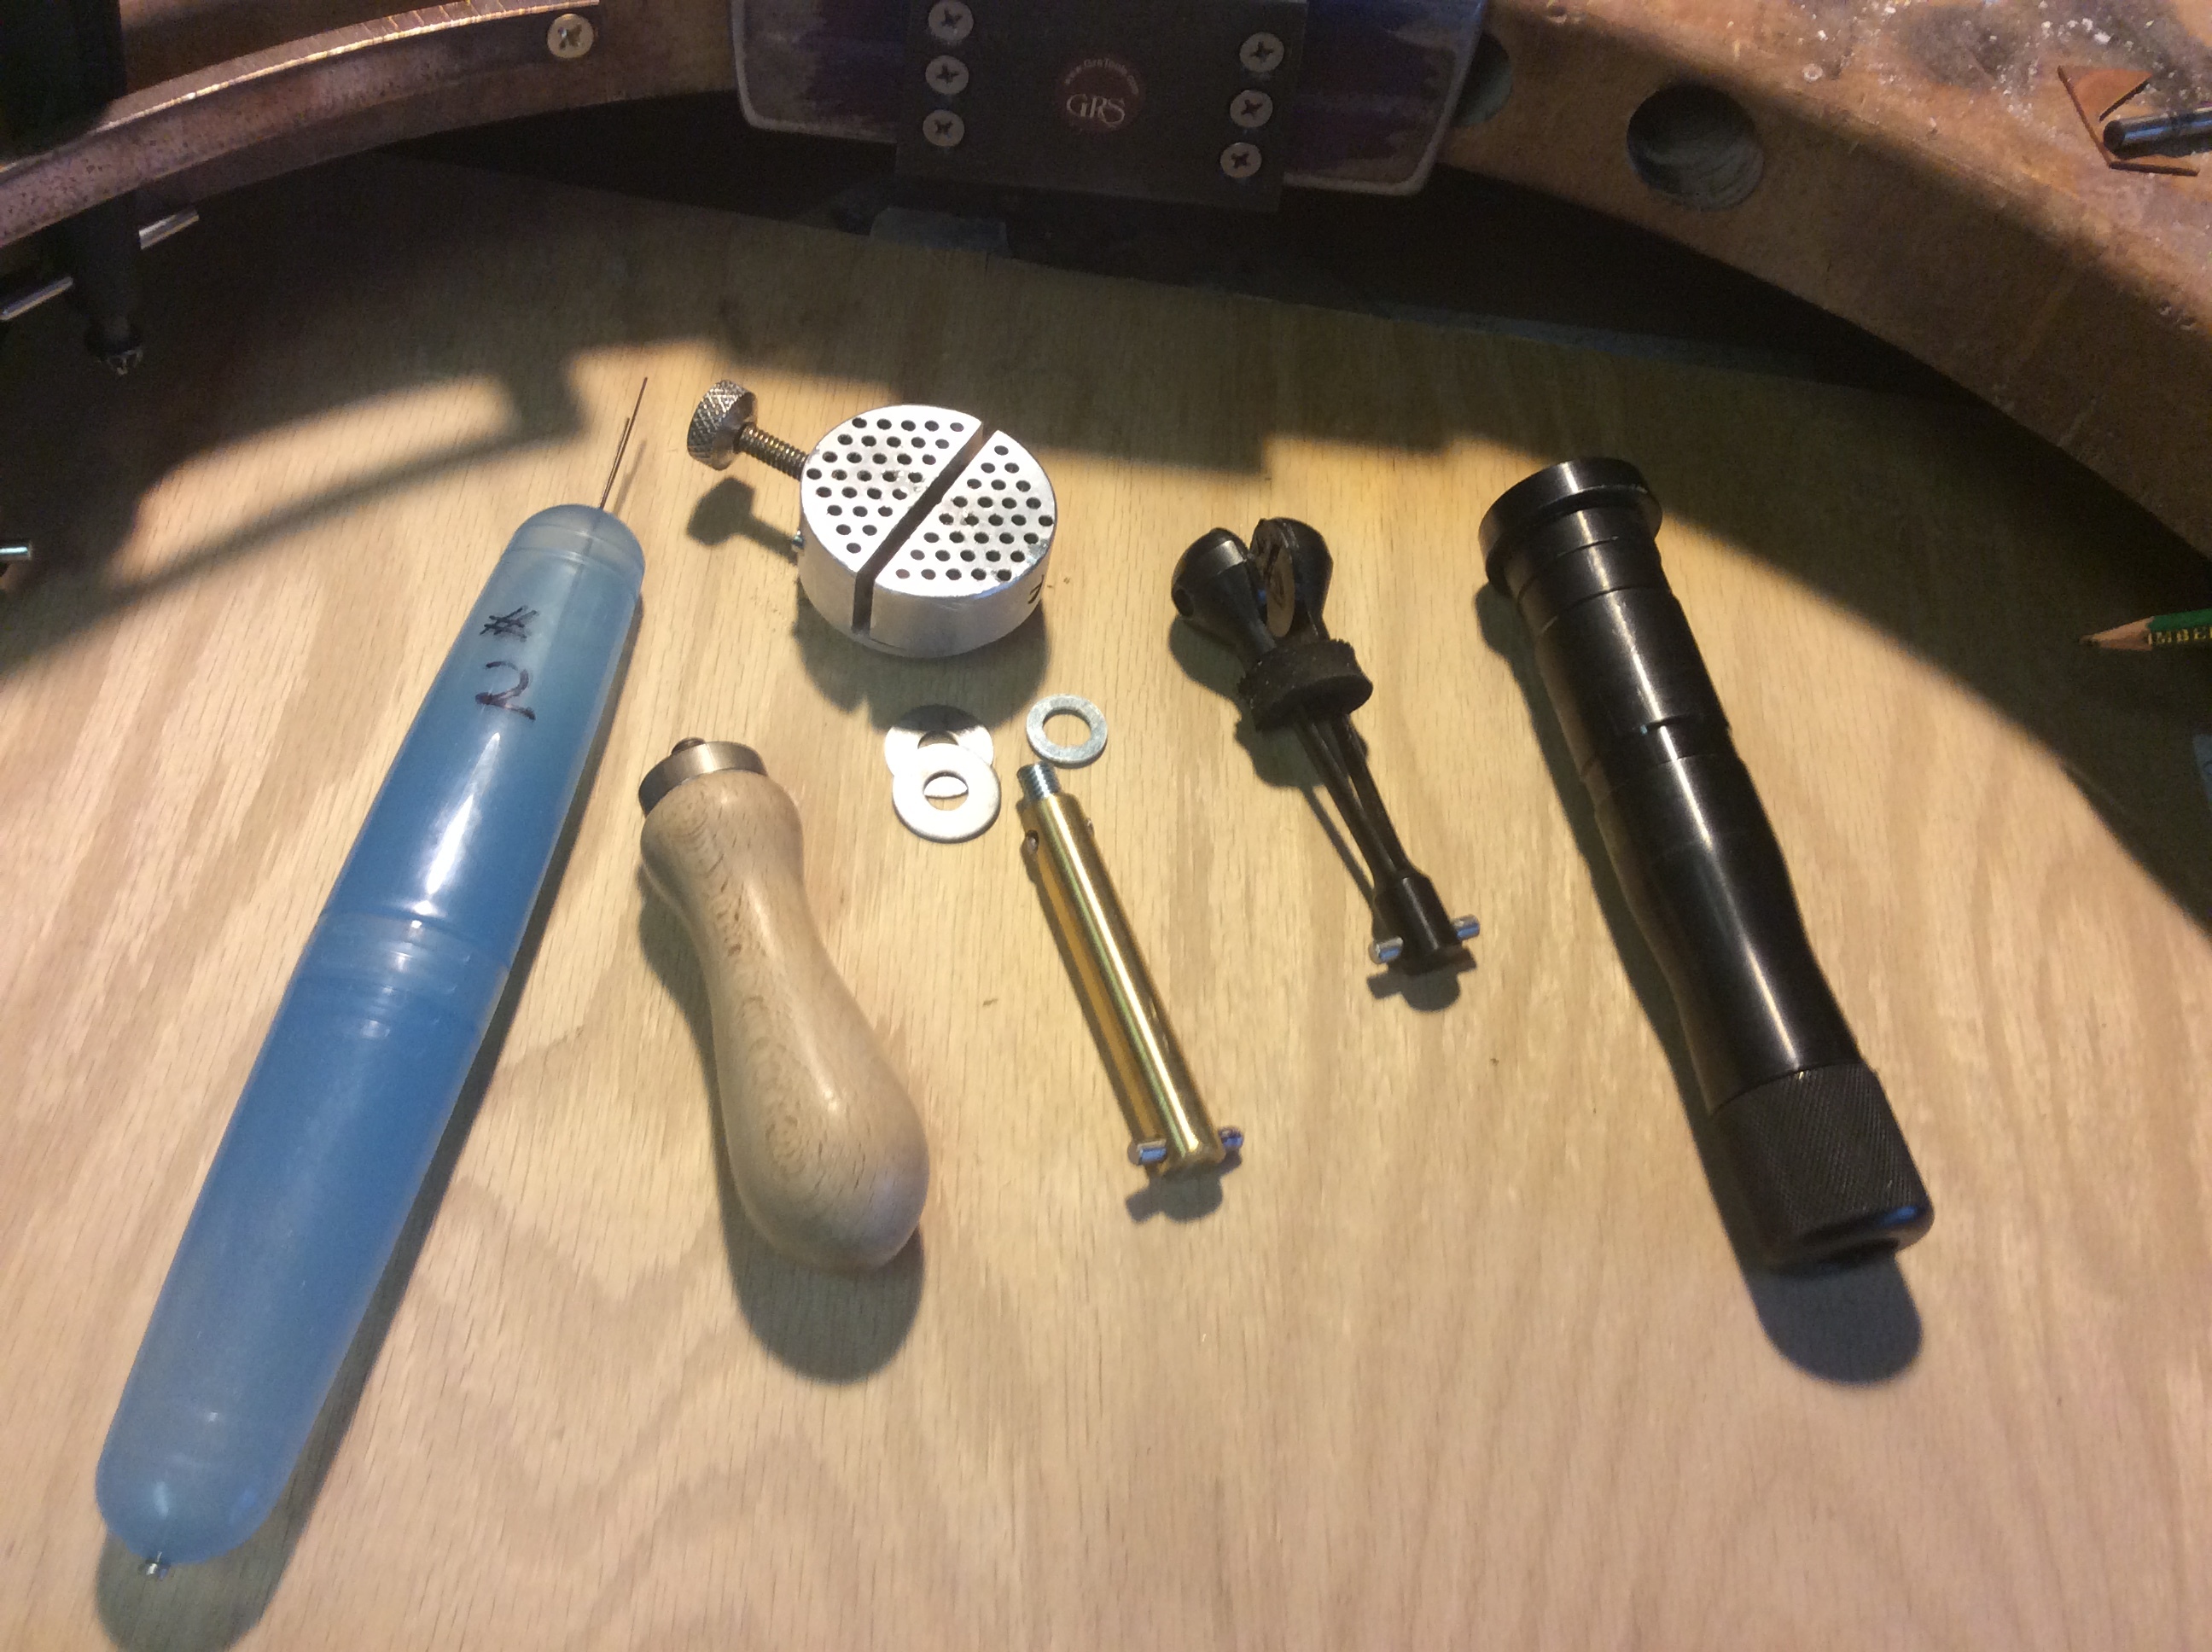
I love mine you can see which one I have at bench exchange the arm set up can be screwed left or right to place the curved top of the arm either left or right sweet. I do recommend buying the pin vice that has the wood handle and modifying it for which ever bench mate you buy it’s super handy saved me from wanting the small Grs ball the handle on the pin vise is metric. I am happy to show better pics of the pin vice mod if so needed.
I to use the GRS equipment. I would love to see photos of your modifications. I am always looking for ways to get more out of my tools.
Les
Ill take some photos tonite ists a great mod.
Simple drill hole pin in bolt its metric pin in bottom for quick release.
If you don’t have new bench ate all you need is a long bolt and washer.
That mod is on you tube.
And why dosnt this blog have a pic posting icon? Or does it. Lol
I always see Rio pushing their various GRS stonesetting packages (Alexandre, QC, etc)…a lot of fluff or worth the investment?
I monkeyed around with the hand held stuff modifying it to mimic the Grs tools.
I like making things tools included but I have to say the Grs stone setting set I purchased with the one ad on mod as seen in my bench set up was well worth the monie I should have perched it long ago.
Looking at the tools in your picture, I assume the blue handle on the left
is the one with a saw blade. What a good idea. Can you tell us what you
used to create a hole to hold the blade? Is it glued in? Did you heat it
and melt it in?
No handle ,tooth brush travel box used to dispense saw blades. Shake it and get one out the drain hole
Screw in bottom hole so all the #2 blades dont fall out the bottom.
Hi There James
I have used the GRS systems for years and can say that they are defiantly worth the investment.
I purchased my first engraving set up about 20 years ago and have upgraded a few times since then. The Graver Max is a very flexible bit of equipment that hammers chases engraves sets stones pushes watch pins takes off stubborn watch backs the list goes on. The first one i bought was a significant investment at the time so i spent lots of time trying to find all the things i could to use it for to justify the expense. It has saved my hands from damage and made engraving a real joy.
I also use the bench mate clamp system and find that it is the best ring clamp i have ever owned. I have had it for the same time that i have had the graver max and it is still running strong. A very durable bit of kit.
It is my opinion that purchasing the basic kits is the best option as there are some things in the other kits that would just never get used (at least by me) for an example that inside ring holder for use in an engraving block. Getting the full kit is not necessary. purchasing the replacement collets and steel wedge will save you a bit of cash and is all you need. by using a Allen key through the hold in the wedge you can suspend the collet in your graving block and use the key for the graving block to tighten and loosen the collet.
there are other things as well but i will not get into them. If you are keen on the equipment i am happy to give a full rundown on the gear that i use and my suggestions for what is useful and what is wasteful.
Lindsey makes an air driven engraving system as well that i had the privilege of using while doing some work with a hand engraver named Bryan Bridges. the equipment is also fantastic. If i had known about it before purchasing and learning how to use the GRS systems i would have had a hard time choosing what way to go.
In summation the GRS equipment is versatile and sturdy. It is very well made and easily serviced. Parts are readily available as well as consumables. Before purchasing from RIO check out the GRS site.
Les
@Les_Riddell
I would appreciate it if you would please give us the full run down.
Hi Betty
I have the basic bench mate secured to my work bench. It is 25 years old and still running strong. The newer ones are make to be a little more comfortable and lighter without compromising effectiveness and will be the business. The stone setting package for the bench mate if you are using an engraving ball is not necessary as you will very rarely set stones in the bench mate. If you don’t use an engraving ball it would be a good purchase as it also comes with an inside ring clamp and full set of collets.
If you have an engraving ball the extra set of collets ( under the sub heading ring holding) is all you will need. and it will save you some cash. you place the alien key through the steel expansion wedge and into a hold in your block and use the block jaws to expand the collets.
I do have the ID ring holder and it works nicely but not so much as to justify the expense.
I have a Graver Max G8 I use a 901 QC hand piece i have a magnum hand piece but use it very infrequently. Any time i need it i find using a chasing hammer and a bunch or traditional graver works better. the point is you only need one hand piece either will do the job so choose one you will not need 2. I have a high speed air drill and it gets a workout so is worth the money. The air drill is great for notching claws and helping to cut channels and seats for regular and odd shaped stones. The fast speed and low torque gives you amazing control over material removal.
I use 4 graver shapes for 99% of my work. A 90 degree a 120 degree an onglette and a flat. The flat engraver for material removal but more often i use it for removing backs off of watches. It is perfect with a bit of air power for getting under the indent and easily getting the back off the most stubborn watch. The others for lettering stone setting and general engraving. I use bead setting punches in the quick change holders to turn beads when doing pave setting. I have a square bit of tool steel polished up and use it with the handpick for bezel setting. I have shortened miligrain tools and use them with the engraver to roll milligrain as well.
Over time i have shaped and polished a series of old beading tools to use in the handpick for texturing and backgrounding. It seams that every few weeks i am altering something to put into this bit of kit.
I use Thermo Lock as well for work holding and putting handles on files and hand gravers.
Here is the site for GRS https://grs.com/ https://grs.com/ Have a look at what they have and let me know what you are interested in and ill give you my 2 cents on what it can be used for and weather or not you can find an alternative for cheeper
For the Lindsay engraving systems check out the site Lindsay Engraving Equipment http://www.engravingschool.com/private/Lindsay%20Equipment.htm
I have a stereo microscope that i purchased from china that is fantastic for instance that cost me significantly less than the optic that you get through normal suppliers.
If you want to contact me directly i will send you photos and more information.
less@xnet.co.nz
Happy shopping
Les
Just read my last post and realized my auto correct played havoc on my and changed a few words
you will have to use you imagination a bit but i think you will get the idea
les
Thank you for the responses. It’s great to see what equipment others prefer, even if opinions vary on what works for them, considering the variety of add-ons, packages, brands, etc. I am definitely trying to minimize “wasteful” purchases on equipment with limited usefulness given some of the expenses, especially in wanting to get my feet wet in stonesetting.
@Sy1 That is interesting because when I previously Googled GRS equipment, I almost always run across people stating how the microball is a must have…
Neat little carry-all for the blades. I imagine it could be useful for packing small files as well for travel. I’ve seen people use test tubes for separating and holding saw blades at home. You can also use rigid plastic tubing, which cuts down on bulk (I’ve received silver tubing in similar packaging with a plastic push stopper).
@Les_Riddell Thank you for the rundown as it gives me a good idea of where to start!!! I don’t want to purchase an expensive kit with a large amount of accessories if only a few would be useful. Also, I’m glad to see someone recommend the Lindsay graver as that is on my “one day you will be mine” list. I will for sure get an email to you :]
The beauty of the Lindsy engraving system is in its simplicity. the only power you need is compressed air. this makes it very portable and light. I have see craftsman at shows using the Lindsy system hooked up to an old truck tire or using a bottle of compressed air with no electricity. And of course the thing is so dam gorgeous. It is a joy to hold in your hand. The sharpening system they have developed is also very simple in design and easy for even a beginner to use. It is simply a series of plexiglass plates with the angles cut into them. You fasten your graver into the hole in the centre and use it as a prop to grind your faces. The only downside is you need a plate for every graver geometry.
Les
Hello Les,
Ahem. Just wanted to share that the GRS tool company lives in Kansas…yes, this little burg named Emporia, KS is the home site. Who knew. Anyway, if anyone is considering purchasing of the tools, I heartily recommend getting at least one extra mounting block. The amazing Knew Concept bench pin uses the block and it makes interchangeability simple. You could well decide that you want to set up two of the GRS devices for use at once. That extra mounting block has been very useful (at least for me).
Another note of interest is that GRS offers training courses for their tools. Emporia is really pretty easy to reach and accomodations are generally modest. Kansans tend to want value for their $$. Drives the market in smaller towns.
Now I’ll go back to my corner.
Judy in Kansas, who is eagerly anticipating some warmer weather after the freezing temps. We call these warm spells mid-winter 'chinooks".