Hi Lily,
Congratulations on your self taught journey!! I am a fan of taking classes whenever I can and have studied with many different teachers now. I never did any kind of formal jewelry school but definitely love taking classes when I can.
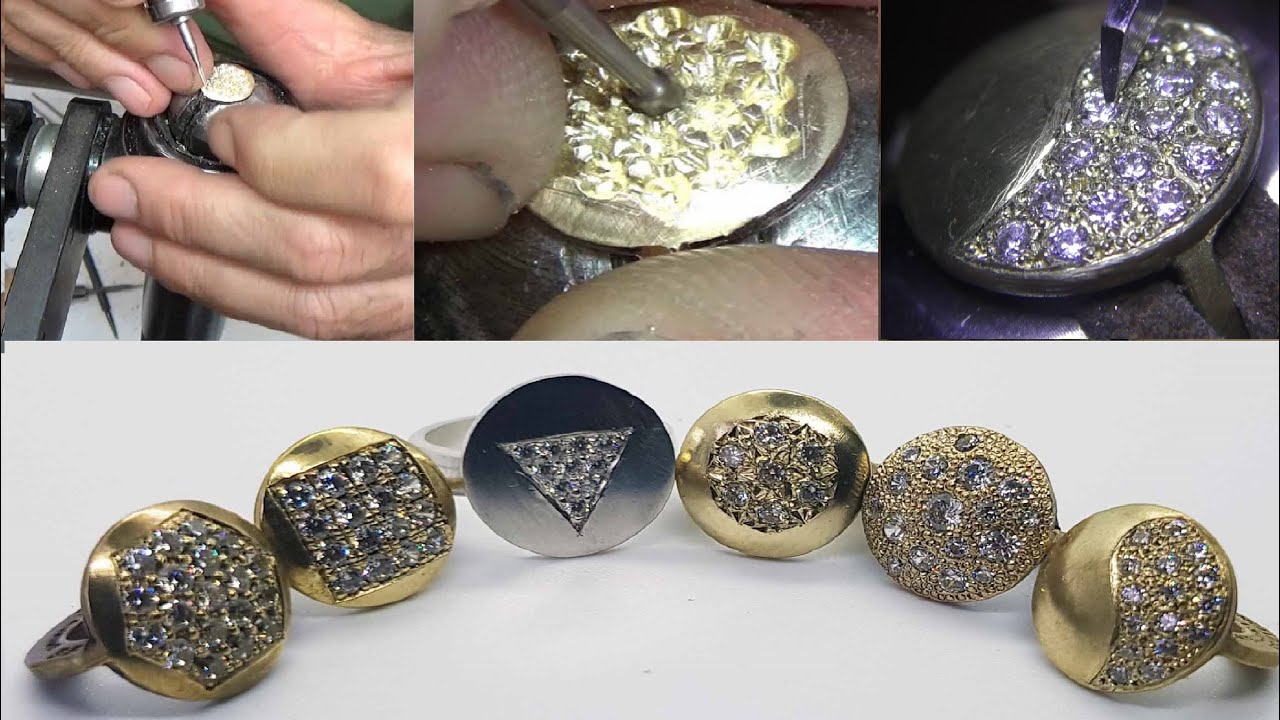
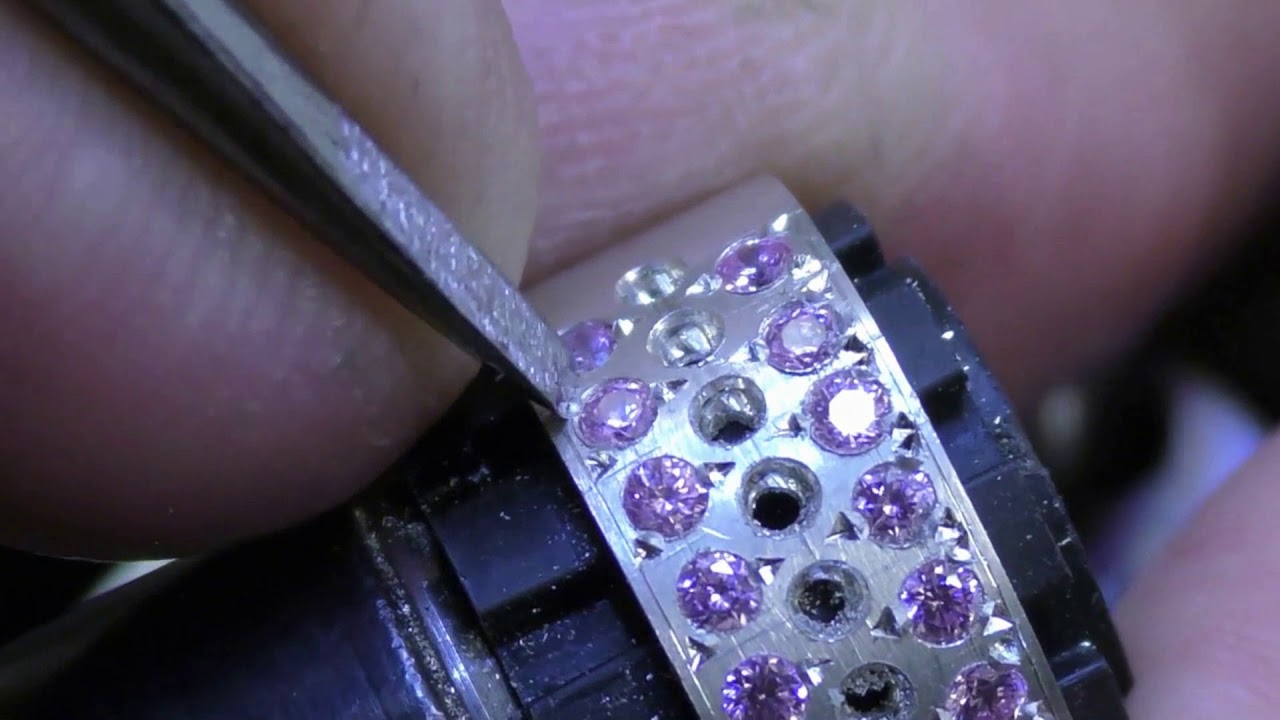
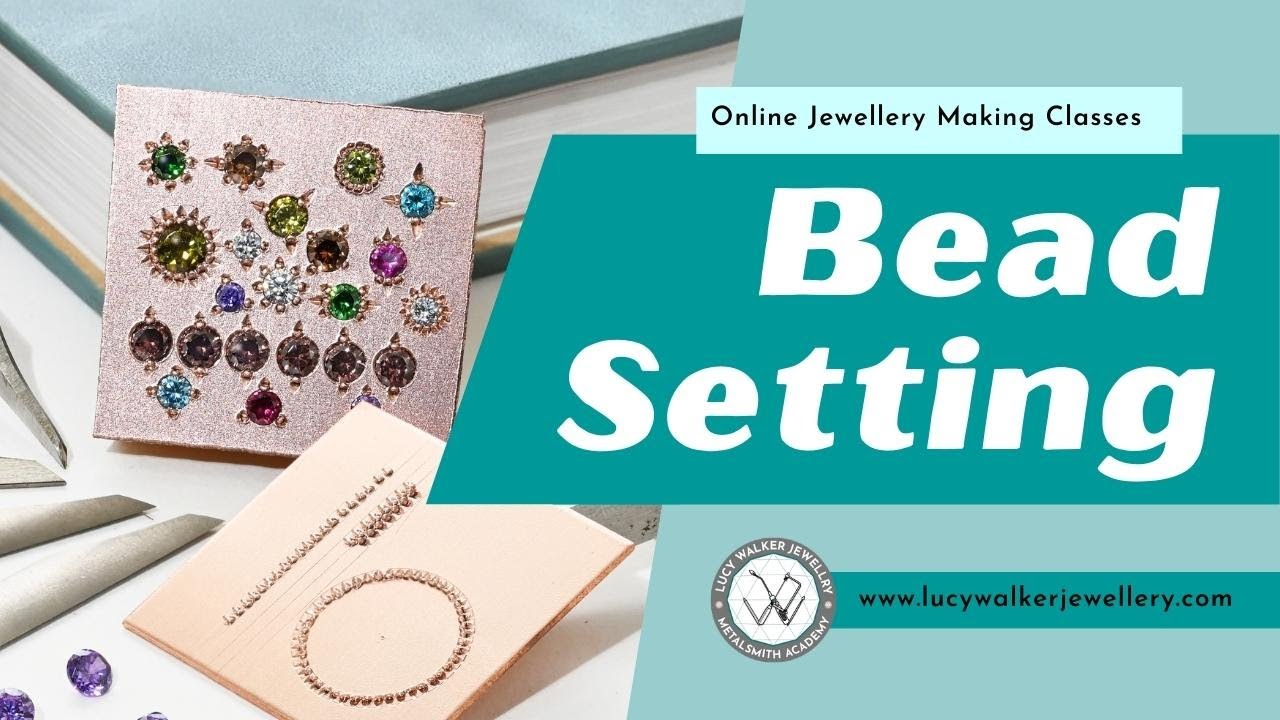
That being said I know that Lucy Walker has online video classes on all of the topics you are mentioning. She has lots of graver instructional videos as well as bezel finishing and bead setting. You could just pay for one month and focus on taking those classes!
Here is the link: https://lucywalkerjewellery.com
best of luck!!
Kim
Hi Lily,
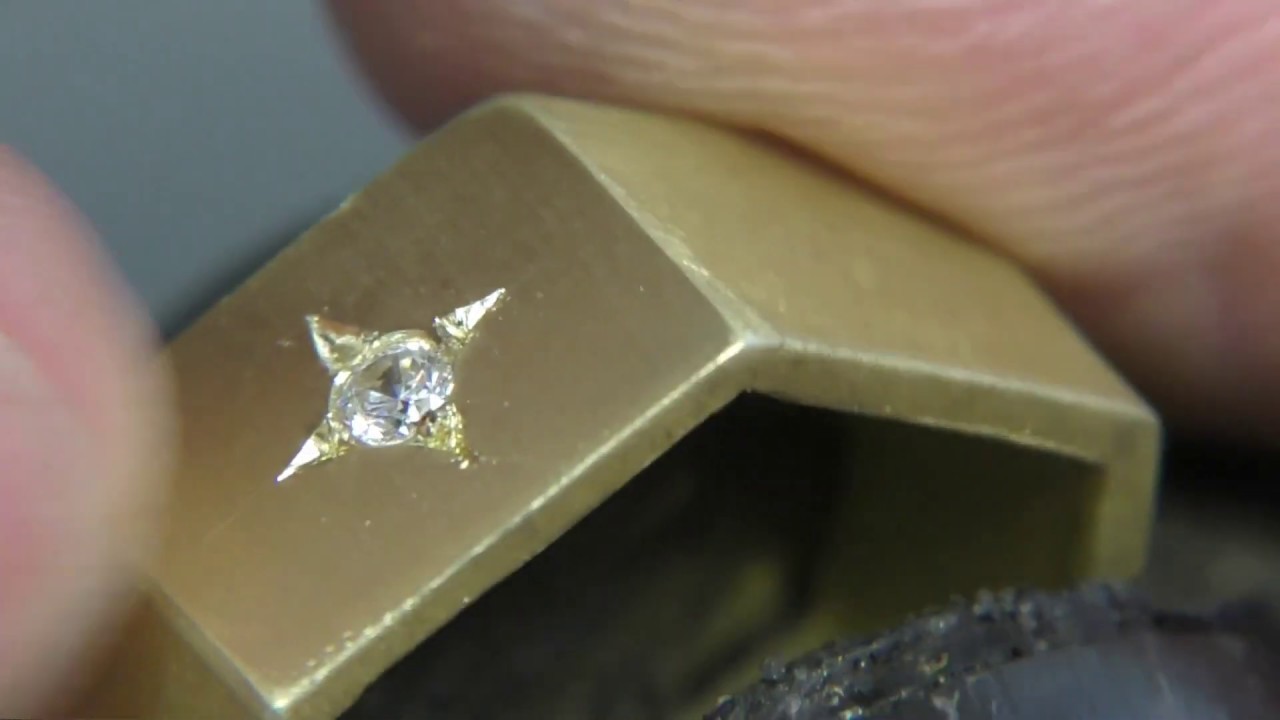
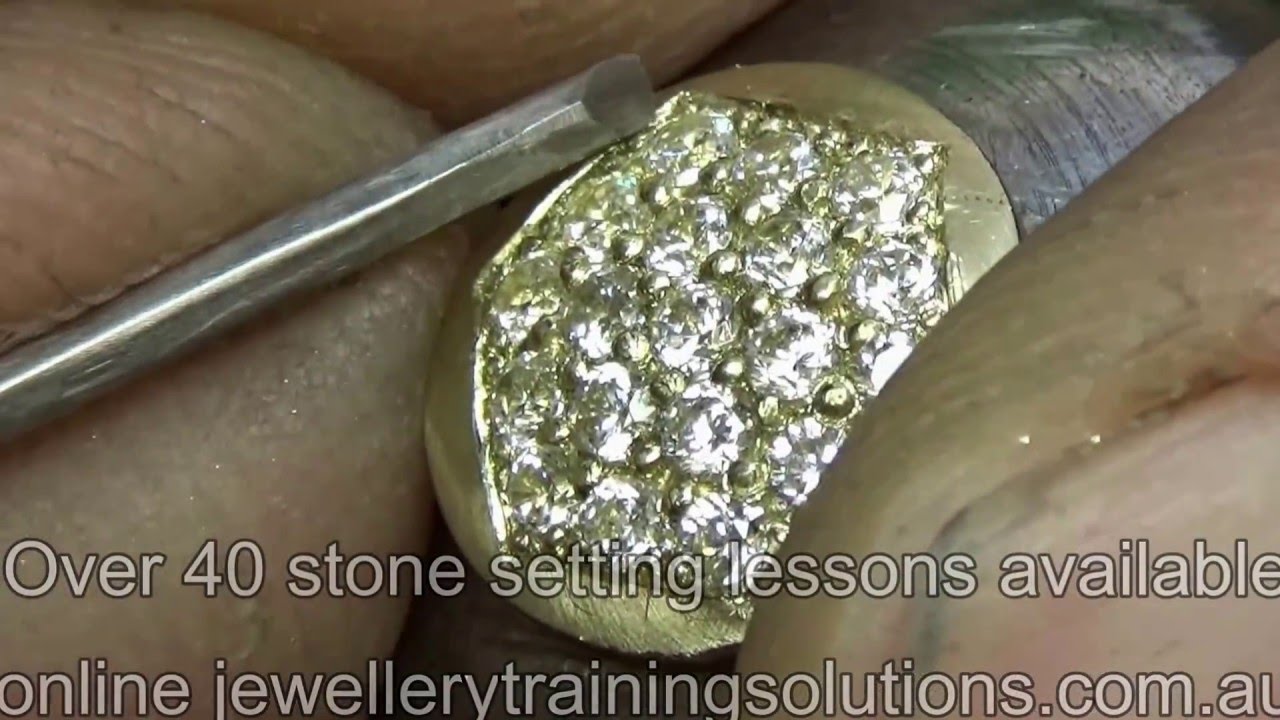
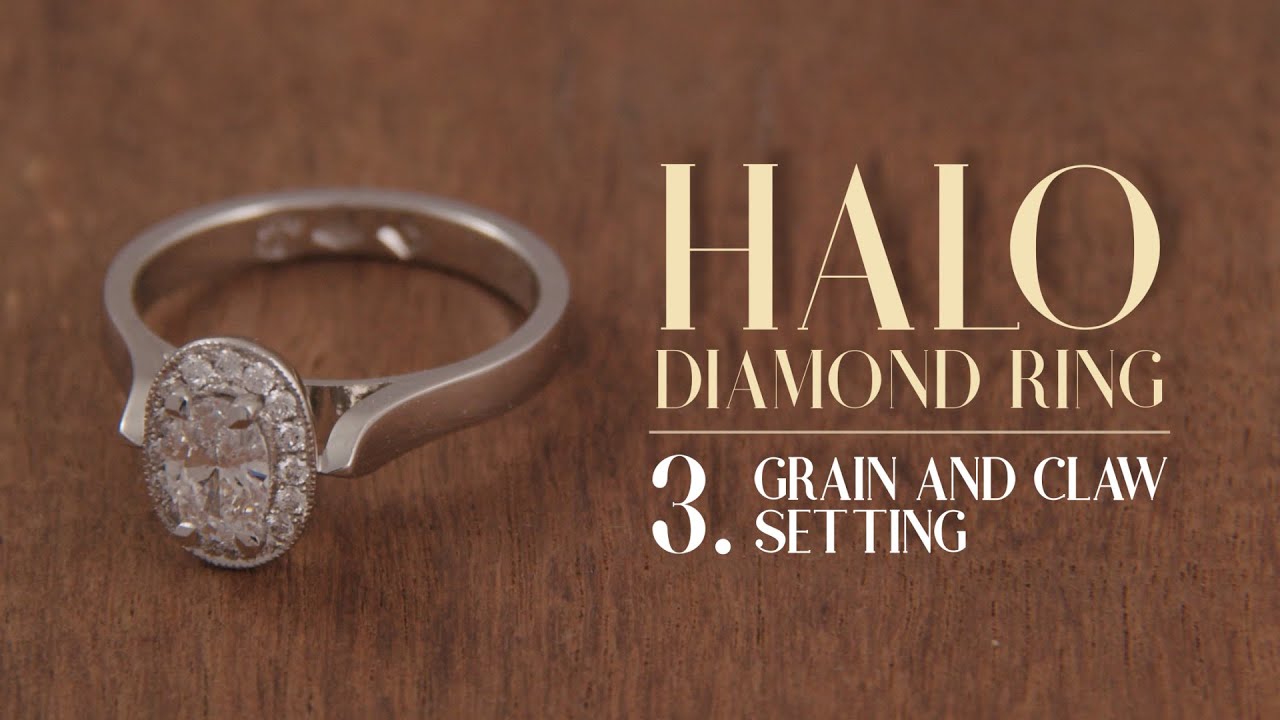
FYI: Peter Keep calls bead setting “grain” setting
another YouTube search word!
jewellery training solutions:
https://www.jewellerytrainingsolutions.com.au/
jewellers hub:
lucy walker!
julie
Hi,
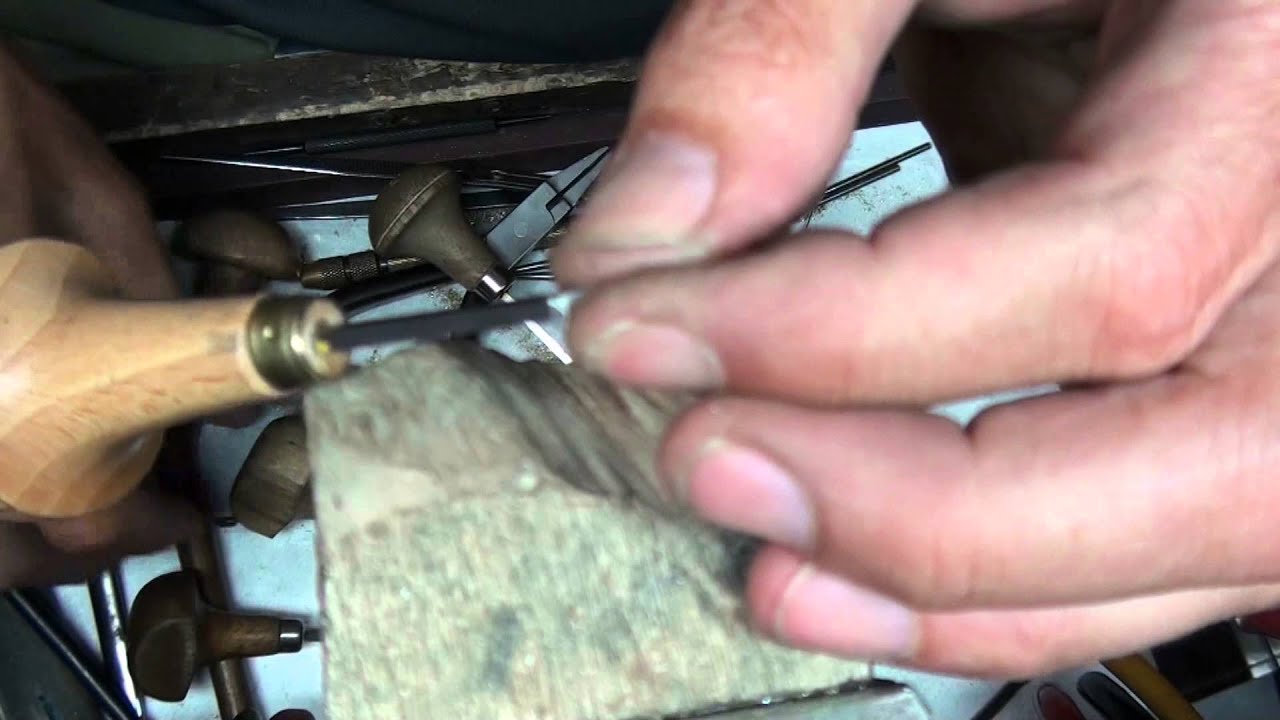
for practice raising beads, I take a strip of metal and raise beads along the edge…can see how the metal moves/ bulges out…the edge mimics the stone hold edge…how far back to start, how deep to cut, what size beads result, etc…
julie
Hi Lily,
Do not dispair! I should clarify that I think the Arkansas stone and Edenta diamond wheel were good purchases!
Basically, with gravers, we are really talking about two different activities:
- the initial preparation:
-
shaping of the body of the graver, to remove excess metal, using a bench grinder, or heatless mizzy wheel in a fle shaft.
-
shaping the face of the graver (ie: 45-60 degree face angle) using an india stone, edenta diamond wheel on a flex shaft, GRS grey coarse roughing diamond bond wheel on flex shaft, etc
- the maintainance:
-
the re-sharpening/ pre-polishing of the face…options such as:
-----using arkansas stones (white approx 550 grit), or india stone (oil)
----- using 600 grit then 1200 grit emery paper glued on a hard flat surface like glass
-----tripoli/ greystar (approx 800 grit) (or the pre-polish of your choice) rubbed onto crocus cloth (usually 800 or 1200 grit…backed cloth…stronger than emery paper) glued onto glass
----- GRS blue diamond polishing wheels on the flex shaft -
the final mirror finish polishing of the face…options such as:
----- black, surgical black, or white translucent arkansas stone
-----rouge or pencil lead rubbed onto crocus paper/ leather glued onto glass
-----GRS yellow diamond polishing wheel on flex shaft
(crocus paper just being a strong fine 800-1200 grit paper)
below is a link to GRS showing 3 diamond wheels for the flex shaft)
Wheels for Rotary Tools Archives - GRS
you use the tool that will give you the result you want/ accomplish what you want…
-
coarser grits for fast metal removal when shaping
-
finer grits when refining tip edge
-
very fine grits when putting on a final mirror finish (using a flat surface so you dont polish off the corners …maintain crisp corners/ points…and for putting on heels heels keep the tip from diving down into the metal…rather they assist in keeping the graver gliding forward…after awhile you will know how big or small a heel you will need…experiment…i like narrow .50mm
you do not need alot, or fancy products…you just need enough to get the above 3 things
accomplished
my above options were just a few of the many available
Julie
Hi Lily
I self taught for four years after doing a night class in creative jewellery design and am now at college doing an HND in jewellery making which has made me realise how many things I learnt wrong from self teaching. I am retired due to ill health and was fortunate to have money to invest in my workshop which included a GRS Graver Max G8 which the college use to teach advanced stone setting techniques such as pave, flush setting and edge setting. The GRS helps you to use a graver by making it vibrate with a smooth hammer action. In fact a sharp and bright polished graver when angled correctly goes through the metal like it was butter.
However the key phrases there are “sharp and bright polished” and “when angled correctly”
Now I’ll probably suggest something which may horrify graving purists - but when you are learning this don’t use expensive gravers, especially when you are trying to perfect the sharpening and angles. Forget all that expensive stuff and sharpening stones until you are honing your craft, not learning the basics. For learning this you need the following:
- A diamond wheel £4 to shape the drill bits into the angles and shapes you want to use such as squares, circles, oblongs etc
- A yellow edenta wheel circa £40 for bright edge polishing
- Broken drill bits, burrs etc, any type though HSS are better
- The GRS Quick change handle & tool holders starter set
Fit a broken drill bit or burr into the GRS tool holder and use the diamond wheel on a Dremel or pendant / rotary drill to shape it. Don’t keep the wheel on the metal for long or it overheats and becomes tempered. In steel it usually looks a bit brass coloured but any change in colour isn’t good, tempered steel won’t cut through nothing. So short bursts and consistent angles making sure you can always see the bit on the diamond wheel (it took me ages to realise that I was working blind due to the angle I was holding it to the wheel blocked my vision of it on the wheel)
Once you are satisfied with the shape and sharp edge, polish the cutting edges with your edenta wheel in the Dremel or drill (look after this, keep it in the box and it will last a lifetime) and you are good to go.
Get a piece of annealed scrap brass ans start practising, trying different angles to achieve the sort of engraving you want. However when graving by hand even with a perfect tool and angle, you need upper body strength as you have already realised.
Stone setting takes all different types of graver (all can be made from broken drill bits) which are generally more blunt edged for rubover, rounded for burnishing or bright cutting etc. An engraver will have a whole suite of different shaped gravers for different jobs.
I hope this helps, don’t discard all your lovely gravers you will def come back to them, but practice on throwaways!
Sally x
Have you tried Lucy Walker’s YouTube on altering an engraver? How to Prepare a New Graver | Jewelry Making Tools 101 | Metalsmith Academy - YouTube
I love that you don’t want to be an expert at it. And maybe your experience will be different from mine. When I use a technique I want to explore lots of iterations of it - over and over again and then repeat. Because one has a chance to see how it can look when one knows ‘x, y, and z’ really well, if not perfectly.
Julie,
Oh my goodness! Your replies were absolutely amazing. I disappeared for a bit because I got Covid! It was awful! I didn’t bother logging into the website for a weeks as a result. Anyway, back on topic!
I honestly cannot thank you enough for all of your help. Truly, my gratitude to you in immense!
I’m chuckling to myself as I re-read my original post. I can just see the frustration in my writing. That day I was ready to chuck a few things across the room. Haha…
then arkansas stone (finer grit)
(which one did you get?)
I purchased a little one (not realizing how tiny it was going to be, like 2x1! oops!) that’s marbled colored grey/white. Since I bought it off of Ebay due to the affordability, it came with no indication if it was finer or courser grit… I didn’t realize one would need more than one type of stone when sharpening. Of course, I’ll need to do all the shaping/grinding/polishing first.
I’ve taken notes on all you wrote. All of the links you provided are going to be wonderful. I’ll be watching them over my coffee this morning and taking more notes! I did originally google search “engraving” tutorials as opposed to “graver settings”, but the problem is that Youtube kept giving me page after page of actual engraving designs instead of actual stone settings. Perhaps I didn’t look deep enough. Thank you for taking time out of your day to locate those videos for me. You are truly kind!
I think I’m going to LOVE the Jewelry training solutions video archive. I am subscribed to Andrew Berry’s, but he doesn’t seem to have more than 1-2 videos on the topic.
Onto the continued research with all of those amazing research…! I will go ahead and put out the money for a grinder. When it comes to grinder flex shaft attachments, the only one I could find was from Edenta, but it seems its out of stock and back ordered everywhere. I’ll just have to go with a small larger bench grinder. It probably wouldn’t have been very steady trying to do it with the flex shaft even if I had found a good flex shaft attachment.
Thanks again so much Julie,
Much love,
Lily
Sally,
Concerning being self-taught, generally I’d agree with you. But I’d say I’m not most beginners… I come from a family of professional artists and can very quickly get things right - its in the blood! Haha. I normally seek out the the most professional learning materials, especially when I know I won’t be able to learn from the masters in person. For example, instead of choosing to get the “Ten fun projects” 30 paged Silversmiting usual styled Amazon books that are all over the place; I went straight in for old 1950’s-1970’s college books and actually spent over four months just assimilating that information and reading. By the time I actually dove in I really understood things well. I think I managed to not make many mistakes like most self-taught individuals make because I chose to actually put in months into reading quality material on the subject. Of course, I’m talking about other types of silversmithing that doesn’t include graving.
Funny enough, I did take one workshop from someone who claimed to be a professional. After attending her workshop for silversmithing, I was shocked at how many errors I saw her making. Within a few weeks of attending I was already making things that exceeded her skill level. I’m not bragging, I swear! But I am grateful to all the quality level old school college books I bought for putting me way ahead of the game.
Practicing shaping/polishing with drill bits is not a bad idea at all. While I can’t do GRS equipment (much too expensive), I can do the next level down in the quality department. I am basically committed to just doing this manually and probably will not buy any electric motors until I can afford it. I think learning to do it by hand will help me appreciate the art of these type of stone settings.
Your advice is very much appreciated. Thank you Sally. <3
;Hi Lily,
regarding your comment?s about flex shafts, and flex shaft attachments…have you have acquired a flex shaft yet? (what brand?) and flex shaft accessories (ie: drills, burs, sanding, polishing, etc…?
Julie
Hi Julie! I have! I have gotten very familiar with all of my bits. In fact I did post a “first” project (completed a few weeks back) in the gallery portion of the website. So far I’m getting used to “cutting seats” with tube settings, and this morning will work on some gypsy/flush settings so I can just get familiar with cutting seats carefully. After I master those techniques (well one never truly “masters”, I know we’re all constantly learning), then I’m going to get back to preparing those gravers.
I’ll be referring to this thread many many times over the coming weeks and going over all your kind advice. I am still truly blown away at your kindness in all the help. You’ve no idea what it means to me!  Thank you for being such a wonderful person!
I know it seems like I may be trying to take on too many techniques at once… But, that’s just how my mind works. I learn fast. If I was taking “classes” right now the classes would be going entirely too slow for me. I know jumping ahead to making bead settings with gravers is quite a leap, but I think I’ll be ready for it in a few weeks time. I’m likely to get a lathe for grinding/polishing so that its easier to get those gravers prepared. Pepetools has a really affordable one that can carry a small 2" grinder.
Julie, how long have you been into this business? I’d love to see some of your work.
Hi Lily,
I have been learning, making, selling jewelry on and off for about 20 years (oh my! has it been that long?!?)…I have gone through many phases of interest! You know the saying “Jack of all trades yet master of none”…!
now THAT saga would be a really loooong post! (you have seen how verbose I can get after a few cups of coffee!
Julie
Hi Lily,
Good luck on your accelerated pace thru the jewelry world!
I read Agnes’ opinions of your work and found them stated as opinions and only opinions from someone with a lot of experience. I don’t think Agnes is known here as a rip-you-up critic, just a very helpful person with a lot of knowledge. You can and did differ in your opinion and that’s fine. Just be aware that opinions and advice are close cousins and if you make it clear (as I think you did) that you don’t want differing opinions, some folks will opt out of the discussion.
Have fun and make lots of jewelry works of art. I can’t wait to see what you do next!
-royjohn
Hi Roy, let me explain… I absolutely do value other ideas/opinions, and no I didn’t mean to imply that I don’t.
I was just shocked to hear that higher set tubes are “not good”, when I’ve actually been studying veteran silversmiths for months who have commonly showcased just that in many of their designs. In this regard, it is truly a matter of the artist’s choice. Of course it isn’t going to be everyone’s “style”.
I’m very proud of the piece, or at least I was. I had said gentle critiques are welcome - mainly I was speaking in regards to doing a better job at the “rub over” portion of the bezeling process (which I stated) - I didn’t know people were going to criticize the entire design as “not their thing”, to the point of saying “I’d never wear that”… I think that’s a cruel thing to say to someone who just shared one of their first designs.
I see all sorts of designs on ETSY that people are buying up like hot cakes and often think to myself “that’s the ugliest thing I’ve ever seen, what are people thinking buying that?”… But, I’d never tell the artist that directly. The very fact they’re selling so much of a certain thing shocks me.
What’s important is that yes, I would say I did do a good job during the construction/technique process; but not one person had anything nice to say about that. If people rather focus on the supposedly atrocious pointed ends (which are not sharp at all as I put hours into the filing/sanding/softening of the tips), and their disapproval of the height of the tubes, so be it. Again, I could share many photographs of professional work from veteran masters that did just what I did here - high set tubes. So it really isn’t a matter of “wrong” - as it is a preference in the artistry of the design.
I really wish the moderators would remove the gallery post. I didn’t post it so people could tell me how ugly it was. I tried to explain that no, the tips are not as pointy/sharp as they appear - and that no, the tubes are not flimsy in construction and that I deliberately wanted them to be higher set. But oh well. People think its awful, that’s fine. If it were me shopping at a gallery somewhere downtown, I would absolutely love it. I believe there are others that would too.
I hope the point I’m making makes sense - it’s perfectly okay to critique, but when you start getting into territory where you’re saying someone’s entire design is ugly/unpleasing to you, that’s a whole different thing. As my first sharing of work I put countless hours into, that really hurt my feelings.
One thing that is really selling like hot cakes out there are over sized rings. I’ve seen people spend many hundreds of dollars for rings with overly large stones that are nearly the size of their entire finger. In fact, it’s an actual trend right now. This ring is far more comfortable than it looks and is more of a statement piece a woman would wear out to a dinner party, lecture, or other event - rather than something you’d wear every day sitting around at home snagging your favorite fluffy sweater. The tips are as soft as can be.
Anyway - it was a huge mistake posting it. I should have known it wasn’t going to be traditional enough and that people would essentially disapprove of the design. That wasn’t the sort of critique I was asking for. “Is this your thing or your style?”, is not what I asked. I’ll just say once more - I would NEVER say that to someone who’s looking for some encouragement and is excited about sharing their work for the first time.
Using “A Christmas story” as an analogy while saying “you’ll shoot someone’s eye out” really hurt. While it may not be her thing, someone else might absolutely appreciate the design and want to buy it.
Another FWIW, to get useful technical critique you need to show more than just one view of the piece. A bottom view is especially helpful as it better shows how the piece is put together than a view from just the top or side.
Hi Lily,
Your comments are noted. I don’t think I can contribute anything further to this discussion.
You are obviously passionate about your work, which is great! Have fun and continue making
incredible works of jewelry art!
-royjohn
In the end, the most useful critique you can get is from yourself. After nearly fifty years of making jewelry, while I still look to others to comment on what I have made, I rely on my own observations the most. While you are making a piece, you see it in a way that no one else will ever see. I always imagine that I am taking a series of snapshots that my brain will eventually assemble and I am, typically, less than satisfied with the results. That is because I have seen my work sequentially in its many iterations. I have trained myself to leave my shop, go about life and, ideally, wait a day to look at a new piece. In the new light of day, I am usually happier with the piece because I can see it as a whole rather than a series of discrete images and memories. The best way for me to see what I have made is to take a good, well lighted, closeup (macro) photograph of my piece. This is when I really see what is good about it and what needs attention. This is all very technical. Fix what you can and then decide if you are willing to actually try to sell or give it to someone else. Once you do, it is what it is and you will be measured by it. Once it is gone, you have lost any chance to change your work, but you can improve on future pieces based on this experience. While selling a piece is a very satisfying act, it is not the full measure of the quality of the piece. I take great pleasure in giving my work away or offering it as a piece in a raffle for the local library or other “worthy” cause. I worry more about these pieces than many that I sell. Good luck…Rob
Very good point about photos - not infrequently I think I’m finished & take a photo to load to Instagram, and it’s only then that I see marks I’ve missed or a bit of bezel that’s not perfectly tight. So, back to the bench to finish the job. My poor old aging eyes don’t catch everything.
