Beginner's wax carving?

Hello everyone! I’m a teen jeweler and have started lost wax
casting. For around 2-3 months now I have been preparing to learn how
to do lost wax casting and have gotten all the equipment, etc… I
have practiced everything such as melting the metal, pouring it, etc.
Everything so far has gone well! However, I just started trying to
carve wax “for real” and am finding it extremely difficult! I assume
that experience should help me, but at this point it seems close to
impossible to carve a decent wax ring. I am using purple (medium
hardness) matt wax tubes. I am also using handheld tools for carving
(similar to dental tools). Here are a few of my questions:

  1. Should I be using dremel tools for carving?

  2. Do I need a heated wax pen to properly wax carve?

  3. Do you have any recommended projects for a beginner to try for
    their first wax carving? (I’m mainly interested in rings)

  4. What should I use to make molds for my wax carvings? A lot of
    people use a vulcanizer (I think?) but this seems out of my budget
    (aka myweekly allowance)…

  5. Was it this difficult for you when you started?

:stuck_out_tongue:
Thanks so much for all of your help!
Jane

hi im a wax carver, and yes it can be very difficult if you have no
prior carving experience practice practice practice… and always
have a drawn or other type of picture of what you are carving no you
dont need a wax pen they are useless, adding wax instead of
carving it away is not a good way of making models you should have a
good set of axacto blades just cheap ones will do, some wax
files,and a good set of rulers,squares and dividers, dividers are
very important… for getting ring shanks strait etc… there are many
great videos on you tube, have a look start simple and try to have
fun also purple wax can be dificult, get some blue, its best for
beginers. also check out flintlockprivateer his profile is on
http://www.ganoksin.com/gnkurl/vx he has some great carvings and
step by step how he does it he will amaze, and get you motivated…

good luck mate…
ryan raymond

Hello Jane, For wax carving, use burs and drills in your dremel and
rough files to shape the wax. Get a spring guage and try to keep
your waxes between 1 mm and 2 mm thick. Learn with the hand tools to
get a feel for the wax. The difference between flexible purple,
medium blu e and the hard green wax is really just personal taste, so
experiment. You don’t need a wax pen for awhile. just heat the end
of a dental tool. Make a ring for a friend. Think about what they
like and make something appropriate to their taste. Always make
jewelry with someome specific in mind. It helps you focus. The molds
can be made with cold cure rubber. Talk to a jewelry tool house about
it. The vulcanizer is not yetnecessary. It is used for making molds
ofmetal pieces, wax will take neither the heat nor the pressure. Wax
work is not as difficult as it is messy. Have fun and let me know if
I can be of more help.

Tom Arnold

Jane,

  1. certainly a dremel tool is usable, but not a necessity. It can
    sometimes make things go faster. When you use a dremel keep two
    things in mind. 1. slow is better as a higher speed will cause the
    wax to melt and clog the burrs. 2. the burrs should be more course,
    up to a point. This also keeps the burr from loading with wax.

  2. You do not need a heated wax pen, but again it is more efficient
    and increases speed and productivity. I used nothing but an alcohol
    lamp and a few dental tools to start with. Slow but a good place to
    start on a budget.

  3. One tool that I would recommend is a model makers square and or a
    protractor that you can set the angle on. the second is fairly cheep
    the square you can find in tool catalogs (ie micromat, stuller, ) the
    protractor you can usually find in art stores or hardware stores for
    fairly cheep.

  4. Also you will need a set of dividers for doing layout. and I
    suggest skip tooth saw blades for cutting the pieces you need off
    your ring tube.

Here are a few beginning steps that may help you with your first
waxes.

A. Make sure one end of your tube is square before you cut off the
first blank that you will need. (the blank should be couple mm longer
than the finished dimensions of you design.

B. mark a cut line around the tube (I like the purple wax with the
flat top for most designs except round bands) and cut your blank. Now
take the blank and smooth out the cut marks making sure that it is
square (parallel to the first edge) also make sure that the flat top
is square to the edges of the tube.

C. you now have a square (meaning all the angles are 90degrees to
each other) blank that is slightly longer than your design.

D. size the blank to the ring size you want the finished piece to
be. (it will shrink about a 1/4 size in casting but that leaves room
for cleanup) using a three cornered scraper to remove wax from the
interior of the blank. Be sure to scrape evenly around the interior
surface flipping the wax ever few times around so you cut evenly from
both sides, also be sure and rotate the was as you scrape so the
removal of the interior was is even.

E. now taking your dividers find the center line of the wax and
scribe it all the way around the blank. Then find the center or the
top and scribe it also as well as down the side… you now have a
square blank that has center marks across the top and around the
shank… you are ready to lay out your design. ( also check the hole
and make sure it is centered in the blank and if not adjust by filing
the outside of the wax keeping it square.)

These few things to prepare the blank for layout this assures that
everything is centered and squared before you begin to carve the
design…as to carving my favorite tools are an exacto knife with a
scalpel blade and a ball burr that I have removed every other tooth
on to keep the wax from loading. Hope all of this makes sense you are
certainly welcome to contact me off list and I will be glad to help
as much as I can. I think the mold question should wait for a while
til you have something to mold,but there are a lot of room
temperature vulcanizing (RTV) rubbers out there that are perfect for
your needs.

Frank Goss

Jane,

Hello everyone! I'm a teen jeweler and have started lost wax
casting. 

A dremal will work for cheap but they are not quality tools. A
Proxxon is the same form factor at 3X the price and pretty nice.
There is good reason Foredoms are favoured.

A hot pen is very handy but an alcohol burner and old dental tools
will work. Be nice to your dentist. Ask, dentists have been doing
investmet casting for a long time and understand. They don’t tend to
look at you as a 2 headed creature from the other side of space when
asked for help.

Molds, RTV rubbers are probably cheaper but a vac setup is handy. A
vulcanizer is fun but only for metal models.

I guess it was difficult a long time ago, wax is cheap. Just keep at
it, think that you are making stuff for metal and measure till your
eyes are ready to fall out.

Standard advice, no fear but keep practising. It is not that hard to
learn even by yourself. After all it is just dumb wax.

jeffD
http://www.gmavt.net/~jdemand

Should I be using dremel tools for carving? 

Dremel tools are fine, coarse burs can be used to remove larger areas
of wax, slightly finer burs can refine the shape or add texture. In
addition, a big (10") single cut mill bastard file from your local
hardware store is a great tool. Files, especially coarse ones, work
great on carving wax.

Do I need a heated wax pen to properly wax carve? 

Wax pens have their place, spruing the completed wax, building up
areas or rebuilding mistakes, or textures. You can also use dental
tools heated over an alcohol lamp.

Do you have any recommended projects for a beginner to try for
their first wax carving? (I'm mainly interested in rings) 

Try simple geometric shapes with rounded surfaces and edges. Try not
to have exceedingly thick or thin areas, 1-1.5mm is fine for
casting.

What should I use to make molds for my wax carvings? A lot of
people use a vulcanizer (I think?) but this seems out of my budget
(aka myweekly allowance)... 

RTV molds may be the way to go, you can make molds directly on wax
models. Cutting the molds properly is an art. Rafael Florencio did
some amazing mold demonsrations at trade shows for Castaldo.

Was it this difficult for you when you started? 

I had some really great mentors.

Yep, Jane. It’s harder than it looks. Just keep after it and
remember that each step depends on the accuracy of the step before
it. Leave your center lines until the last possible moment. Once
they’re gone, keeping things straight and symmetrical can be tough.
80% of the hard stuff (and time) is in the details. It’s usually
those last little detail steps that separate an OK wax from a really
good one and they save a lot of time in finishing (carving metal is
harder than carving wax). It is easy to make things too heavy, a very
common newbie error. Wax is a lot lighter than metal and what looks
border-line too thin in the wax often ends up being too thick in the
metal. Measure, measure, measure! If you find you need to do
substantial building up because of an error, start over. Once you
start adding a lot, you lose reference and it usually is almost
impossible to recover and keep symmetry.

A great starting project is a plain oval top signet ring.
Deceptively simple in appearance, it can really challenge your skills
in keeping everything straight, level and symmetrical. Quite often,
the simpler it looks the harder it is to do well. Anyone can make
asymmetrical stuff. A well balanced signet ring with identical
shoulders - both in shape and thickness, a level, evenly shaped and
centered top, and a perfectly perpendicular shank with smooth,
symmetrical curves in the north - south sides with a constant
thickness and edge width is tough. When you can carve a nice signet
ring and get it right first try, you are ready to branch off into
almost anything. It makes a great bench test wax.

A Dremel tool, flexshaft or high-speed handpiece definitely speeds
things up, but it’s not entirely necessary, and then you also have to
have burs, so it can all add up to a sizable investment pretty
quickly.

An alcohol lamp and dental tools work OK (used them for years) but
it’s hard to identify when the temperature is just right. When you do
finally figure it out, it stays there for only a second or two.
Re-carving wax that was over-heated while building up can be
challenging (it changes the consistency), and it’s hard to build up
using lamp tools without getting bubbles. You don’t NEED a wax pen,
but it sure helps if you need to repair or build up a screw-up.

It’s also very useful for melting stones in without worrying about
overheating them (it’s very easy to fracture a stone with an alcohol
lamp and tools). Be careful when trying this, not all stones can deal
with it, even when heated up slowly using a wax pen. It’s also very
easy to scratch a stone with either method. But a melted-in setting
sure helps at stone setting time, especially with fancy cuts.

Molds are usually made from a metal master and unless you are going
to be doing production, I would recommend that you don’t mess with
that yet. Molds can be made using room temperature vulcanizing
rubber, so a vulcanizer isn’t required at all anymore. The frames for
RTV are pretty cheap, a lot cheaper than a vulcanizer and frames. You
can even make molds of waxes using RTV rubber. If you are thinking
you have to make a mold to cast, you don’t. Get the book “Centrifugal
or Lost Wax Jewelry Casting” by Murray Bovin. It’s a little dated,
but it has all the info you will need to understand and do successful
castings.

You might want to try a stiffer wax, either blue or green. The
purple is really flexible, gummy and difficult to get sharp detail
with, but forgiving of dropping and rough handling. Blue is a good
middle of the road wax and is what I use most often. Green is great
for detail and sharp, crisp edges, but it’s kind of brittle and
breaks easily, especially in thin cross sections. I prefer Ferris wax
over Matt wax. Kate Wolf has a wax that is brown/tan in color that
carves really nicely, but I find it very hard to see what I’m doing
with it. She also has some really nice wax tools that some people
swear by. I don’t use them though. A sizing reamer, dividers, a good
machinist’s square, a mold knife, a few files, a couple of flat and
onglette gravers and pieces of broken saw blades chucked up in an
Exacto handle is pretty much all I’ve ever needed. I’ve found that
many people with a lot of tools are trying to substitute skill with
cool tools. It doesn’t work though.

Stay with it. The best news is that wax is pretty cheap, so don’t
worry about messing up. If you get lost or lose your lines, just
toss it on a back corner of your bench, cut off a new hunk and start
over. The next attempt will be better, the one after that will be
even better. I have a wax carving demo on my website that you might
find helpful. It’s under Our Blog at

http://www.ganoksin.com/gnkurl/vy

It’s not a signet ring, but just about everything required for a
signet ring went into it and it follows the same sequence of steps
(almost all of my waxes do). Some of the verbiage isn’t quite right,
our web guy wrote it and I just never have gotten around to editing
it.

Happy carving!

Dave Phelps
precisionplatinumjewelry.com

Most simple brass millimeter gauge can be used as a right angle
square. Pull the sliding part out. The part that has all the marking
is 1/2 the thickness of the piece that is on the end, put the inside
edge of the part that does not have markings against a straight edge
of the wax, and you have a mini right an gle square.

Rio grande item
http://www.ganoksin.com/gnkurl/rio116075

Degree gauge measures thickness of hollow models.

Rio Grande item number
http://www.ganoksin.com/gnkurl/rio116008

Richard Hart G.G.
Denver, Co.

Modeling in Wax for Jewelry and Scupture by Lawrence Kallenberg Buy
it, read it, you won’t regret it… Now to finish my own advice.

each step depends on the accuracy of the step before it. Leave
your center lines until the last possible moment. Once they're
gone, keeping things straight and symmetrical can be tough. 

I’ll add a couple of thoughts about tools to David’s “here’s a wax
carving lesson for free” posting (Say: Thank You David). The one
tool that many if not most wax carvers lack is a center finder. I
have a Starrett for other purposes, but for wax I use this:

Which I actually bought in a hardware store. They’re around… If
the wax is square topped, then you mark the top like David did and
use the center finder on the bottom of the shank, lined up on the
top center. If your ring is not on the center line of your circle
(the hole for the finger), then it will forever be crooked and
there’s no fixing it. Don’t guess. Even if your ring is asymmetrical,
it is still made around the center lines.

I use drafting dividers. The ones that take a pencil lead or a sharp
steel point. Much, much more accurate. The smaller it gets, the more
it matters.

And a set of drafting templates for ovals - make sure it has center
lines on it - is most useful.

try Youtube type wax carving in the search bar - goo

Jane: I’ll try and help but there are others on this site with way
more experience in carving wax than I have.

Try to learn some thing from each reply and will get a good
education in this subject. So heat are my answers based and biased to
minimal budget.ie. Fixed income very little disposable cash

Should I be using dremel tools for carving? 

Not necessary but itcan speed things up if you get good with it as a
carving tool. Or it can cause a fast disaster.

Do I need a heated wax pen to properly wax carve? 

No. A candle and your dental tools and other tools you might creat
are all you really need

Do you have any recommended projects for a beginner to try for
their first wax carving? (I'm mainly interested in rings) 

Something like a signet ring or one for setting a cab or cameo into.

What should I use to make molds for my wax carvings? 

A lot of people use a vulcanizer (I think?) but this seems out of my
budget (aka myweekly allowance)…

You cast the wax carving. Clean up the piece real well and polish
it. Use that to make the mold from. I don’t know of any cheap way to
make good molds Several people have had good luck with tubes of RTV
silicone.

Was it this difficult for you when you started? 

I don’t know what you consider difficult but Having made about 20
attempts before I got a wax I was willing tocast and then having it
only do a partial cast, I was trying steam casting. and having a
dozen or so false startsbefore I finally had a good cast. If that is
anything like you are experiencing then yes it was just as difficult.

And I was lucky because all the neat tools that are out there now
were not available so yes I did it all by hand.

good Luck
John (Jack) Sexton

Jane, Here is another little tip to help you out. Take a small square
of wax about 3/4 inch square and about 5 mm thick. Now starting about
the middle of the wax file one end down to 2.5mm thick then about 4mm
farther down file the wax 2mm thick. Continue making these little
steps in 4mm widths and.5mm steps until the last step is .5 mm thick.
Now you can hold it up to the light and be able to gauge the
thickness of the wax you are carving by comparing it to the template
you just made. The color of the wax when held up to the light can
give you a very accurate gauge to judge your carving by. Just one
more little thing that can be a big help.

Luck Frank Goss

John Donivan - I have one of those center finders but isn’t it
awfully big for use on small objects like a wax ring? I’m about
where Jane is, just trying to learn and doing my first ring in wax.

John

I have written several papers on the various ways to work with wax.
The techniques illustrated may not tell you how to carve some of the
beautiful jewelry the wax carvers on orchid create, but they will
surely give you lots of on how to get started.

The best way to carve wax is to grab a piece of wax and remove all
the wax that is not needed for your design. Grind, scrape and carve
the unwanted wax away.You will probably have lots of failures but
from failures you learn what not to do.

I would add these papers to the Orchid blog list but being a
computer nerd stands in my way.

PAPER NO 1 POOR MANS WAX TURNING TECHNIQUE

This paper describes how to turn wax using a Foredom, portable vice
and various tools created from who know where.There are not many
tools that are created for wax work.Most tools are adapted from tools
designed to work in other mediums.Ceramic shops have many tools that
can be modified to use for wax work.

PAPER NO 3 MODIFYING DENTAL TOOLS FOR WAX CARVING.
http://www.ganoksin.com/gnkurl/wr

This paper described how to modify various dental tool so they may
be used for wax engraving.You dentist can be a major supplier for wax
working tools.

PAPER NO 3 CARVING AND ENGRAVING WAX
http://www.ganoksin.com/gnkurl/q9

This paper illustrates how to carve and engrave a large bear.The
techniques shown may be used for carving various projects.

PAPER NO 5 CREATION OF A MOUNTAIN SHEEP KACHINA.
http://www.ganoksin.com/gnkurl/ws

This paper illustrates how to create a sculpture using many of the
techniques described in all these papers.

http://www.ganoksin.com/gnkurl/ws

PAPER NO 7 WAX CONSTRUCTION PROJECT
http://www.ganoksin.com/gnkurl/wt

This paper describes how to create a project by adding pieces and
parts together to create buckle.The project is constructed.

PAPER NO 8 WAX BUILD UP PROCESS
http://www.ganoksin.com/gnkurl/wu

This paper describes how to create a project by adding melted wax to
the project. The project is created by building up wax.

PAPER NO 12 TEXTURES IN WAX
http://www.ganoksin.com/gnkurl/wv

This paper illustrated various textures that can be created in wax.

There are a bunch of miscellaneous papers on the following blog
site: The Jewelry of Lee Epperson — Blogging for jewelers and metalsmiths made easy! (and for those interested in jewelry and gemstones)

The following papers are listed in the Orchid article section

FIRE SCALE PREVENTION

You should read the following article if you plan on casting your
projects in sterling silver.The scourge of soldering or casting
sterling is fire scale/fire coat.There are fluxes that will prevent
fire scale from forming on sterling when you solder. The papers
describe a very simple way to prevent fire scale when casting
sterling.

PAPER NO 2 ANTI FIRE SCALE PROCESS SIMPLE METHOD…
http://www.ganoksin.com/gnkurl/ww

The process is also illustrated on the Orchid article site:

If you have any questions you may contact me offline.These old bones
and the cost of silver have slowed my creative juices down so I have
lots of time to spend on the computer.

Lee Epperson

John Donivan - I have one of those center finders but isn't it
awfully big for use on small objects like a wax ring? 

No, John - the plastic one I linked to works just fine. It goes down
to zero. I have scribers scattered here and there - the one I use
all the time is a dead bur ground to a fine point set into a handle

  • similar to a pin vise, but it’s a handle.

Another aspect of this thread that’s just a comment. There’s no
magic-bullet solution for it. University jewelry in particular is
two dimensional. Depending on your POV, that’s a good thing or a bad
thing. Personally I think there’s a place for that, but any jeweler
worth their salt needs to be able to do 3D too, when it’s called
for. Wax carving by it’s very nature is three dimensional. Even
things like bas relief still have three dimensional aspects to them.
No, nobody can just show you a book that will make you visualize like
a sculptor, but little by little you need to get to that place, if
you’re going to be successful at it. And there have been a few posts
on this thread about laying out a 3D object, and there’s more to it
than has been show here, too. That stuff is very good to know.

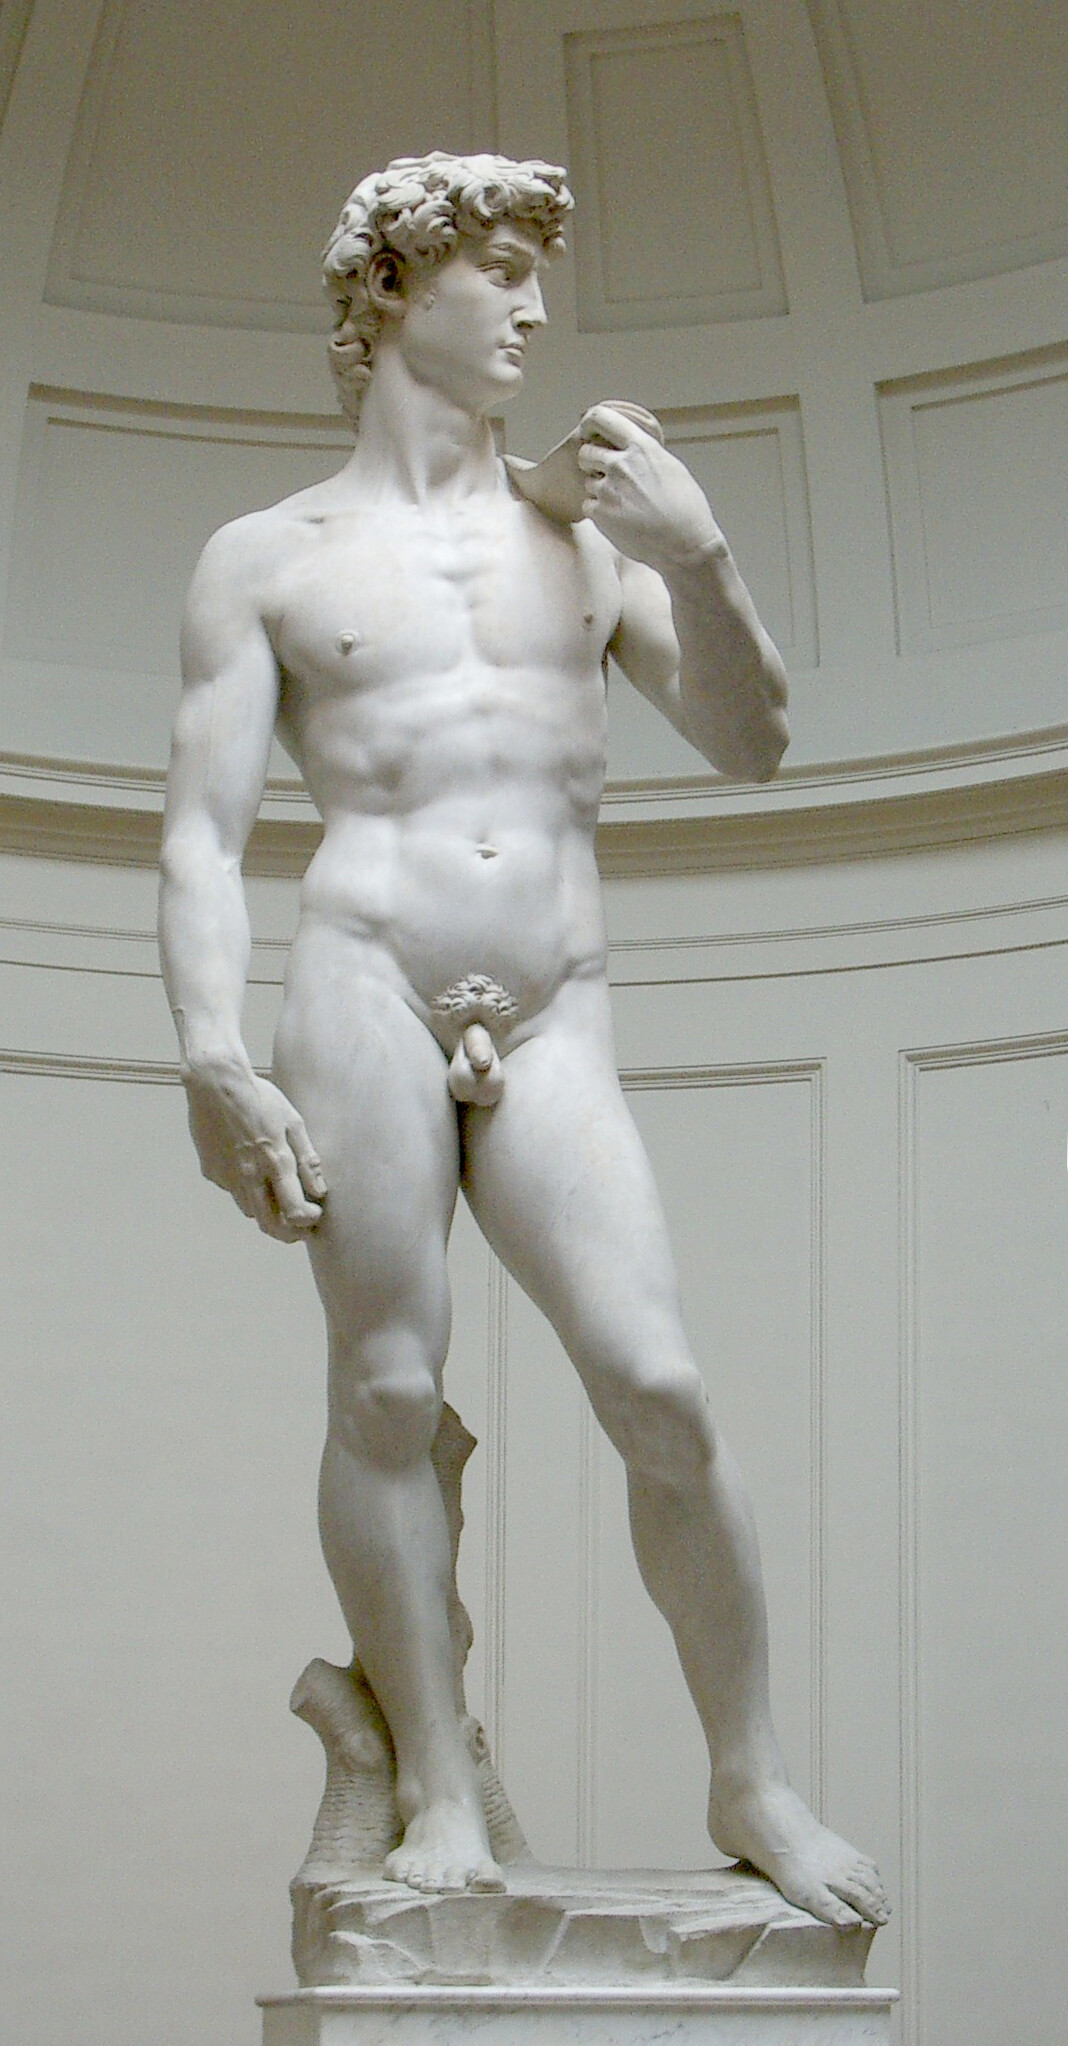
Michelangelo was once asked about his sculpture of “David” and how
did he did it so gracefully. He answered, “Well, I saw the large
marble block and saw David in it. All I did was chisel away all of
the parts that didn’t belong to him”. So it is with wax carving, all
you have to do is cut away every part that doesn’t belong to the
project…:slight_smile:

Gerry Lewy!

 Michelangelo was once asked about his sculpture of "David" and how
 did he did it so gracefully. He answered, "Well, I saw the large
 marble block and saw David in it. All I did was chisel away all of
 the parts that didn't belong to him". So it is with wax carving, all
 you have to do is cut away every part that doesn't belong to the
 project..:)

Except for those over sized hands… looks weird…

Regards Charles A.

To the remark that all one has to do is to “carve away everything
that isn’t what you want” to make good wax models is a fairly
useless remark. How can this concept help one learning to carve wax?
Yes, carving wax models is a subtractive process, and one should,
with practice, learn to minimize having to add wax to the model being
carved, but there is much more involved.

If you only ever wanted to carve asymmetrical organic forms, and the
surface texture or extreme weight of the casting was no issue,
carving a wax ( or building it up with soft waxes ) would be quite
easy. It’s when you want to create a symmetrical form, with exact
lines, careful attention to surface finishes, and minimal metal
weight, that a new technique and philosophy is required. Then what is
required is a reliable, versatile wax carving technique for creating
these balanced, symmetrical forms, hollowed out for the best weight
and casting result.

The right tools are also vital. For some reason, many catalogs that
sell carving waxes show wax build-up tools next to these hard waxes.
Do they intend for buyers of their carving waxes to carve into them
with hot tools? I’ve looked all over the world to find carving tools
which work the best on wax. They’re not easy to find, unfortunately.

It’s a shame that somehow lost wax casting has gotten a questionable
reputation among some metalsmiths. Casting is just another technique
we can use, with its advantages and disadvantages, to create forms in
metal we just can’t create easily any other way. A precision-carved
wax model is an amazing thing to me, because it represents
world-class craftsmanship…with a delicate touch. A fragile model
becomes a strong product, with the right knowledge and lots of
practice.

Jay Whaley

Except for those over sized hands… looks weird…

David was designed to be seen from below looking up at a sharp
angle, so head and hands are deliberately oversized.

Tim