Sent from my Verizon Wireless 4G LTE DROID
Betty and Rob- To set very wide bezels I bevel the upper outside edge at a
45 degree angle. As I hammer down, the metal wants to move in and
eventually becoming flat on top. If I try to just hammer a flat top heavy
weight bezel down it will move both out and in leaving a mushroomed edge
and very difficult to get tight. The bezels are 1.5 mm wide and 1mm tall. I
hammer the bezel most of the way down and then bright cut the inside edge
where it will touch the stone. After bright cutting I then gently hammer
the bezel down til it touches the stone. The setting punch I use is just a
piece of key stock that I cut, shaped and polished. It’s rectangular about
2 mm by 2.5 mm. The surface is very slightly convex. Think the slightly
domed side of a planishing hammer. The edges slightly beveled so as not to
gouge the bezel and the surface is brightly polished. I hammer very very
lightly to slowly and evenly bring the metal down without heavy marks.
Have fun and make lots of jewelry.
XO-Jo
www.timothywgreen.com
2 Likes
Jo…Thanks! Not only do I need to learn how to bead set, but how to bright cut as well and the clock is ticking…Rob
Bead-setting & Bright-cutting is so easy… it’s a “piece of cake” some big cake!!!..contact me if you wish
Gerry! from my mobile-phone!
Jo and Tim are amazing craftsmen! I would absolutely follow Jo’s advice!
I would offer a couple of other suggestions.
You mentioned that rolled your wire through the mill. Do you thoroughly anneal it? “Dead soft” metal is easier to move. Try buying some 4 X 2 MM flat stock or something that works for you.
The other thing I thought about was you mentioned that you do your own lapidary.
I’m in Santa Fe and there are many inlay artists here and they all use some sort of epoxy. If you’re concerned about the epoxy letting loose, cut a groove on the inside of your bezel with hart burr. Cut a groove near the bottom of the stone with a separating disc. It doesn’t have to go all the way around. You’re just making a physical “lock” that will hold even if the glue doesn’t. Just make sure the stone fits well.
I listen very carefully to whatever Jo and Tim write as I really admire their work. I also appreciate that they are wiling to share. I know that I need to add to my skill set. In particular, I need to learn some of the skills that are used by fine jewelers. My work is more art jewelry. Yes, I know, we have discussed these terms at great length, they just work for me. I am almost completely self taught other than what I learned from our Dad years ago and there is really no place nearby where I can go to learn more other than to go back to school and get yet another degree as they won’t let me audit. I do anneal the bezel material before I try to move it. I have also set hundreds of cabs in thin fine and sterling bezel material using a burnisher, roller or hammer piece, I am just having a bit of a problem transferring this same technique to wider bezels, hence my post. I have done exactly what you describe in securing transparent stones to an unbacked bezel. I have also cut a groove around a stone and rolled the bezel into the groove. I will keep on experimenting and look at some of Gerry Lewy’s notes to see if I can teach myself how to raise beads, bright cut and other skills that I currently lack. More when I know it. Thanks to all…Rob
Gerry…I look at your blog and have read most of what you have posted on or via Orchid. You stress a right side graver. I am left handed and would likely go around a bezel in a clockwise direction. Does this mean that I need a left sided graver? Thanks…Rob
I’m left handed as well. When I bright cut the inside edge of a bezel I go
in both directions. If I get a high or low spot or a bit of chatter in my
bright cut cutting in one direction I go back over it from the other
direction and it smooths out. There are both right and left onglette
gravers. I also use a highly polished 42 flat graver for this.
Have fun and make lots of jewelry.
-Jo Haemer
www.timothywgreen.com
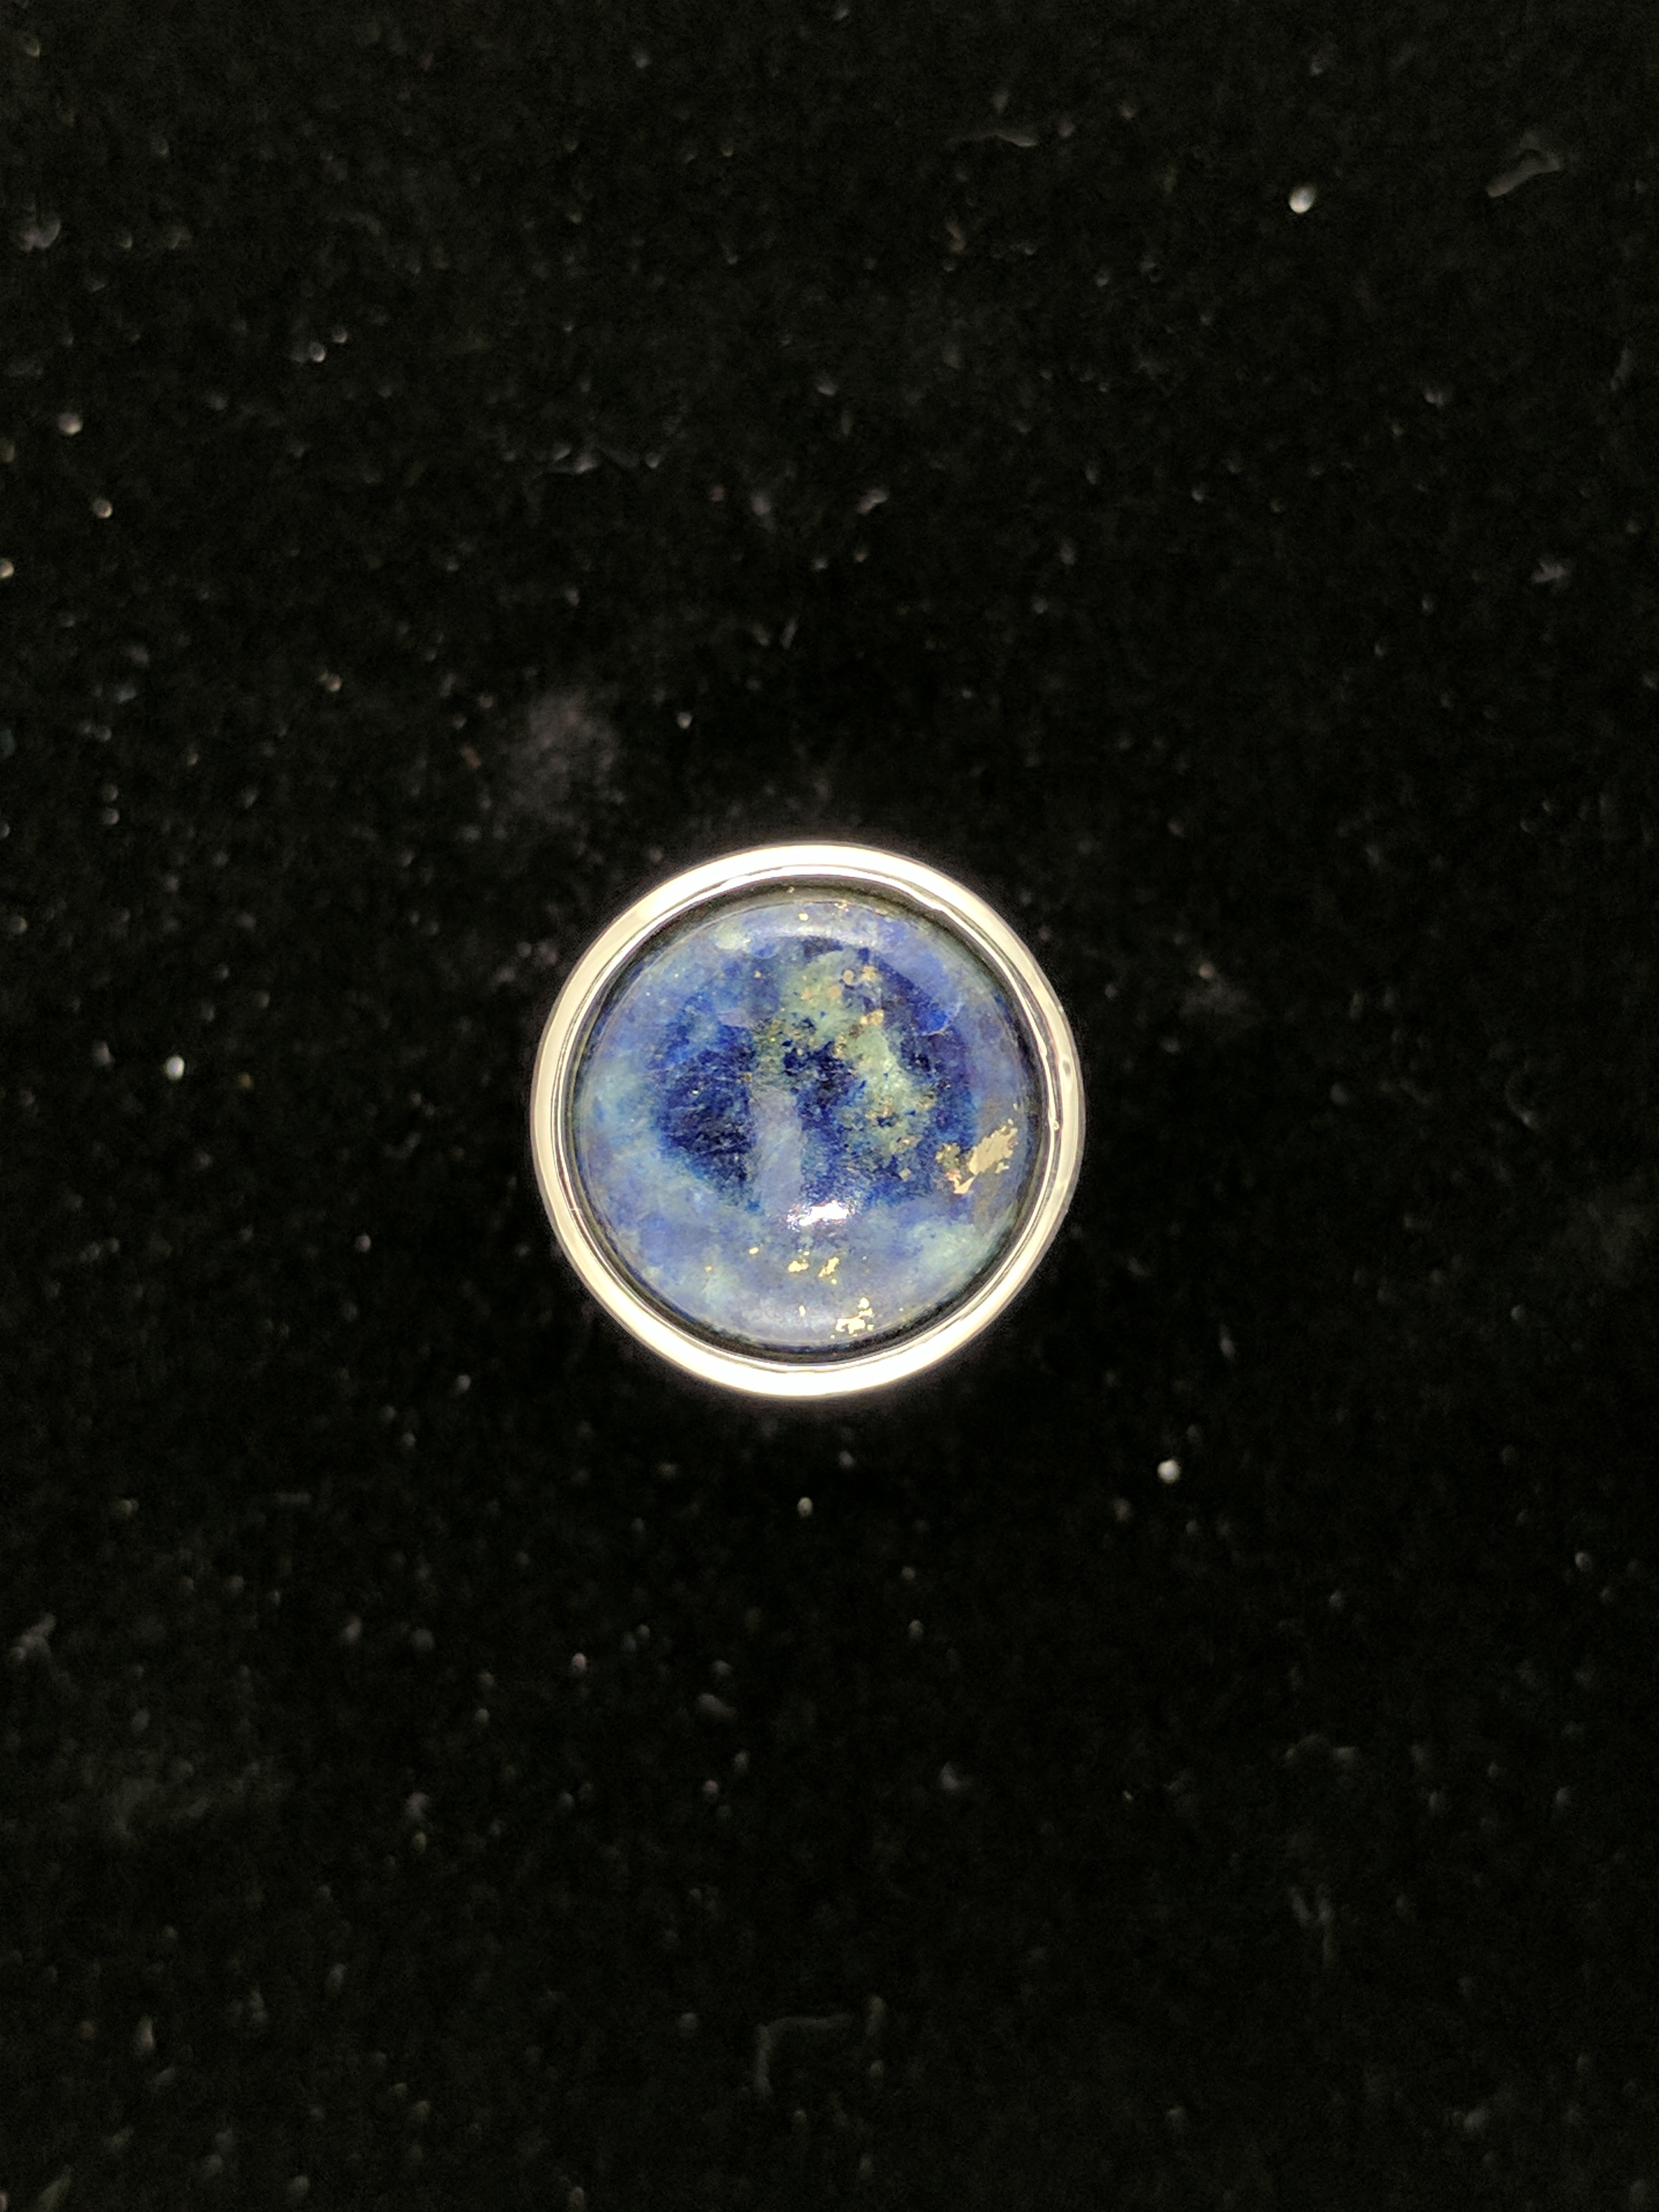
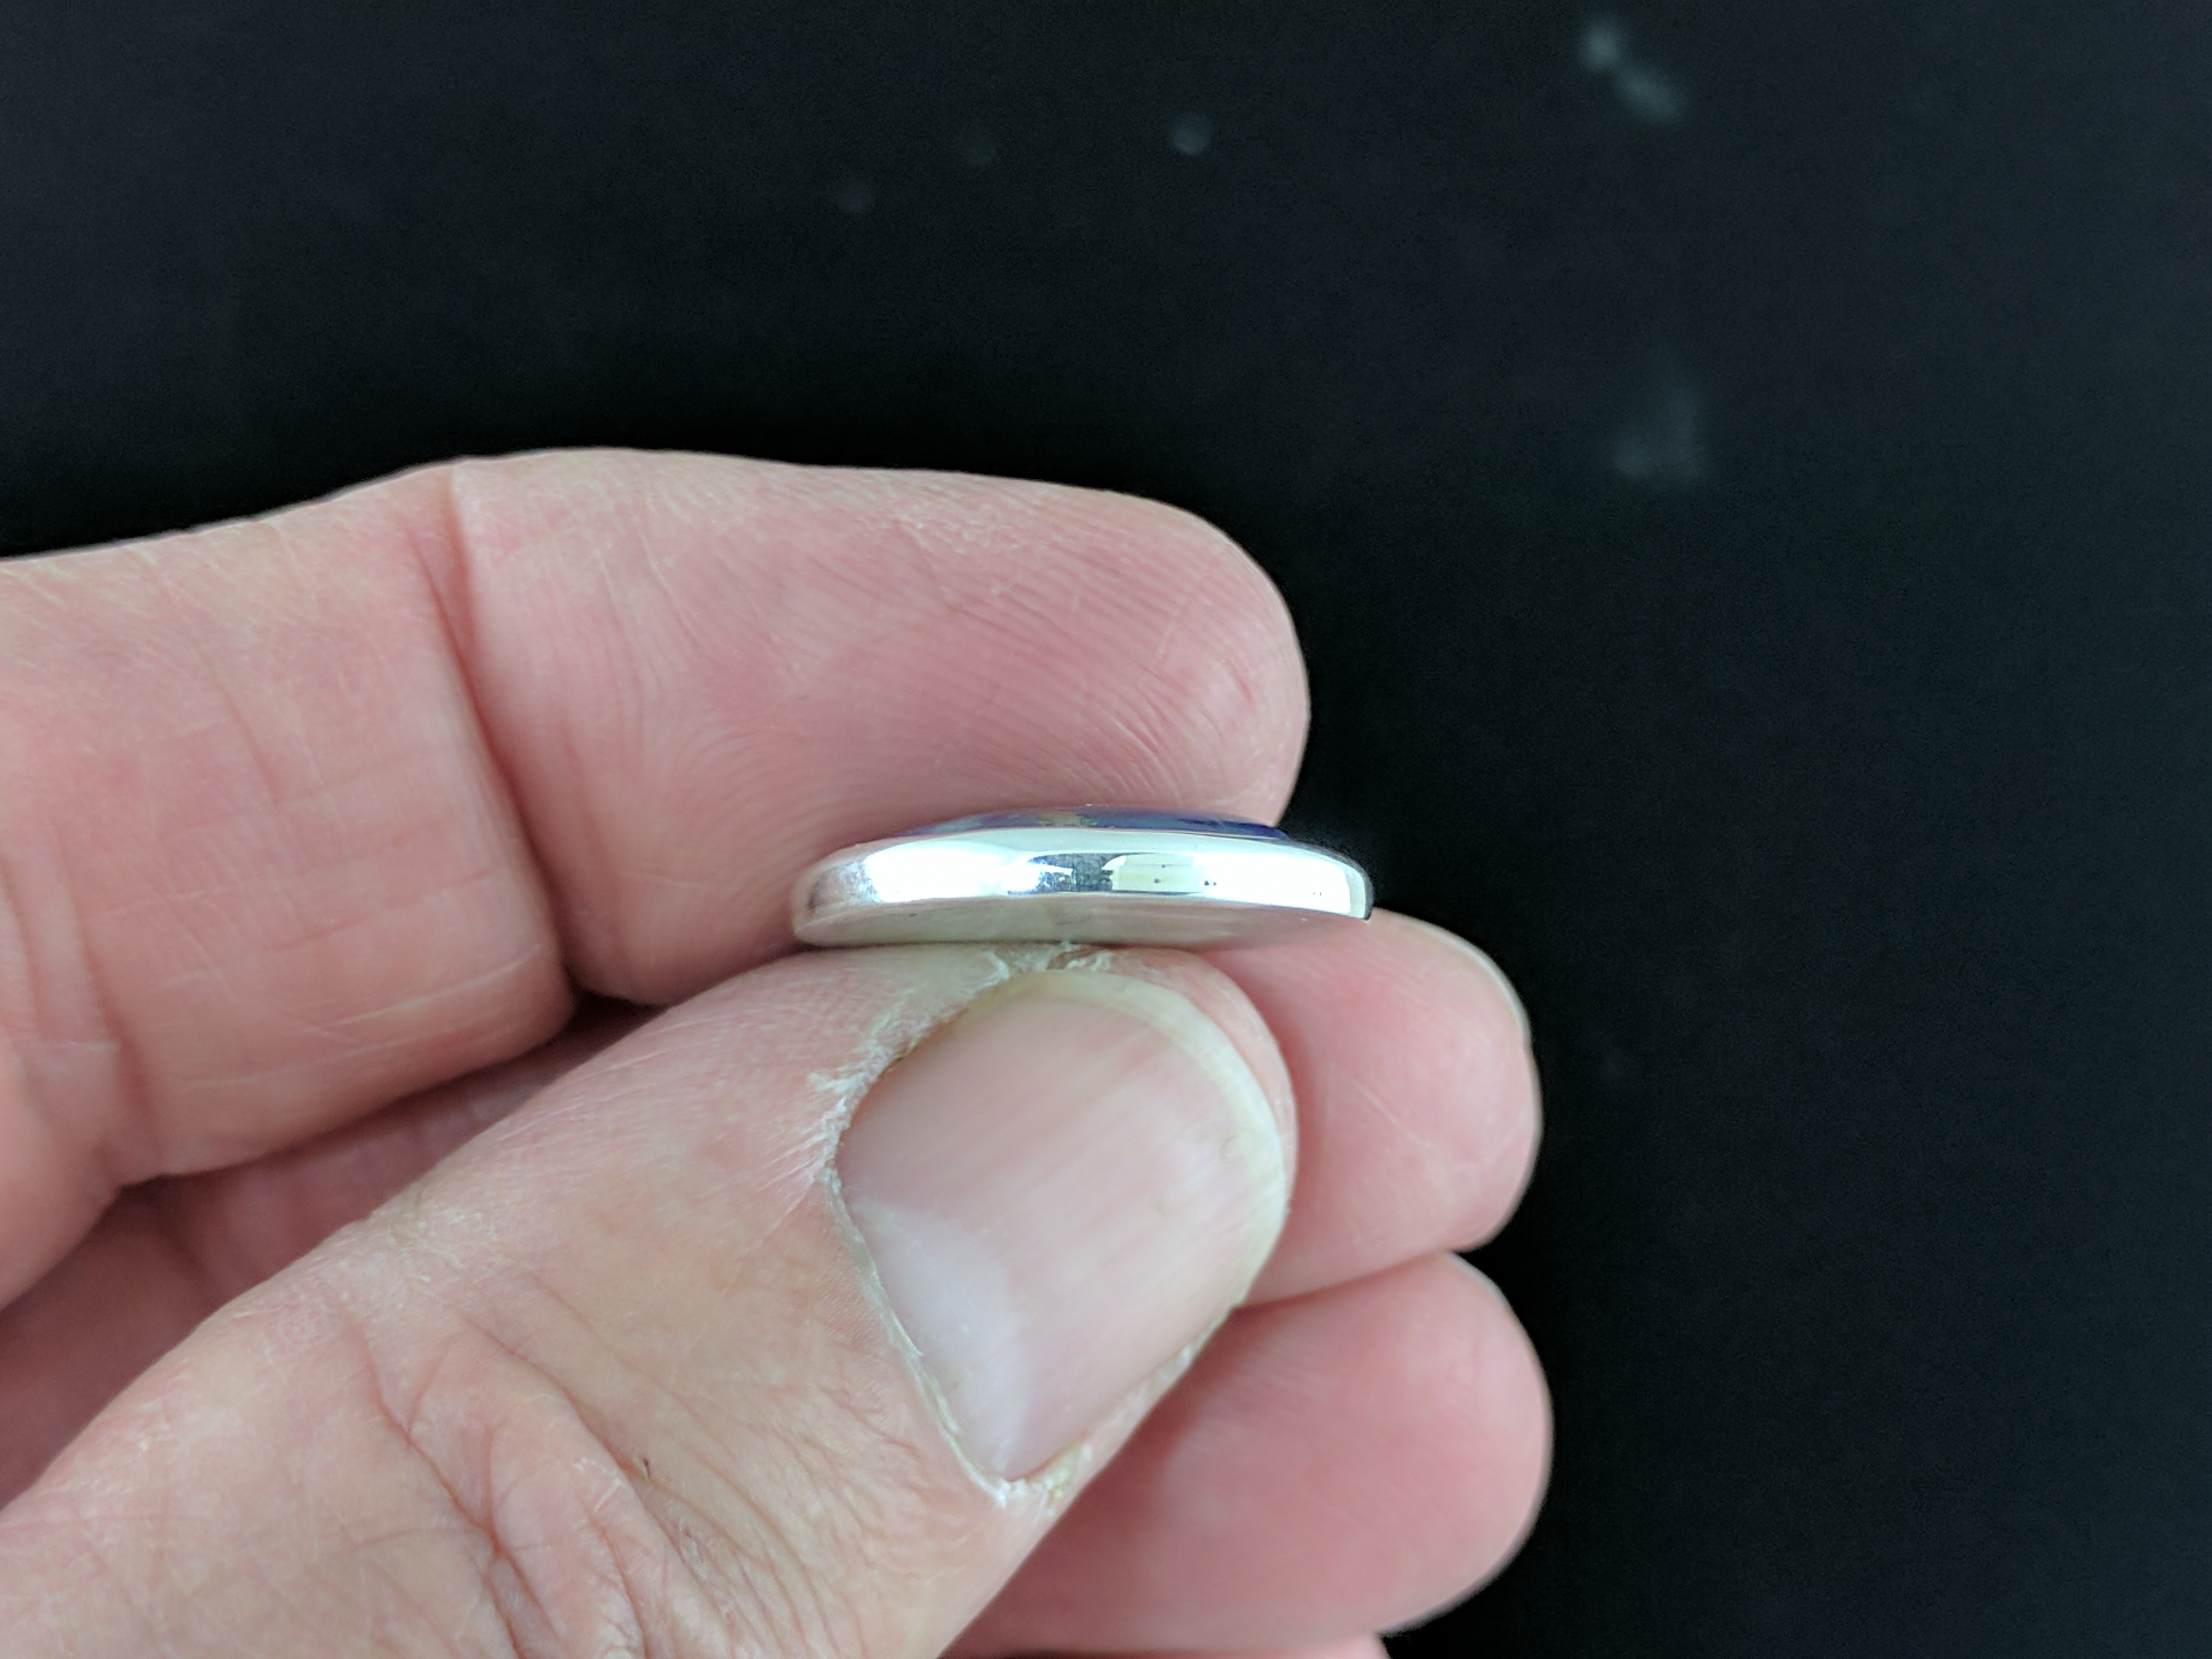
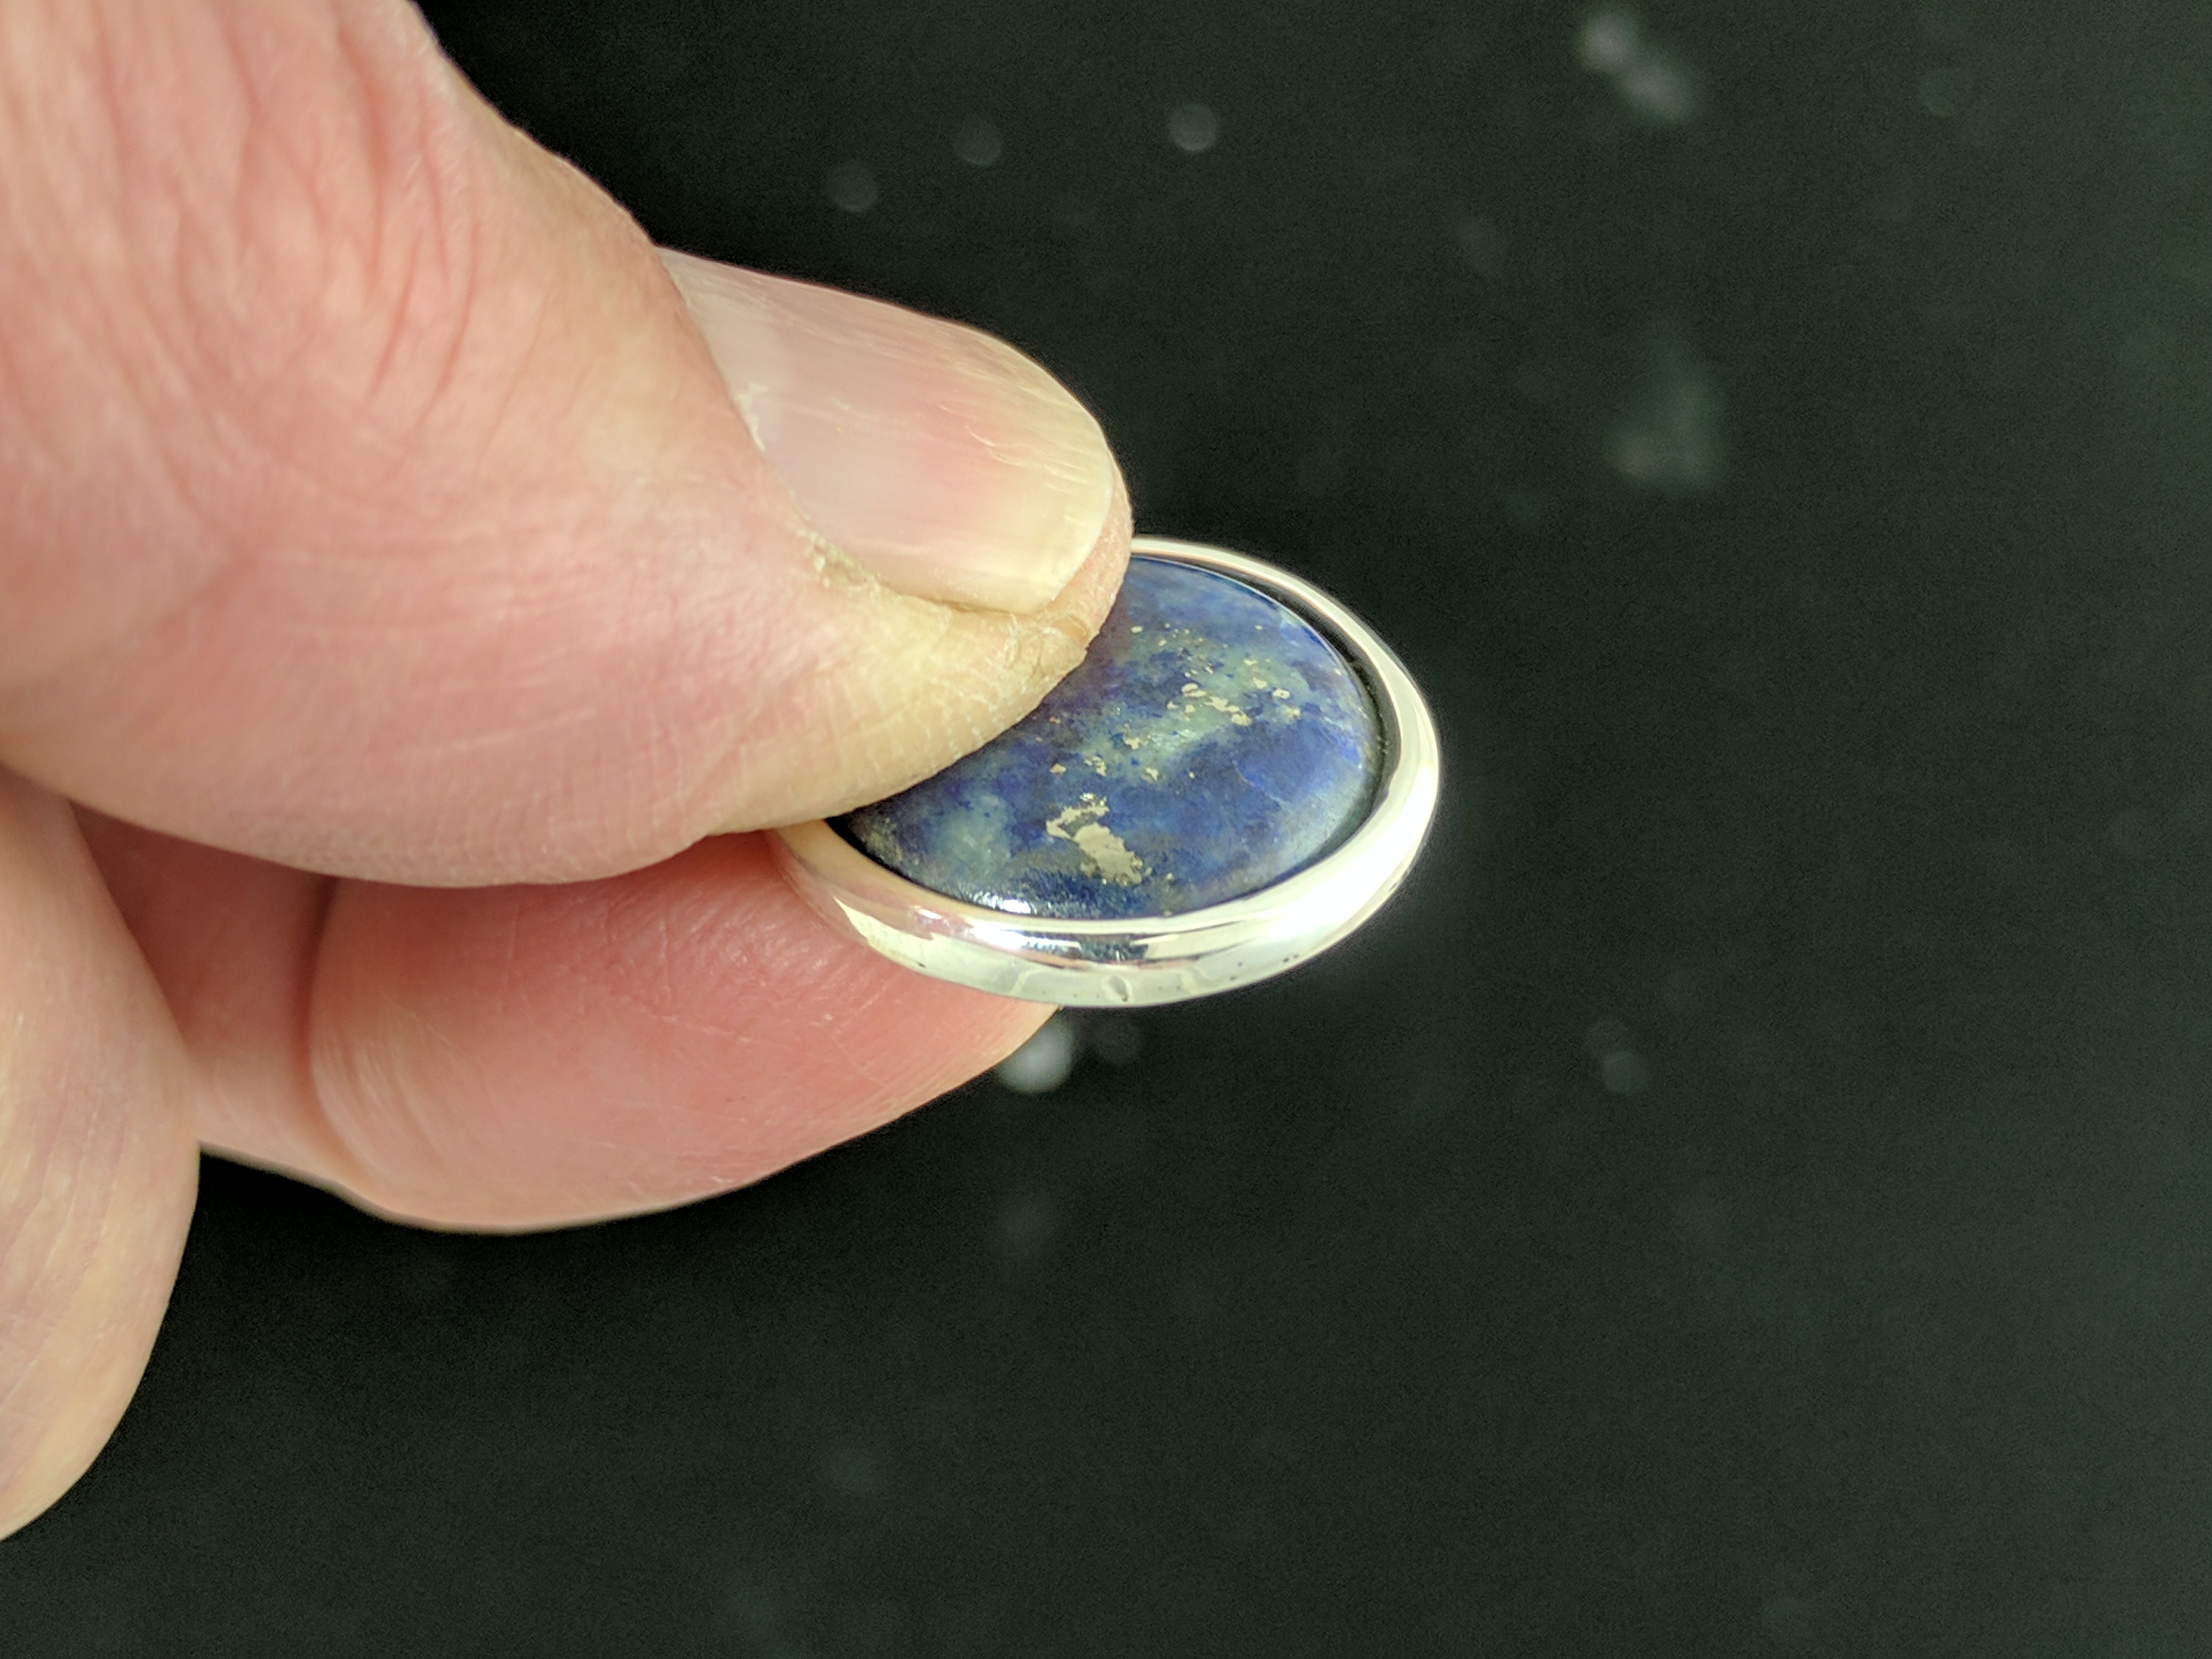
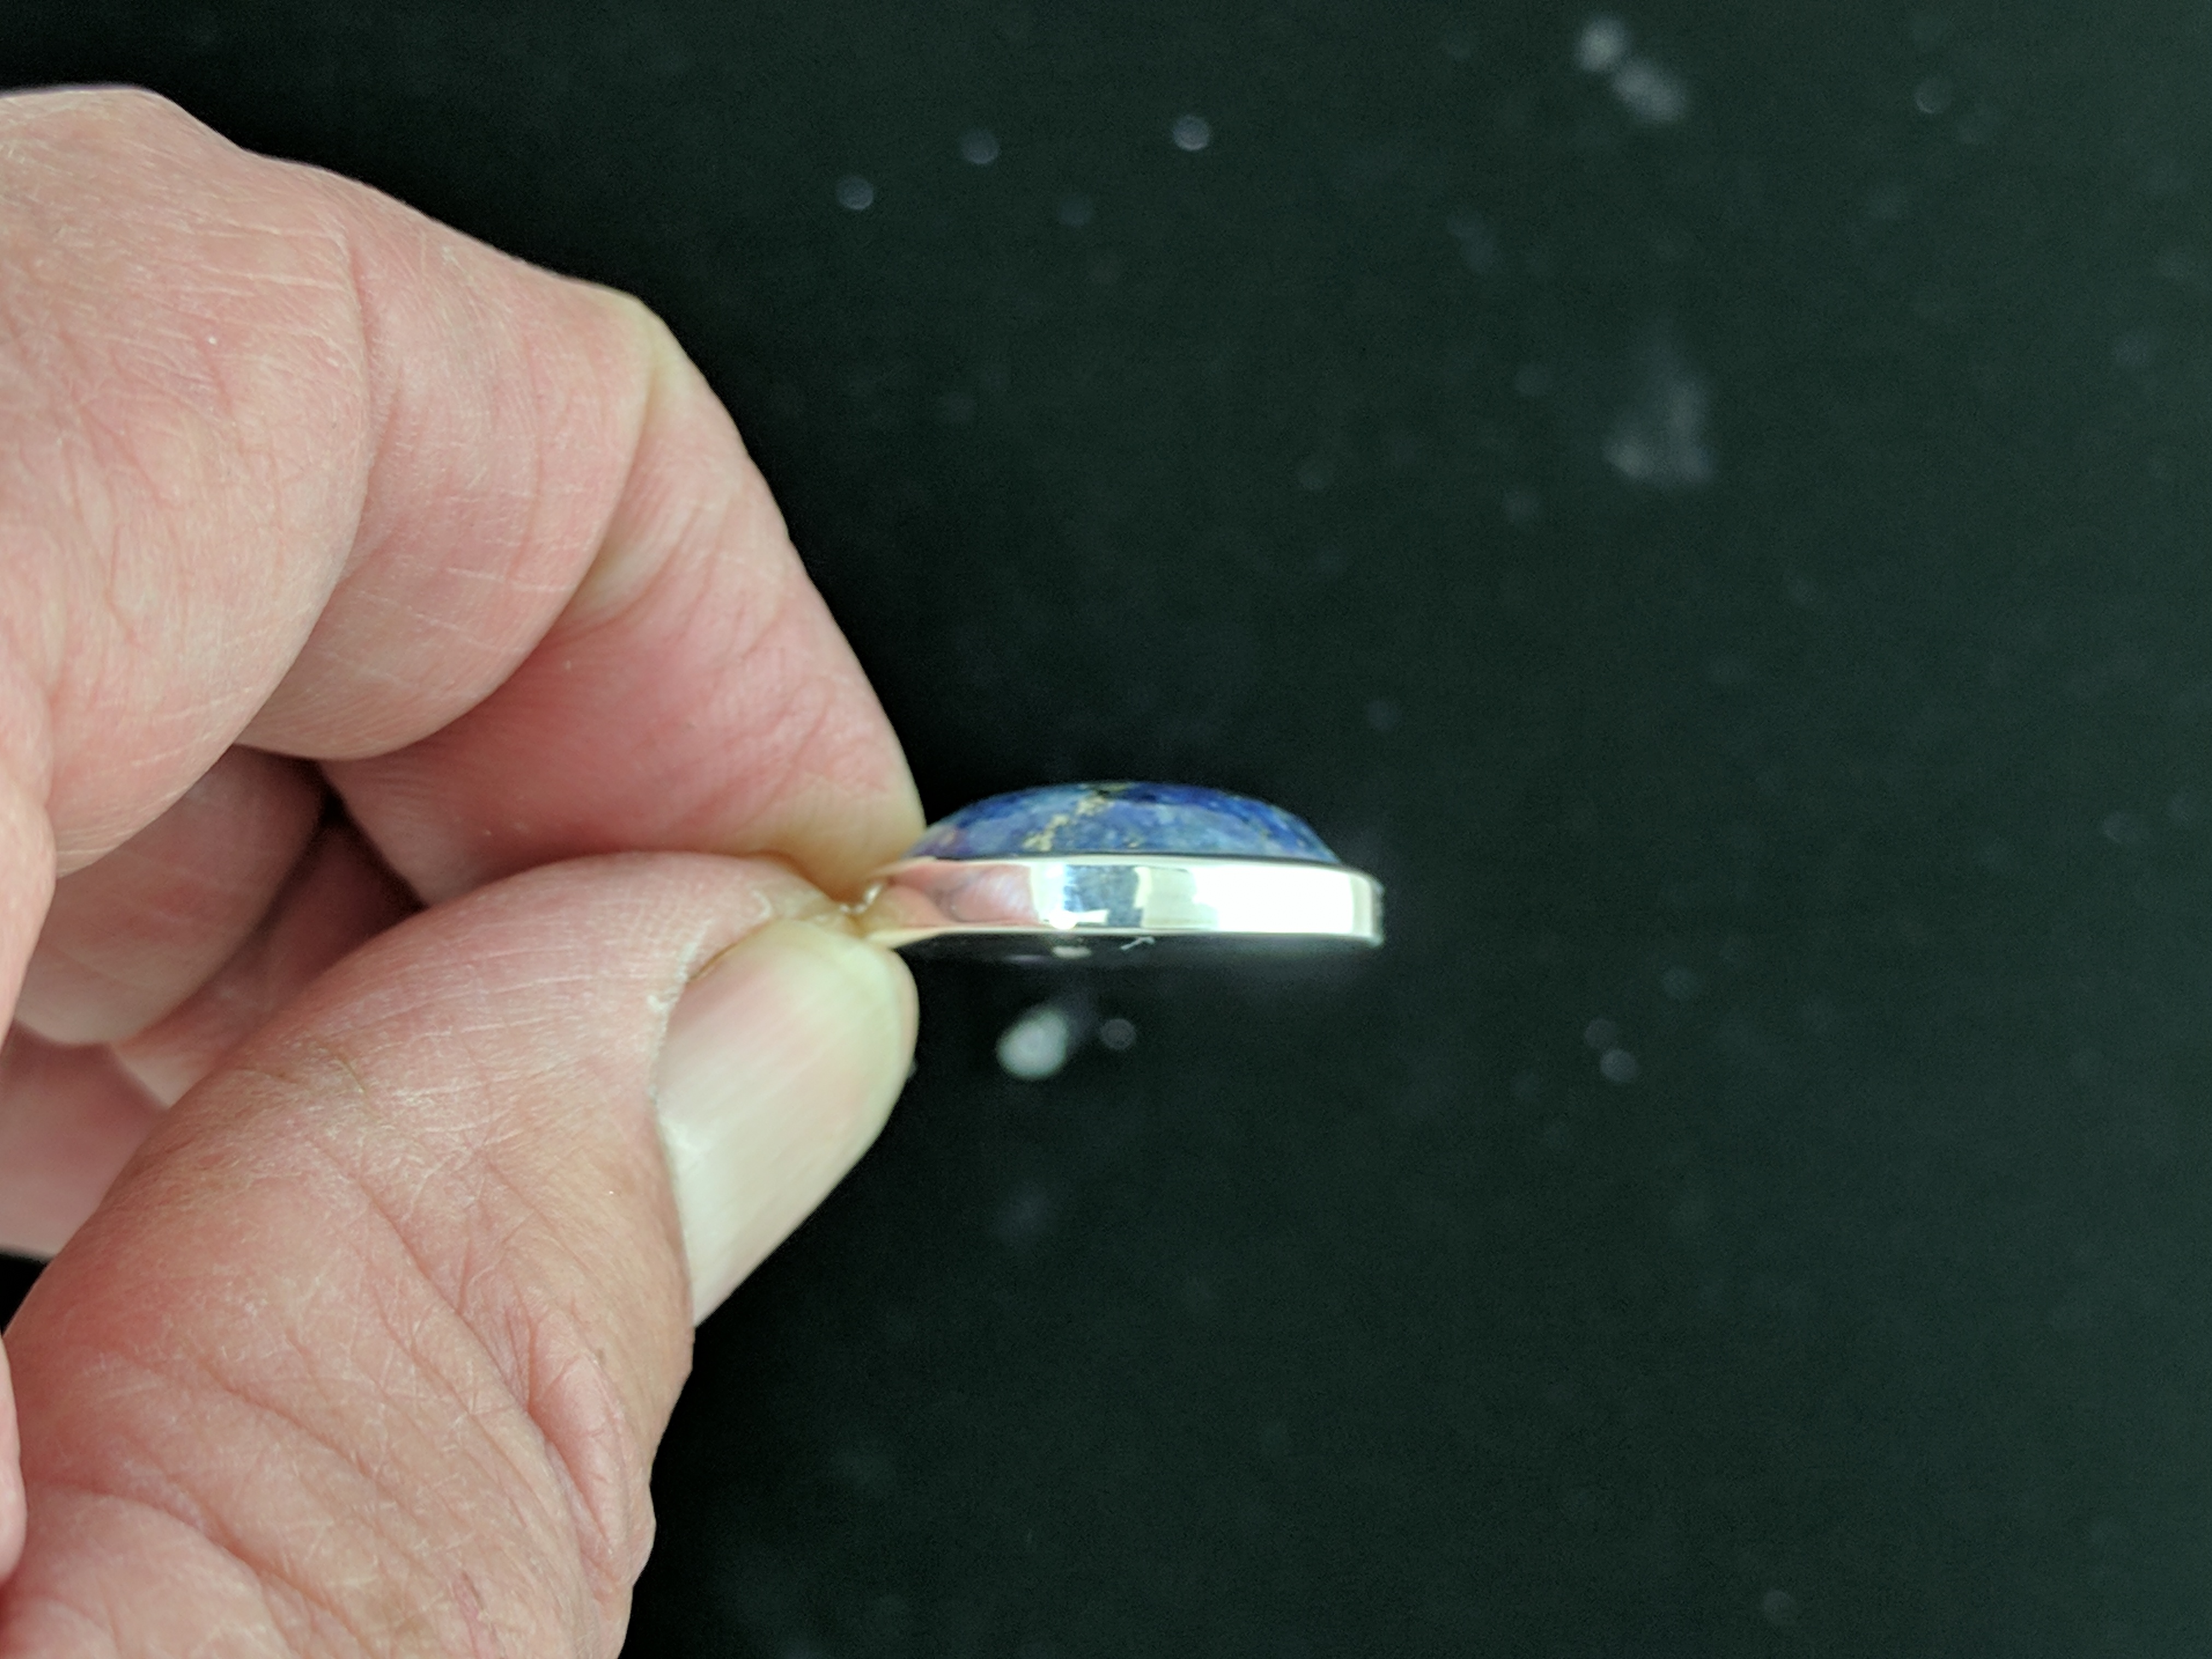
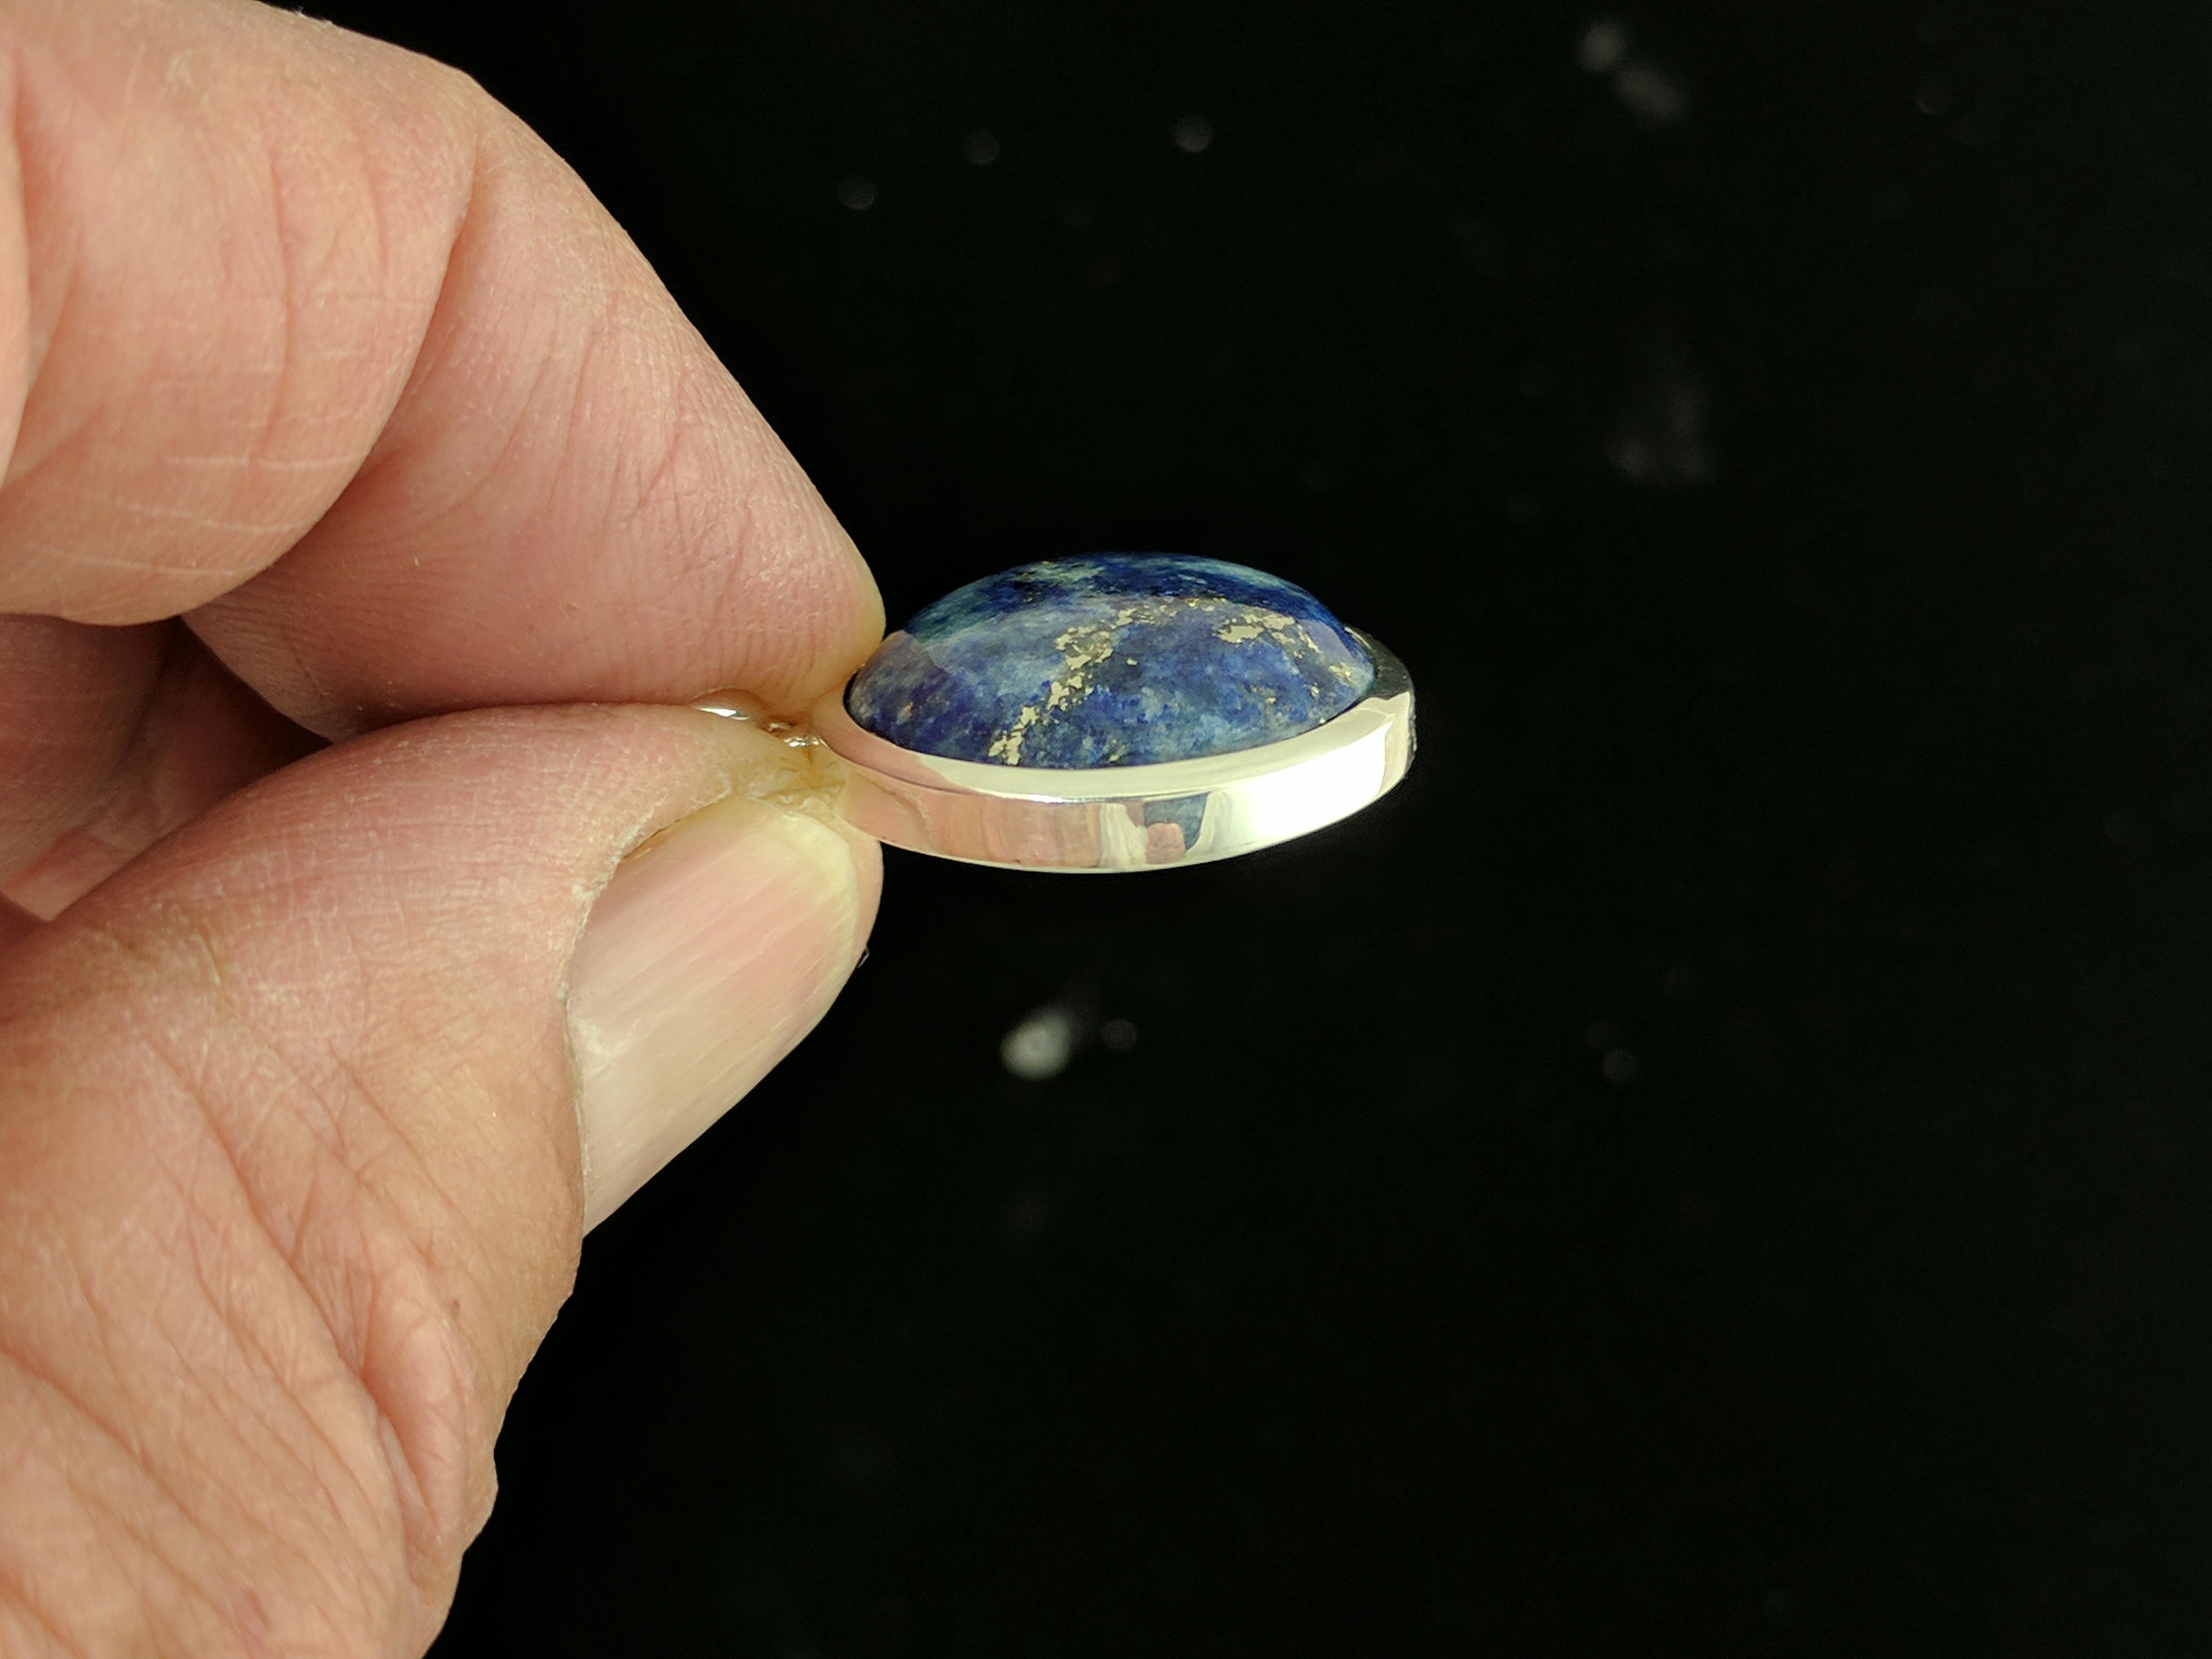
Following is a series of pictures where I have tried to do what Jo and Gerry suggested in the setting of cabs. The stones are a couple of practice lapis pieces that I had. I have an interesting way to cut round stones that I will describe sometime. The first three pictures are of a setting where I tried Gerry’s suggestion of using a small hammer to move the bezel. The hammer is actually one that I made in 7th grade shop class. Since I am about to celebrate my 50th high school reunion, 7th grade was a while ago. I was so sure that I would wreck the stone that I didn’t bother adding a bail. I should have as the small hammer that I used did a good job of moving the metal and required very little clean up since I polished the head first. I actually made the bezel from triangular sterling wire that I rolled. This also gave me the 45 degree side that Jo suggested. The second three pictures are of a slightly larger stone where the bezel material was rolled flat sterling about .75 mm thick but higher than the smaller piece. I filed the 45 degree angle and moved the metal using a hammer piece. This required a lot more clean up. Now I just have to figure out bright cutting the inside edges. I will order some fine silver wire to see if that makes any difference. Wish I had put a bail on the smaller piece. Thanks to Jo and Gerry. I will keep on experimenting…Rob

3 Likes
Both look GREAT and I too wish you had put a bail on the first piece………
John
John – take this piece to a jewelry store and have them laser solder a bail on. These joins aren’t the strongest, but may get you part-way where you’d like to be. Beautiful bezel settings, by the way.
Hey Rob
Re the small piece with out a bail - set the whole piece as a stone in another bezel. Only this time include a bail!
Judy in Kansas, where it was a hot one today. Seems like August already!
3 Likes
GREAT idea @Judy_in_Kansas
Judy…That is my plan, but thanks for suggesting it…Rob
Fantastic idea !
Fabulous tip! I have never thought of that!!
Also, may I ask why clean well after pickling? I thought pickling make metal clean.