I’m a relative beginner. About 20% of the time, when I’m setting my stone, my bezel will separate from the backplate, usually just in one part of its perimeter.
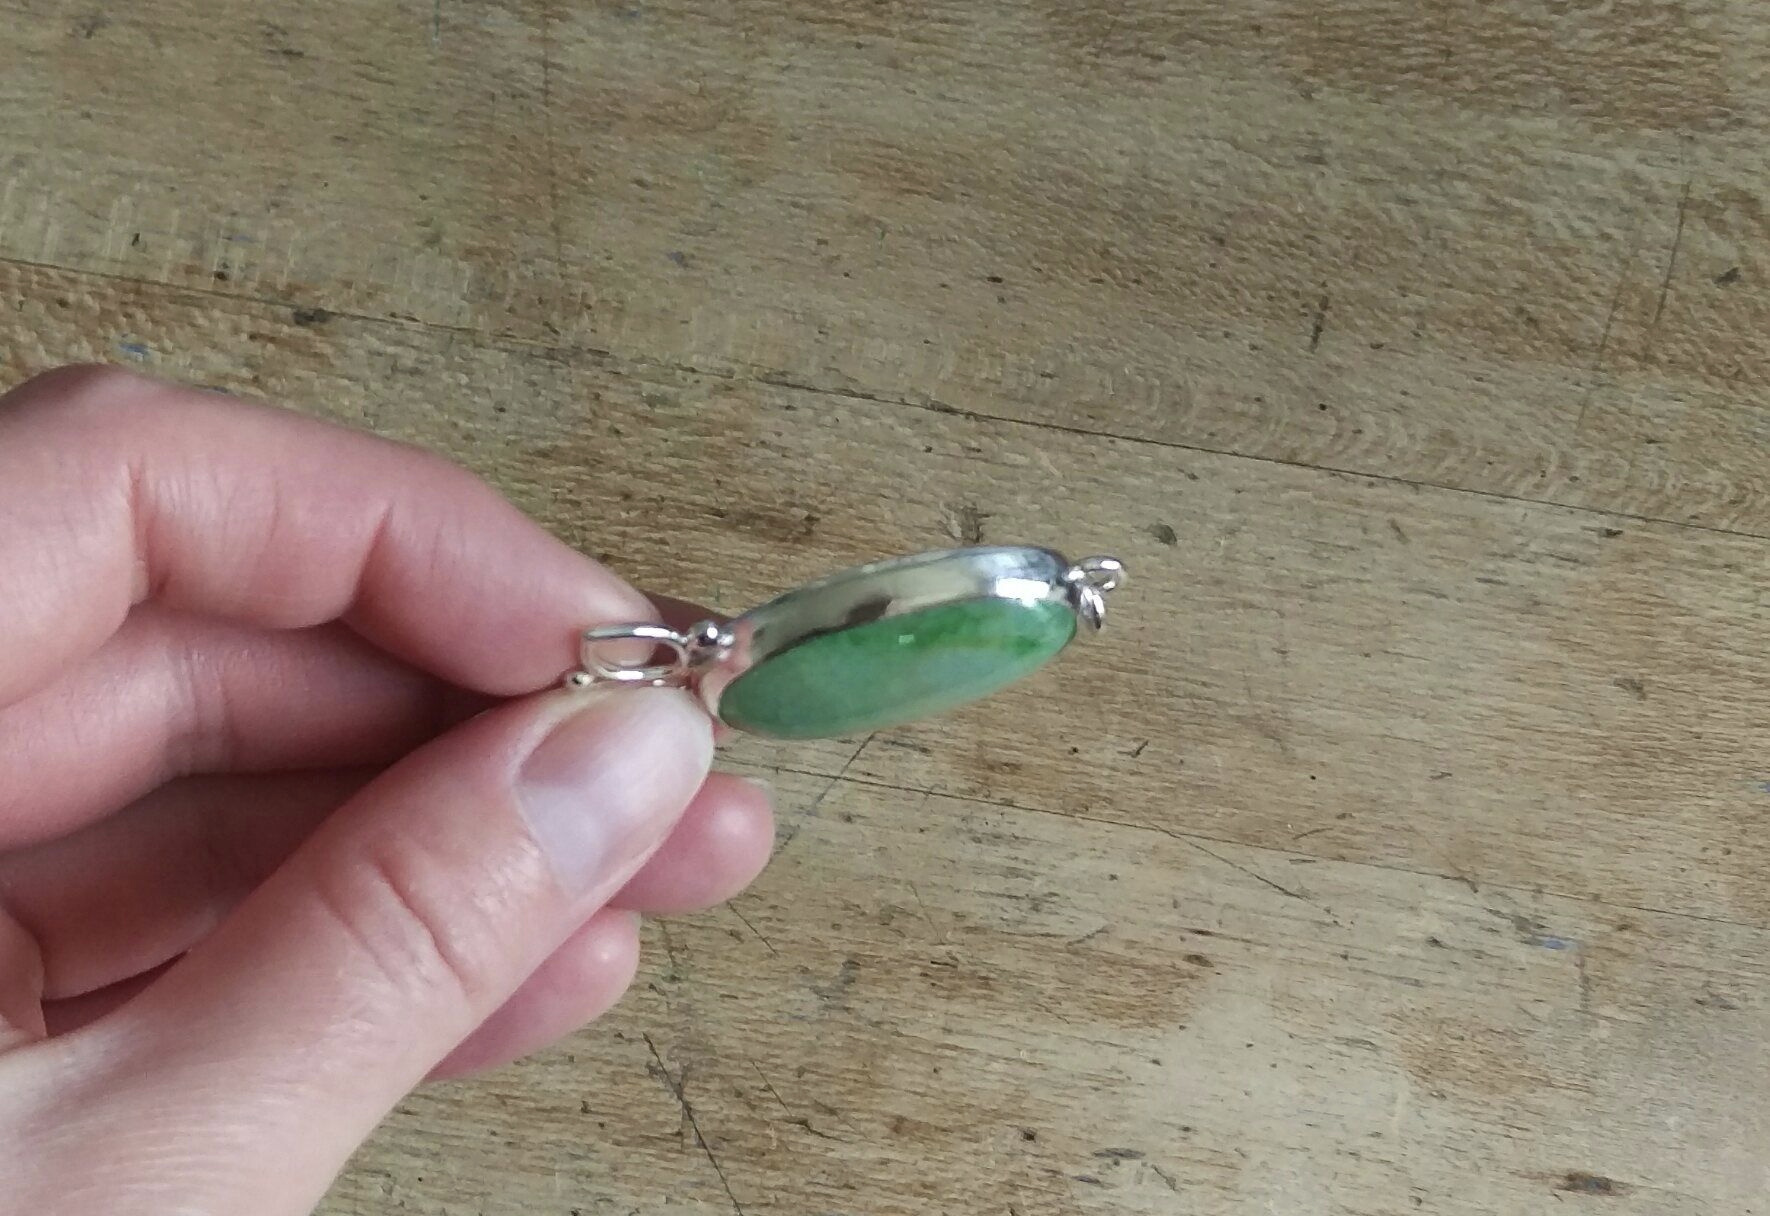
Example:
sorry, hard to get a good shot with my phone.
The finished piece, for context:
I usually use thin bezels – 24 - 26g – and hard solder to mount them to a backplate.
Guesses I have as to what’s going on:
Since I’ve usually reheated it since soldering the bezel, the solder has somehow “loosened” on subsequent reheatings and is a weak point.
The bezel wall is too far from the stone and so when I “fold over” the top during setting, it creates weird pressure on the bottom and it pops.
Some combination of the above.
Anyone know why this keeps happening to me and what I can do to prevent it? It’s so frustrating!
I would suggest that you may not have the bezel really flat on the side laying on the backplate and/or the backplate is not really flat. Be sure both are FLAT so you have a super clean contact. Just sounds like you are not getting solder all the way around the bezel/backplate contact area. Just my thoughts….
Hi there
I think you may not have pulled you solder all the way through to the inside of the bezel. When you filed the outside it may have weakened to the point of coming apart. Bezel is pretty thin and it’s easy to remove material and weaken the joint. Maybe more solder on the inside so you have more metal in contact.
I am a fan of sweat soldering. After the bezel is joined, apply flux to the edge to be soldered and melt bits of solder to that edge. Slobber the solder over the edge with your pick. Flux the place where the bezel is to go. Place the bezel and heat. Watch for the bezel to settle down and " paint" the flame around the base of the bezel to draw the solder all around. If you can heat from underneath there is less chance of melting the bezel. Better chance of uniform soldering too.
Judy in Kansas. Who’s now heading home after a week in Mexico
Quality of the solder - maybe try some from a different supplier?
Maybe not enough solder used - I was taught to use the minimum in each situation in order to produce neat joints, however on a bezel you may be able to be more generous, ensuring a meniscus on either side and therefore a sound joint. The outer side of the meniscus will be filed and polished off anyway and the back of the stone may well accommodate the inner meniscus. Inspection of the back of the stone against a straight edge should show whether this is the case.
excessive heating in subsequent soldering operations?
One of my teachers taught us to level the bottom of the bezel by sanding it in a figure 8 on sandpaper sitting on top of glass or a piece of marble (something level). You will then need to reshape it around the stone, but the bottom should be level and meet up with the base unless the base is not level. I have smacked the base between two clean, smooth metal bench blocks before to level the base. I keep 2 pristine blocks just for that purpose.
Good Luck,
Barbara in Texas
Are you sanding down the sheet really good before soldering the bezel to it? I have seen solder appear to flow, but not actually solder to one of the surfaces due to an unclean surface? This is especially so with Argentium. Good luck.
Clean all parts very well especially if they have been pickled before soldering.
also lots of times the backing plate is made of heavier stock material. If the backing plate is not heated up to soldering temp the solder will not stick to it.
also if you have a habit of sanding your bezel flat before soldering you will be creating a small burr or ledge where it is contacting the backing plate. You need to sand or file this off before you solder or in the soldering process or the bezel will get to soldering temp first and this ledge will hold the solder up off of the backing plate and it will only spread up the bezel and not make contact with he backing plate. It will look like it has worked and even make the nice shiny clean line around the bottom of the bezel indicating flow but it will only be flowing above this little ledge.
I solder my bezel joint with hard solder. I solder it to the backing with medium hard or medium solder depending on what will be added after I solder the back. Other than removing excess backing, don’t sand into the solder between the bezel and back until you have to but do finish those areas that will have other pieces added before you add them. Mount your bezel with medium solder and then do your finishing. It is always a battle between finishing and what you are experiencing. I can’t say as I have ever (40+ years) had a bezel separate from the back except for a very large piece. If it happens while you are soldering, push it down with a pair tweezers and hope it holds. Good luck…Rob
Remember that solder flows to the hottest spot. So if you heat up your bezel first it will flow up the side of the bezel defying the laws of gravity. If you have a soldering block that is a good heat reflector use bits of old soldering block to hold the project up off of the soldering block a few mm and heat from the outside of the bezel first until you see you flux starting to do its job. The heat will reflect up and under the project helping to preheat the backing plate and evenly heating the hole project. This will draw the solder down into the backing plate and give you better contact.
There shouldn’t be a “weak point” from “loosening” unless you’ve somehow deformed the joint and added stress that would induce a separation subsequent to your initial soldering soldering.
I lean toward @scb’s thinking, that the solder hasn’t flowed all the way across the joint. Even if it looks solid, when you file it, you can get weak sections, and those can hide in the rough of the file marks.
It’s really important for the solder to form a continuous seam. Using a pick to mechanically draw the solder around the joint helps a lot; don’t rely on capillary action alone.
It looks like you are finishing too close to the seam too soon in the process. When you do the heating subsequent to soldering the bezel onto the back plate, if you have filed the bezel seam to its final location, the solder will recede from the edge.
Possible solutions:
Use medium solder to secure bezel to back plate. Flux plate with paste flux, then set bezel in place and gently move around to get bezel in true contact with backing. Place several pieces of clipped round solder inside the bezel and touching both bezel and plate. Heat the plate quickly, perhaps tipping the piece so you can apply heat from the underside. When some of the solder flows, complete the operation by circling the bezel, just outside the perimeter. While it is still hot, use your solder pick to check that the surface tension has caused a complete run, both inside and outside.
Soldering the bezel down is more successful if you have raised the piece from your soldering block whether charcoal or fire brick or… My most successful material for raising the plate is titanium strips, bent so they are on edge - an “L” shape works. Don’t use the elevated wire screen, it is a heat sink. You can make a nest of binding wire or any number of other materials. The titanium works best because it is not a heat sink and you cannot accidentally solder to it. Ready cut strips are available directly from Knew Concepts or from Rio Grande. They also make good holding clamps.
Now trim the piece, but do not do a final sanding. Leave the cut edge almost flush with the bezel. It should be a right angle edge…Add your decorations to the piece, the solder for them will flow nicely at the vertical edge.
Only when you have completed all heating steps, should you do the final edge finishing. Make sure to keep the edge very nearly square, if you round it like your picture shows, you can sand or polish right thru the seam.
Using a heavier back plate and a heavier bezel might be your solution.
To demonstrate the receding solder problem - take a small bit of silver plate and solder a piece of bezel to it. Then file and sand the plate to your desired finish. Heat it again and note that the solder line has receded.
Colorado Judy
I forgot to mention that I solder on a zig zag piece of titanium strip. This gets the bezel and back plate away from the solder pad and allows the piece to heat up more quickly and evenly. Sanding or polishing through the seam or pulling solder away during subsequent soldering operations sounds likely…Rob
Just to add my two cents to the above good advice:
Assuming your bezel is down good on the plate, try leaving a tiny rim around it instead of filing it flush. Also, I try to manipulate the bezel as little as possible after soldering its seam and then fitting it to the stone. I like to use water based white-out to protect seams when doing further soldering where possible, and of course with easier solder.
Take a look at the bottom of the cabochon you’re setting as well. The edge should have been very slightly ground away --chamfered/filleted/rounded-- giving a tiny 45-degree angle slant to only the very edge of the cabochon. This avoids having the stone rub against your soldered seam. And of course the bottom should be entirely flat so that the stone won’t wobble in the setting.