Hi everyone,
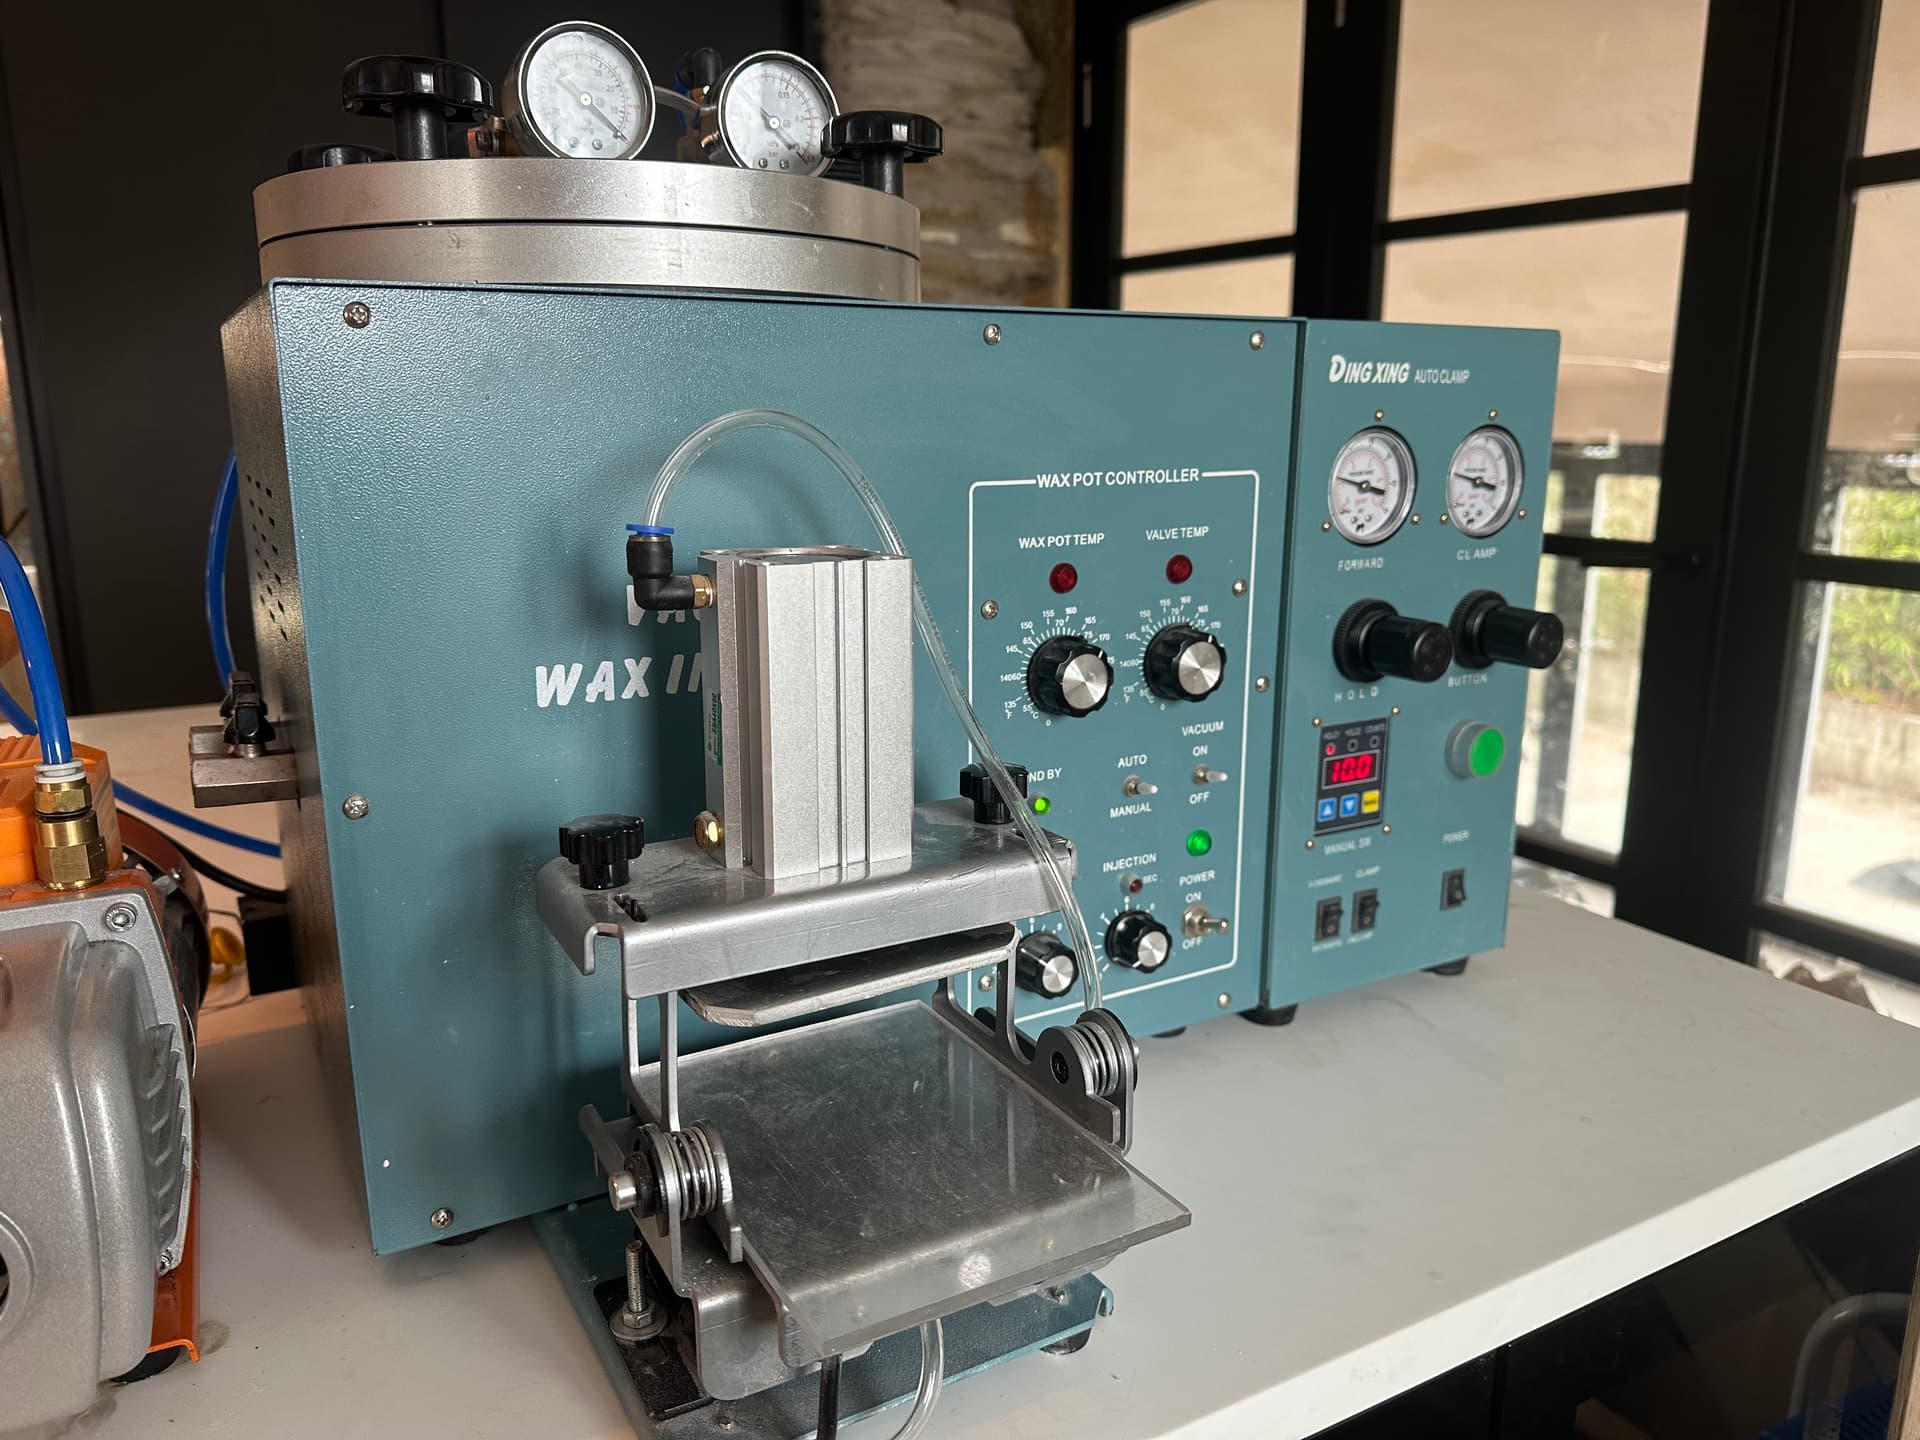
Just over 6 months ago I purchased a vacuum wax injector with an automatic clamp. Over this period of time, I have been trying to dial in my injection settings on the machine but haven’t seemed to have found the answer to my issues.
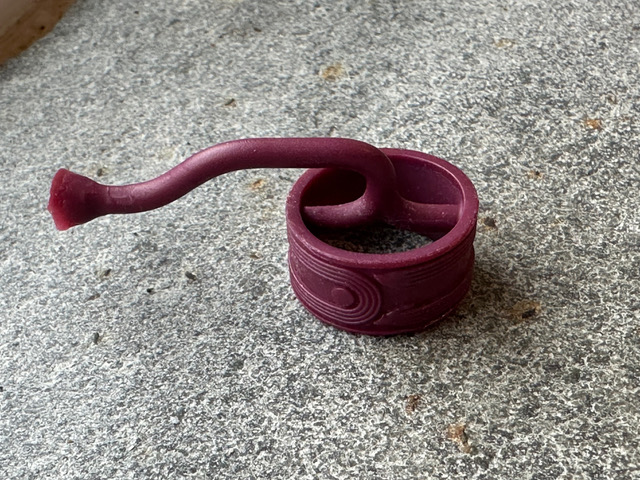
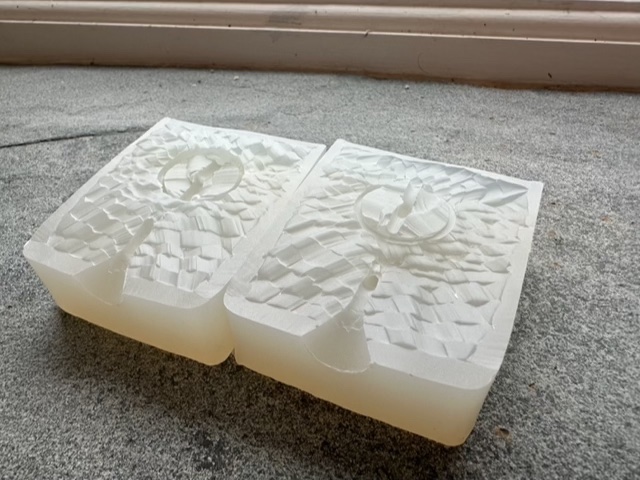
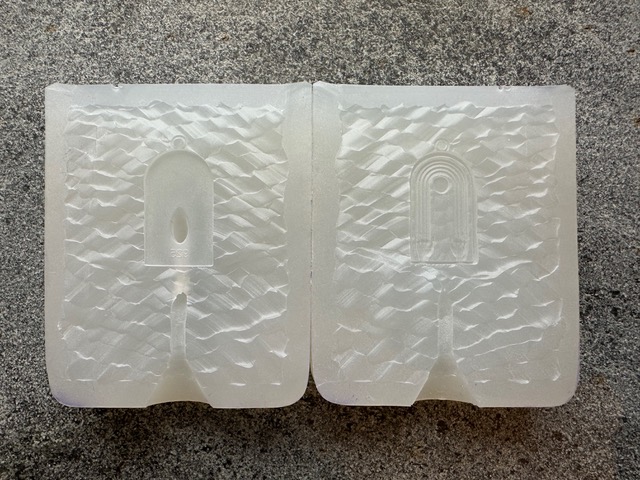
In terms of the moulds that i’m injecting, they are made of RTV silicone with a hardness of around Shore A40. I have a range of ring moulds varying from Size N to W and a few pendant moulds as well. None of the moulds have venting cuts as I am using a vacuum pump with the machine. So far I have tried three different waxes, Ferris Turquoise, Ferris Ruby Red and GRS Aqua.
The main issue I seem to be facing is the wax prematurely cooling before filling the moulds. This is especially prominent on my ring moulds as they are larger models and have a more complex sprue structure. I have tried almost all combinations you could think of with injection pressure, injection time, vacuum time, clamping pressure, forward pressure and temperature. Before going into detail on the pressures and timings I have experimented with, I will say I always follow the recommended temperature for the wax I am using, but have always tried increasing it if I feel I’m not getting anywhere with other adjustments (maximum of 10c above the recommended temperature to prevent overheating).
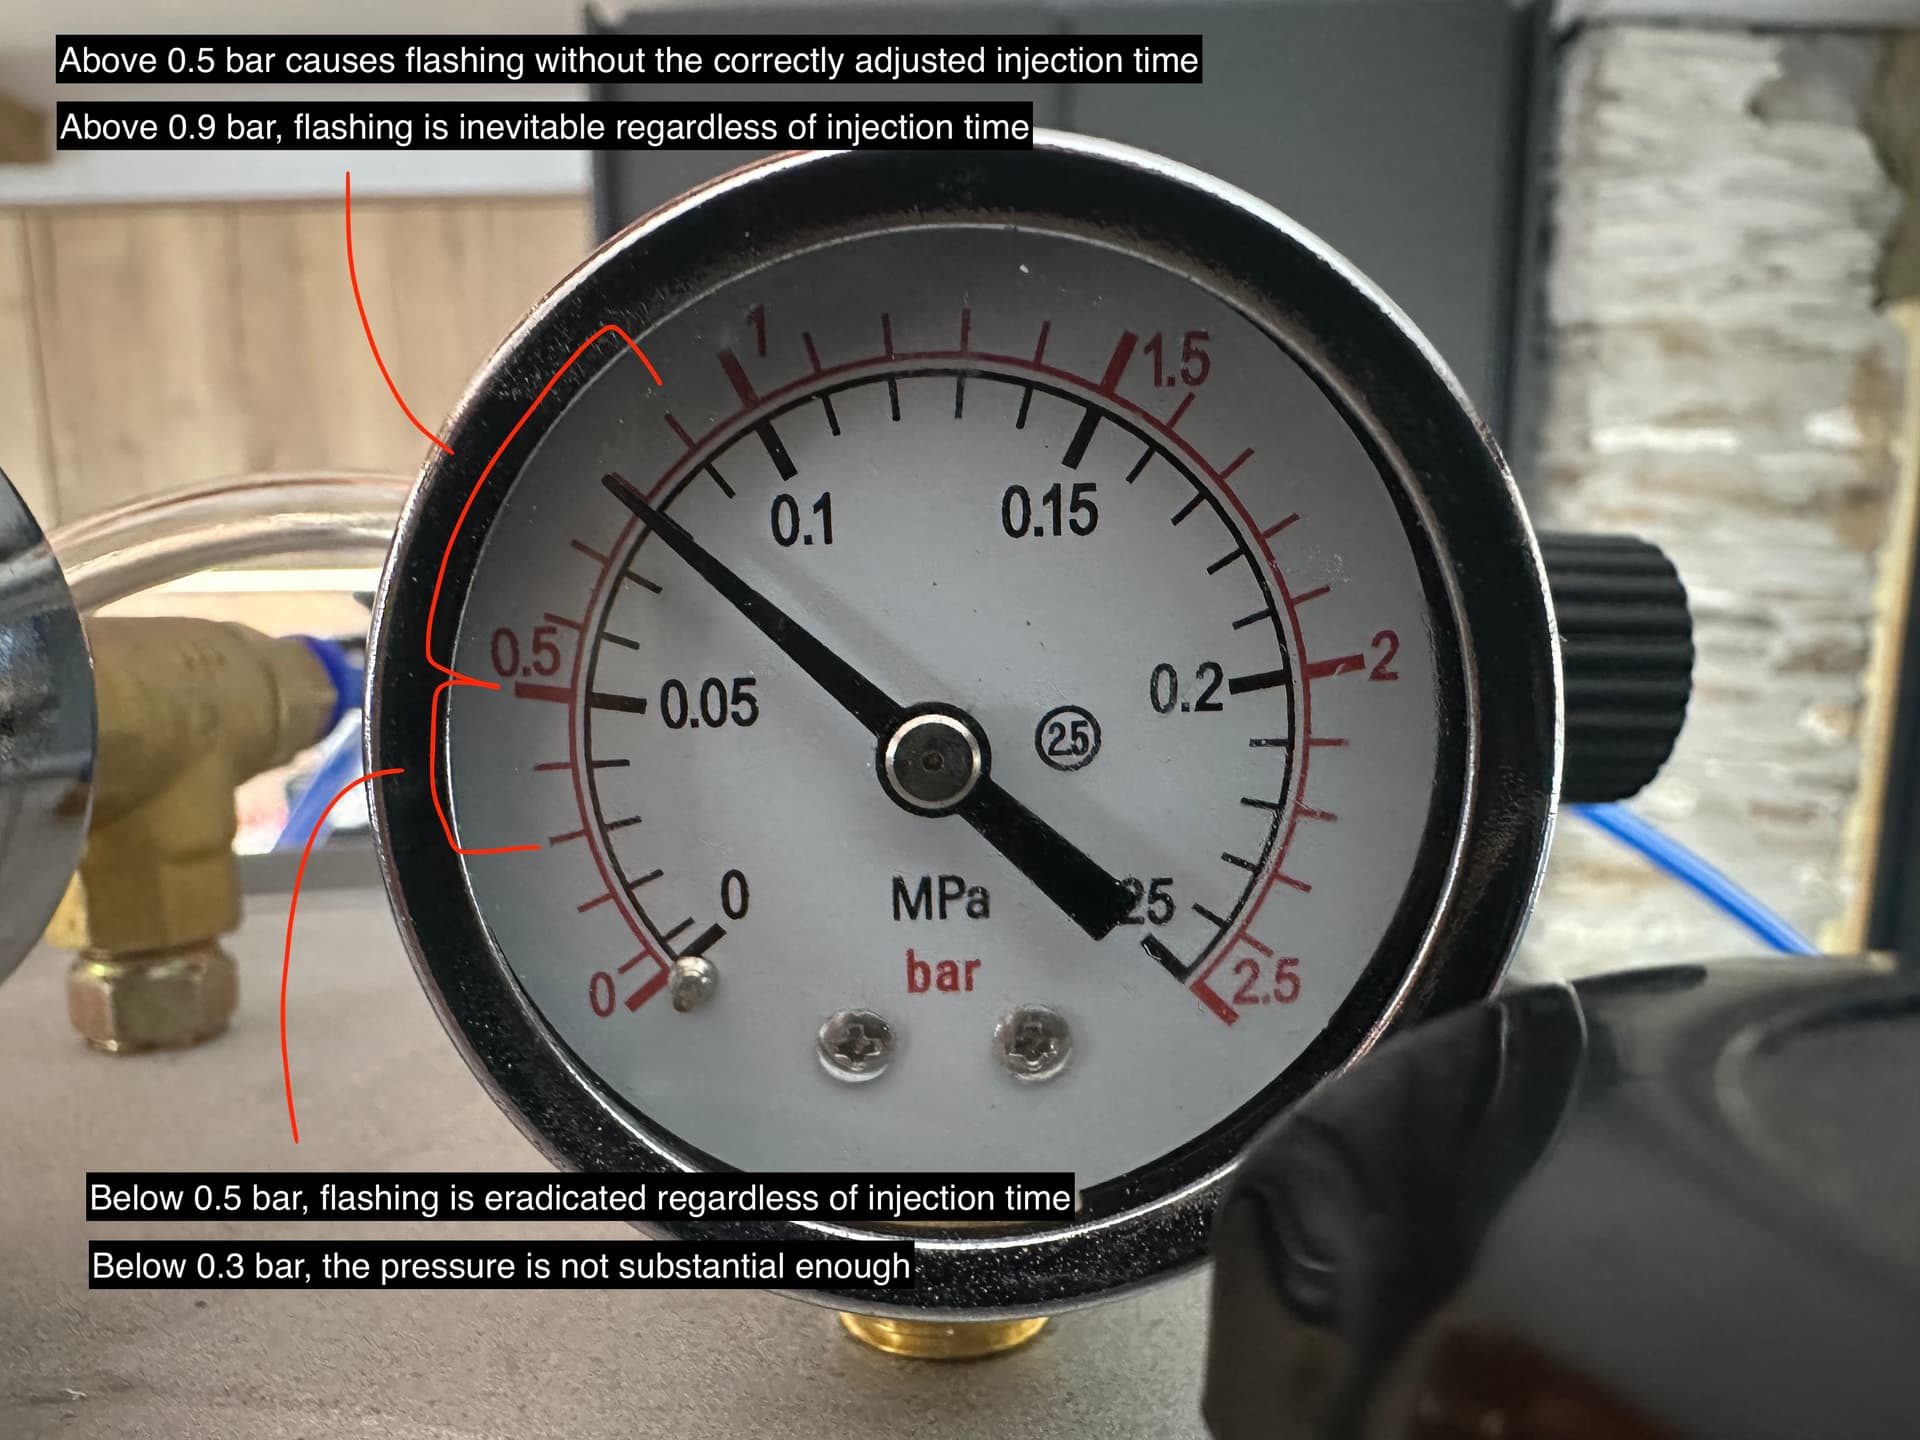
When it comes to injection pressure, I find that anything above 0.5 bar (as indicated in the image below) creates major flashing unless I dial in the injection time so that the wax stops being injected as soon as the cavity is filled. Usually this is around one second or below (because the vacuum already creates a pull) and has to be accurate within 0.1 of a second otherwise you will either get unfilled areas or flashing. I have tried to combat the flashing by increasing the clamping pressure on the mould, but I also have vertical mould cuts which wouldn’t be affected by the clamping pressure. I don’t see how working in this way is sustainable as every mould cavity has a different volume and you have to go through numerous amounts of failed injections until the settings are spot on. Even when I get some what of a good injection, I can’t continuously replicate it because of factors like the pressure increasing ever so slightly over time and therefore having to compensate with the injection time.
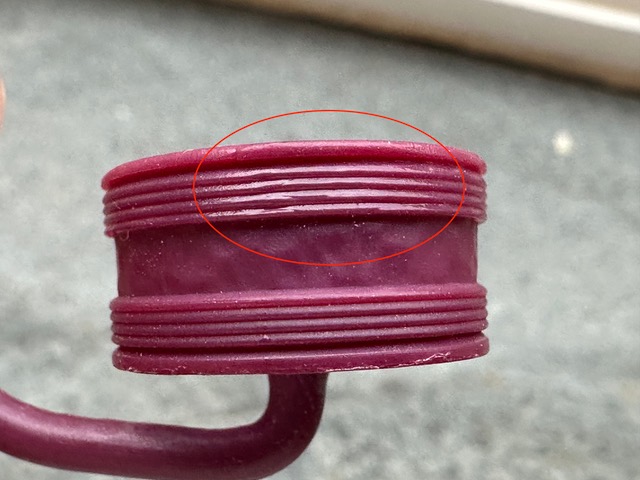
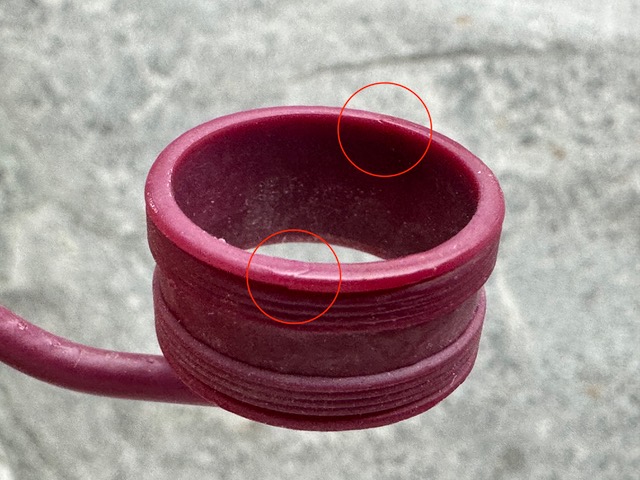
Anything below 0.5 bar doesn’t create any flashing, but no matter the temperature or injection time, I always get glossy areas at the furthest points causing loss of detail. I have thought that perhaps the pathway of the sprue is just too complex for the wax to stay hot enough, but I have seen plenty of other people use this internal spruing method on band rings before. Another reason I don’t believe it is to do with the complexity of the sprue is because even when inject my pendant moulds that use a relatively straight sprue, I usually still get glossy areas at the furthest point. I’ve also proven that the areas with loss of detail aren’t embedded in the moulds themselves because if I inject them at a very high pressure, disregarding the flashing, these areas fill perfectly.
If anyone is knowledgeable on this subject and would be happy to help, I have a few questions that might clear up some misconceptions of mine. Firstly, should I be aiming for a high injection pressure and a fast injection time or a low injection pressure and a slow injection time? I am also curious if I am using a suitable wax based on the moulds I am injecting? All of the waxes I’ve mentioned above are mainly for general purpose injecting, but then again I would say that the models I am trying to inject aren’t particularly complex, especially the pendant moulds.
Other than what I have already mentioned, I will also clear up some other assumptions you may have:
- I have a moisture trap on my air compressor to prevent any water from getting into the chamber.
- I always preheat my wax injector for at least two hours (by manufacturers instruction) to ensure all of the wax has reached the target temperature.
- I set my nozzle temperature 2 degrees centigrade below the pot temperature as instructed by the machines manufacturer.
- I have tested warming up my moulds to room temperature (or just above) before injecting, and have also tried cooling my moulds in the freezer for 2 mins before injecting.
- I always lightly dust talcum powder in the moulds cavity then removing any excess before injecting.
- I have tried blocking one of the sprue entries at the point in which it spits to see if having two entry points was creating excessive turbulence, but I just get worse loss of detail behind the area that was blocked off.
- I have tried a range of different vacuum times to see If I can increase or decrease the speed in which the wax is injected, but nothing seems to make a difference.
- I’ve ensured that when the machine is vacuuming the mould, there is no air leaking. If there is air leaking, it is usually quite obvious by the squealing sound it makes.
- My moulds are held against the nozzle for 10 seconds after injecting, and then kept clamped for a further 10 seconds after pulling away from the nozzle.
- I leave my injected moulds to cool down for 2-5 minutes before taking them out.
Hopefully I haven’t missed anything out, but like I said, If anyone has any idea what issues I might be running into, your help would be greatly appreciated. I have attached some more reference images below of my injections, moulds and the machine I am using.
Thanks,
Aaron