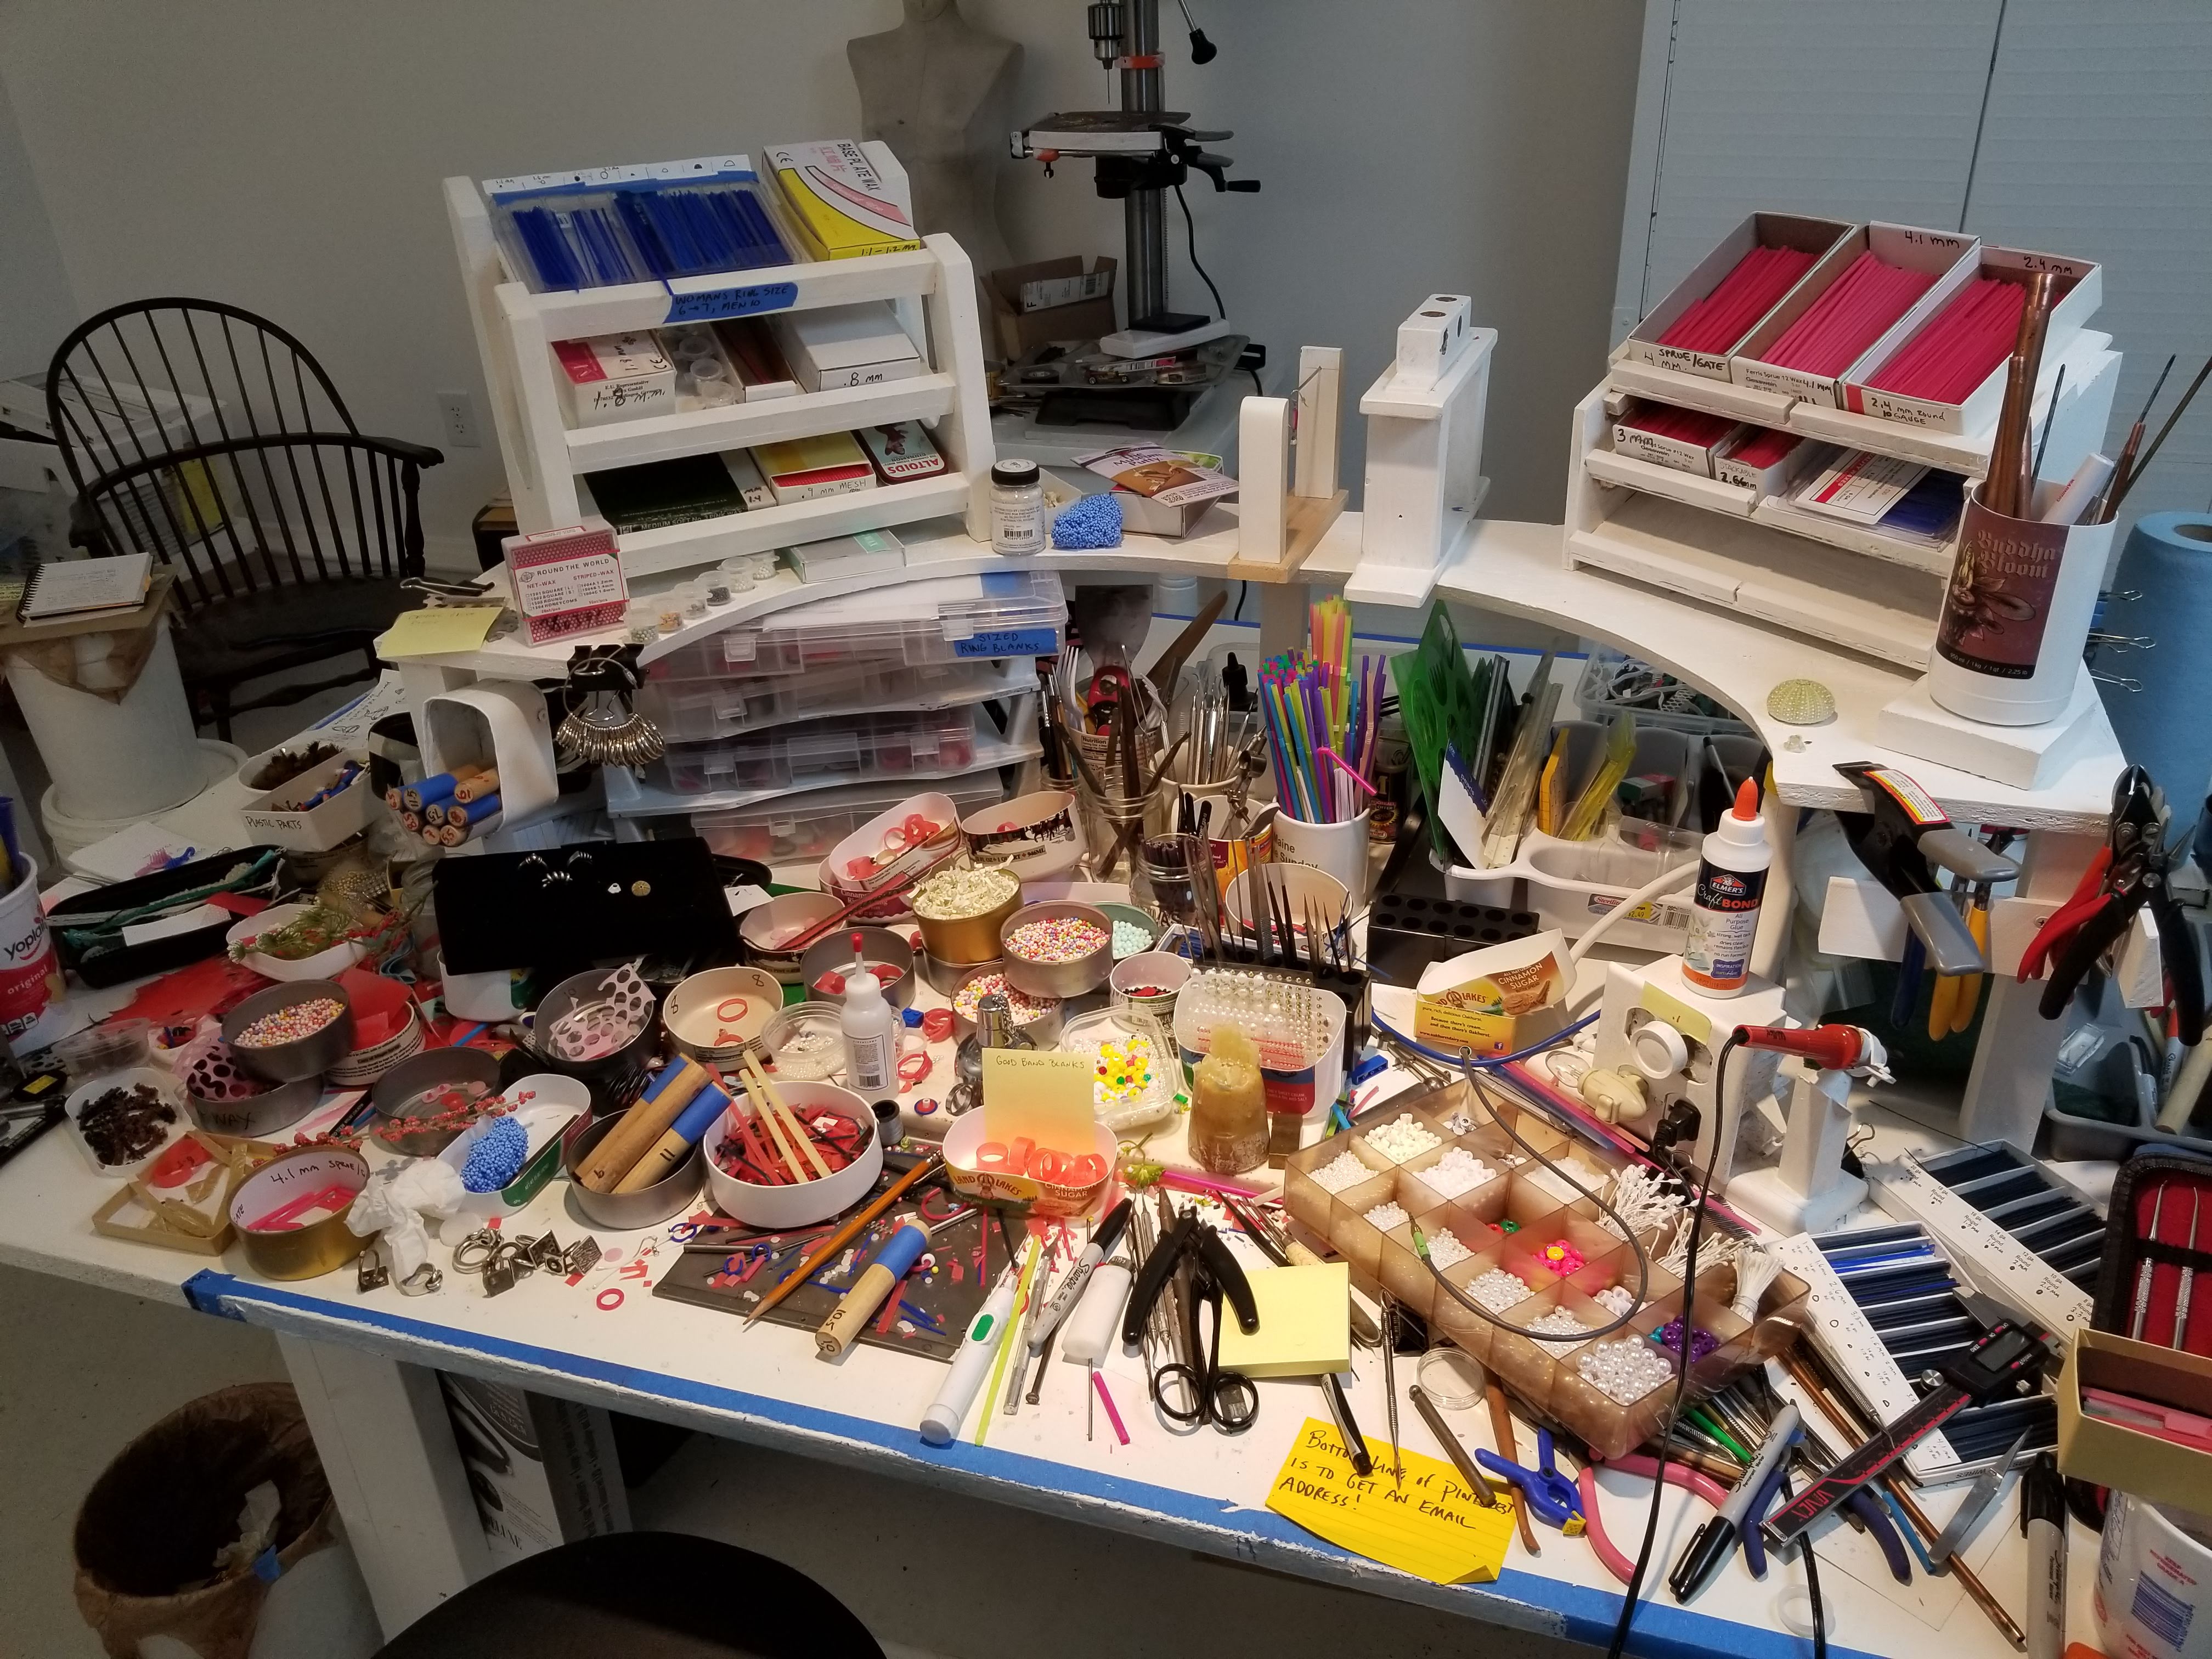
I don’t see many wax benches here, so I thought I’d share mine. I fabricate with wax more than I carve. This is what it looks like when I’m creating, it is rarely any cleaner than this!
7 Likes
Hi Steve, I really enjoy this! You have a lot going on there. Is that a soldering iron plugged into a dimmer switch and it that the only tool you use for a wax pen? I like that idea because when my ancient wax pens finally go, I don’t think I’ll be able to find quality replacements. They’ve been repaired so many times, I don’t think they can take more. Lots of great ideas there, thanks for sharing.
- I wish the areaS that I do wax work in was as organized as yours
- I also would like to know about the solder iron (interesting)
- Do you make different tips for the soldering iron.
- The cord coming out or the reused burger container looks like a wax pen. How does it work
More questions but that’s enough for now.
Regards RLW
Greetings guys,
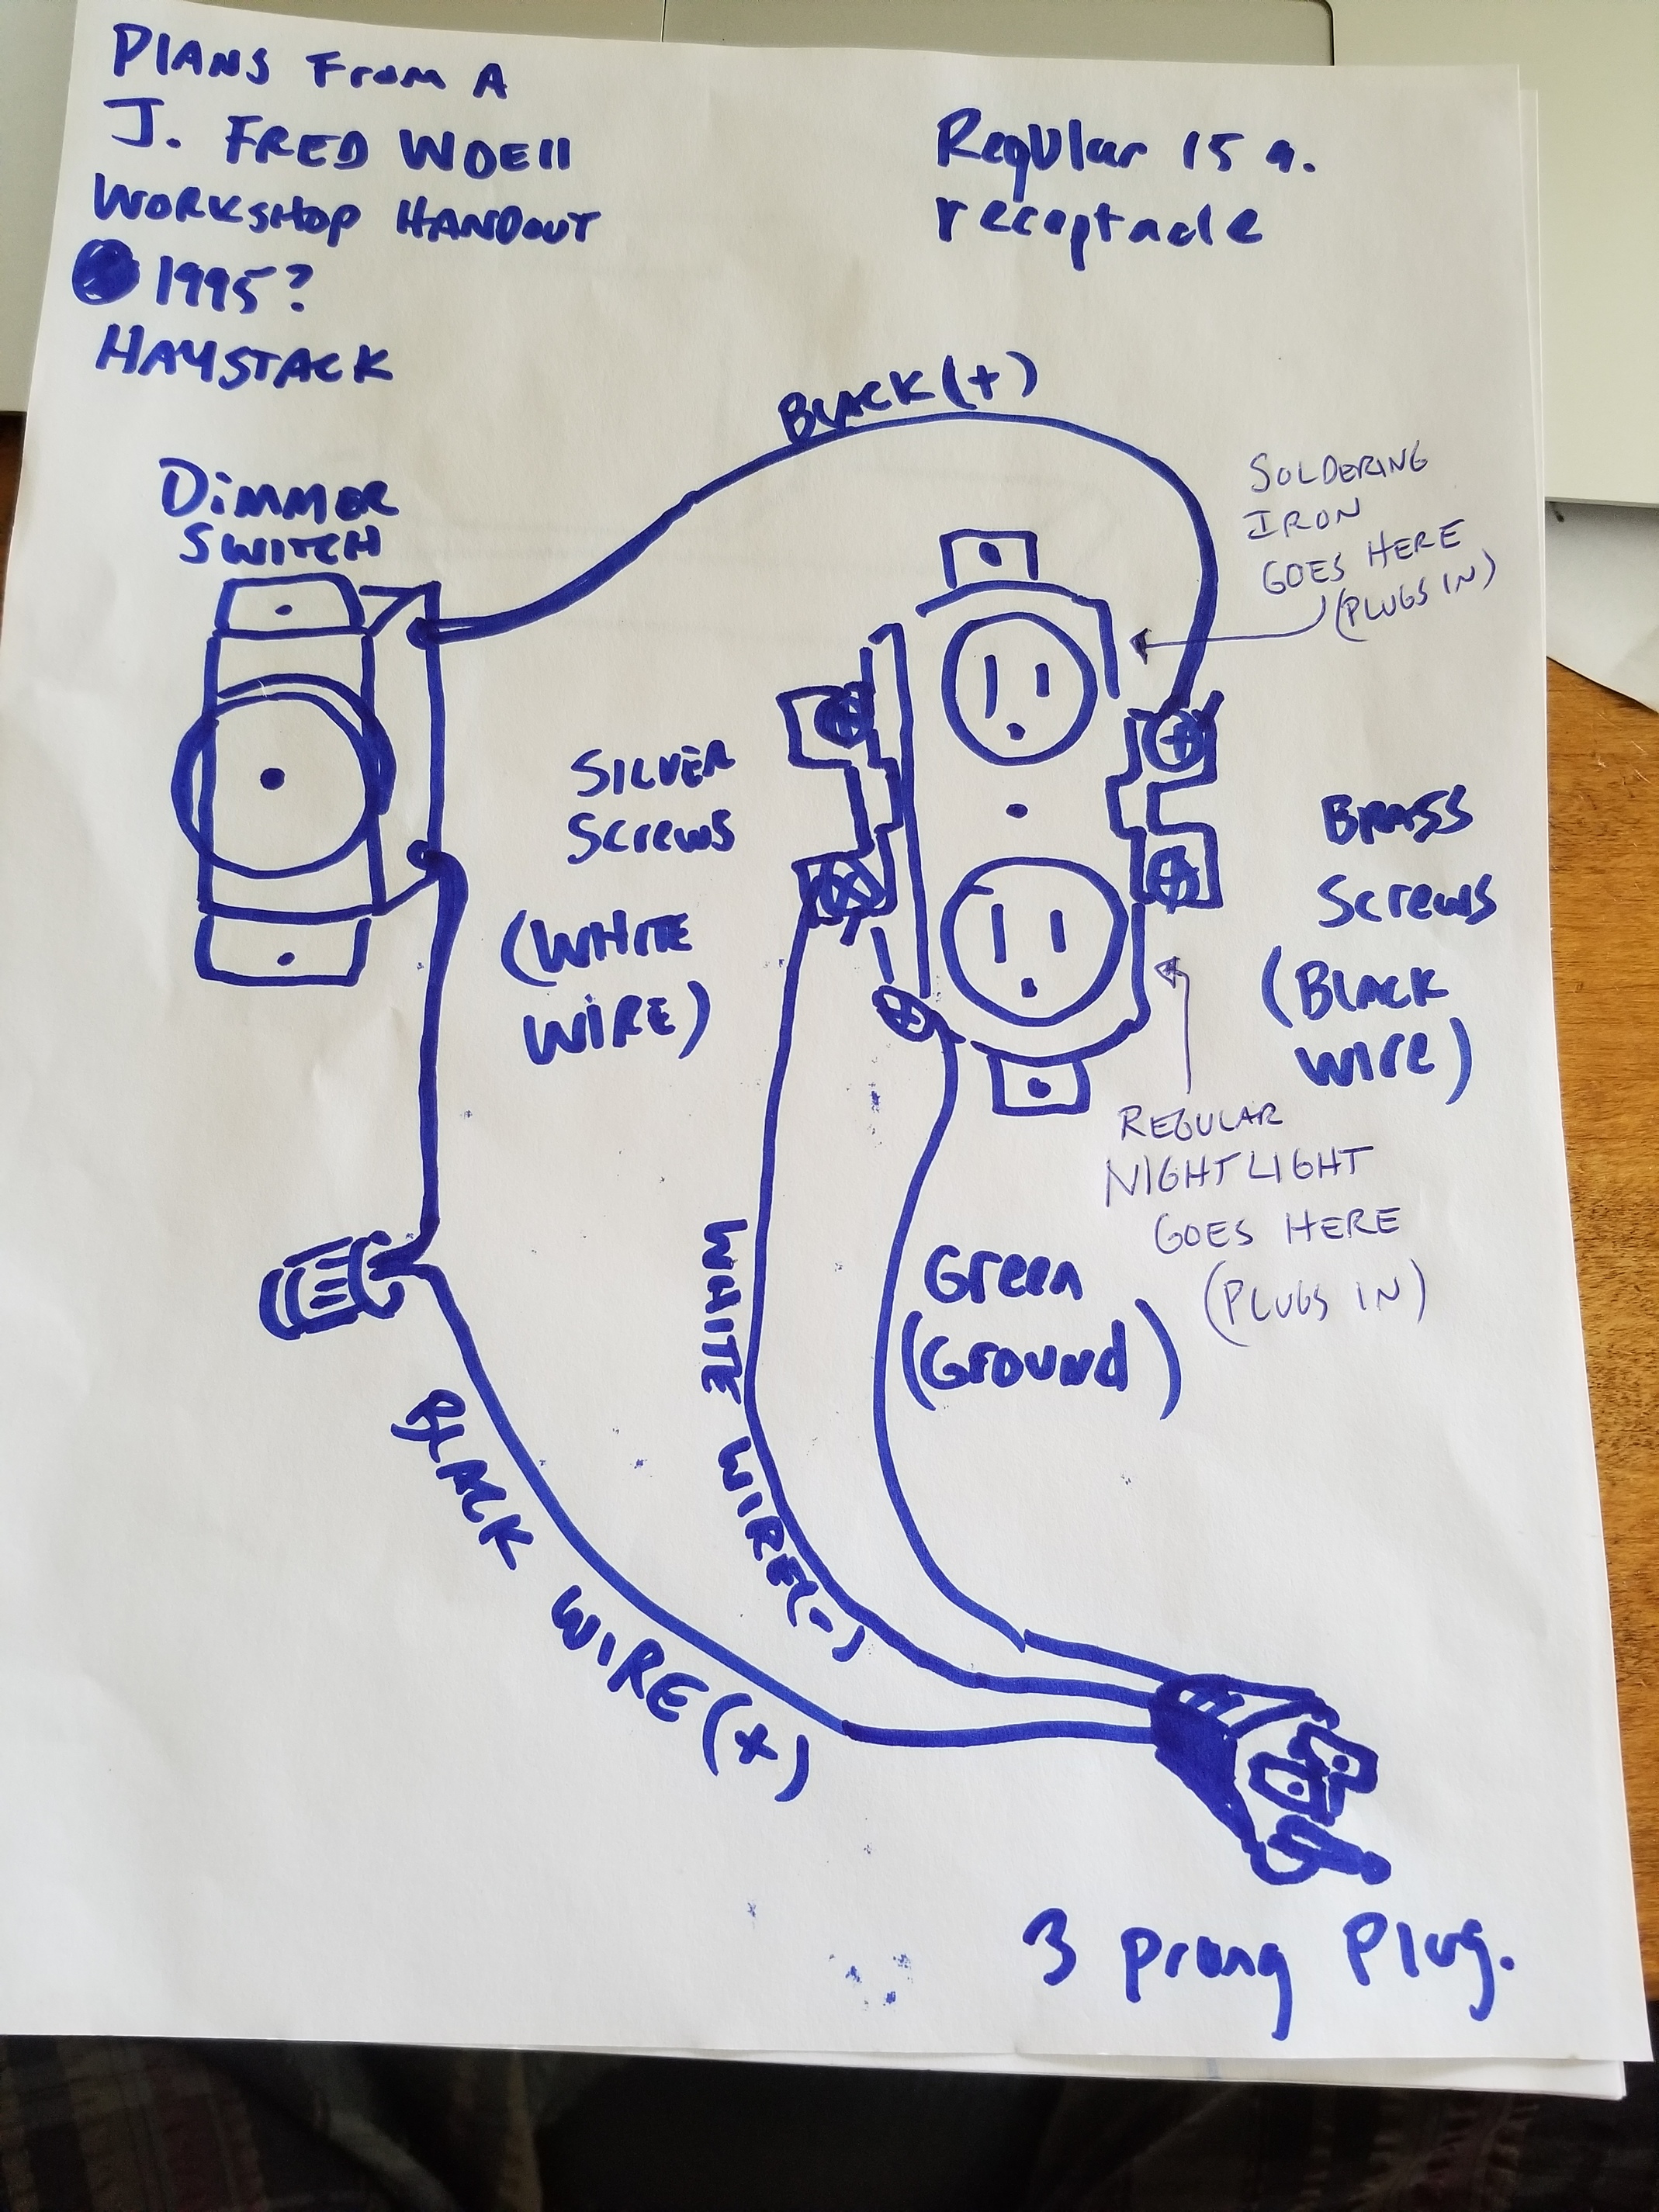
I got the plans for this (very) handy rheostat from a mimeographed handout that J. Fred Woell gave out to us students at a Haystack workshop in the early-mid 1990’s! I have since lost his handout but just took mine apart to verify how it is wired (see photo). It has worked without issue for 20+ years. I’m glad I now have the plans as I really could use an second on the bench with a different tip. The nightlight is key to allowing you to turn down the juice to a low enough level that it works with wax.
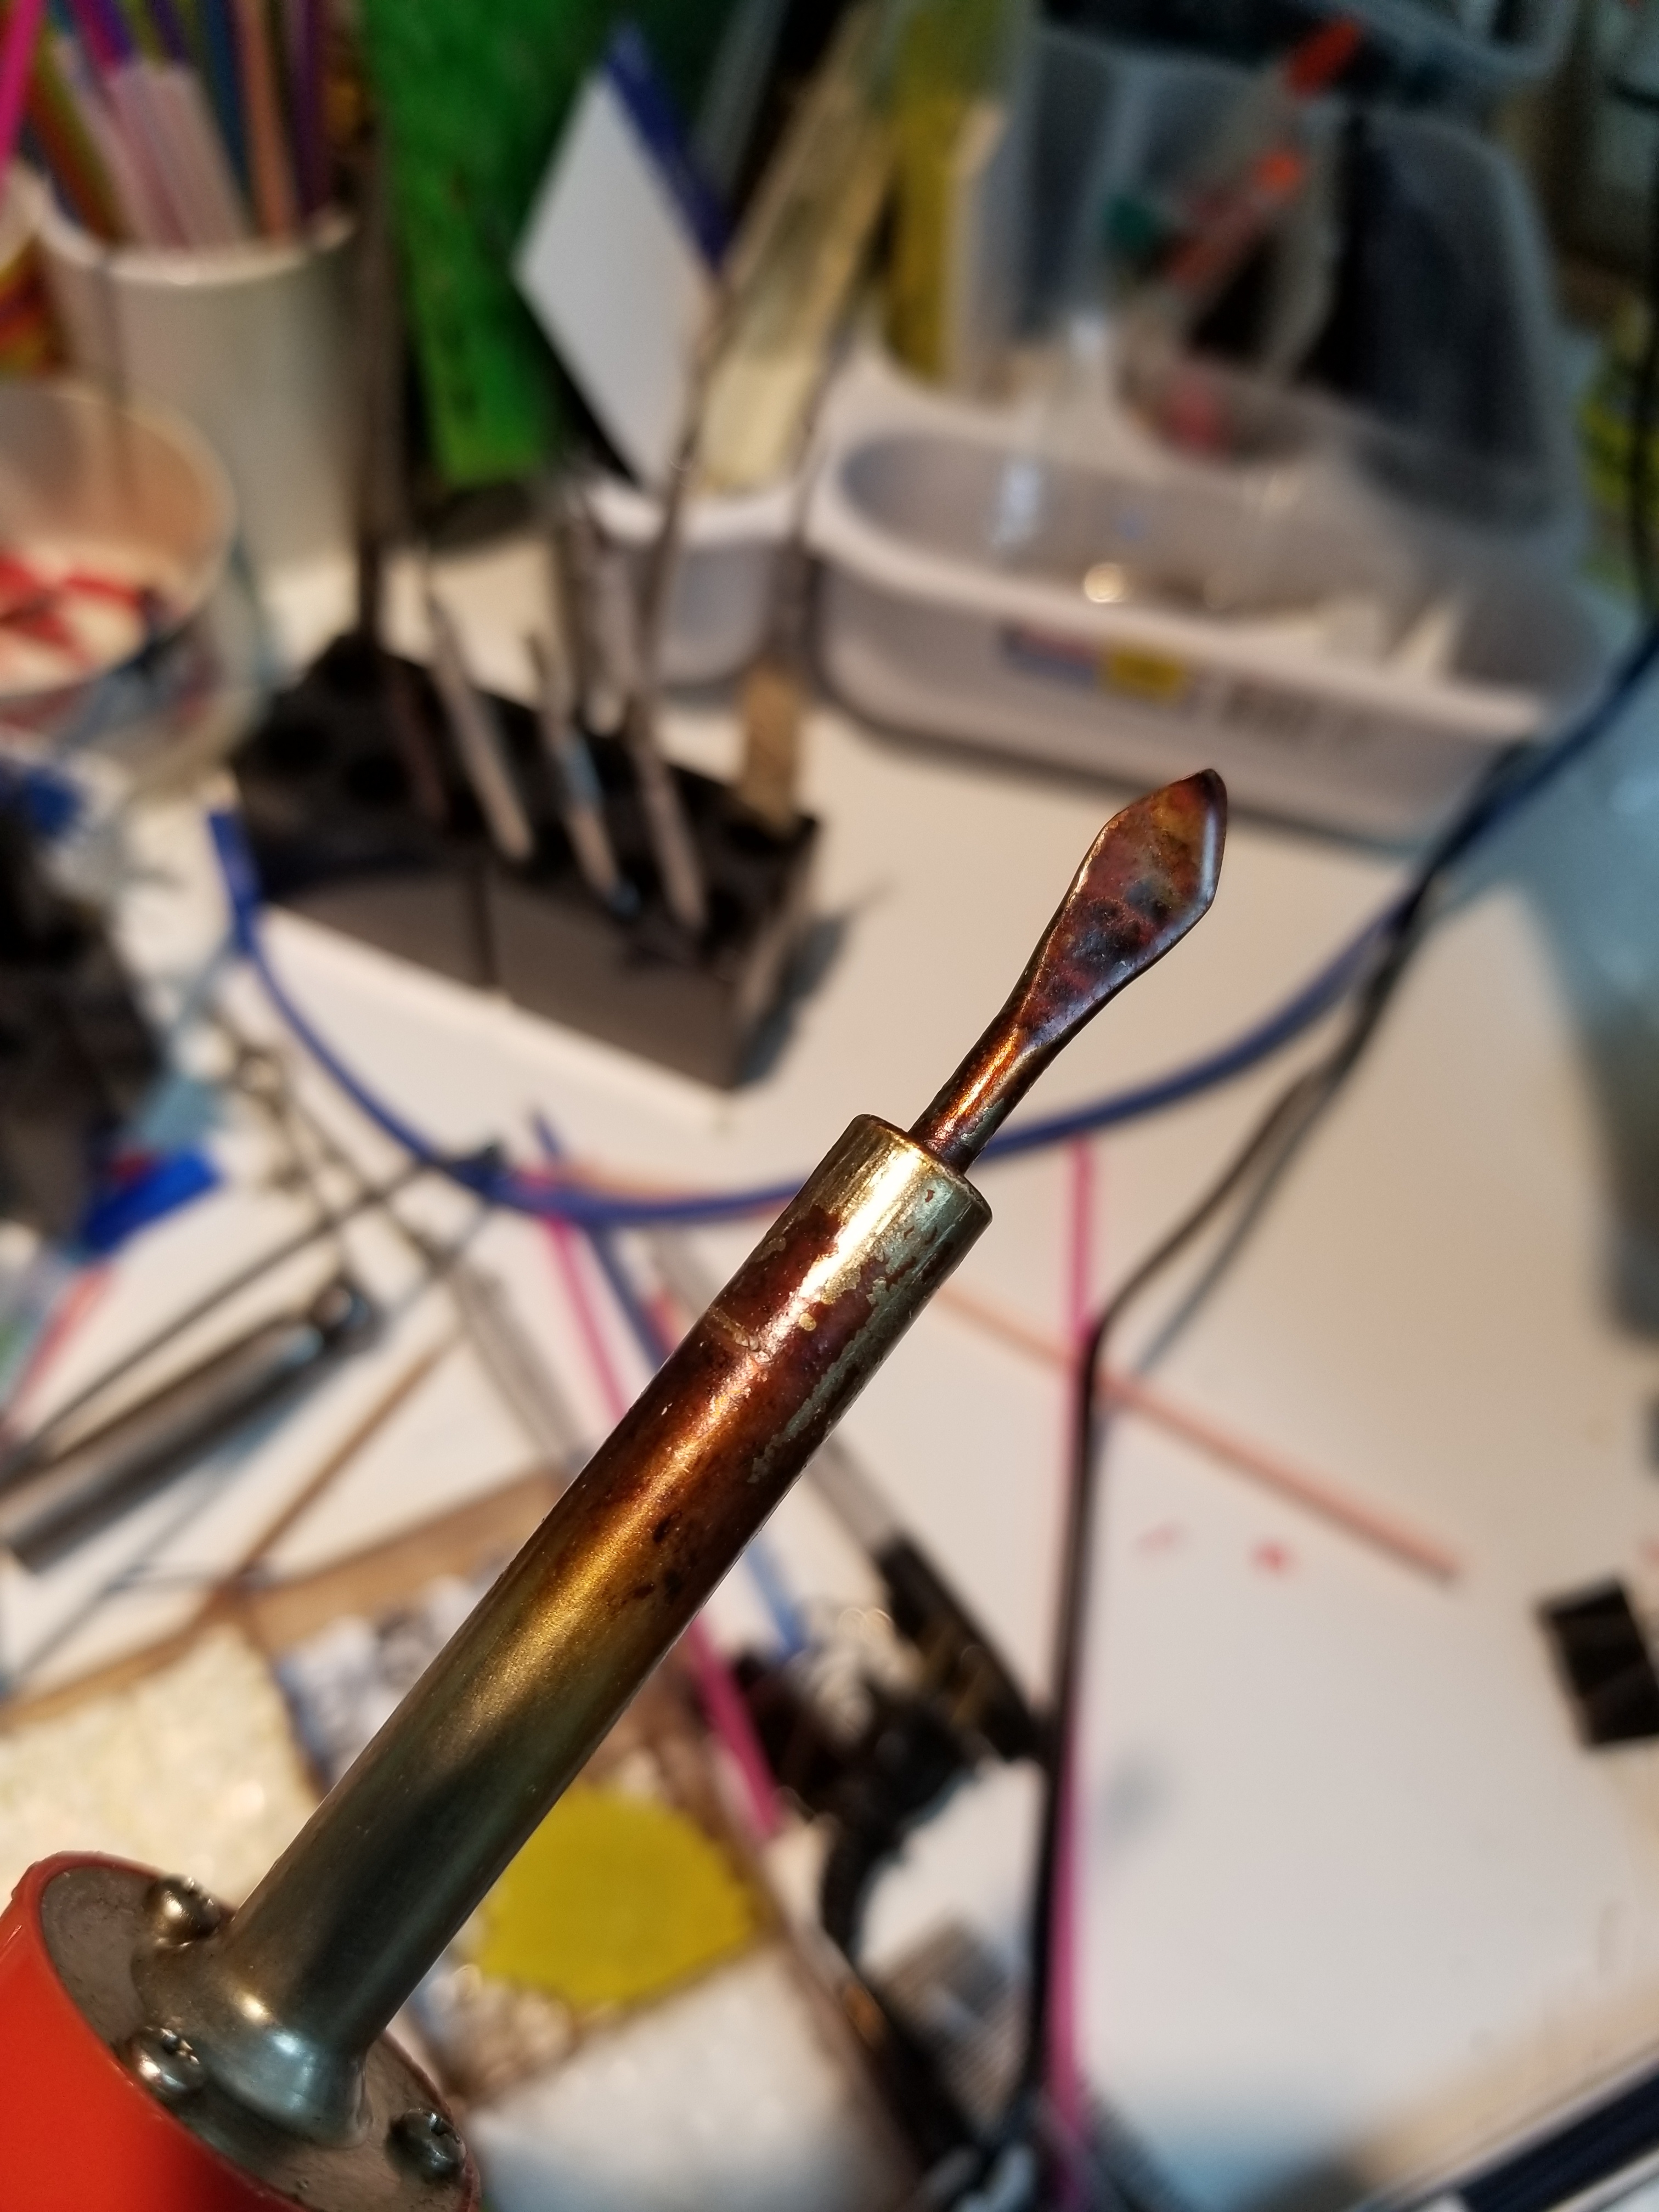
I simply took an inexpensive lightweight Weller soldering iron, flattened the tip on the anvil (the tip appears to be copper) and filed it to the diamond shape you see. The tip has a slight curve at the end which comes in handy when working on fine details (I make mostly silver rings).
I regularly use a Max Wax pen and my alcohol burner to heat metal tools.
I just saw this “Cray-Pen” being used by an encaustic painter a few weeks ago, so i paid $14 and got one! Very promising so far and you can screw on different tips (it comes with 2). I see no reason that the tips could not be modified/silver soldered, filed, etc. to get the shape that you need.

Best
Mit
2 Likes
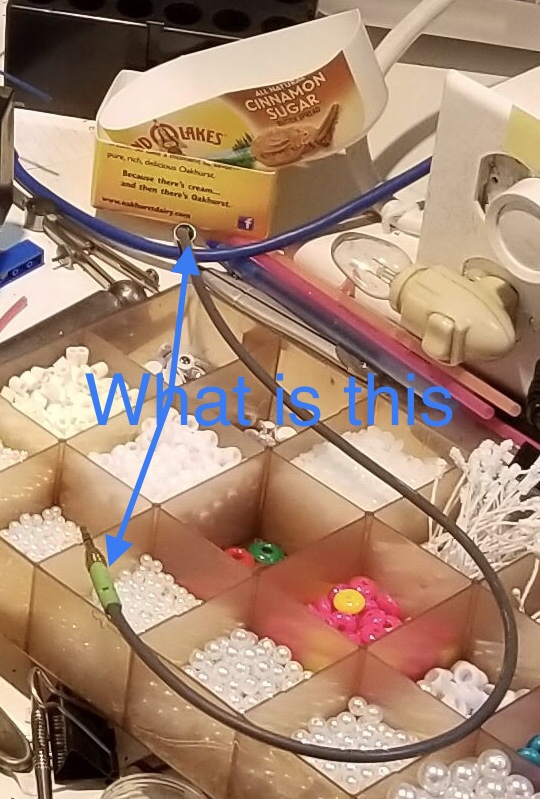
It is one of the most important parts of the studio, George Frederick Handel, the B-52’s, podcasts, Cartalk and so much more, it connects my phone to the speakers!

3 Likes
@Steve_Mitman ROTFLMAO
2 Likes
Thank you! Great information.
Your circuit diagram remind me of my setup for electro-etching.
I would guess that the night light is in parallel with the soldering iron so has no effect on reducing the juice; that’s done by the dimmer switch. But, and it’s a big ‘but’, the night light gives immediate visual confirmation of the amount of juice being fed to the iron.
Hi Paul,
I just watched a YouTube on parallel vs series circuits and you are absolutely right, the nightlight has no effect on reducing the current. In my mind, I always thought it was more than just an indicator. You are also correct that it is very handy to have that light to remind me that is is still on. I made a little mark on the dial to indicate the ‘sweet spot’ temp.
Cheers, Mit
Thanks for posting the circuit diagram. I’m going to put it to use with a spare dimmer I’ve kept - and an old soldering iron.
1 Like
Steve,
This is such an old thread! But I would like to learn how to fabricate i wax. I don’t do well carving wax but I think fabricating would be a cost effective and easier way to make pieces.
Do you know where I can learn?
Esta Jo