I concentrate on Craft Made jewelry. I work almost exclusively in metals and I set very few stones. My business card says “Jewelry Made in the American Craft Tradition.” As my son Gregory has built his own bench and is now moving forward with his work I have started doing tutorials for him on the basic techniques involved in the craft aspects of silversmithing. He is already lightyears ahead of me when it comes to setting stones.
While my father showed Rob and I much of this first hand Greg lives a thirty miles away and I can’t show him things as immediately as he might hope. One of the basic techniques Dad showed me was water casting. He pointed out to me that while the water cast was neat all by itself it was really an effort to make something you can do something else with. A top for a simple one off ring or a pendant to hold a unique stone. Insert your imagination here.
Molten metal is dumped into water to create free-form shapes of silver. The end result is a take what you get product. I couldn’t just leave this as a one and done thing of course and I got involved in the “If Then, What If” nature that has haunted me my entire life. The experiment that followed gave me some somewhat reproduce able results.
-
1.5 ounces troy of clean sterling scrap. Melted to “Casting Temperature”A container of water at room temperature, 8” wide by 12” deep.
A basic melt crucible and whip.
Borax
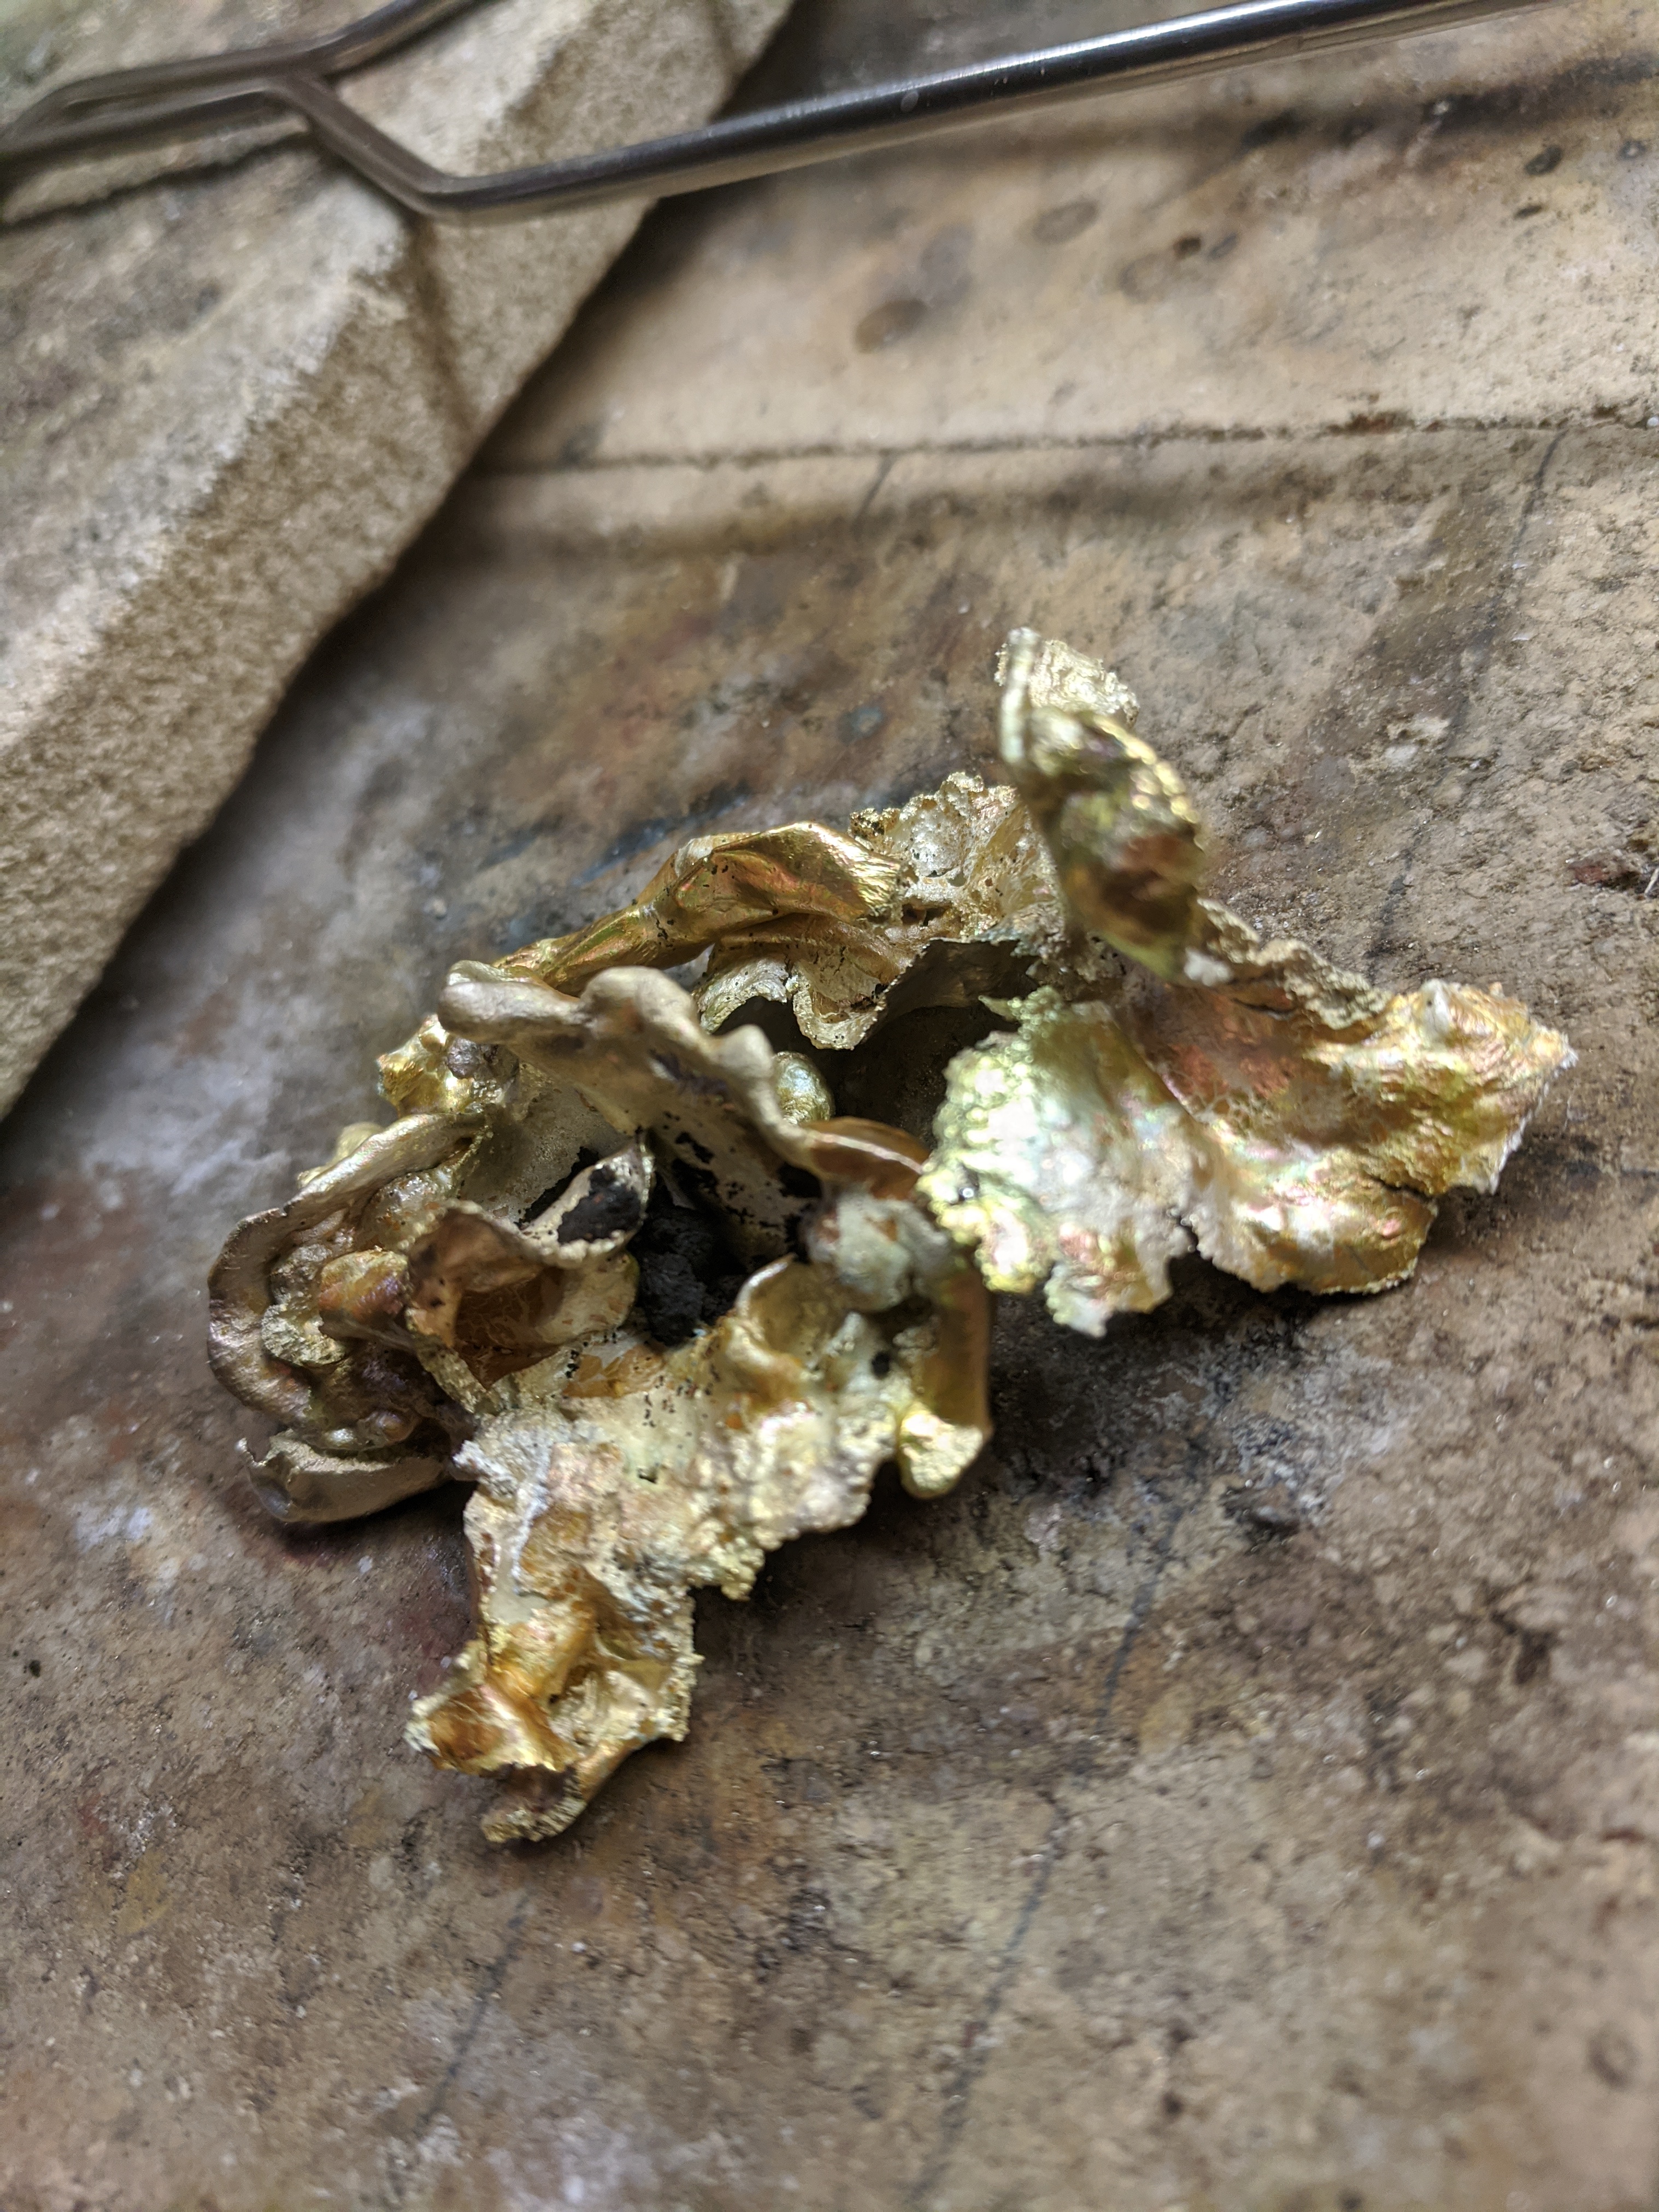
Smith Little TorchThe silver is melted to what I called casting temperature. A little borax is shaken into the crucible and the melt is stirred with a graphite rod. I know that is really imprecise but it moves about when stirred with the properties I would pour into a mold. From a height of 2” above the water the metal is dumped into the water. The result was a mass of pretty much unusable material for any of the jewelry that I make. The silver was dumped indicated a mass of metal was instantly chilled which I believed cause the mass to explode in the water and chill further giving me pieces of silver that looked like bits of torn cardboard. Very porous and light with inconsistent structure.

-
1.5 ounces troy of clean sterling scrap. Melted to “Casting Temperature”
A container of water at room temperature, 8” wide by 12” deep.
A basic melt crucible and whip.
Borax
Smith Little TorchThe same silver is melted again to what I called casting temperature. Again, I know that is really imprecise but it moves about when stirred with the properties I would pour into a mold. From a height of 12” above the water the metal is again just dumped into the water. The result was much the same as
before, a mass of pretty much unusable material for any of the jewelry that I make.“The silver was dumped indicated a mass of metal was instantly chilled which I believed cause the mass to
explode in the water and chill further giving me pieces of silver that looked like bits of torn cardboard. Very porous and light with inconsistent structure.”I think the word dumped is critical. The crucible is up ended and the metal as a molten mass all hits the water as a single ball. The outside of the silver ball may cool while it falls, 2” or 12”, but the inside of the ball is still at the melt temperature. Then the rapid cooling and chilling of the water has its way with the ball and we get the porous non structural silver product.
-
1.5 ounces troy of clean sterling scrap. Melted to “Casting Temperature”
A container of water at room temperature, 8” wide by 12” deep.
A basic melt crucible and whip.
Borax
Smith Little TorchThe same silver is melted again and borax is added in. The metal is again taken to what I called casting temperature. Again, it is melted to where it moves about when stirred with the properties I would expect before I would pour into a mold. From a height of 12” above the water the metal is poured this time into the water. The difference between a pour and a dump is this. When pouring the metal is in a stream as it hits the water. The result was a more solid product. Some cool as nuggets but many pieces are in the shape of sticks and as many were just odd shapes. But none were in the porous wet paper condition as described in the first two examples.

-
1.5 ounces troy of clean sterling scrap. Melted to “Casting Temperature”
A container of water at room temperature, 8” wide by 12” deep.
A basic melt crucible and whip.
Borax
Smith Little TorchOnce again the same silver is melted again and borax is added in. But this time I added 6 grams of new silver to cover a little loss left in the water. The metal is again taken to what I have called casting temperature. Again, it is melted to where it moves about when stirred with the properties I would expect before I would pour into a mold. From a height of 2” above the water the metal is poured into the water. The difference this time is I have stirred the water so it is whirring about inside the vessel as fast as I can get it moving. Again I have poured the metal in a stream as it hits the water. I am poring the metal near the edge of the vessel so it is getting the most effect of the rotating water. The result was a series of solid roughly coin shaped nuggets of various sizes. There are many other odd shapes but for my purposes the coins are desirable. This step has created what my wife and I have described as Oatmeal.

Add a variable to the constants. Deeper or shallower water, drop from a greater height above the water. I wonder what happens if dropped into vegetable oil?
Since this is for my son who is just about two years into the craft I think it should be assumed this posting is more for newbies. But anytime you can run an experiment with unknown results, fun is likely to ensue and your imagination runs the risk of being provoked. And if nothing else I have some scrap that is easier to store while it waits to be scrapped.
Each step as described was repeated with more or less consistency.
Don Meixner