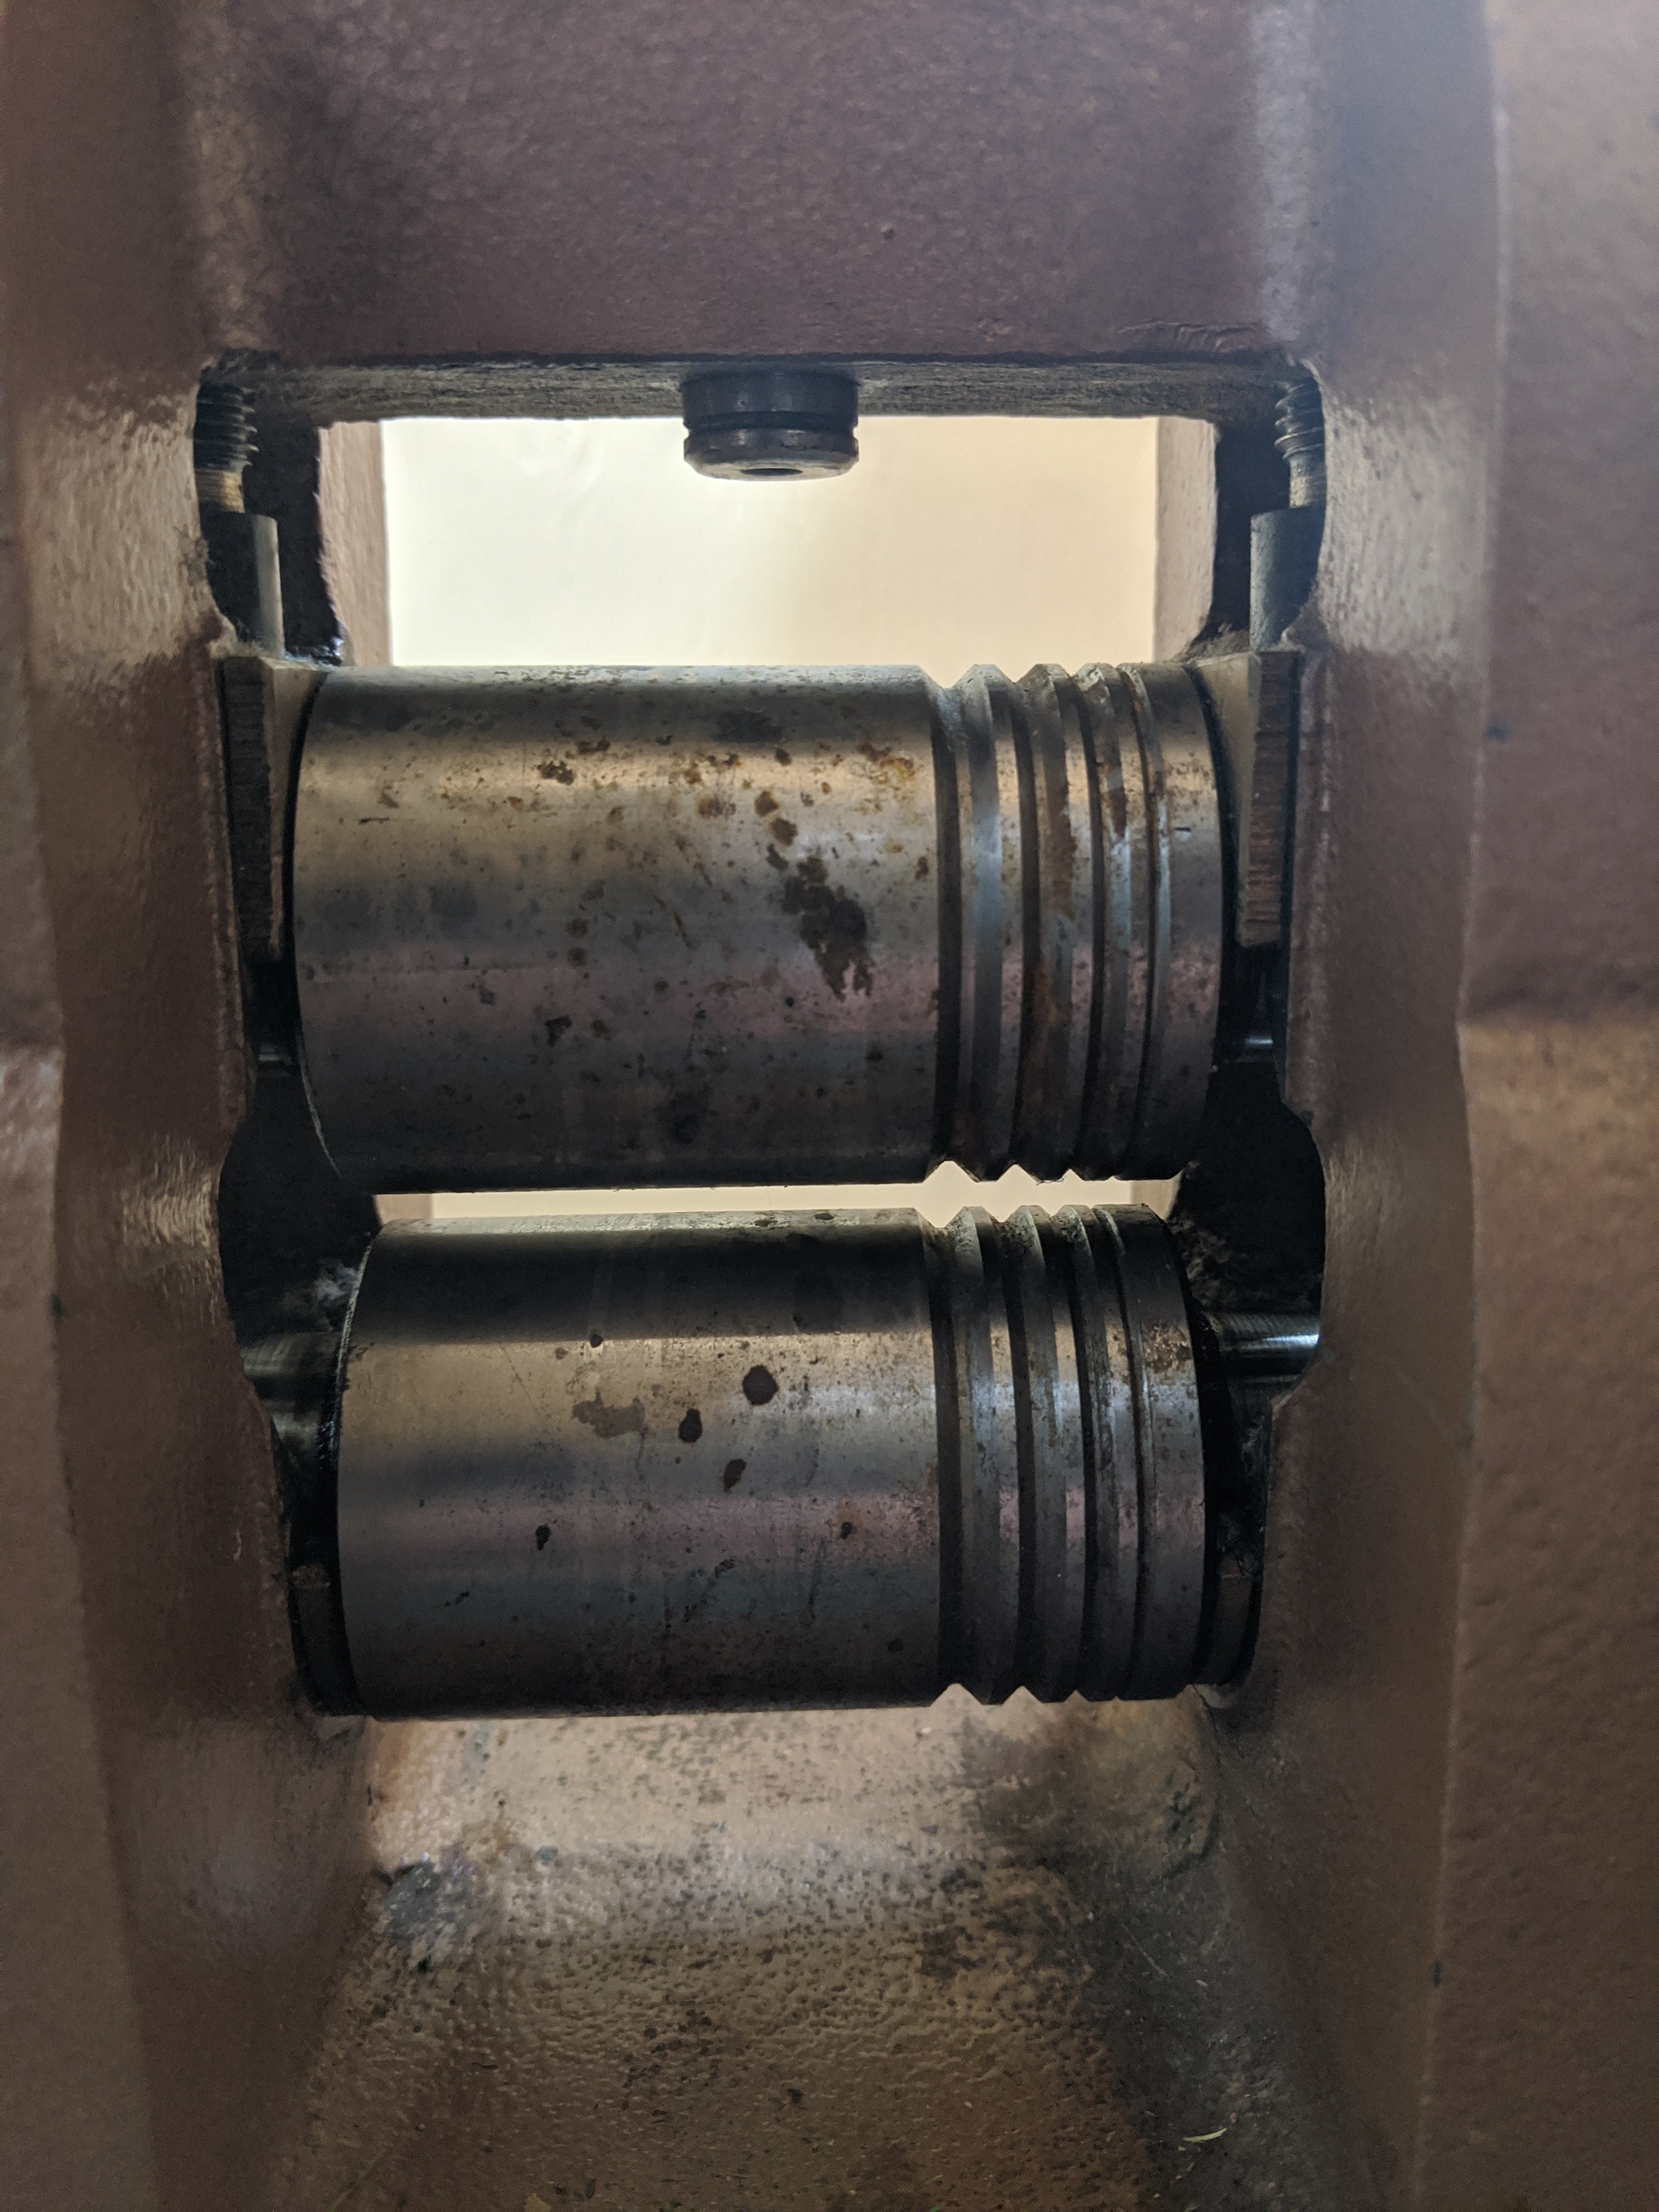
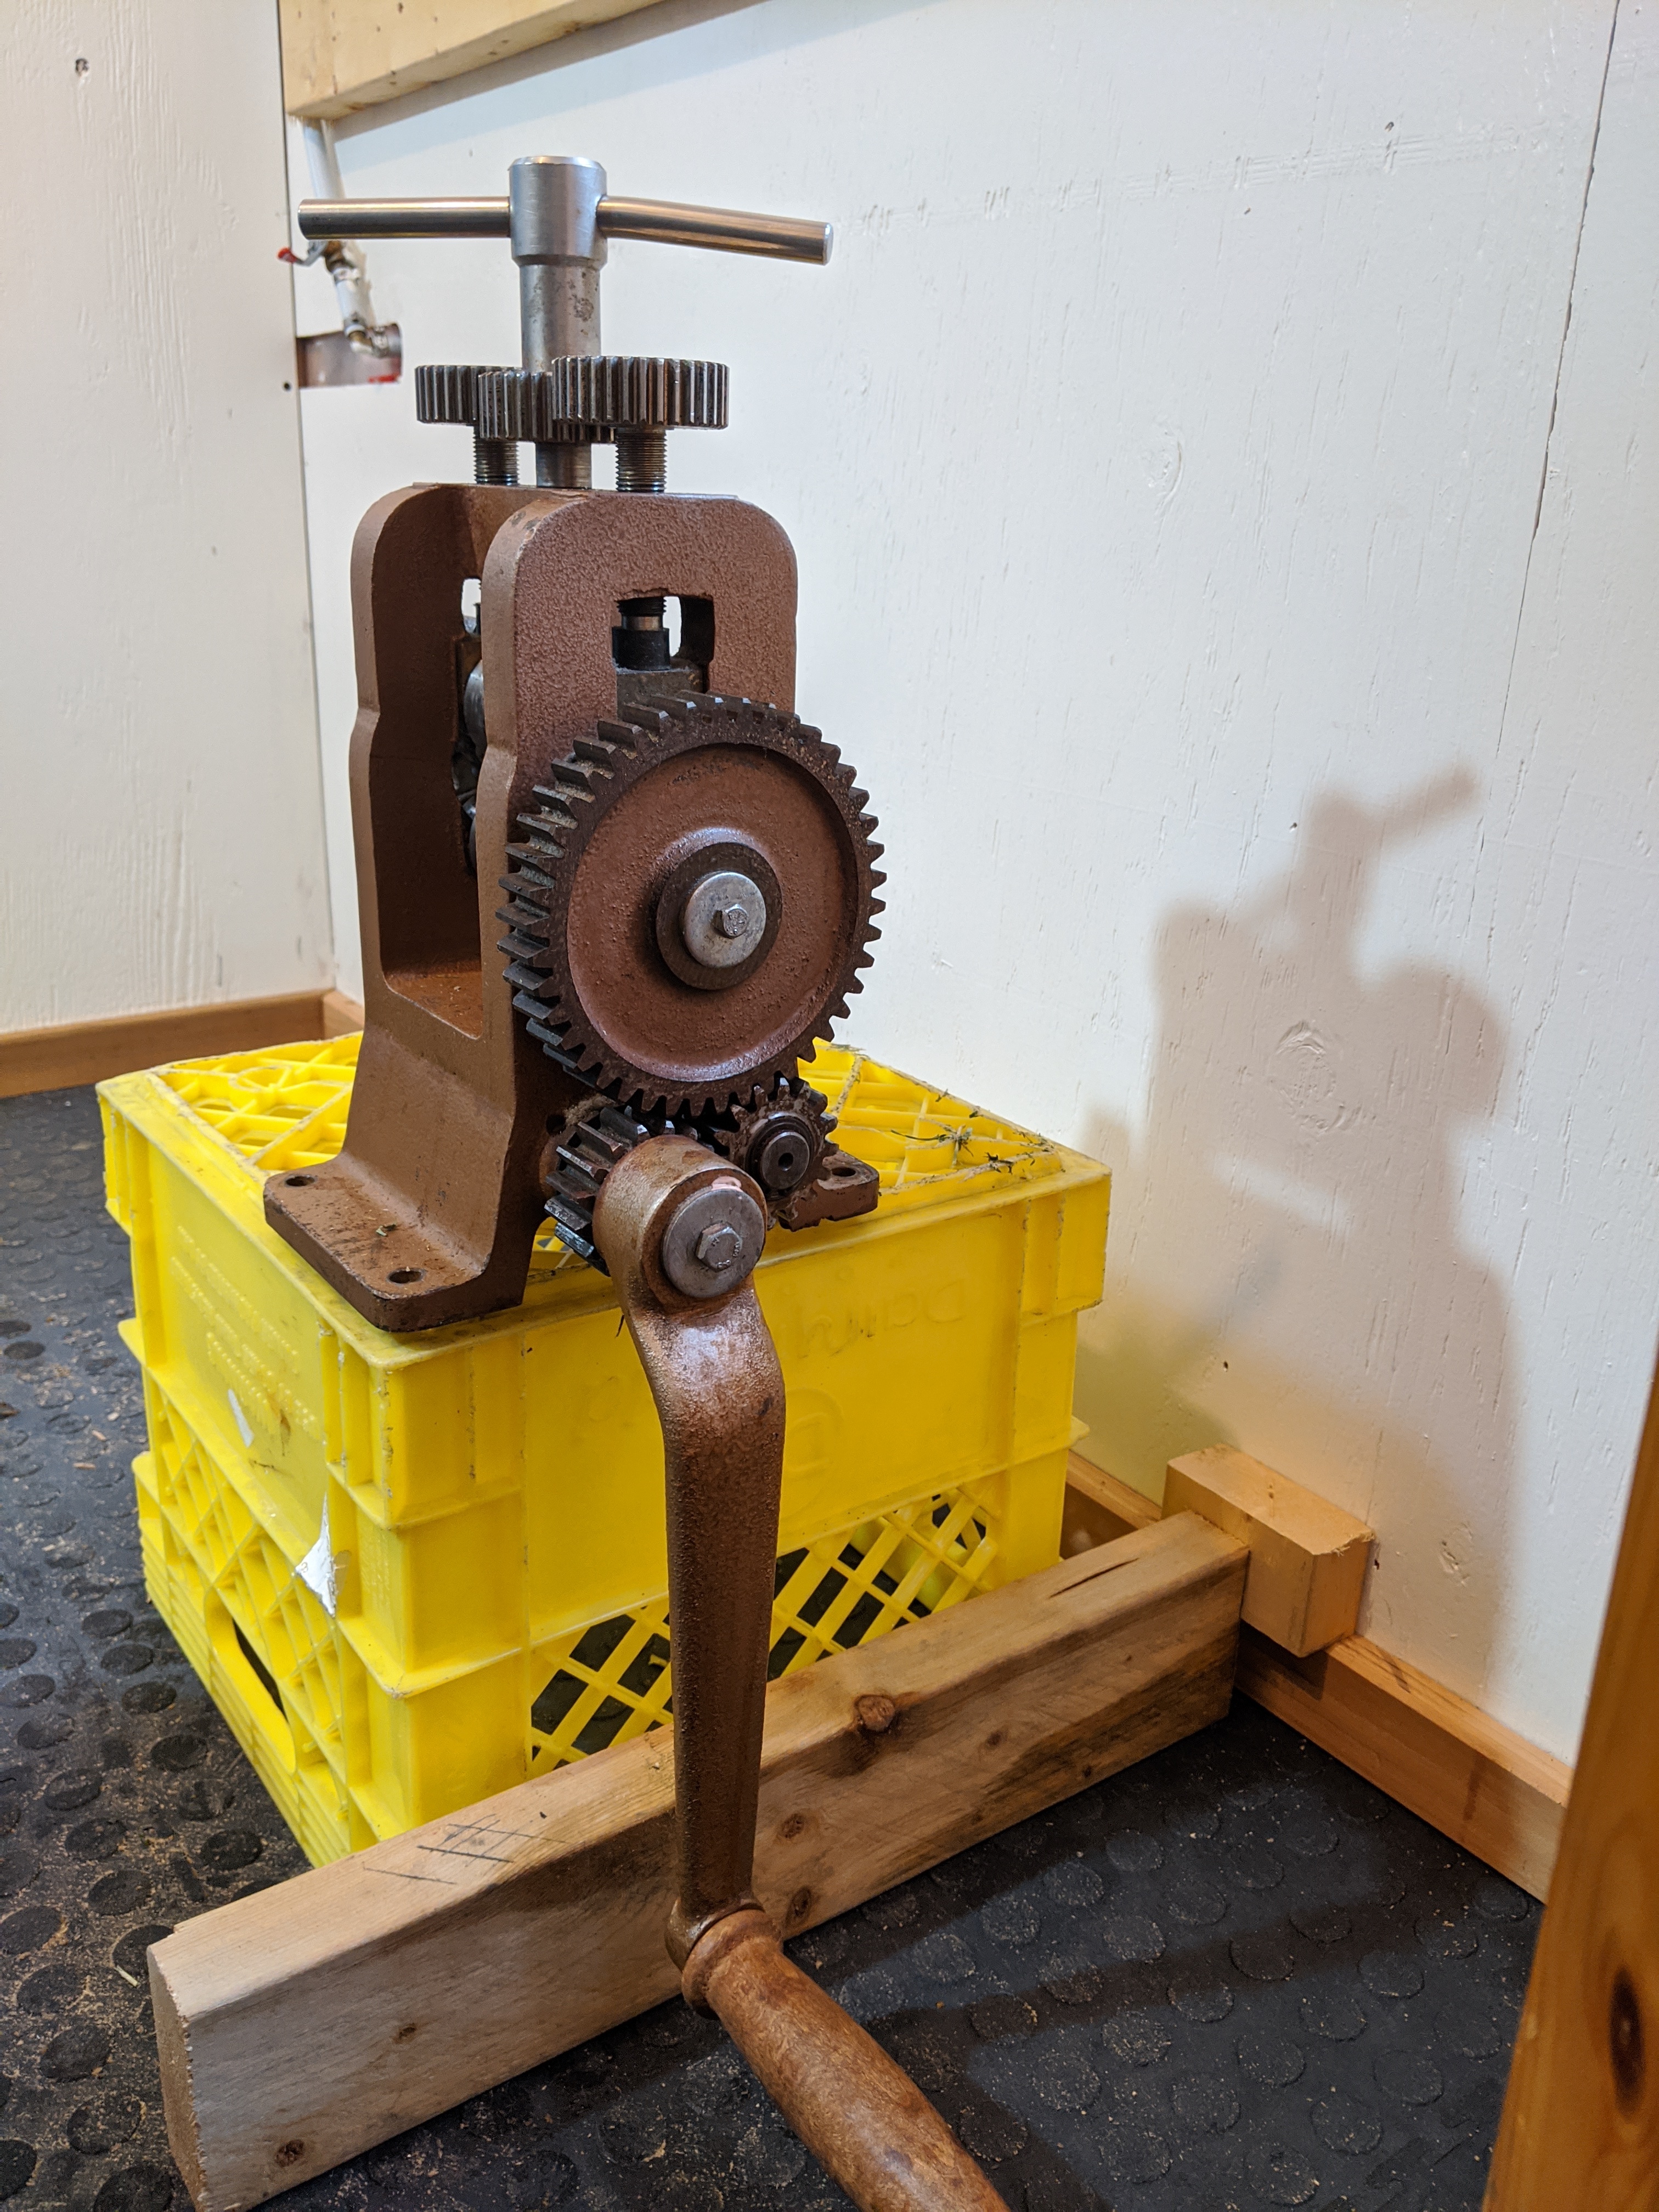
Looking at finally investing in a rolling mill and I came across a vintage 1950’s rolling mill. No brand, info or anything on any parts of it. Looks like it’s in mint condition, one pair of rollers with a plain space and 3 slots for wire. I feel like rolling machines like this have not changed so dramatically over the years?? …the price is right.
Here’s the question:
Does anyone have thoughts or advice for when I go look at it? I plan on bringing some sheet metal and wire with me to do some testing.
The key issue for me with rolling mills old or new, since I like doing roller embossing, is can I crank them. I’d want to know the gear ratio.
If you never plan on roller embossing / printing then this might not matter to you, but if you do, or might like the option in the future, then it is worth checking. I mean, some mills have only a 1:1 gear ratio which offers no mechanical advantage at all.
Note a spot on one of the rollers and see how many turns of the handle it takes to bring that spot back to the the same position.
Once you have a rolling mill you can’t go back. It opens up a new world of recycling, making stock rather than having to buy it, and as others have suggested, roller printing and more. It is as much a creative boost to your work as it is a practical boost. That all being said, look over the rollers for damage that can’t be polished out. Is the drive 1:1 or does it have a drive multiplier? Try to get a look at the gears for any damage, especially in the key ways if it has them. How thick a piece of work can you safely roll? When you get all done, compare the mill and cost to a new economy mill. They have their limitations, but they are a great way to get into a rolling mill without spending a lot of money. This may also help you establish your maximum offer. It may be an antique, but you are buying it to use, not admire from afar and the fact that it is an antique shouldn’t effect your offer. I started with an economy mill years ago and I still use it, but I bought a Durston 130 and use it all the time. You will never stop finding news ways to use a mill. Good luck…Rob
As the price is right I would grab it!
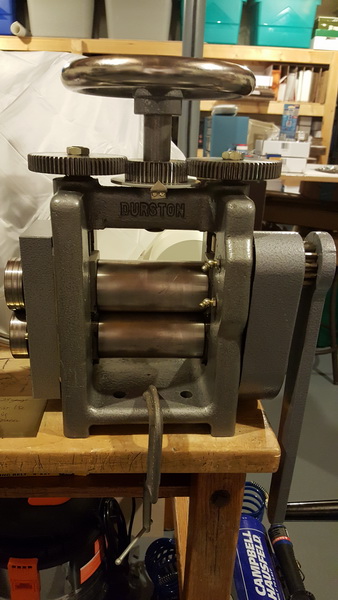
I’ve had an old one without gear reduction and a new one with gear reduction. I was somewhat disappointed in the new Durston with reduction gearing it didn’t seem a big improvement over my old Cavallin. Width of the rolling area is a consideration, but not a big one.
One who has reduced many many miles worth of 6 guage wire to 22 gauge flat strip, one thing to look for. GEAR REDUCTION 4:1 OR BETTER. I’ll say it again, GEAR REDUCTION. True they really have not changed accept for that one thing. No need to show how macho you think you are by getting one with out gear reduction. Yeah it built up some impressive muscles in my arms, but when muscle faded with age, that stretched skin that once covered the muscles, now are dangling sheets of skin that can get me airborne on a windy day. You will feel better at the end of the day.
If you cannot afford a new one or if you can put up with any restoration costs and labor, consider this. I think the condition issues have been covered. I bought a used one that is 1:1, not geared, but it is usable and, with a long enough handle, it will do the work if you don’t have to reduce down too fast. Still great for roll printing, etc., maybe less good for reducing sheet or ingots (oof!). Check the condition of the rollers (rust, grooves, scratches). When I got mine I inserted sandpaper with a dowel in it to keep it from coming thru and tightened down the rollers onto it and turned and turned until the rollers were cleaned of rust. Then various grades of paper until they were smooth. You can finish with a chrome or steel polish on a rag inserted similarly. After endless polishing I found out there was a machine shop near me which could refinish the rollers by precision (re)grinding for about $50-$100. There just has to be enough case hardened material to be able to take off a few thousandths by regrinding, but most mills have never been reground…Hope this further info is helpful. Rob is right, there is so much you can do with one and if you are going to be making jewelry and then polishing or roll printing texture, a less than pristine polish on the rollers may not matter that much…don’t let the perfect become the enemy of the good…
I’ve been wanting a mill for years and the cost is so prohibitive! This one is half the price of even an economy mill.
Very helpful advice regarding gear ratio and gear reduction since I do plan on doing roller embossing, and recycling and rolling my metals. Maybe this particular one would be underpowered for ingots if in fact it’s too old to have gear reduction. But mostly likely I could do most everything else with it or small reductions.
Thanks!! I would not have known to specifically check these aspects of the gears.
After some research I think I get gear reduction, simpler than it sounds at first! How many cranks it takes to pass the sheet or wire through.
It is the way that gears drive rollers in less expensive mills (economy mill). If over stressed, they concentrate a lot of force into a small area that can cause the key way to break. This happened to me on my economy mill. I ground out the break and put in a new key. It all still works, I am just careful about how I load it. When this happened, I justified buying my Durston. That kind of expense is a stretch, but the return will overcome it eventually. Now if someone can help me figure out how to justify buying a pulse arc welder I would be a happy guy…Rob
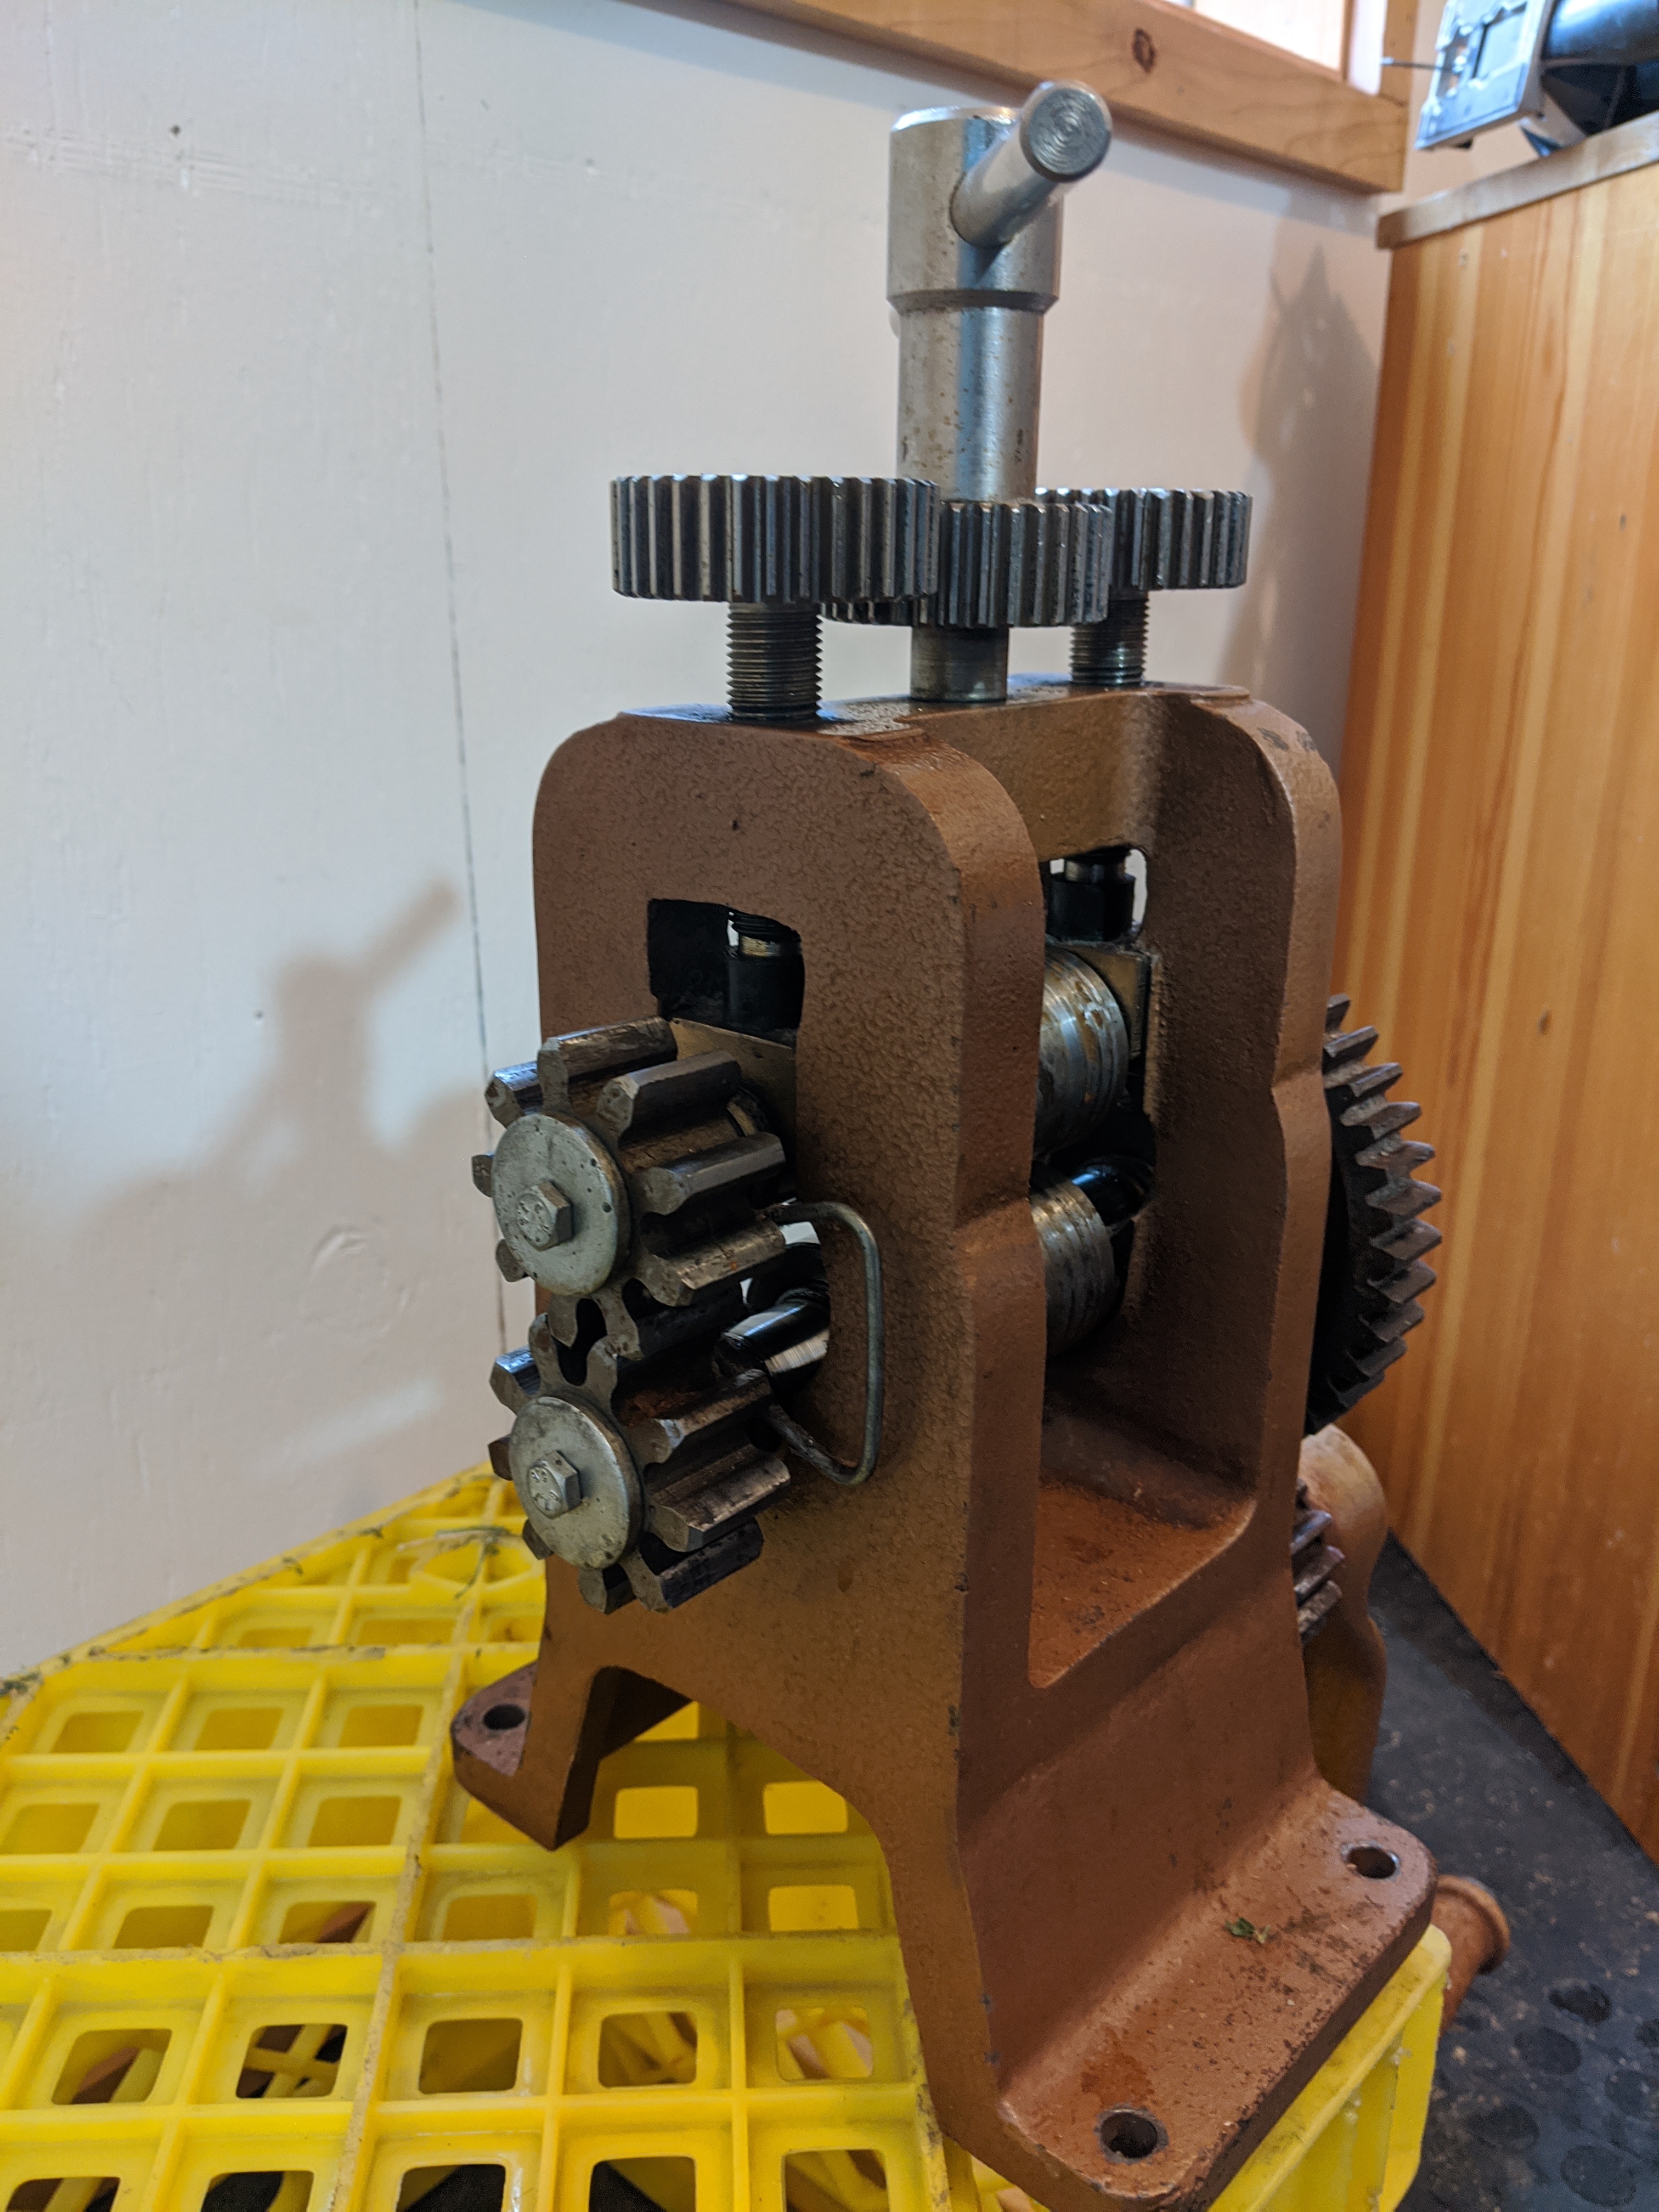
Hey everyone, I decided to purchase the rolling mill turns out the ratio was 3:1, so that’ll be a good mill to start with! No brand name visible anywhere, except for some numbers on the gear parts.
Looking for advice on how to clean this up.
I will tackle the above recommended steps, thanks @royjohn. Any particular kind of Chrome or steel polish? I will attach photos, but as far as I can tell the rollers only have a minimal amount of rust on them.
Any other advice based on what you guys can see? I live in a humid location and have read its a good idea to cover it with an oiled cloth when not in use…what kind of oil?
Oh yea, the only other thing is the handle is a wee bit bent of the key (is that what you call the little “T” on the very top for adjusting the height of the rollers)
It doesn’t seem to affect function at all
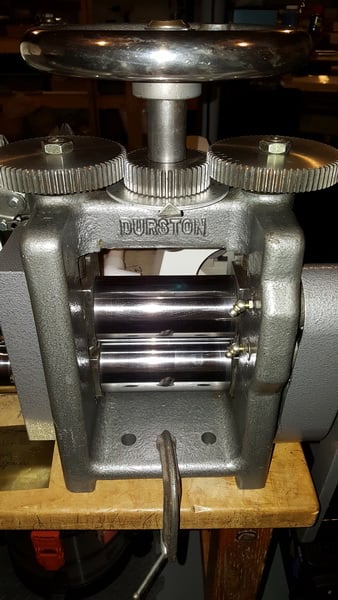
Ps. If anyone was interested it is a mill from the 50’s
Anna…Good luck. Once you get the rollers cleaned up per RoyJohn’s advice, get a can of 3 in 1 oil and apply it to the rollers and whatever else needs lubrication. Get some simichrome and use it to polish up the rollers from time to time. Be especially careful that you don’t try to roll stock that is still wet, especially with pickle and especially if it is pickle on copper. If you get a spot on the rollers, just go after it with simichrome. If you are in a dusty area, cover the mill with an old pillow case. It will help keep the dust down, but still allow air in. As a general comment, if you don’t already, run a dehumidifier in your shop. Run the rollers up and down to make sure that they move smoothly and don’t hang up on one end or the other. There may be springs that push the top roller up. Make sure that they are all there. If not, you can probably get what you need at the hardware store. Find out how thick of a piece of stock you can roll. Turn the top roller out until its drive gear disengages from the lower gear. That is is not the maximum thickness. Turn the top roller down watching the gears until the teeth are well engaged. This will give you some idea how thick a piece of stock you can roll. Get a feeler gauge set and see if the gap is even across the rollers. You can also check this by running a separate piece of stock through both side and comparing the thickness of each with calipers. You adjust this by pulling the center drive wheel and adjusting the height of each side of the top roller by turning the gear that controls its height. Go to any good tool supply website (Rio, Otto Frei, Stuller, etc) and see if you can find a manual on line for one of there smaller mills. They all work about the same way and the manual will help you understand your mill better. Having a rolling mill is like having a child. It changes your life. Good luck…Rob
I believe that the key way RMeixner refers to above is a slot in the shaft where the gear wheels slide on. There is a corresponding slot in the gear, and the “key” is a square-section piece of steel which fits in both slots and fixes both parts together, so that the shaft rotates along with the gear rather than slipping. Often there’s a set screw in the gear hub as well, to keep the key in place. I’m not sure what that “T” shaped adjustment handle is called, or if there is a special name for it.
I’m a little late to the party, but I watched these videos when I bought my used mill:
Did a bit of dismantling to access the gears in the gearbox per this website by Hans Meevis Servicing Cavallin Rolling Mill, but was too fearful to remove the rollers. These instructions are FABULOUS! I did clean those gears of most of the old grease and then reapplied thick white grease. There are a few holes in my mill where I also “injected” a bit of the grease thru the 2 little ports to the right of each roller. I got some advice from a member here about those :O) The grease was still soft enough, albeit dirty, to be easily removed so I didn’t want to take it completely apart and soak in solution.
Wow Sharon, thanks alot for the details and the links. I haven’t actually gotten to cleaning up the mill yet so I will definitely be checking those links out. I’ll see how brave I am as far as taking gears off and removing rollers
Your mill looks fabulous
I didn’t really take apart too much… Thought I would then chickened out . Took off the top gears and the top wheel, the cover for the main gears on the right and the two wire rollers on the left and their cover. If the dirty grease is hard to get off, I was guided to use WD-40. That helped quite a bit. For more info see my original thread asking the experts here for more info: https://orchid.ganoksin.com/t/requesting-information-on-vintage-durston-rolling-mill/54347 Good luck and have fun!!!