Made this for my partner in a silversmith Christmas Exchange that I participated in last year.
Due to a LOT of challenges, my gift was not completed until the end of January.
It has a lot of firsts for me, and I made a thousand mistakes, and it has what I consider to be serious flaws - but I learned a LOT and so I’m proud of what it represents even if I deem the execution to have fallen somewhat short.
Alyssa, I always tell the women I have taught,
you learn by make no mistakes.
That is a wonderful design!
I know you learned a lot of what not to do
next time.
Great job!
Hopefully you tell all your students the same things no matter what gender they are! LOL.
All kidding aside, I actually see mistakes as learning opportunities. I’ve been a professional artist for too long to let a mistake throw me too much and that serves me well when I explore a new medium … I tend to roll with the punches and figure out a way to salvage almost anything to one degree or another so it’s not ever a complete loss as such things go.
Alyssa,
My experience is that women are
much harder on themselves than men are
when they make a mistake.
It seemed like a relief to the women I taught
to have permission to not end up with
perfection the first time, usually soldering.
I have taken a lot of jewelry workshops
where there was hands on experience. I noticed
the students want to leave with finished
pieces, rather than practice the technique being
taught, and going home and practicing to get
good at the new technique.
I have mentioned this to jewelry teachers,
they say the student wants to make pieces
that can be sold to recoup some of the cost of the
workshop.
Hi Alyssa,
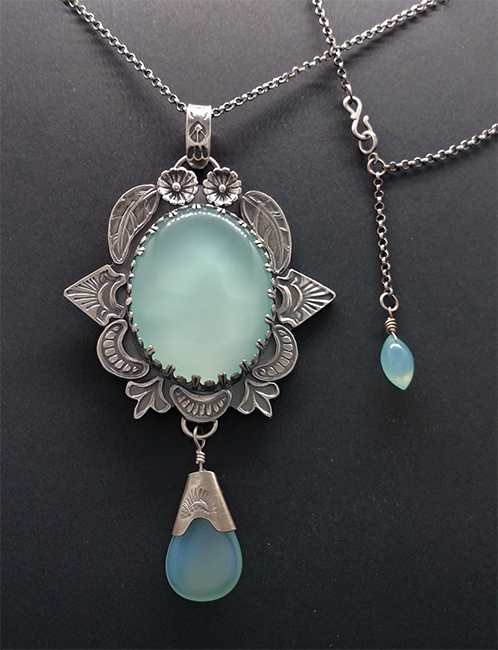
I like your piece very much and think it looks quite professional, not awkward or mistaken at all! I’m interested in how this was done. I suppose your designs could be etched, but it appears that perhaps whey were stamped and the pieces soldered onto the backing sheet of the pendant, which also holds the bezel. Am I correct?
When I take classes I am indeed wanting the piece finished - not so much to recoup for the class, but to take advantage of having the instructor right there and able to answer more questions that might come up throughout the entire process.
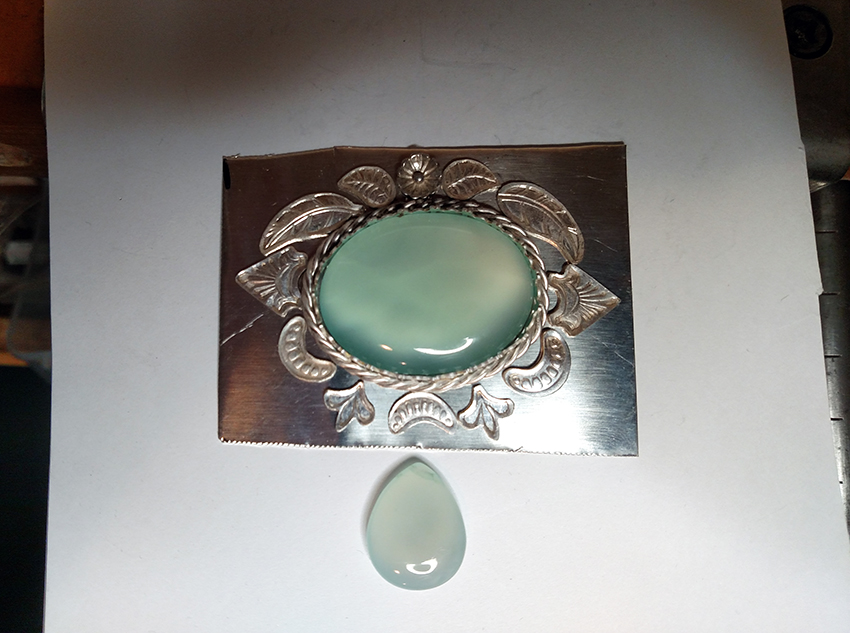
I used metal stamps for the impressions cut those out with my saw and then filed them and then sweat soldered all the elements (except the bezel and bail and dangle loop) at the same time to the backplate.
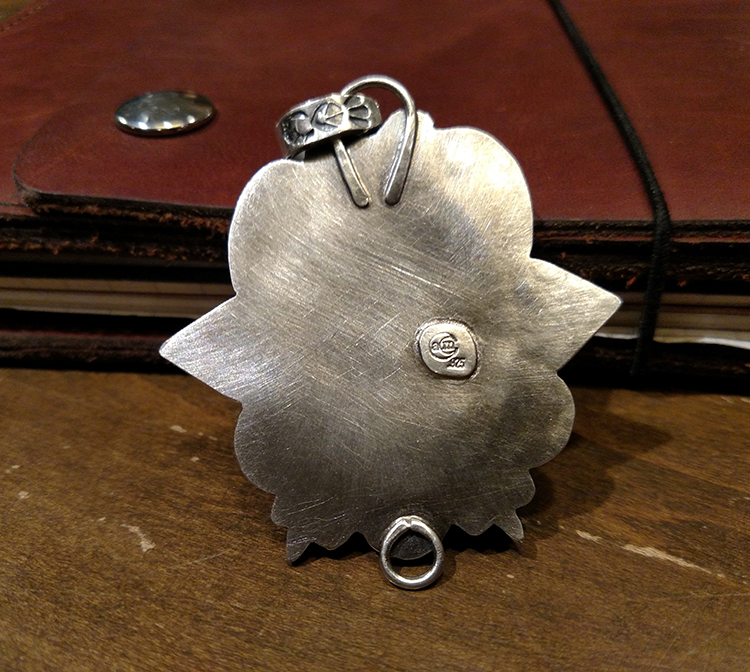
The bezel was soldered first with hard solder, then all the elements were done with medium solder and the bail and loop and trademark/925 stamp attached to the backplate with easy solder.
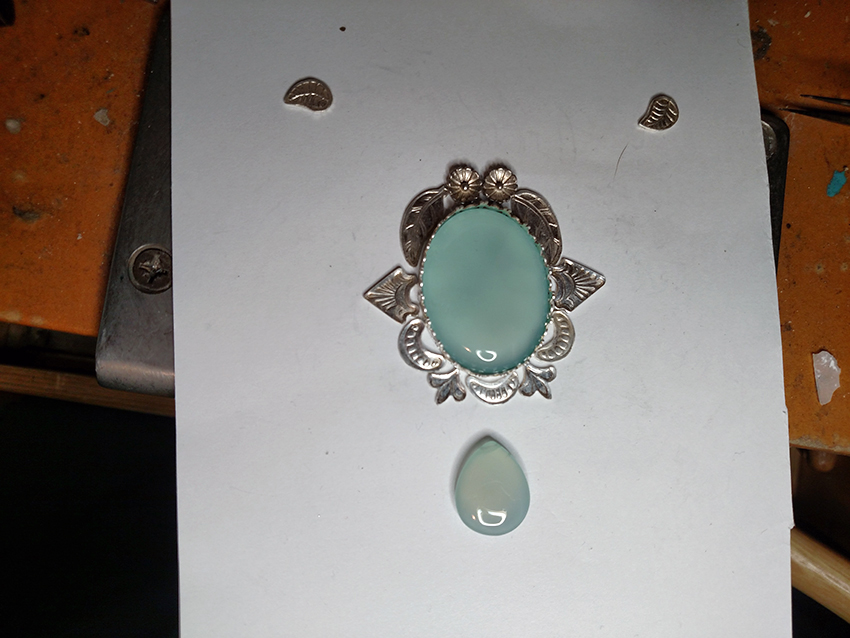
Having the pieces cut out is rather nice as you can experiment a bit with the overall layout and decide which you like best. Originally I had envisioned the stone to hang horizontally but then when I did the layouts and grabbed a pic of them, it was easy for me to decide which I preferred.
There was an autocorrect:
"you learn by make no mistakes."
Should have been,
You learn by making mistakes…
I am in a relationship with a woman who has been doing silver
jewelry for several years, I have been making jewelry for 40.
She tends to be very hard on herself, quite high expectations
in spite of how little actual experience she has had.
There are times when a piece I am working on is not quite going
the way I want it too, and I just start over, what I learned from doing it
the first time allows me to finesse the design or craftsmanship a little,
sometimes it takes longer for me to regain a fine motor skill in order for
me to be satisfied with my progress.
Wow.
Really nice work . I love your use of stamps (or impressions) There was a lot of work done in this manner in the turn of the 19th / 20th centuries. You have elevated this format to a very eye pleasing style.
Thanks for posting these pieces.
Best,
Jim
I’ve always appreciated embellishments that are hand made like yours. I have NEVER been able to get a good enough impression with my stamps. Did you use a press?
No, its a combination of things that I have found one needs to do to get nice impressions.
Number one thing is thick gauge - need to have metal to actually MOVE in order to move it.
Second, solid wood surface - best is wood to floor to bench block/anvil/etc. For example, stamping on table is MUCH different than stamping on the corner where the leg is.
Find a SOLID place to stamp in your house/shop/bench/room. Move around. Stumps are awesome.
Anneal frequently.
Get a dead blow hammer. A nice, fat, juicy one. I swear my Rutland deadblow and my Trusty Cook 43oz. flat-flat deadblow. Things are BEASTS but not too heavy to use.
Figure out where the “sharp bits” are in your design on the stamp. Aim to sink those into the metal most of all on the first strike. Lets you click the stamp back into place for the following strikes, locking it into place, and then tilt to even out the impression with the following strikes. Anneal in between if you feel the need.
Alyssa I thank you very much for all these details. I can see where I am going wrong now! First thing I need to do is get a dead blow hammer and use the stump I have sitting outside the door of my shop. I have a feeling those 2 changes will really help. As far as thickness goes- Is 18 GA what you call thick? thats about as thick of sheet as I have.
Thanks again,
Jean