I’m keen to begin using small amounts of gold to my silver work. I
haven’t been able to locate any simple resources giving the basics of
moving from using silver to adding gold and I wondered if the
combined wisdom of members could point me in the right direction. I
don’t want to fuse gold leaf, but to add a collet, and solder to a
silver base, or use wire as a decorative trim. I’m not sure whether
I should still use silver solder, and I’m not clear on temperatures
or any other differences between working with silver and working with
gold.
I have combined silver and gold for sometime. The gold has been
simply as accents but often as not it is in equal amounts with the
silver.
In my work I use an acetylene torch, Sterling and 14k yellow
exclusively. I can’t tell you about how it works with Argentium. I
find that the gold soldered well with medium (45) and hard (65)sheet
solders from Hoover and Strong. I find that it simply fuses well too.
On most surface I use a flood of alcohol and boric acid and I tin the
gold on one side with solder and Patterns or Green flux separately on
the brick. That way I position the bit of golf on the silver and I
just have to bring the silver and solder up to temp when I join the
metals. The alcohol/boric acid is a good flux but more important it
functions as a barrier to reduce fire scale.
There is a learning curve. I practice on odd pieces of scrap so I at
least had clunky craft earrings from my failures. But I also had
clunky craft earrings with my successes too.
I'm keen to begin using small amounts of gold to my silver work.
One possibility for adding gold to silver is to use bi-metal sheet.
Hauser and Miller (and probably others) sells it with 18K or 22K on
Sterling. Hauser & Miller - Bi-Metal
You can solder it to sterling with Easy or Medium silver solder
(silver to silver.)
It would be tougher (thicker) than foil and easier to cut/handle. It
looks pretty nice too. The 22K has a thicker layer of gold than the
18K and can be engraved or otherwise textured.
I recently made a pair of earrings with reticulated sterling and a
touch of the 18K bi-metal sheet. They looked quite nice and were very
well received.
keep using your silver solders to add accents of gold. Learn the
melting / flow points of the various karats of gold in the colours
you use (or if you are alloying your own colored golds) for a
greater range of raw materials). silver melts at a lower temperature
and can, with very small pieces of gold, consume the gold -you can
use a temperature shielding paste or wet wadded newsprint to act as a
thermal protectant but at the same time insure that you have
absolutely perfect contact between the silver and gold you are
attaching - no gaps, no light seen through the joins and if
necessary to protect previous joins on the piece use med.
solder if necessary (at least at the beginning of your experiments
until you understand the temperatures in flowing your solder, while
not letting the metals overheat to their melt points. Though
undoubtedly some people will disagree make some test pieces with
scrap silver and the karat golds you want to use until you are
comfortable just simply soldering the accents to the silver. You may
want to use fine silver (if you plan to use it in one-off pieces in
particular)- but use whatever you design with/ are planning on using
so your judgement remains consistent with the materials you use most
often. Hit-and-run soldering is the objective; quickly attach the
accent, collet, etc. to the main workpiece. it’s really not a hard
thing to master. Low karat golds (9kt,12kt) tend to melt down if too
thin or if the silver is overheated, so make sure the gauge of the
gold isn’t too far from the silver- in other words don’t expect [a
bezel of ] a thin 24-28 g.12-14 kt gold to resist melting using hard
silver solder on 16-10 g workpieces- the silver has to be heated to
the point that the solder will flow easily and make a strong join
without any gaps, etc.
a good book to read over is the Complete Metalsmith (any edition),by
Tim McCreight for review. But have no fear- it is easier than this
may seem. just prep the metal correctly and use an appropriate flow
point solder- If you use pastes, My Unique Soutions (Beth Katz) makes
a range of hard solders and medium solders that assist in getting
thingsssss exactly where you want them/are comfortable so you may
want to check those out however any solder you are used to is best…
I feel I’m not being clear so feel free to contact me off list if
you need clarification. rer
Fantastic from members! Thank you so much. I have Tim
McCreight’s book but for some reason hadn’t cottoned on to the
section on using gold.
I’m assuming that the gold accents need to come up to the same
temperature as both the solder and silver (I use sterling mostly) so
the solder will flow, so am I right in thinking that the chances of
reticulating the silver before the gold reaches temperature is a bit
higher than normal?
I use a small butane torch at present, or if I’m working on a larger
piece I have a propane torch but I find it too hot and the flame too
big for most of my work. When I’ve grown up a bit (hah!) and get more
serious I’ll invest in a proper torch set-up but right now I’m
improvising with the equipment I have.
BTW I’m in New Zealand so some of the supplies can be inordinately
expensive or take ages to be shipped.
In response to your recent posting - it is important to understand
that gold likes to fuse (alloy) with silver at soldering temps.
Rather like touching a hot knife to ice cream. It will sorta’ sink
into the silver. Therefore, it is not desirable to have the gold the
same temp as the silver. Reticulating the silver should never
happen, because that means you are close to the melting point and
the gold has combined with the silver.
I have the best results if I ‘tin’ Argentium EASY solder on the gold
before soldering to the silver.
Be sure to have a good fit with no gaps between the gold accent and
the base, and to use flux on the gold before tinning the solder. (I
like Argentium solder because it melts at lower temperatures than
standard Sterling solder, reducing the likelihood of the gold and
silver combining.) The tinned soldershould be sorta’ globby, not
smooth - you want the solder to be attached tothe gold, but not
completely melted.
Then place your gold on the silver where you want it to be attached,
and put some flux right at that place. Heat the silver gently,
beginning at the edge and working toward the place where the gold is
to be. Watch closely forthe solder to flow. The globs will smooth
out and you may see the gold piece settle into place. STOP. Pull the
heat away and pickle. Check with the loupe that the solder has
flowed completely.
If further soldering is needed, I use the water soluble White Out on
the gold and the joint already completed. Slobber it on thickly. It
protects that joint and the gold during reheating. Caution is still
necessary to avoid heating the silver to the point that the gold
will sink into the silver.
As with most techniques, practice with scrap. Good luck and let us
know how your efforts come out.
Judy in Kansas, where that Arctic cold air is creeping toward us and
making for a chilly weekend!
Thanks for all your help! I’m beginning to understand the need to
extend into using Argentium, it looks like it’s a lot better behaved
with gold than sterling. And such good step-by-step instructions for
soldering (I love words like globby - so descriptive!).
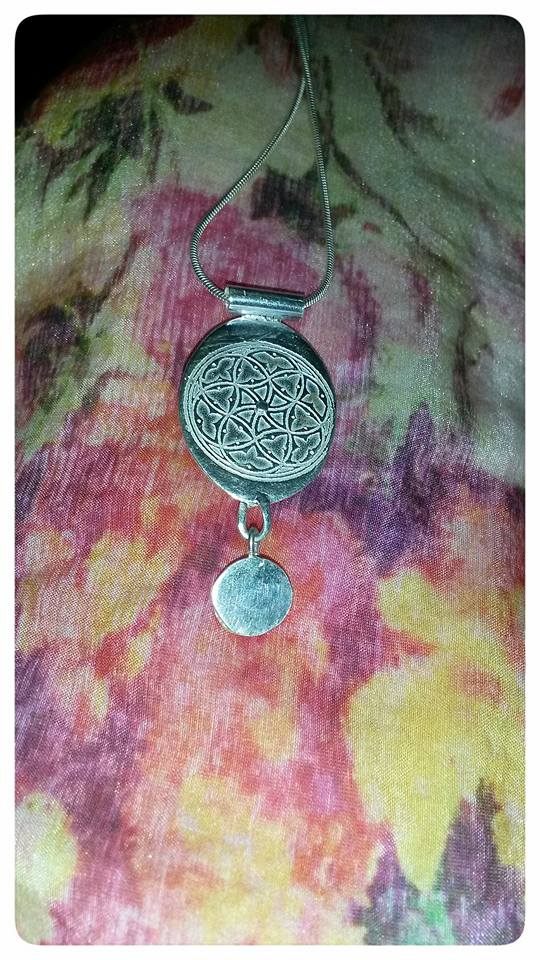
I’ve attached a very poor shot of my latest piece - etched, riveted,
and a paua (abalone) pearl to boot! I wanted a hammered, handmade
look to the front and bezel. The etching went so well. I’m so pleased
with it. If I’d had gold I would have set the pearl in gold, but I
only had copper - still I think it’s OK.