“Setting Gemstones in Wax!”
Please note the following! This essay is only a demonstration in the ‘process of wax setting’. This is not necessarily discussing the setting techniques in the metal stage. (Author/Diamond Setter: Gerry Lewy!)
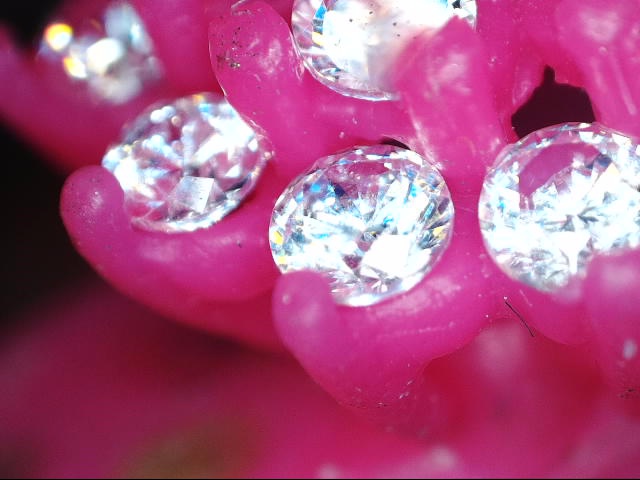
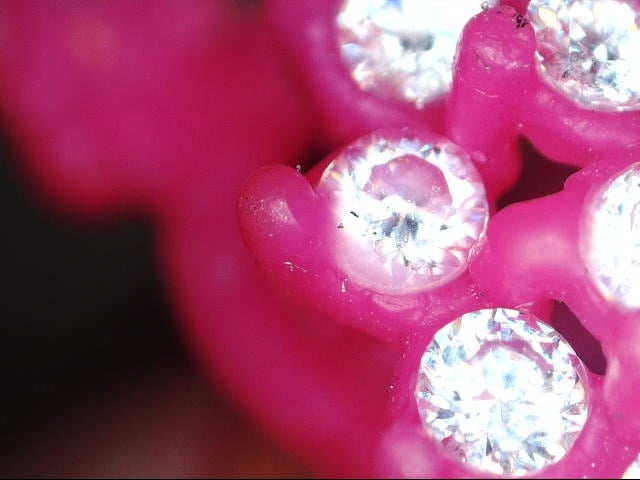
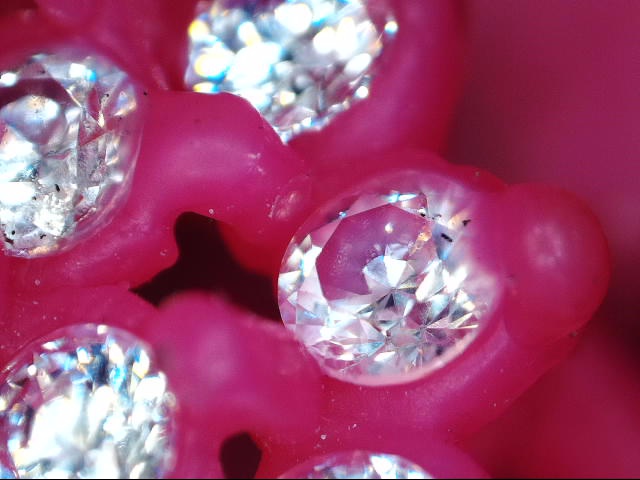
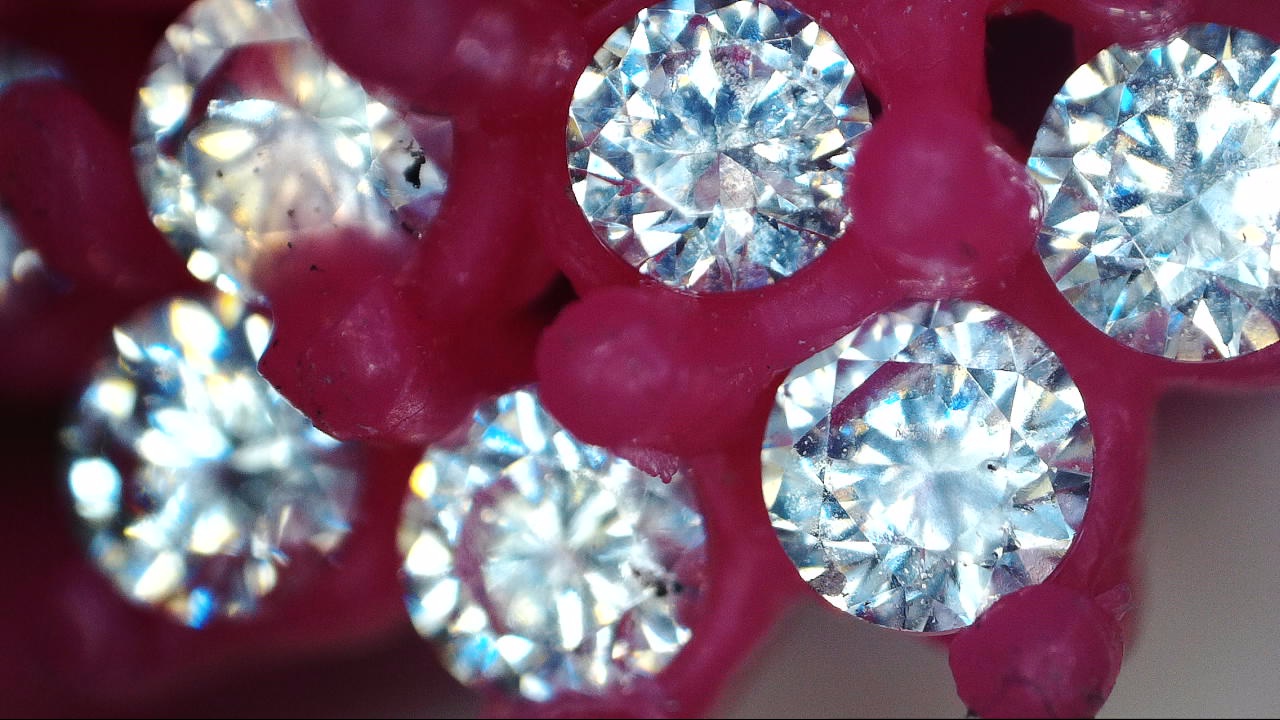
Many decades ago, this simple process was a total secret but for only a select few of the jewellery company’s staff. No one else were allowed to ‘view’ how this process was accomplished. Thankfully, in this ‘open community’ things have truly changed for the better! The realm of education has improved as well, I am now showing you the ‘wax setting’ with the aid of a 220x power Digital Microscope. In this essay I have collected numerous photographs all in great detail. I don’t want anyone to start guessing on how to use this interesting and easy process.
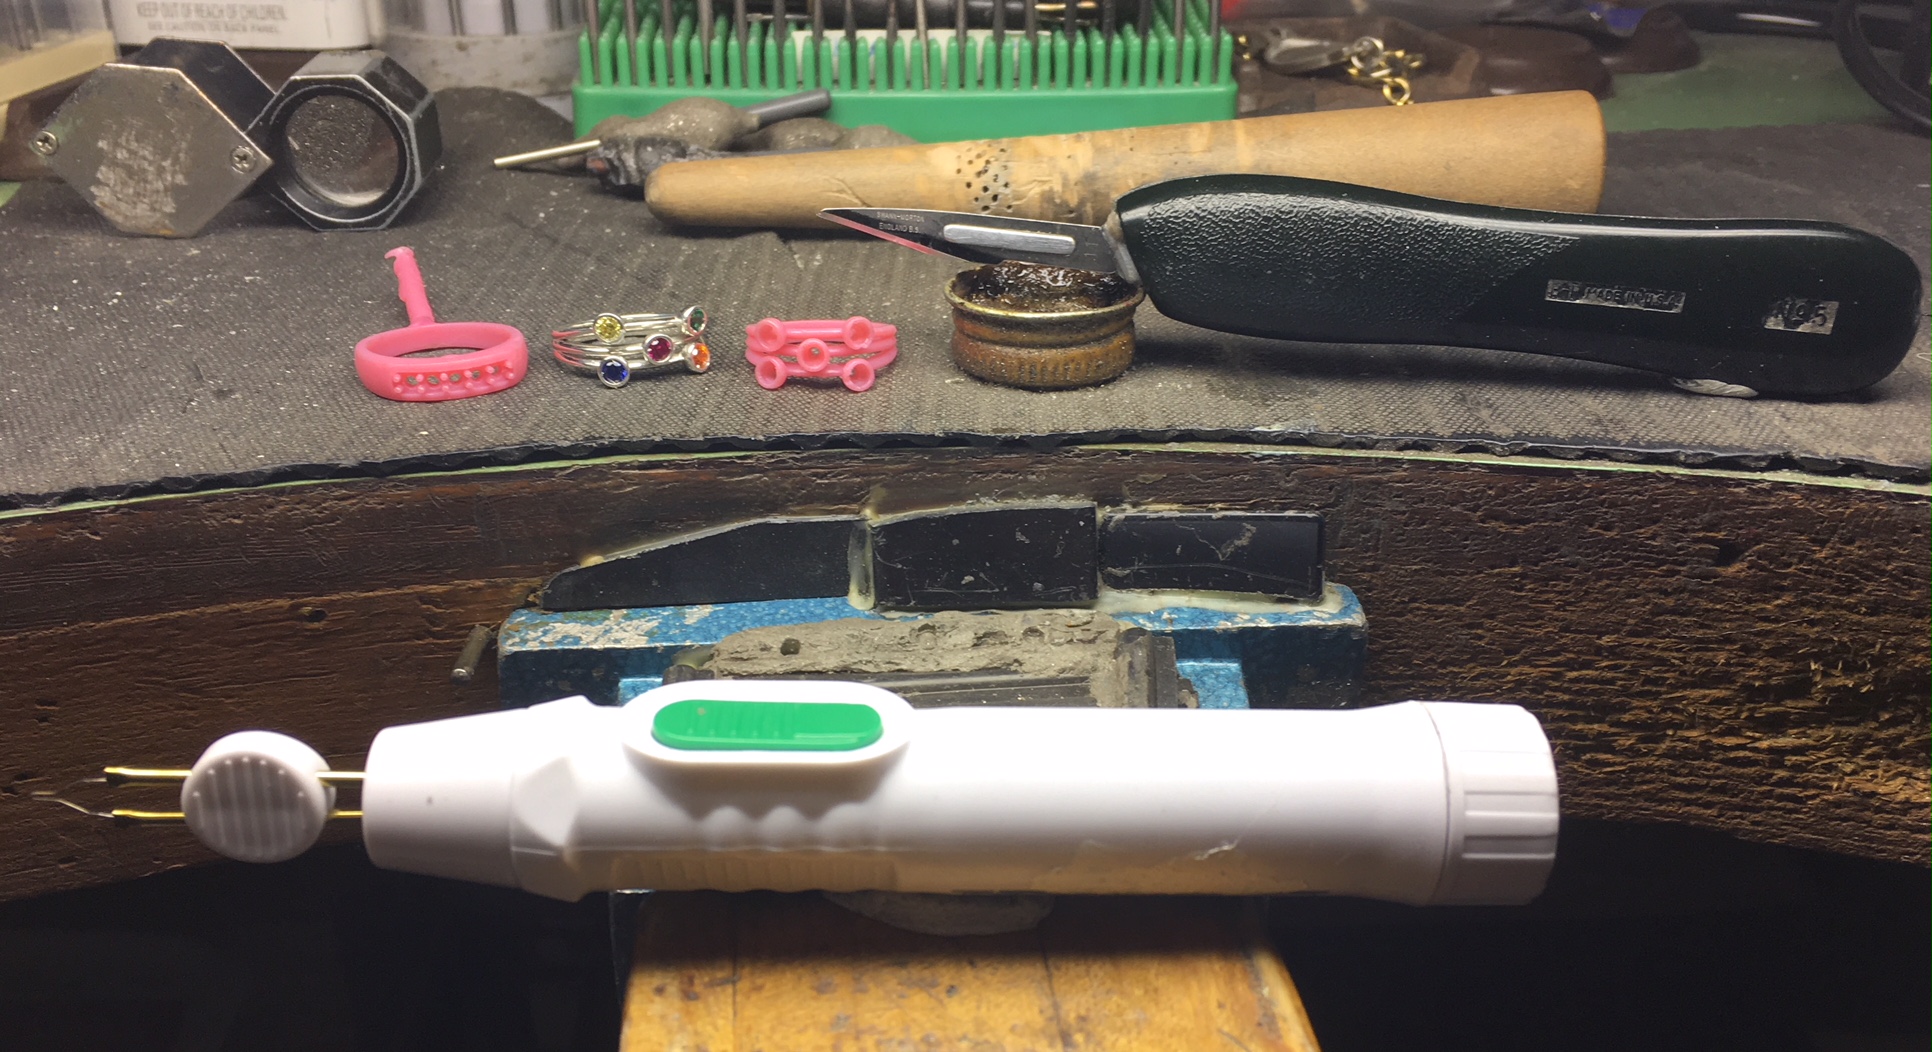
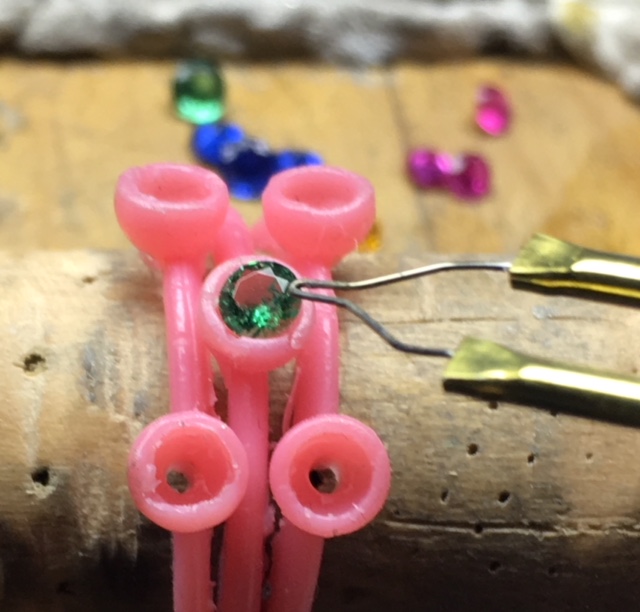
What tools are used in this process? Very simple, they are a ‘wax-pen’ powered by a battery, these cannot be controlled by any temperature monitoring device. This pen has one button for ‘on & off ’. My favourite wax-pen has a dial to regulate the temperature. I use the highest temperature just to clean the nib-tip, the nib gets literally ‘red’ hot in the ‘self-cleaning’ process. This ‘self-cleaning’ must be done every few minutes as there must be no residue on any stone you are setting, you can see the smoke of the burning residue. I put a little ‘smiley’ on the dial, where the ‘optimum’ temperature should be. This takes a short time to experiment on sample waxes! The whole idea is not to ‘heat the stone’, as it will melt into the wax & destroy what you are creating. You want the stone at the ‘lowest-warming’ temperature!
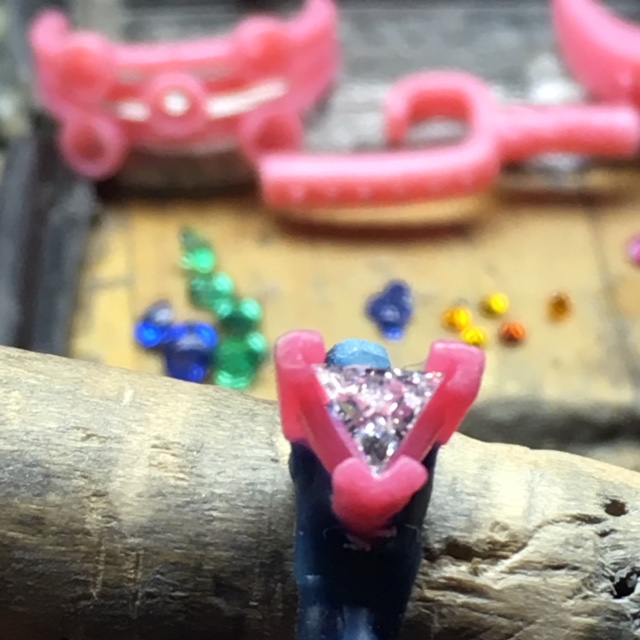
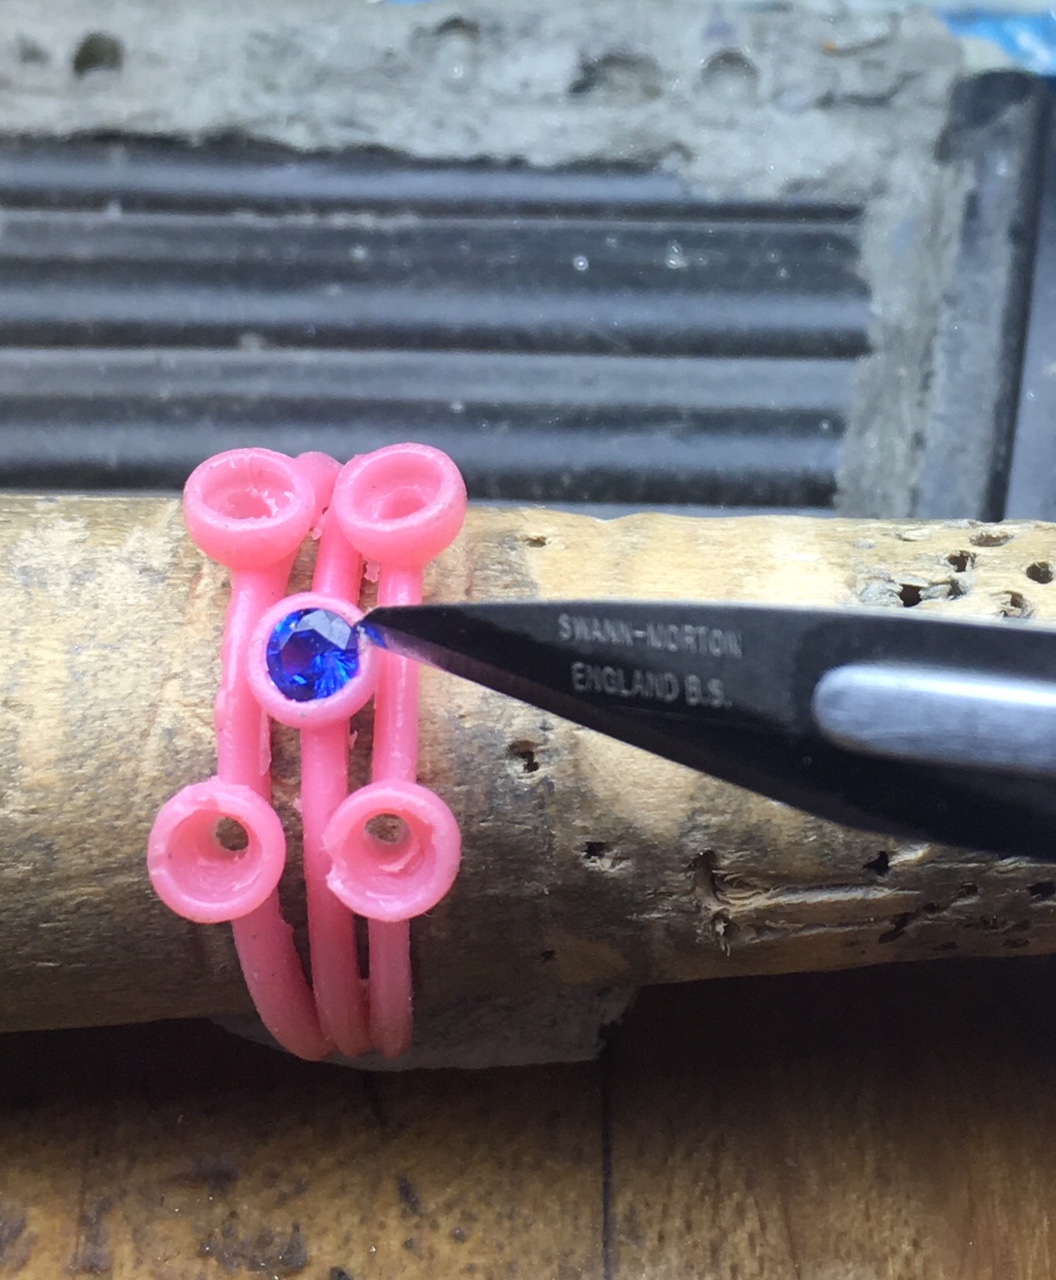
What must you be looking for as the stone settles into the wax ring? As you start the heat the stone, it should be placed in at 45degree angle and this is just where you apply the heating pen-tip, the temperature rises, the stone will slowly settle into the claw setting! The wax pen should be just touching the stone that is at the highest facet. Don’t keep pushing the stone into the wax, the weight of the stone will do that for you.
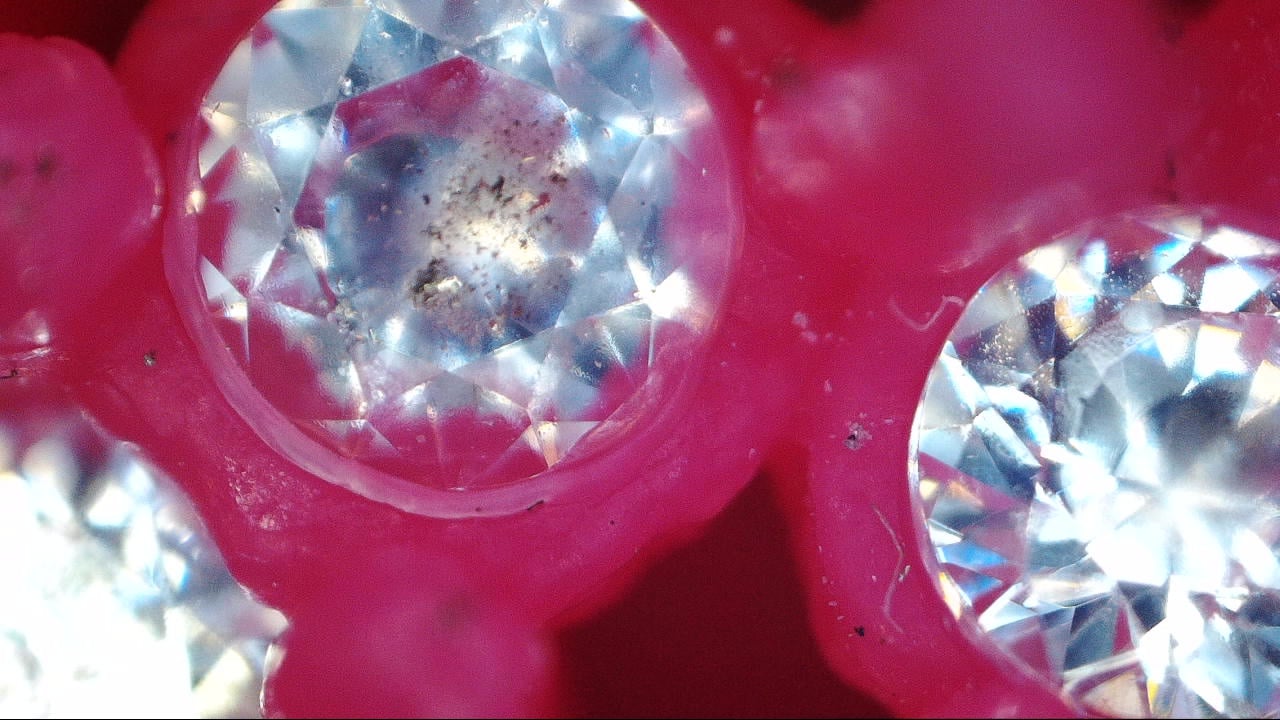
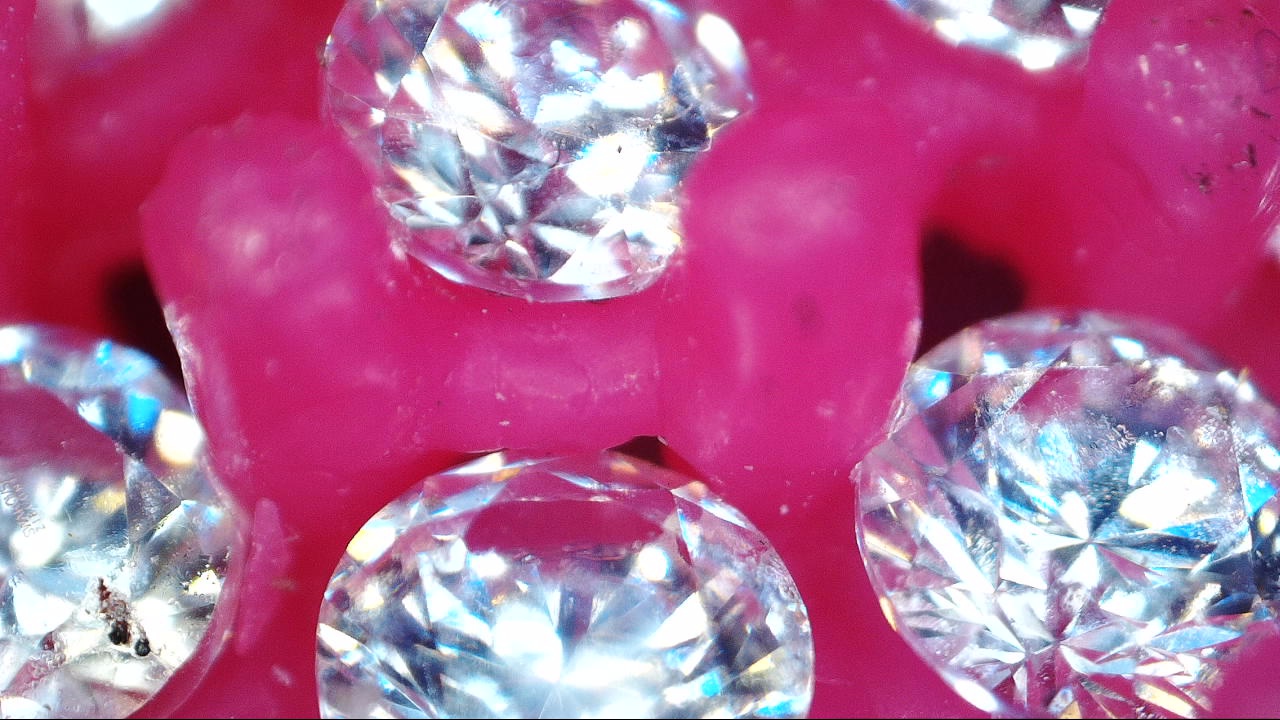
As you are slowly heating up the stone, look down through the ‘table’ & notice that there is a liquid forming, THAT is the melting wax! What is the melting wax doing? It is making a bearing-cut all by itself, so there is no need to cut any bearing in the wax before you start!
Don’t even think about pushing over any claws/prongs, you can do this AFTER the metal casting has been done. How easy is that?
How many stones can you set in one day? I used to work as a ‘setter’ in a mass-production factory and there were 6 persons doing all of the wax-setting. Would be believe, that there were 4 casting-furnaces and each had 12 flasks piled high in three layers each? Imagine 2,500 stones were set in ONE DAY! I estimate setting of ‘stones-in-wax’ can take about 5 SECONDS, now try that in metal!!!
Here are some interesting facts for you: Once you notice that the liquid has started, STOP & quickly remove the pen!! What has just happened? The melted wax has literally ‘grabbed’ the pavilion-facets and ‘held’ that stone in place. The ‘girdle’ of the stone has, as well, made a bearing cut in the wax-claw. At no time must the stone get hot, as it will literally ‘sink’ into the base of the setting! The stone must always be ‘warm’. Periodically, check the temperature of the control gauge. Even five degrees (F) is critical at this ‘stone-warming’ stage.
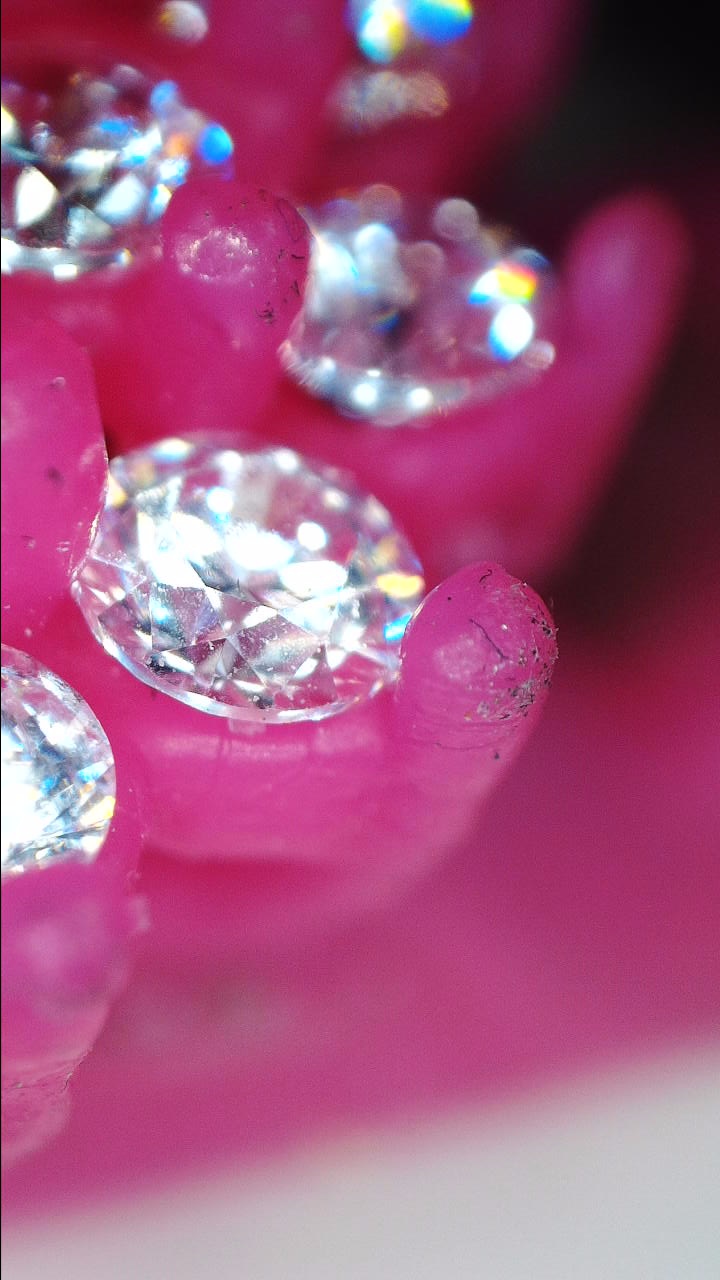
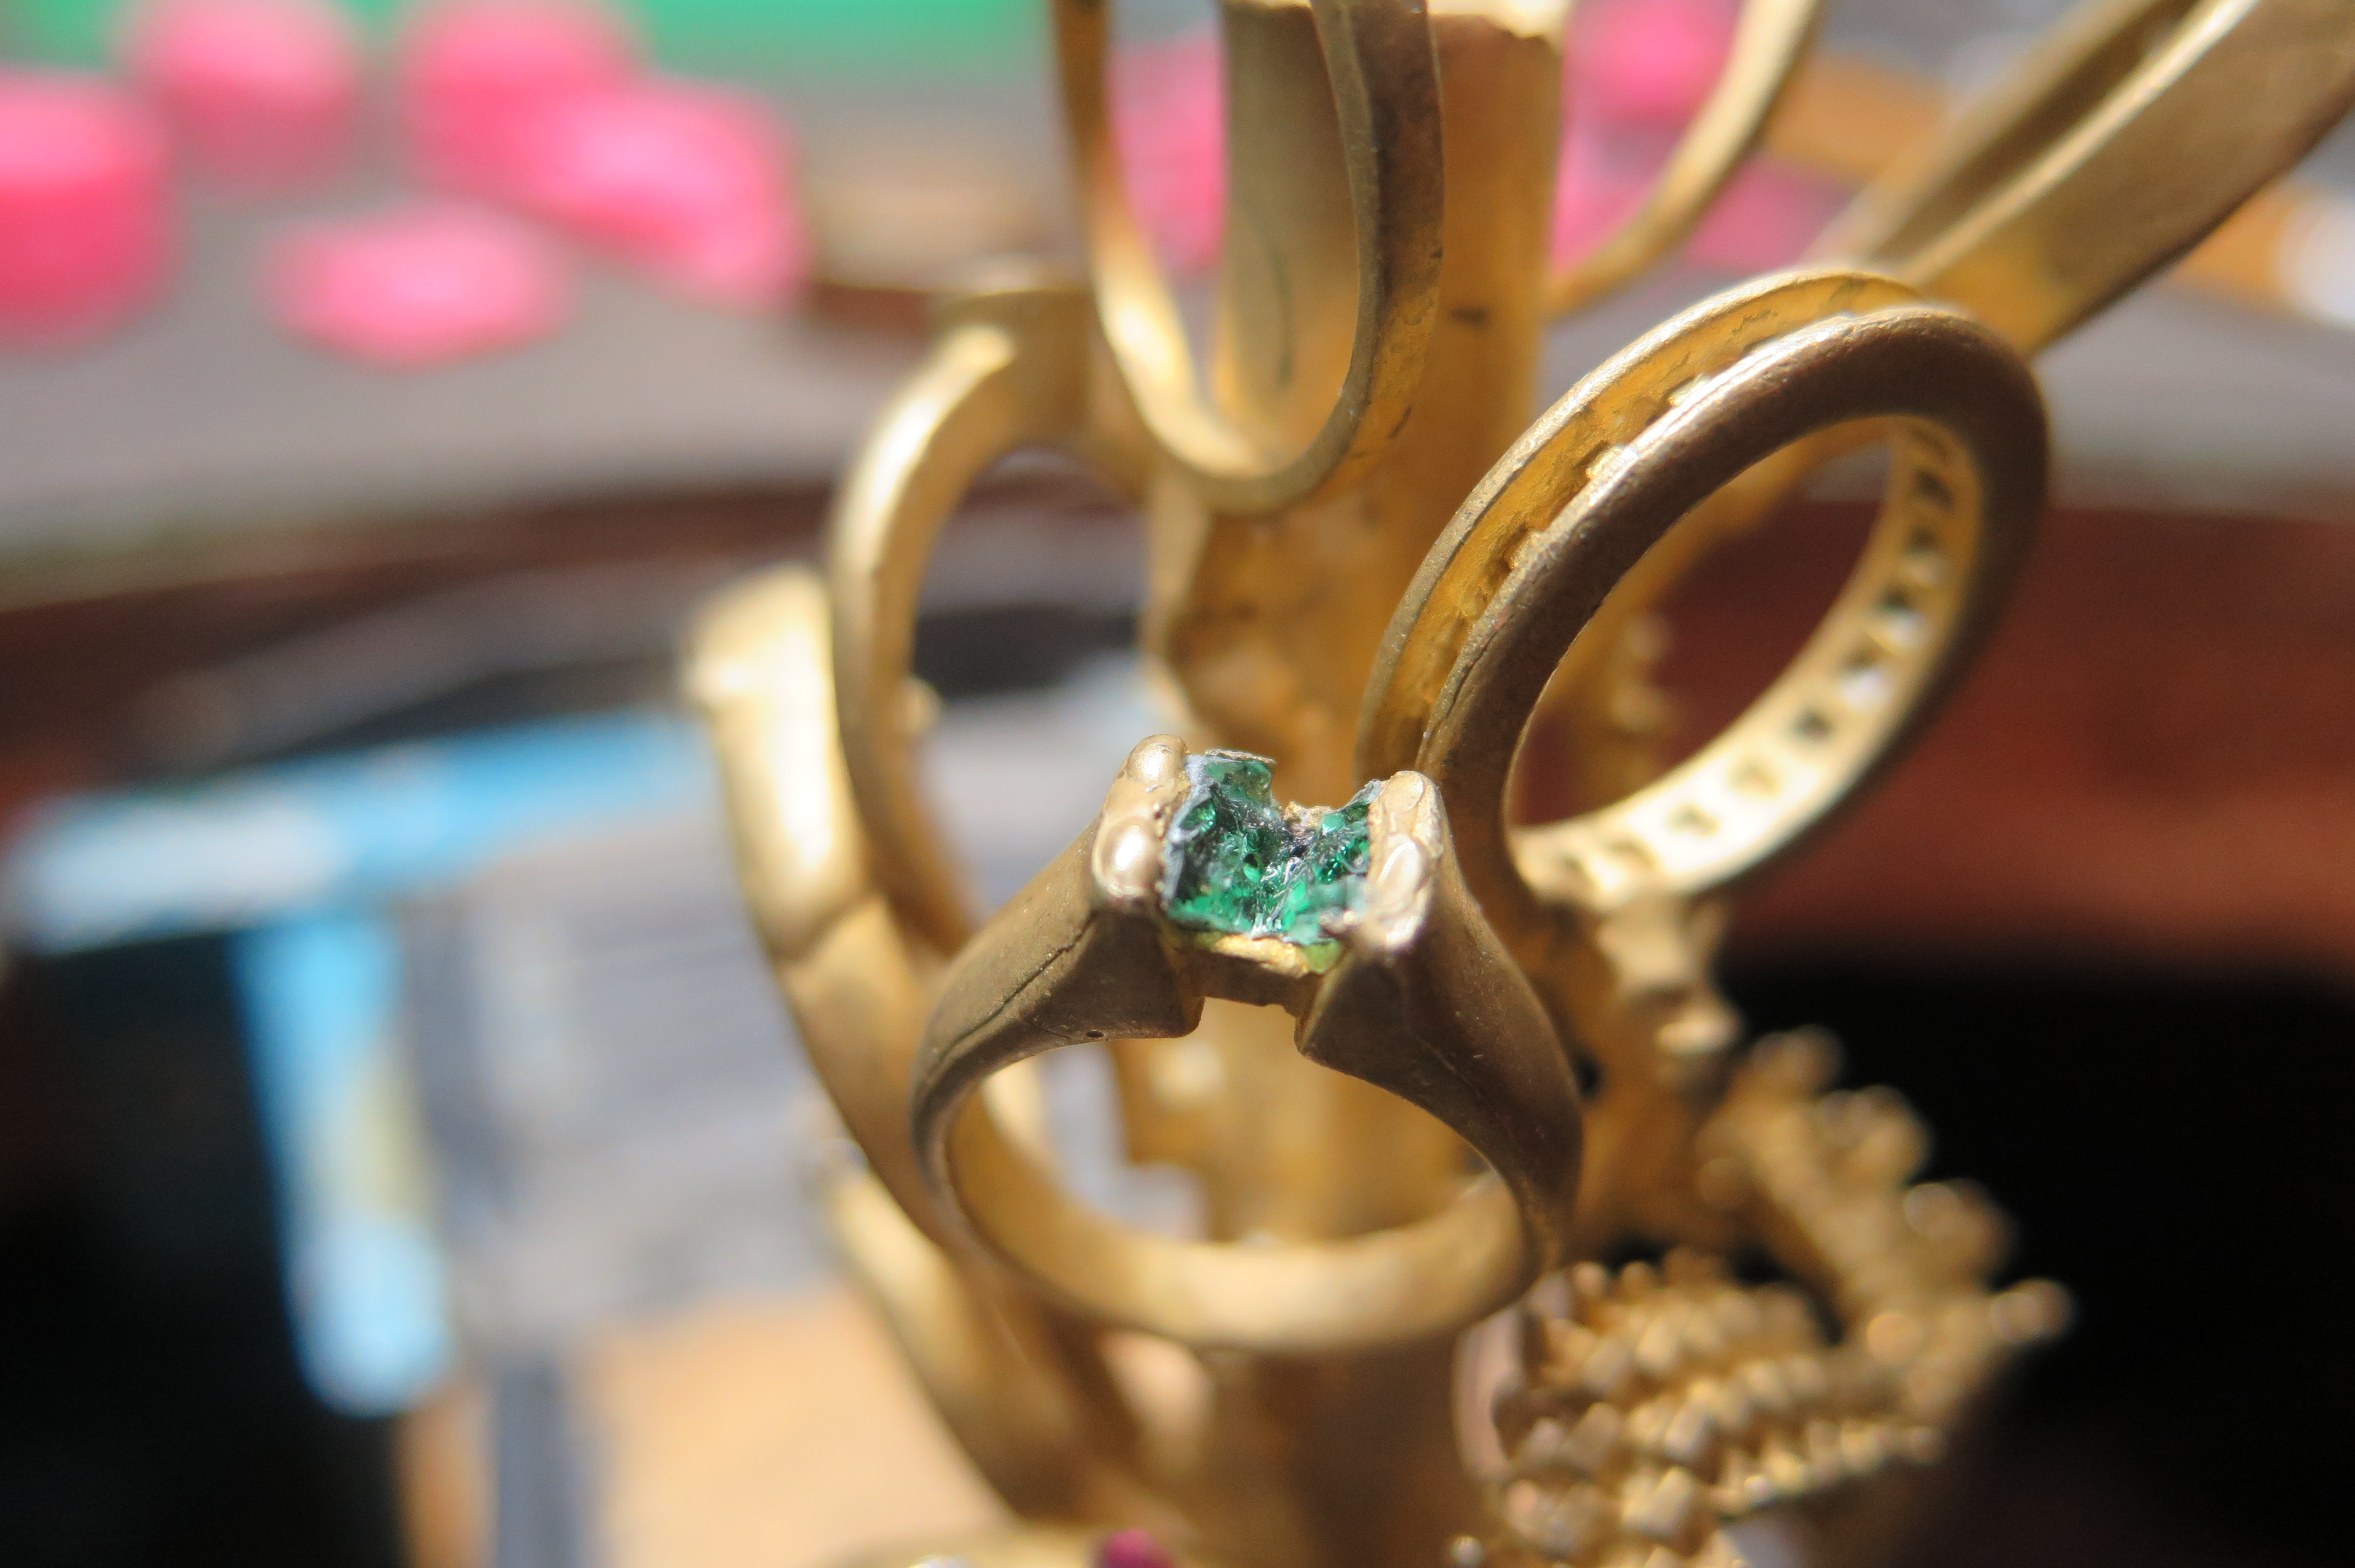
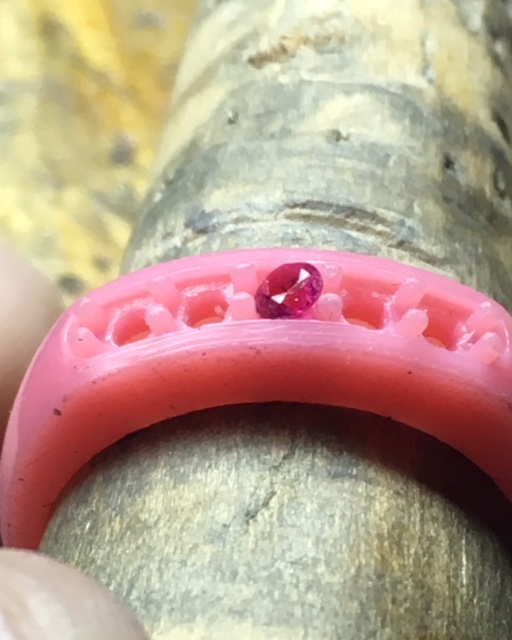
What stones can you set in the wax form? Think of the colours in the America flag…RED, WHITE and BLUE. Red is for Rubies, White stands for Diamond or CZ’s. While Blue is for Blue Sapphires, but not for Blue Zircon’s. You can use any stone except Emerald, Turquoise, Lapis or Opal. The ruling is, any stone ABOVE the 8.5 on the “Mohs, Scale of Hardness” is acceptable.
Do not attempt any stone to set any stone that has ‘pointed corners’, such as Princess-cut, Marquise and Pear-Shapes. If the stone is round, just go ahead and enjoy the relative ease in setting your wax item.
Do not let any wax form over the stone, why so? That wax will then be metal after the casting. If there is any wax or even little amounts of dirt, remove it immediately with a surgical, mold-cutting blade.
Keep your stones clean, no dust or wax-residue is permitted! Use a gentle touch with your Wax Dob, again, KEEP YOUR STONES TOTALLY CLEAN!! Don’t let your stone sink into the wax, if it does, remove it & start another wax form!!
When you are holding your wax ring, avoid holding it in your fingers. The reason is that your warmth of your finger can slowly bend the ring out of shape. Place the ring on a wooden or metal dowel. Just keep the warmth of your fingers away from the wax!
I’ve given you loads of information & instructions. I haven’t gotten into putting the waxes on the ‘tree’ prior to the casting process, as that could be another essay. Remember one thing, keep your stones 100% CLEAN and I cannot stress this any further!
This process is quite easy, experiment prior to your first ‘wax setting with stones’! Enjoy this easier way of setting stones.