I think that I have figured out how to transfer pics using ftp
program! In any event, I have a large, faceted citrine that I am
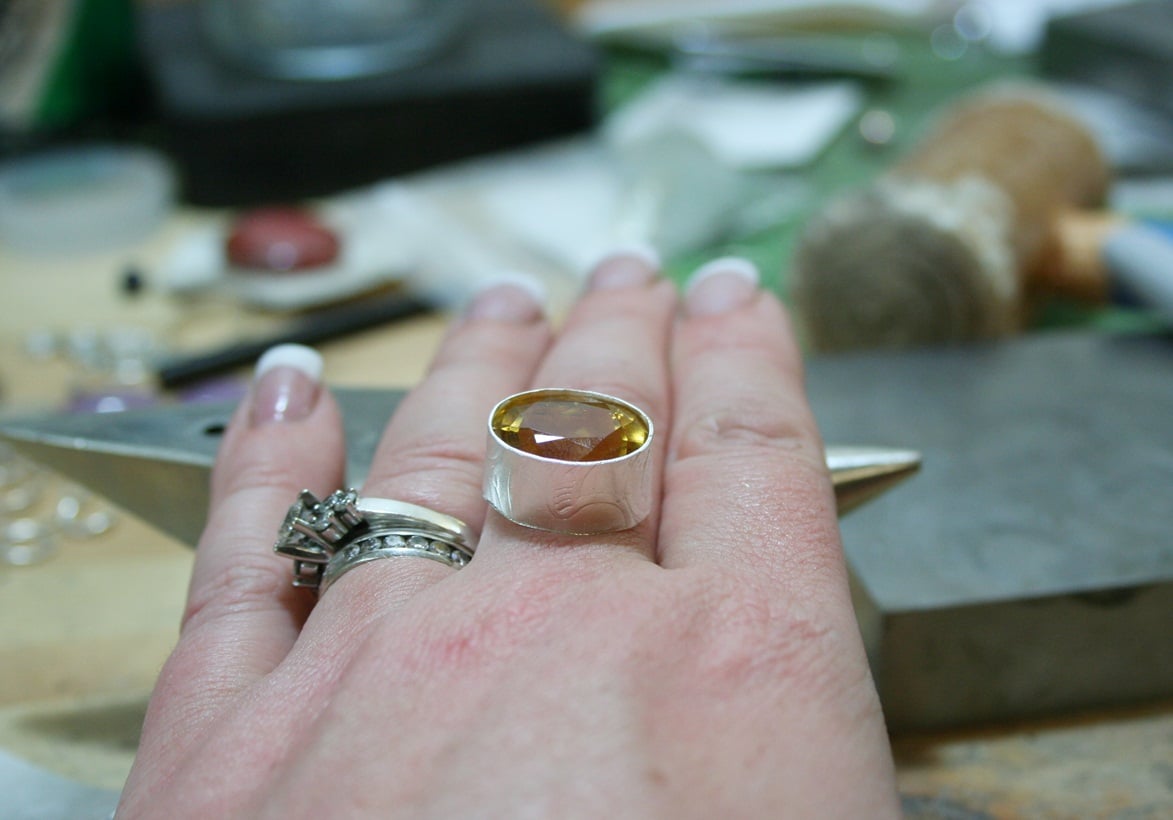
trying to set into a ring.
This is my first time trying to set a faceted stone in a non-premade
bezel. My problem is that the stone, in its bezel alone, looks like
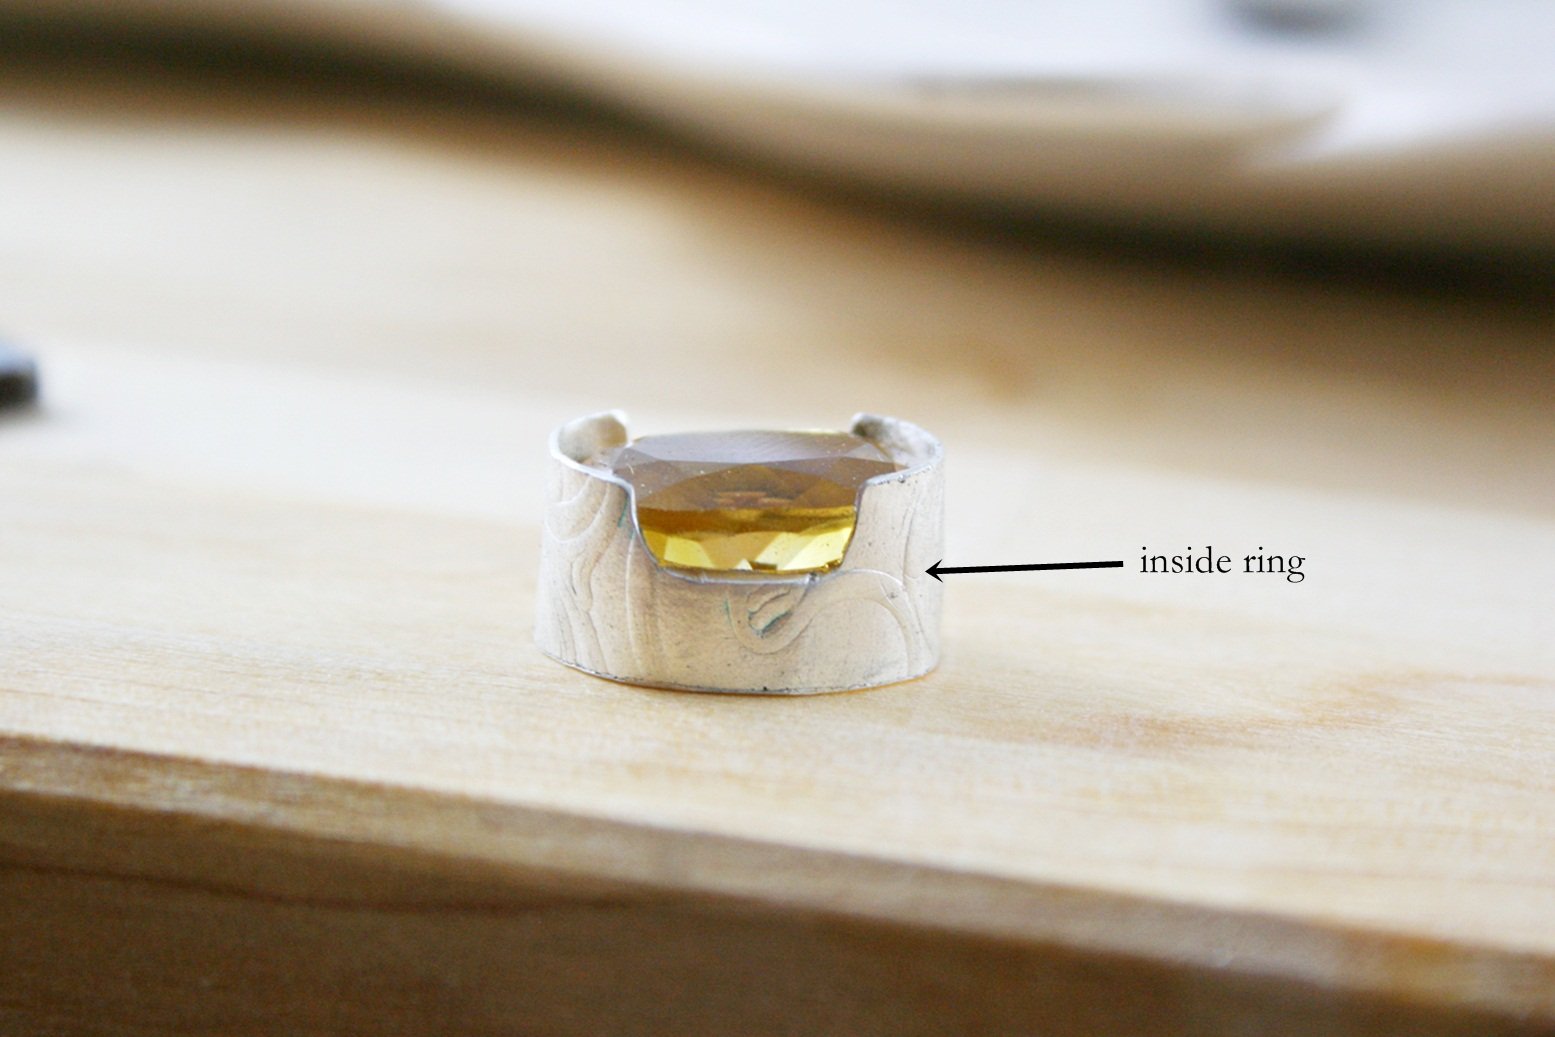
it is being throttled by the bezel. I have soldered a wire on the
inside of the patterned sheet (bezel needs to be filed down ) and I
initially thought about trying to solder the mammoth bezel onto a
wide, patterned band (a wrap style). I tried splitting some sheet to
insert the bezel in the middle, but couldn’t quite figure out a way
toopen the band sufficient (made a mess). As far as I can figure,
this stone is going to sit very high on the finger (right?). So I
have two problems - too much metal around the stone (I think that it
looks like it is being choked) and a mammoth looking setting if I
simply solder the bezel onto a shank. Suggestions for making this
ring not look awful would be gratefully received. Am using Argentium
silver (no prongs pls) and forming with sheet.
Thanks!
Ros
You may want to make a shank that is a bypass look, meaning it sort
of bypasses each end of the shank and doesn’t attach to the ends of
the bezel. Rather it attaches to the “corners” at o’clock and 8
o’clock on the bezel. Also, you may want to drill med. sized light
holes in the bezel sides to give the stone more light and to lighten
up the weight of the bezel to take away some of the bulky look. It
will also give some decoration to the bezel. Be careful when setting
this stone. Citrine can be brittle to work with, especially a full
bezel setting. Good luck and send us the finished pictures.
Steve Cowan
Arista Designs.
Maybe you could do a little piercing in the bezel, follow the
pattern within reason, let more light in make the piece look and feel
lighter.
Charles A.
You do not say how wide the wide patterned band is, relative to the
bezel. If the band is wider, you can drill through it, and solder the
tube setting into the band. If the band is to be split, any tool you
can force the split open with works, and then prefinish the band and
the bezel before soldering them together. For a split look, you could
also start with awider band, saw out the split look area, and then
trim the shank, and again, prefinish it before soldering.
Many ways to approach this.
I set an amethyst for a customer this way because she wanted it to
be protected. What I did was carefully file small decorative V’s at
12, 2, 4, 6, 8, and 10 o’clock around the top of the bezel. The
V’swere about 2 mm long. Take your time, and making them all match is
important. It creates a faux crown and the bezel pushes over nicely
witout crimping. Just a thought for this project. It looks very cool
and I wish I would have taken a pic.
Margie Mersky
mmwaxmodels.com
Hi Ros,
This is a setting that you have to take into account the depth of
the cullet of the stone, so being as large as the stone is you have
to allow for this so it doesn’t poke ones finger. Place the stone
into the bezel and by holding the stone in place flip the piece over
and see how far down the bottom of the stone is from the bottom and
make a mark. This kind of setting lends itself to shaping the bottom
of the bezel in a concave form by using sanding size drums that are
close to the size of the ring shank. You want to shape the bezel so
that it fits the curve surface of the ring. You’ll still have some
room under the stone if you use 16 ga silver and once soldered on you
can drill a hole in the center of the ring and open it up as much as
needed for lighter weight and better stone reflection. I would taper
the band for a more comfortable fit at the bottom of the ring.
Good luck, and go slow when fitting the bottom of the bezel to the
top of the ring. One tip is to hold a ring sizer next to the ring
when it’s on the ring mandrel and see how close you can get to the
curve needed to fit the bezel shape.
Mark
Large faceted stones present the problems Ros describes, they are
completely different to cabachons! Traditional ways of solving the
problem aRe: (For clarity I refer to a collet as the whole thing
surrounding the stone, and a bezel as the top bit that’s folded over
the stone).
-
Taper the collet under the stone so that less metal is visible
compared to the stone. Do keep a solid base on the finger so that
the large high stone will feel comfortable and the ring behaves
while it is worn.
-
Pierce the collet under the stone with any kind of cuts, from a
plain horizontal split to as fancy as you like.
-
Some kind of shoulder connecting the band to the bezel will unite
the band to the visible stone, and lack of shoulders will unite the
band to the base of the collet and will draw attention to the
collet.
Alastair
I have so much to learn. Guess that I need to start somewhere  So
So
my plan of action is going to be to make a new bezel, this time a bit
thinner than the one that I rolled out (for fear of chipping the
citrine in my inexperience, but enthusiastic hands). Then, I will
sand the bottom of the bezel to match the curve of a finger. I will
try not to chip off the bottom of the stone while mucking around
with the bezel bottom. I will see about pierce out two sections, on
either long length of the oval bezel. I’m having a hard time
imagining the kind of band that I’d want with this size of stone, but
something with some sort of shoulders might, as one responder
suggested, make the bezel blend in more to the band. I am fascinated
with the idea of a hollow band for this ring, but realize that I have
zero chance of getting the dimensions right, so I will try to keep it
simpler for my first time with a faceted stone. Many thanks to all
who took the time to respond to my post.
Cheers Ros
Hi there! Well, I’ve discovered that the ring that I soldered to the
inside of the bezel wasn’t holding the stone well, probably bec it
is in the wrong place! I’ve been messing around with this bezel,
squeezing it, looking at it. Obviously, it needs a support wire in
the right spot, but I wonder if I am using too thick a wire as well?
I think that I soldered 20 ga round to the inside - should it be
thinner?
Thanks so much!
Ros