Hi Orchid/Ganoksin readers!
Everyone I’m sure, have dealt with a few problems in setting stones in basic cluster-top stone rings or pendants. ** I made a few of them just for this exercise.** Some of them originate in the wax form, I am showing you how they can greatly magnify into major problems if not attended to in their earlier stages of stone-setting.
Although this essay is 29 pages long, it covers many of the ‘simple & easy to follow’ solutions. Enjoy the photographs and the reading.
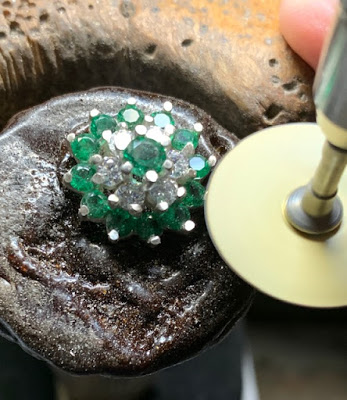
Although this might look like a simple ‘run-of-the-mill’ stone setting operation, things can go wrong in a matter of seconds! Let’s now see how we can correct them!
These and future ‘demo’ pieces will never to be sold , I’m using them only for demonstration purposes!
This Difficulty Level is @ 6.5 out of 10!
What tools are to be needed? These will be described in detail as the ‘demo’ is being shown!

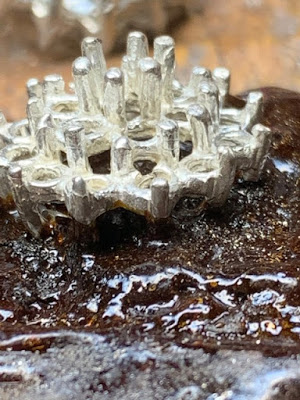
Many of these claws are bent away from the area to be used. These must be corrected NOW!
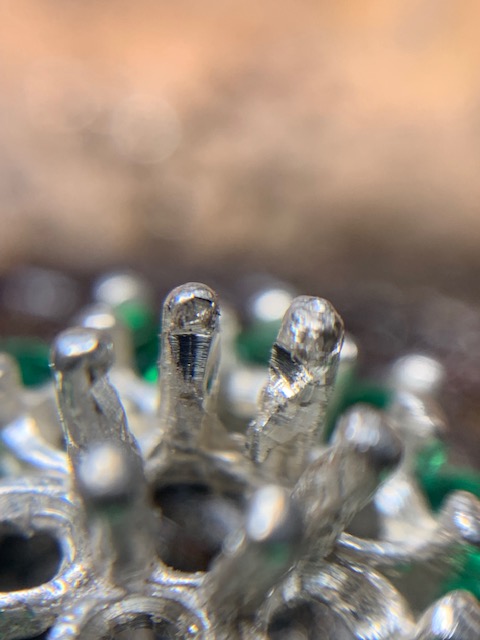
There is a piece of wax inside the centre of the 6-claw top section, ‘out it comes’…NOW!
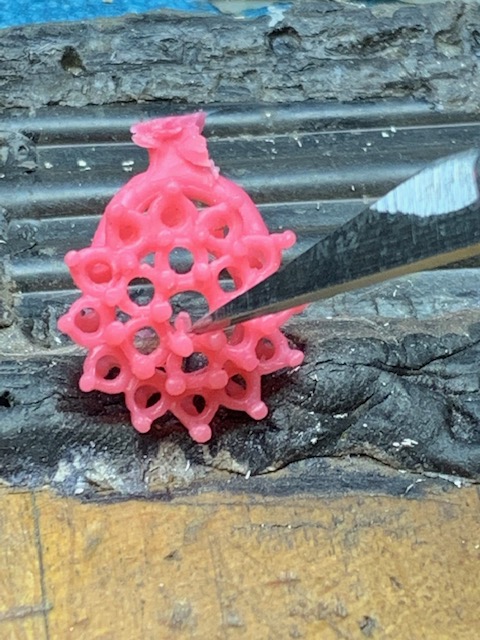
This is what happened when I cast the wax, now there are loads of cleaning to get done. a.k.a. ‘precious time was wasted’…***:>(***
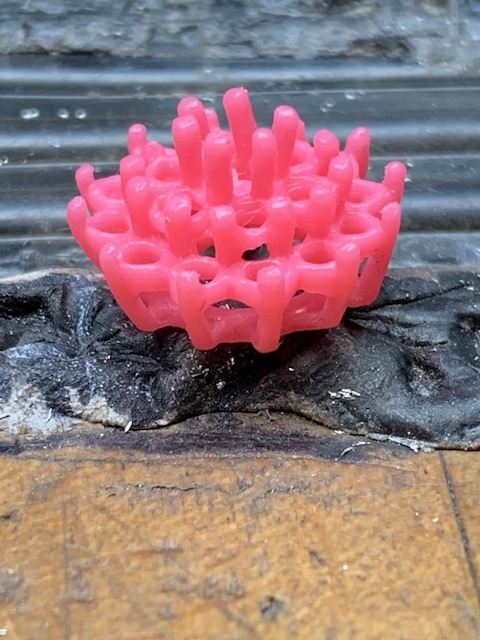
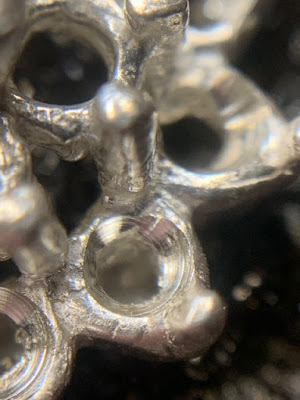
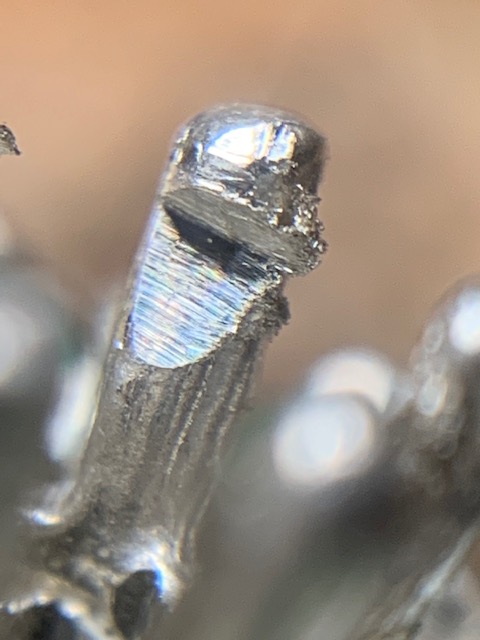
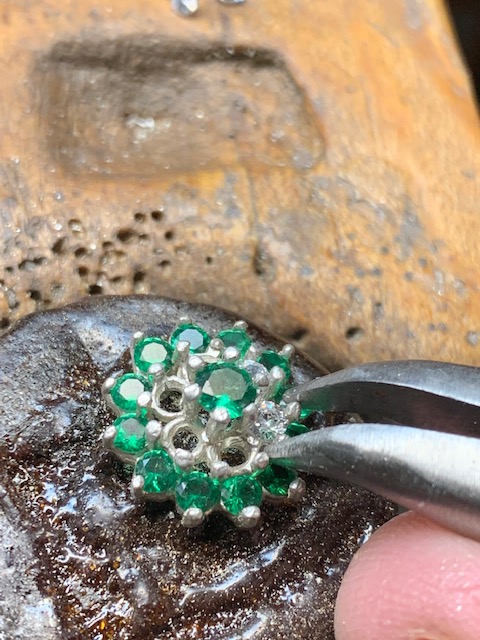
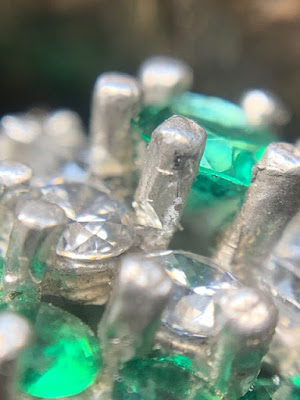
Here is a basic, cluster-top wax casting, already there are a few things that must be attended to. In this very first photograph, you can see that one of the claws are bent, not nice if this was in metal!
There are some filaments of cloth (or dust) laying on these claws, ‘get rid of these’ => NOW!
I used a 1-millimetre twist-drill to remove any metal that’s not wanted below the stone-setting base. This could have been done in the wax form.
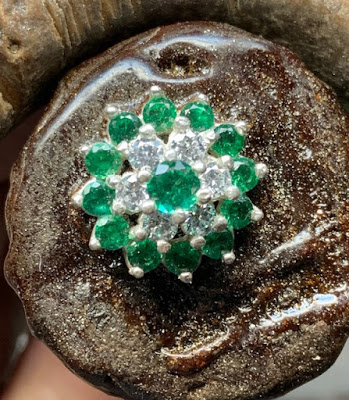
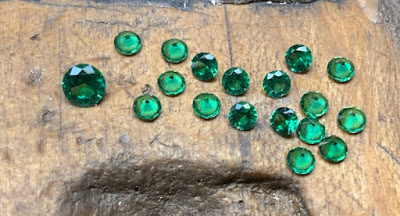
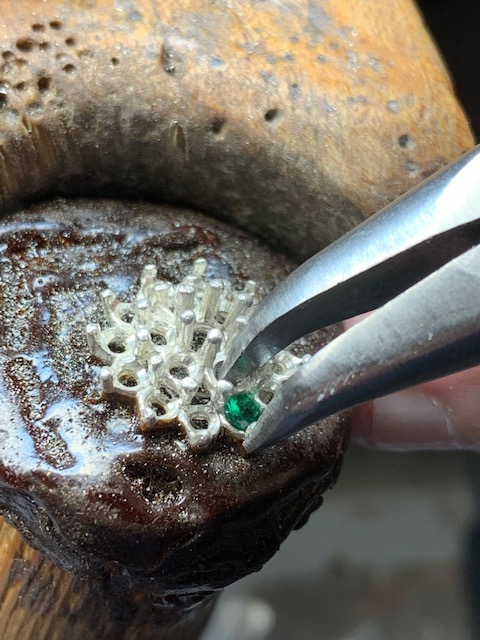
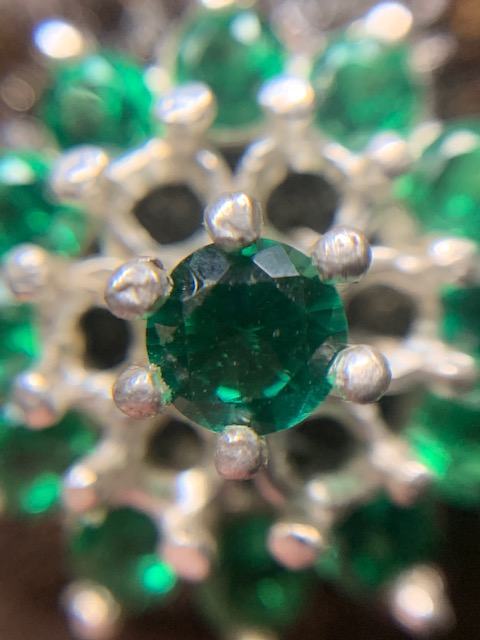
These are the selected Emerald stones that will be used . Each of these stones is 3.00 millimetres in size and the centre stone is 4.5 mm’s! I will examine each stone for defects, prior to the final setting process.
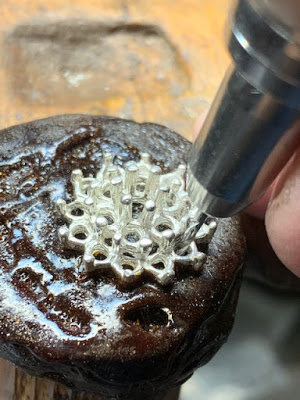
I’m going to use my decades-old “Awl” to open up the claws to allow my bur to start the drilling.
One of the ‘middle row section’ claw is too small to use. Either repair it in the wax or re-solder it, just prior to stone setting process!
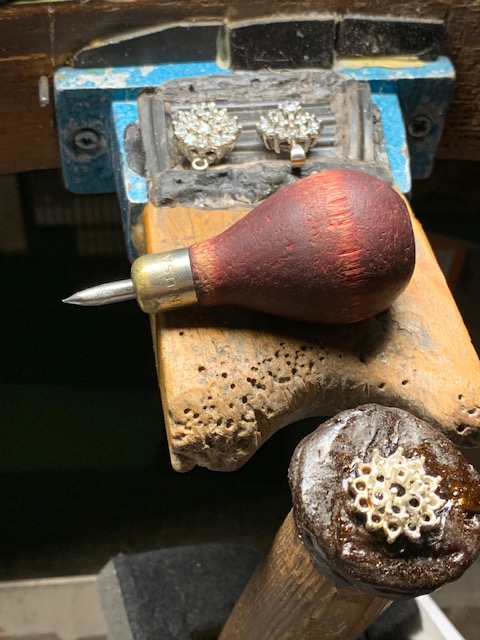
All claw setting spots should be polished prior to any setting, " Magnetic Tumbling " is not sufficient, as seen here!
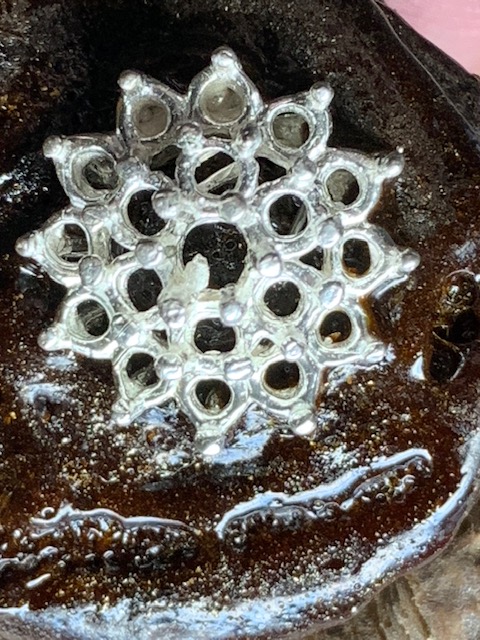
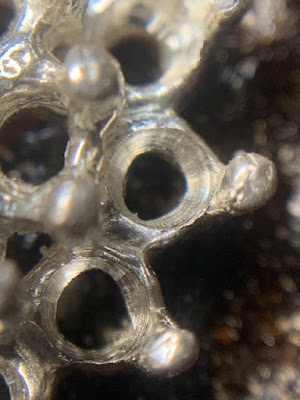
In this photograph, I used a 2.75 mm size round bur to clean and smooth the inside of each setting . I didn’t want any little pieces of casting metal to remain, then not allowing the stones to sit correctly
Here is another view of the same setting! If the opening was not round after casting, IT IS NOW !
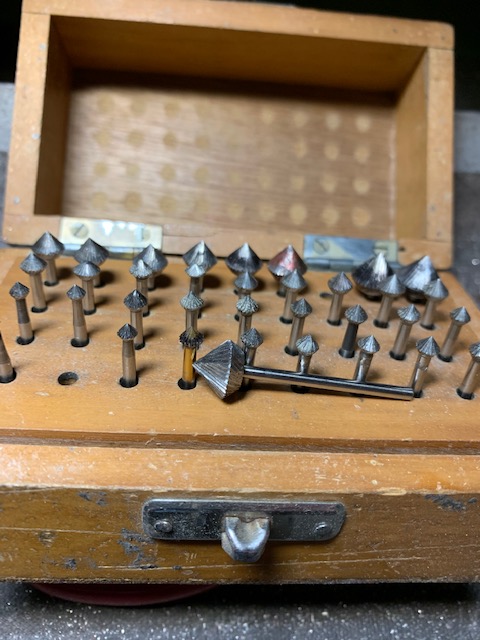
Here is an assortment of 156C burs, but I will only use the smallest size @ 2.50mm’s.
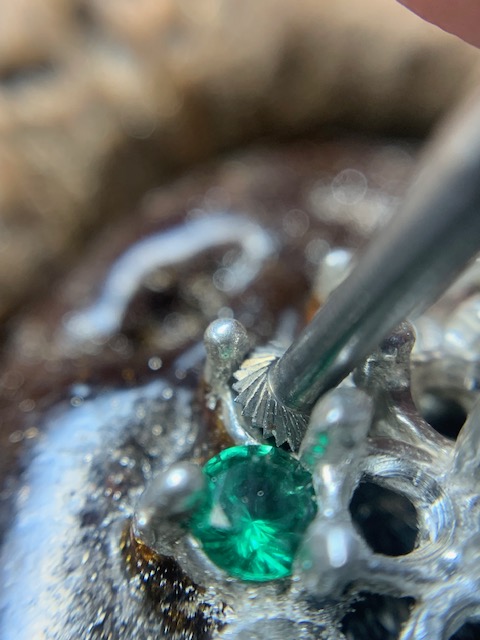
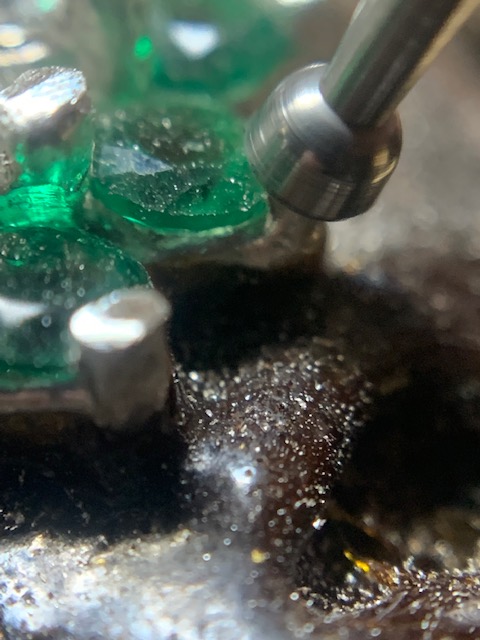
I’m now using a 156C (under-cutting, bearing-cutter bur) to make a seat for the girdle of each stone! You will notice that I’m coming in on a 45-degree angle to create a seat …but only one claw will be bent over the stone!
You will notice that the ‘upper teeth of the bur’ will create an angle for the Girdle Facets of the stone. All of this is done with this one simple, " 156C "; the letter ’ C ’ means a Carbide steel bur!
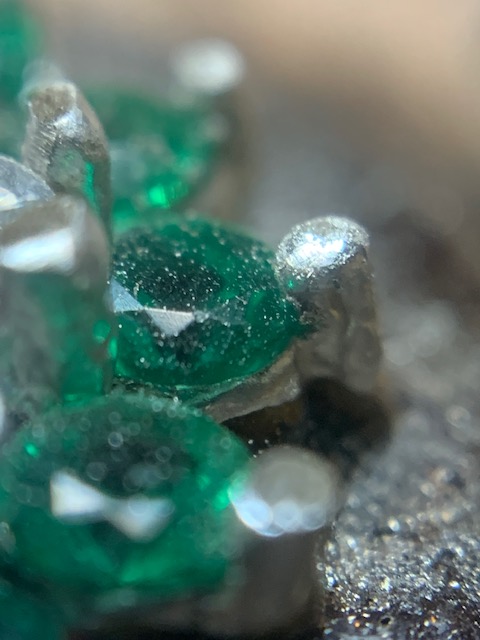
You can now see how this claw is now nicely prepared to receive the stone. BUT, there some more problems still lurking on one side of EACH claw.
Not only are the girdles of many of these stones so thick, but this can also make the stone not to sit well! You will observe that there is a flange or extruded piece of metal on only one side of the claw. This MUST be removed NOW!
I use a Flat Graver #40 to cut down that one side of the claw and remove the metal shaving. This is a normal occurrence, and not to be too concerned.
I will repeat the "156C burring" again and widen the bearing to allow this stone to sit ‘against and into’ the bearing! Some times I will use a bud-shaped bur to widen that particular bearing. The bur size must be larger than the Girdle!
In this style of stone setting, I am using only ONE CLAW to hold this stone . If the claw breaks off while being pushed over, this could be a problem. I now have an easy solution for you! (read further)…:>)
Just another view of this cluster-top!
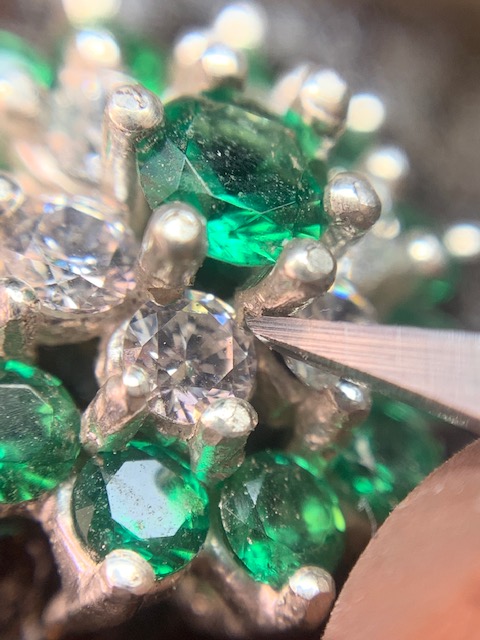
The solution for moving a claw, I use this on a regular basis, is to use a pair of ‘pointed’ plier jaws that are bought with a 45-degree angle. This makes your setting much easier to ‘grab & secure’ each stone.

I literally put this plier jaw right into the empty space (above) and leverage the claw to be now grabbed and hold each stone!
I’m not pushing the metal, but bringing the claw closer to me! The outside pliers-jaw does the pulling, while the inside jaw just allows the holding & securing!!
Just another view from further away!
These are my “favourite” H.S.S. (High-Speed Steel) burs that creates the new larger stone bearings. I will use a bur that is 75% the size of the stone => 3.50 mm’s.
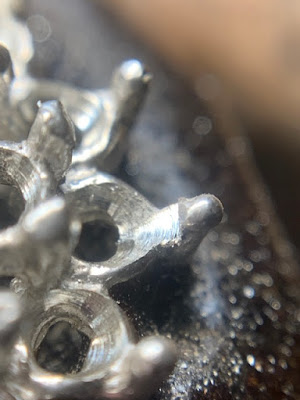
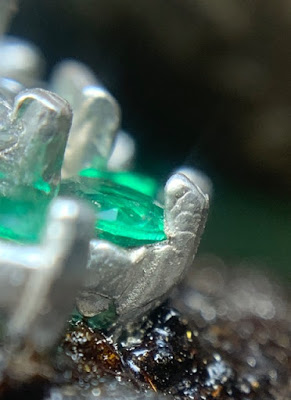
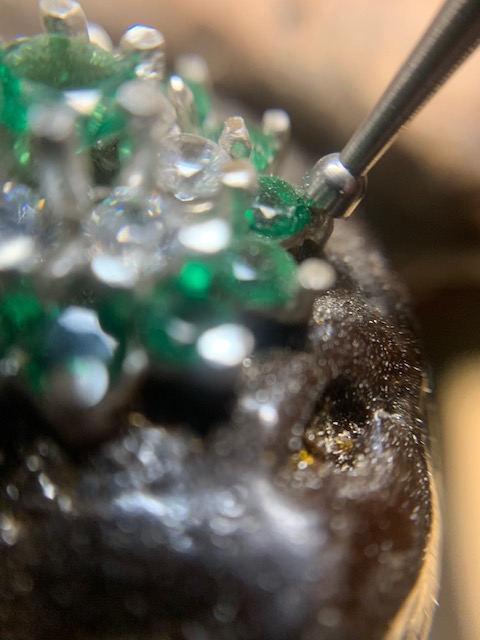
VIOLA, here is the “flared edge” of metal being extruded during each of the creating of any new bearing!

Here is the “up-close” view of what this piece of metal looks like. Get rid of this NOW! You just can’t do any sort of cleaning once the stone is in the claw setting.
The only “claw, cleaning method” is to use your Flat graver #40 and remove this extruded piece of metal! Here is the up-close cutting process!

Now the claws look clean enough to accept the centre stone!
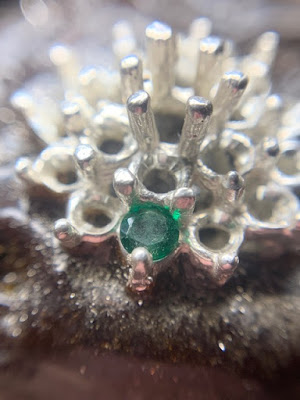
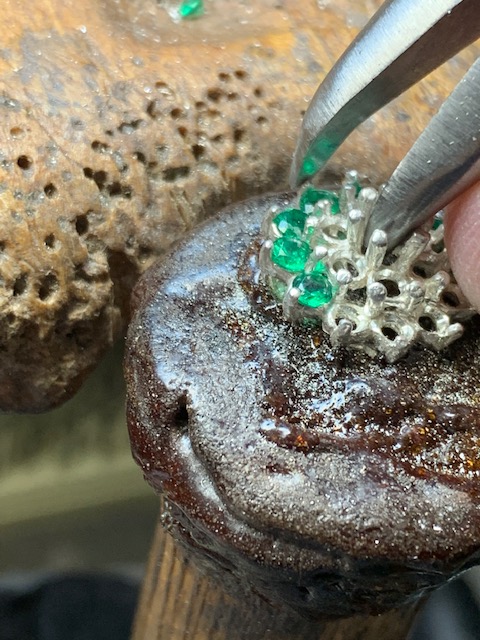
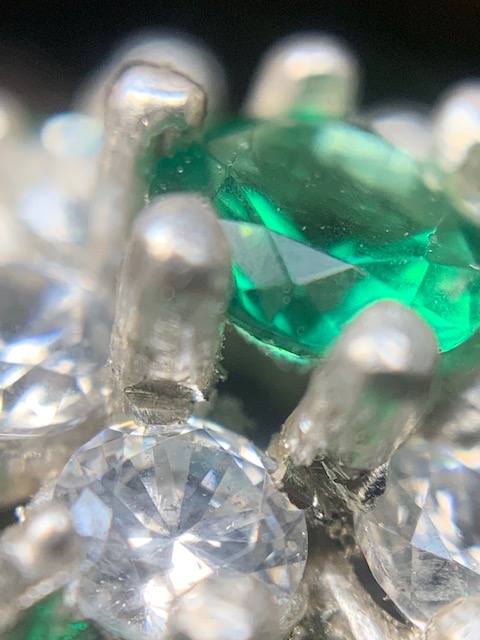
The centre stone is in the setting, but some claws are not evenly spaced. Spend a few extra seconds and re-align them NOW!
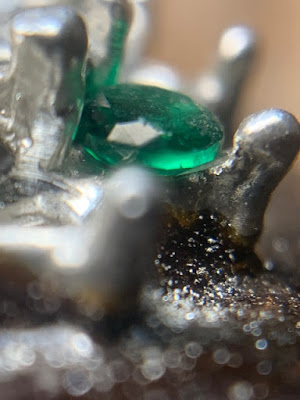
When you are dealing with synthetic stones there is a good chance that these stones will have thicker ‘girdles’. This fact can lead to many problems in the setting. Case in point, the centre stone bearing might not be configured to the girdle of the stone.
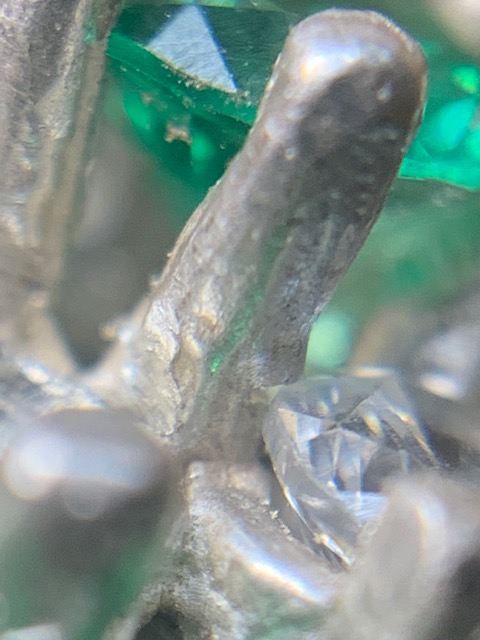
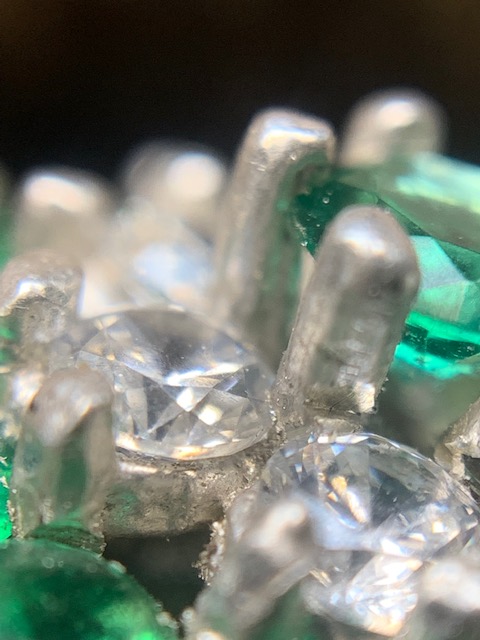
The shoulder white stones are not being held in place by the bearing of that claw, see what I mean? I would use a bud bur (#006) and make the bearing wider just to hold the stone!
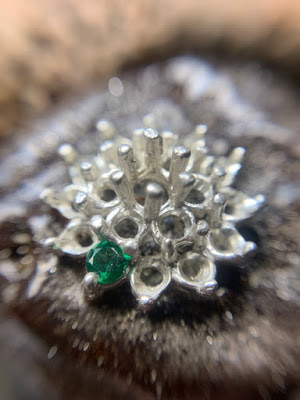
So how do ‘we’ tighten the white stone? Very easy answer, we won’t be pushing over any claw, but having the two claws slide together until the stone is held tight!
As the two claws are now sliding closer together they are moving the stone towards the centre stone 6-claw head, interesting motion?
This is one of the main reasons why ‘pre-polishing’ is so important! How much time will be lost in attempting to clean the metal after this stone setting? All of this MUST BE DONE prior to stone setting!
Here is my full inventory of mini H.S.S. burs. I keep my investment away from water or steam, as rust is an enemy of steel.
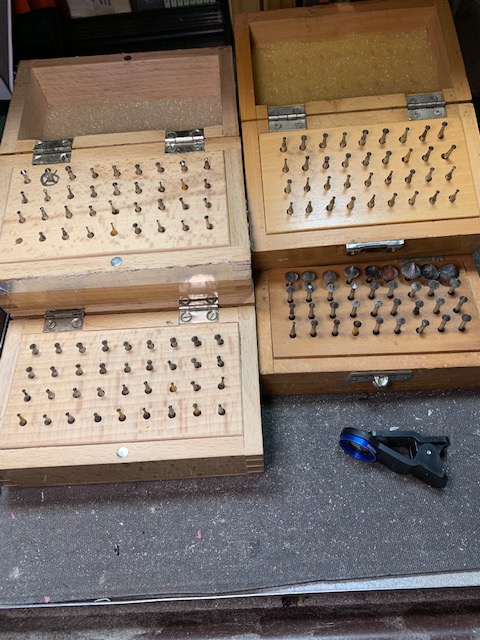
Here is another box, full of H.S.S. burs of all sizes!
Another view of the piece of metal created by the ‘downward motion’ of the Flat graver #40.
By literally scraping some metal from the 6-claw head , this graver, shaved-off metal, will now secure the stone! BUT, this will not to fully set the stone, but to better hold it in place!
You can see now how the white stone is sitting in the setting . The centre claw is made thicker as it now has two stones to hold!
I’m now starting to do the ‘claw-trimming’ in using a “Snap-on-Emery Wheel” with a ‘Medium’ grit.
Finally to make the claw tips perfectly round. .and not using a Triangular file each of these tips must be at the same height above the ‘Table’ of the stone.
Here you can see how ‘round and uniform’ the claws are appearing.
This shows in motion how the rotating “77B” cup bur is being held . It is at a 30-degree angle ‘away’ from the facets of the stone. I don’t want the rotating bur grinding into the stone.
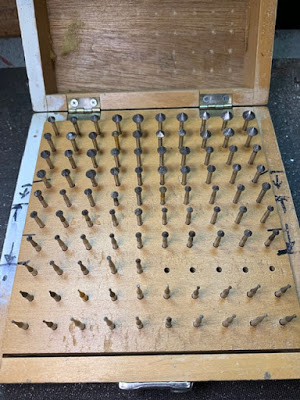
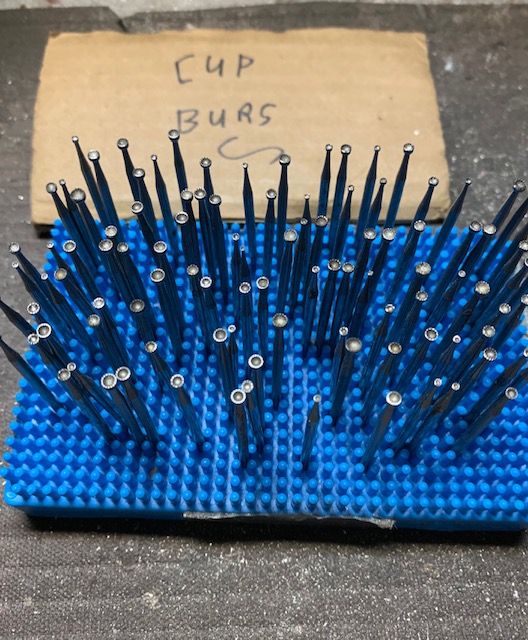
Although these burs are not in any sequence , these are still being made ready and to be selected for their use. If I find one bur that is slightly worn down (teeth are no longer useable) I’ll just discard it.
Already I can see even in this photograph, that some five burs are no longer useable.
When I’m using these burs continually, I have no time to waste in arranging them in any sequential order.
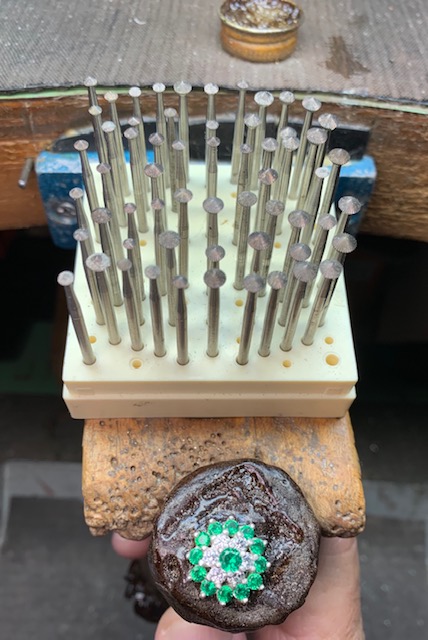
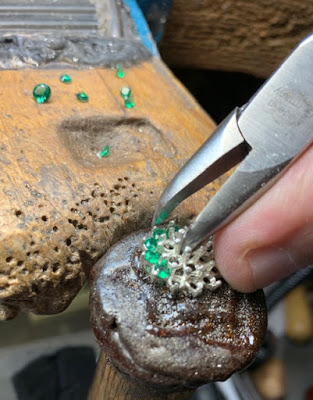
This is an overview of the completed layout of the stones. Upon removing from the shellac-stick and cleaning with a pumice wheel I will remove as many of the casting lines as possible. This why all polishing MUST be done prior to mounting of any stones!