This 2 part essay is now being continued!
Essay number THREE:
How to Trim the ‘Square stone’ Princess claws!
Additional setting tools that are needed:
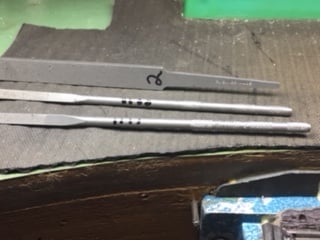
1 => Triangular File #4 cut, 20cms. (8 inches in length)
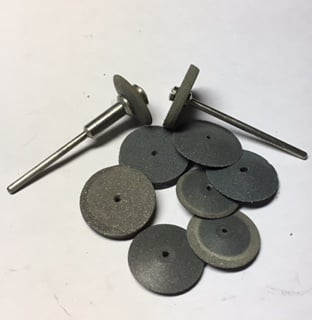
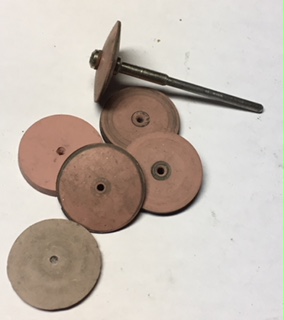
2 => Pumice Wheel @ #180 grit, Flat-Faced.
3 => Pumice Wheel @ #1,000 grit, Flat-Faced
4 => Flat Graver #40
5 => Polishing paper of #800 grit.
“Difficulty Scale out of 10” a definite 15!!!
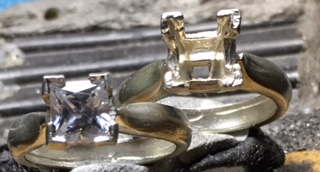
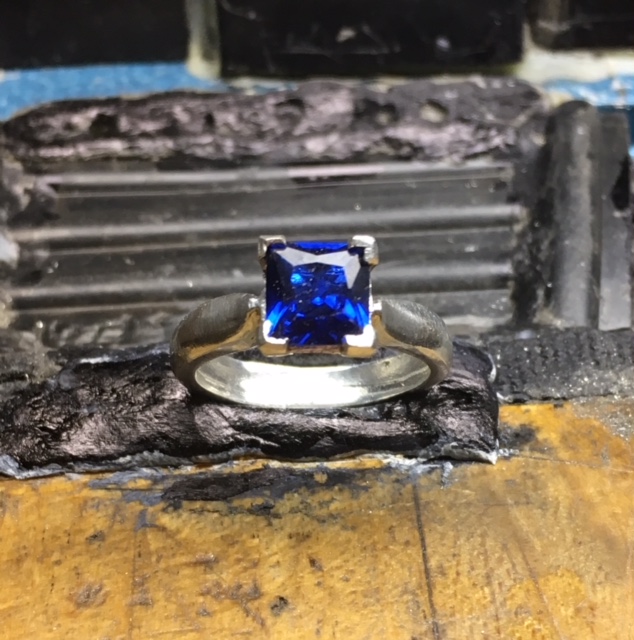
I won’t delve into how the Square stone is to be set, but mainly how the claws should be accurately & correctly trimmed. The careful ‘trimming’ will make these four bulky looking claws to appear almost invisible, without any loss of security.
There is no more of a ‘visible claw’ holding this expensive stone as seen from above. I learned this interesting technique about 50 years ago and now I’m showing this new finishing process to you, “the third generation of jewellers”!
From the moment that the stone is in the mount, the next stage is in the trimming and this will take about 40% of the eventual ‘setting time’. As I have mentioned on several occasions in my previous essays ’there are no shortcuts! in Diamond Setting. The only quick way is to do the finishing correctly and no second chances of repeating your steps!
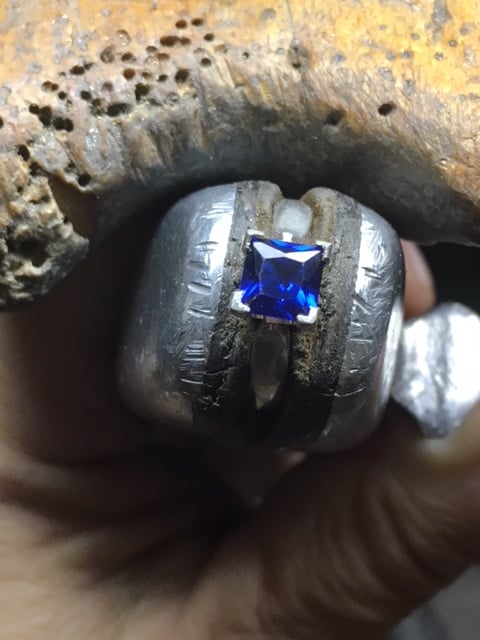
Let’s just review what has been done up to this stage. The Princess (Square stone) has been set, claws are now holding the stone tight! What’s next?
Use your Triangular file #4 grit and carefully file the ends of the “Vee” shaped ends of the claws. The ‘Vee shaped claw’ will now have equal dimensions on all 4 claws, the spacing in between all of the claws must also have the same distance/measurements.
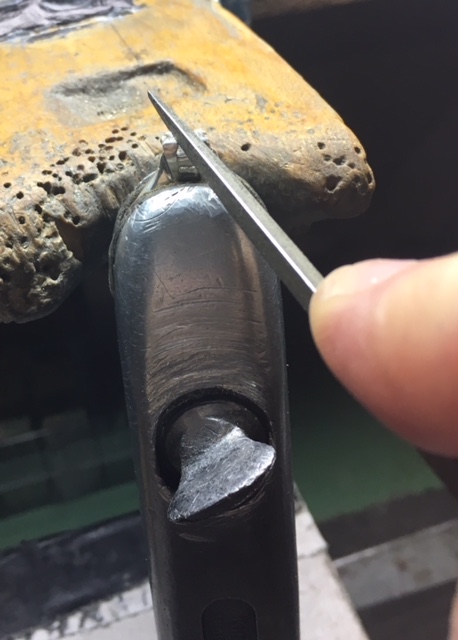

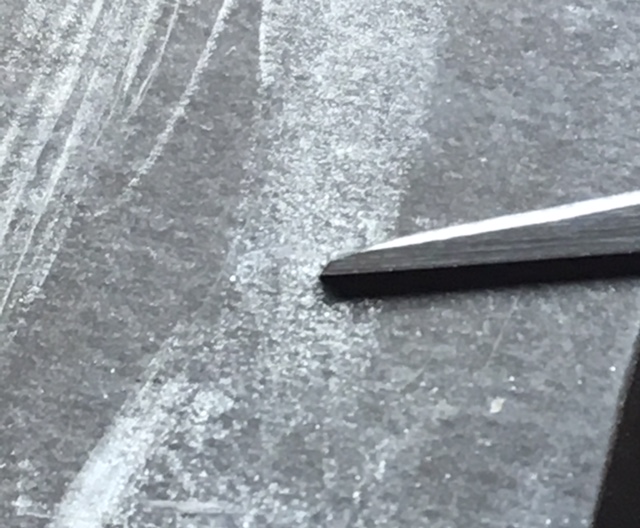
Using your Triangular file and held at a 45-degree angle file the outside of each 4 ‘Vee’ shapes. Can you start to see some reduction on the claw tips? We have lots more trimming to do. File the outside at a 45 degree angle, as that there will only 50% of the flat section of the claw being shown. (refer to the 50 power magnification photograph).
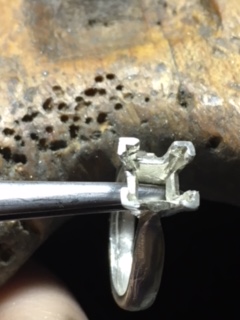
On the inside of the “VEE-shape” we must now use a Flat Graver of #40 width. The angle is so important, we are now literally removing much more of the visible metal that is seen from above the stone.
I always re-polish my Flat gravers with #800 grit polishing paper! (as shown)

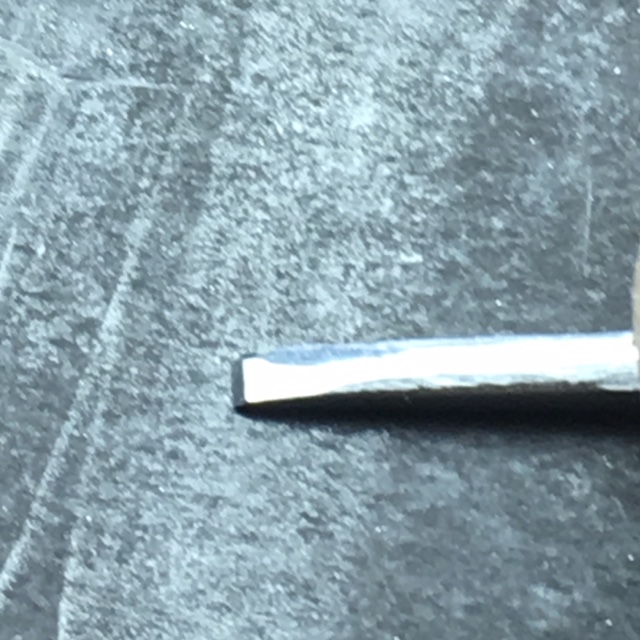
The outside & inner angle from the graver cutting meet at a point on top of the claw!
The angles of the ‘outside & the inside’ of the “VEE” are now being greatly reduced (visually) & here both in & outside angles will merge and meet at the claw tip.
Because of this, there is no longer a big mass of metal being displayed & it’s being made almost invisible, agree?
The security of the stone has not been jeopardized, one iota, amazing isn’t it?
After the Bright-Cutting I would use Pumice Wheels of #180 & 1,000 grit. This should be done prior to any use of your polishing machine and it’s Tripoly & Rouge compounds
In conclusion, here are three so very important setting techniques all in two simple & easy to read essays.
Contact: “gerrylewy18@gmail.com” for private training at your shop or studio.