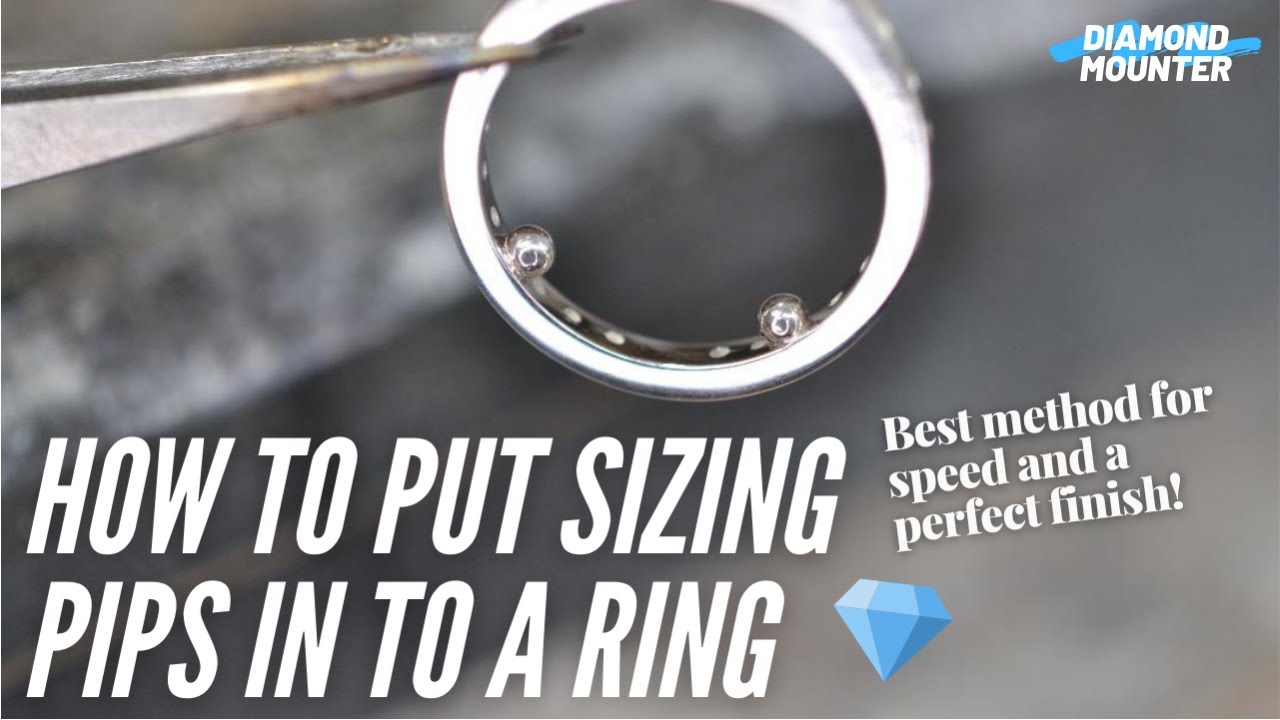
Soldering two small balls to the interior of the ring at 4 and 8 o’clock position is a method to secure the ring. The thing is I’m having a problem positioning the ring to solder the balls in place.does any one know of another method or a technique to solder the metal balls in place ? Or is there a different way to solve this problem? Many thanks.
If the ball has a bit of a flat spot on it, it should stay in place while you solder it. Flux the spot, presolder the spot with a small amount of solder (harder the better), place the ball flat spot down, flux again, slowly boil off the flux, reposition the ball if it moved, heat until the presolder flows. If you need more solder, use a lower melting point solder than you used to presolder. If none of this works, ball the end of a piece of wire to the desired size of the ball and use the wire as a handle while you solder the ball to the ring. Cut off the wire and finish the cut. In either case, you will need to jig the ring upright. Good luck…Rob
Make a clamp with a paper clip. bend one end into a tiny circle to hold down the ball. Use a tiny bit of solder and position it carefully so it will not flow up onto the clip. I would do one side at a time.
I like the idea of a handle of wire mostly because the band I’m trying to solder the ball this Gold filled 2 mm round and I have to use SS balls to solder to the thin gold filled band. This is 1st because I can’t afford gold balls This ring is for my sister who loves gold but will have to suffer silver balls ( if I can succeed!)! Thanks for the information and wish me luck!
Thank you Erikgem. Keeping all options open!
Here’s a video from the Diamond Mounter. It gives very good detail about how he adds the small balls (he very Britishly calls them “pips”).
Vera
Thanks Vera. I did watch this before and admire his presentation and skill level. My skill pales to his especially because the ring shank I’m attempting this on is 2mm gold filled wire and round. I did purchase a spring loaded spacer which hasn’t arrived yet. My preference is to place the “pips” instead. Just not sure I can be successful. So thank you for posting the video and giving me the push to try it.
What a great idea! I never thought of this. Would it be possible to do this on a ring with a stone setting?
Another way to position the balls is to very carefully mark the position. Then use a ball burr a tiny bit smaller than the balls to put a little divot, a depression, into the shank. Big enough so the balls will roll into them. Now melt a tiny bit of solder into that depression, put the ball onto the solder, and the solder will pull the ball into position. The downside to this is if you then decide you got the position wrong, it’s harder to move it. Also, if you made the balls by melting metal on a charcoal block or other flat surface, you will have a small flat surface on the ball that won’t position itself properly into that depression, so you’ll need to put it off to the side or on top, to be shaped later. But there are times when this is the easiest way to ensure the placement of the balls.
Remember too, that no law says they have to be balls. Some people will find those uncomfortable. You can simply solder in a little piece of flat stock, to be shaped and softened later into small pads, or pillow shapes. Less harsh and catchy to the skin, and the visual position can be adjusted just with a bit of filing, which is harder to do with a ball if you want it to remain a ball shape.
What Peter said. Exactly.
This is a great idea and possibly something I can do (skill wise). I like the idea of the pads rather than balls.
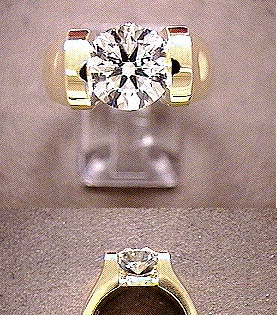
I’m also trying to find ways to create a hinged ring shank to bypass the enlarged knuckle. They are available premade for hundreds of dollars (which I don’t have!). Any ideas on how to make a hinged ring shank?
That would be an ideal skill as many people have enlarged arthritic knuckles leaving the ring too large for the portion of the finger next to hand.
I’m still searching for a way to make a ring shank like this.
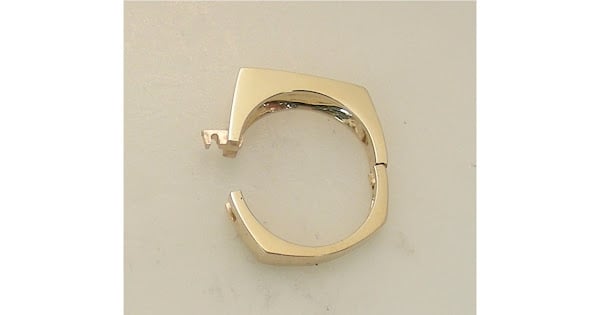
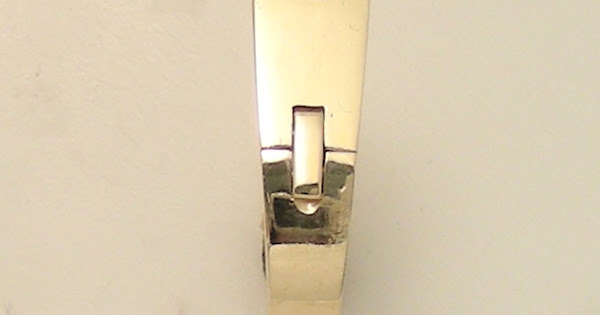
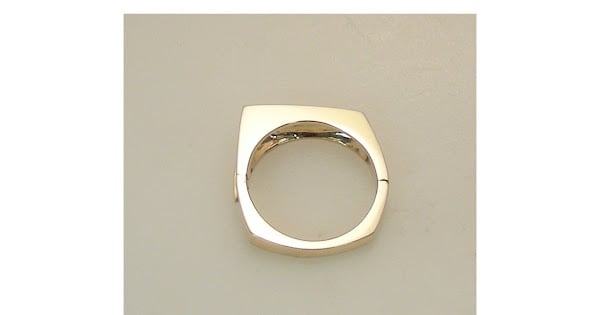
Over the years I had very good success with a clasp for the shank that I made myself. I have used the Finger Fit® and I was a dealer, and installed FingerMate® shanks, but these didn’t always suit the ring I was making or repairing. I was fortunate early in my career that a friend showed me how to make this type of clasp for opening and closing a ring shank.
The design of the clasp is straight forward and dependable if made correctly. Most often one can use the existing shank and it can blend well into the design of the ring. The ring does need to be wide enough to hold the clasp.
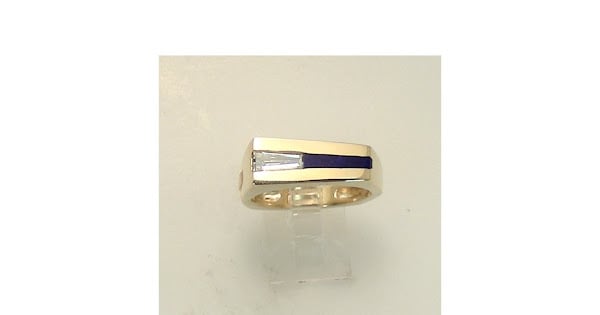
I’ve kicked my self for not documenting the process better. The ring below was a gents ring, size 10.5, that I had to make into a ladies ring that would go over a size 9 knuckle with a finger size 6. Because of the diamond and Lapis, I was restricted in what I could do, and the pictures were an afterthought. I did end up adding bumps to the bottom of the ring.
I found that this type of clasp held up as well as other opening and closing systems. All of these types of shanks that open and close will need maintenance over time because of wear. Clients that we had installed different types of shanks over the years would prefer the this style clasp because of the ease of use, over say the CLIQ®, which many found difficult to use with arthritic hands.
Tjones
Goldsmith
You might try using a small diamond coated ball bur to make an impression into the shank where you want each of the balls. This would possibly stabilize the ball for welding. You could clamp it, but that would absorb too much heat. With practice, the old “electric soldering” machine might be the ticket. Once you find the “sweet spot” of temperature control, I’m told that these things are pretty efficient. Instant heat transfer and weld. Another solution is the old “never twist”. Form a piece of white gold shanking material the width of your shank, and long enough to go from just beyond half way up the shank on one side, long enough to go just beyond the middle of the bottom of the shank. Cut a tapered recess into the shank, and fit the spring piece into your cut, clamp and weld. At this point your “spring” should curve up a bit at the bottom, and will need to be thinned to give flexibility, smoothed and polished to avoid abrading the finger . When properly adjusted, the spring will compress just enough as the ring is pressed onto the finger that it can spring back against the finger to hold the ring in place. Not the easiest solution, but long lasting when properly applied.
