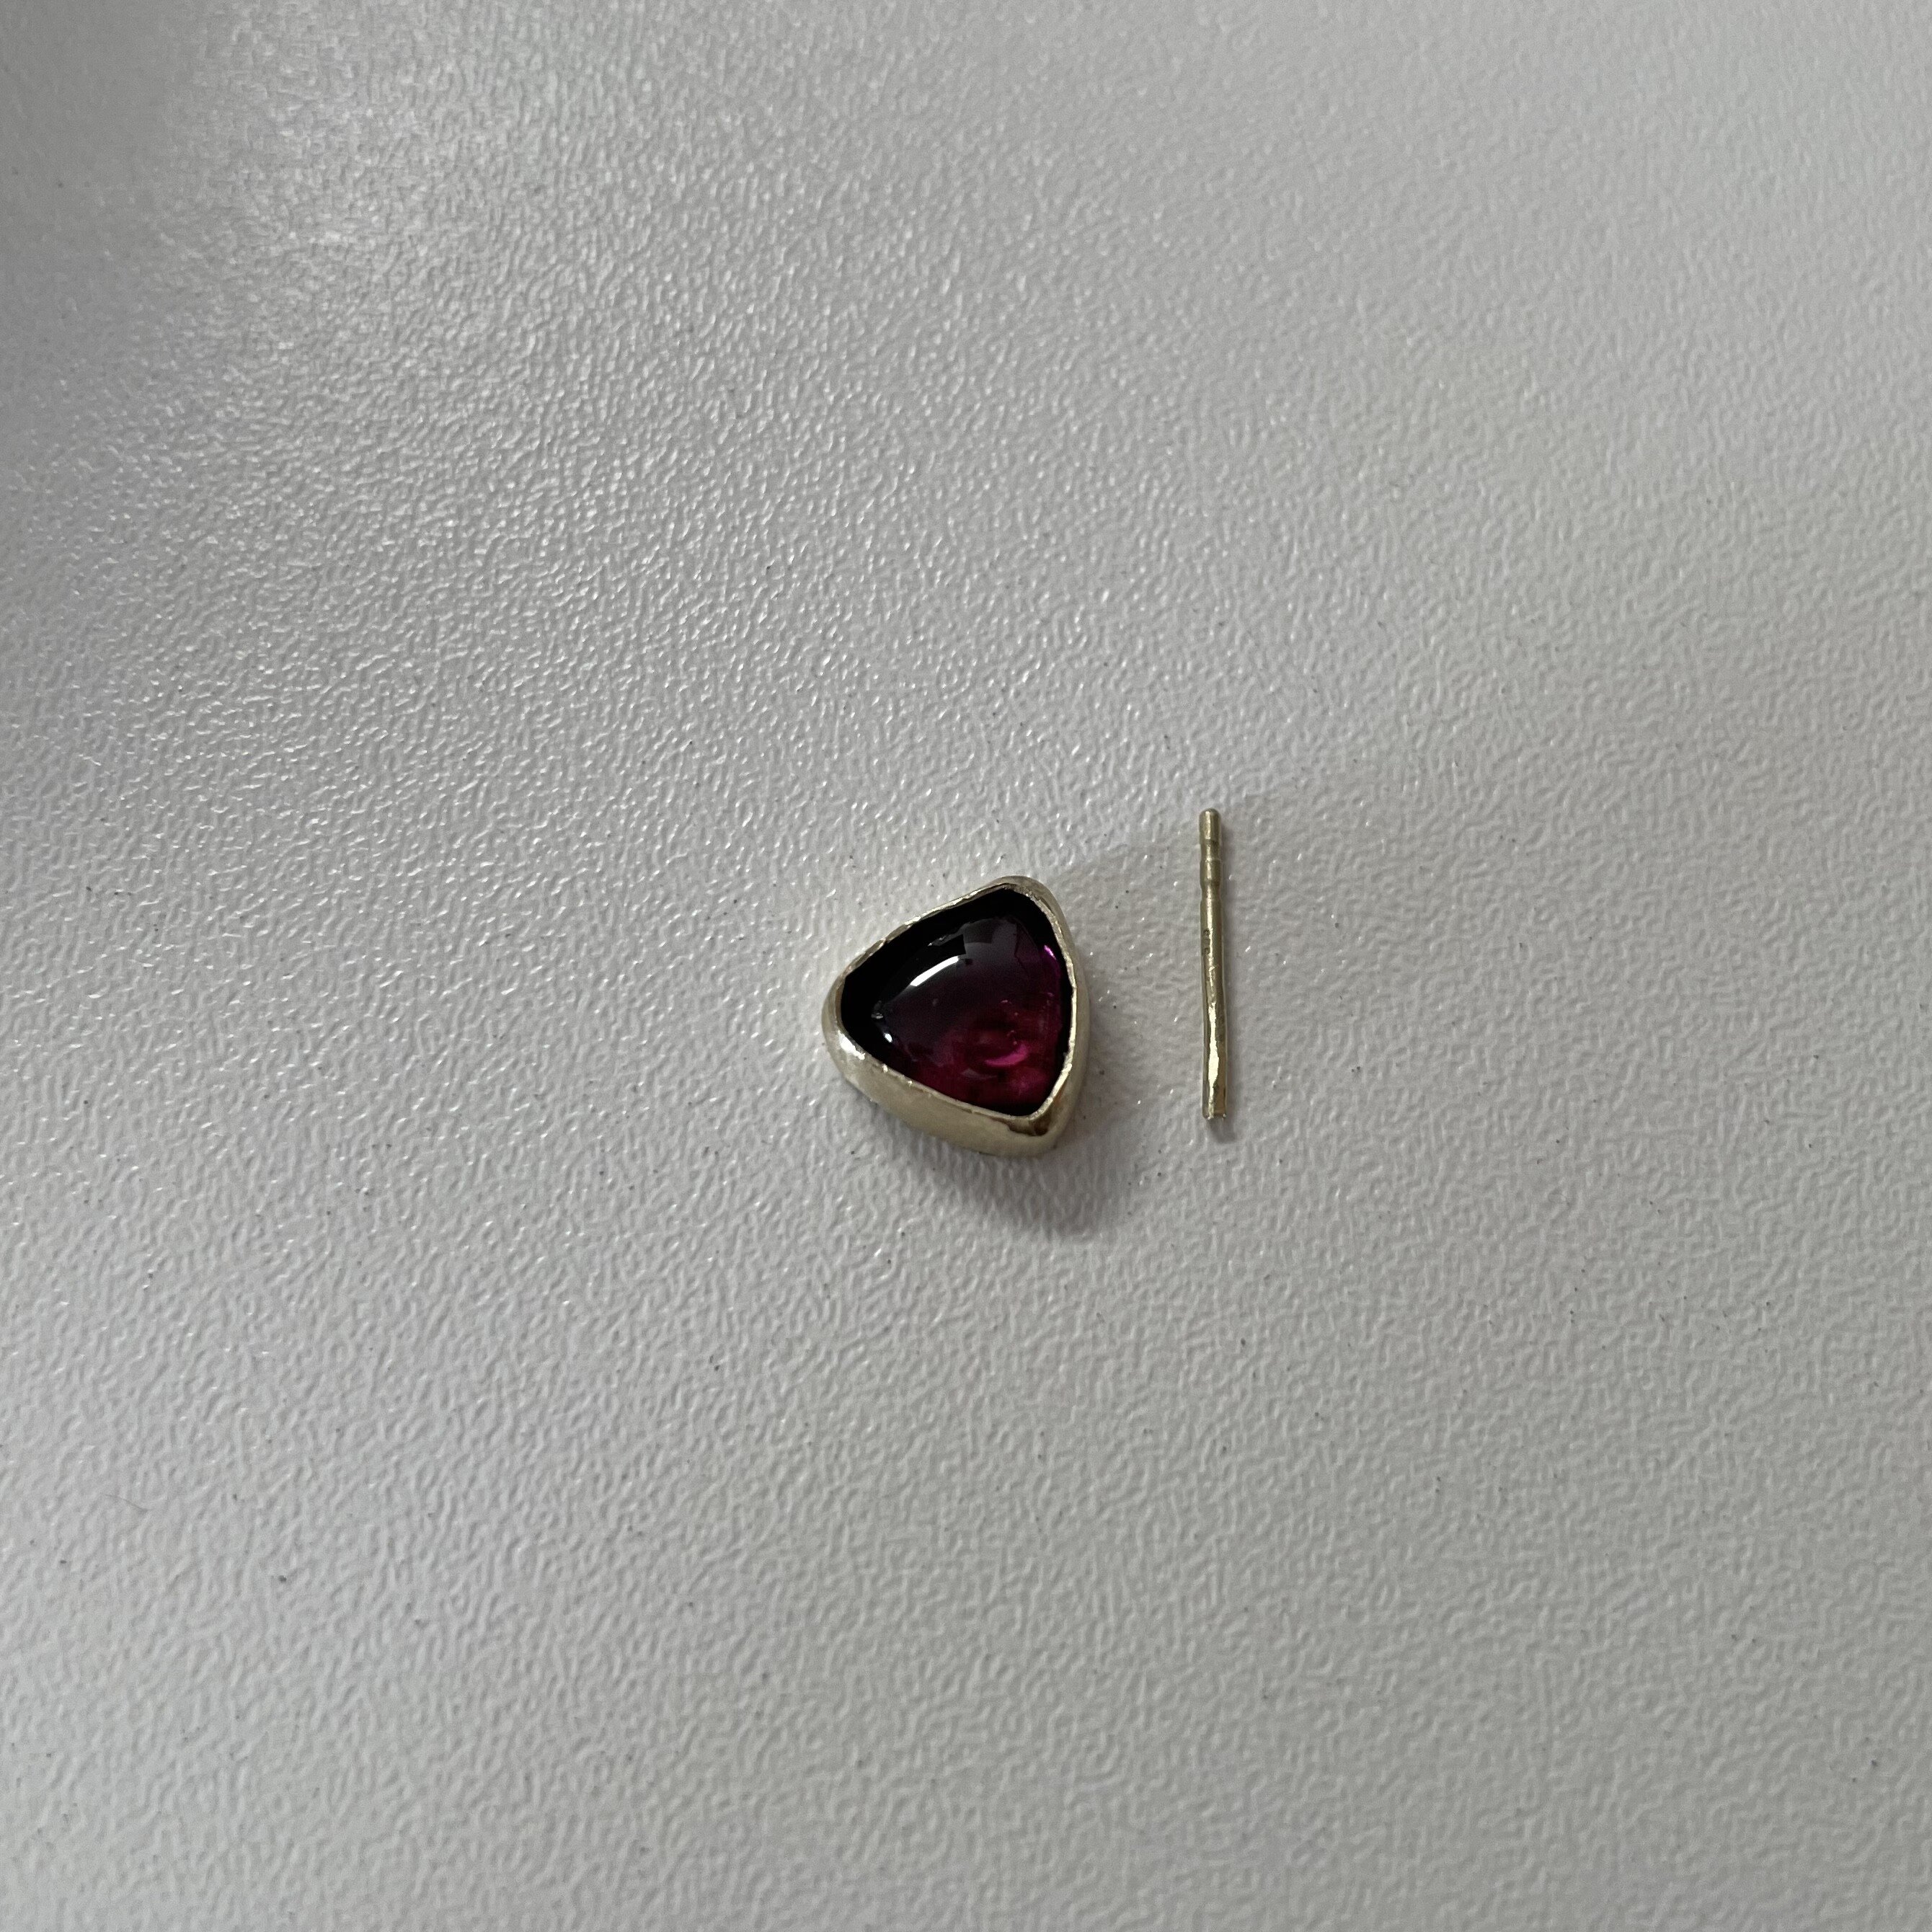
I’m a new member and very happy to be here. I’m hoping you can help me! While I was setting this earring the stud snapped off ideally I would like to save both stone and bezel but if I had to chose one rather the stone as it’s a client’s. I’ve stumbled across methods of soldering while dipping the stone in water or even cucumber to protect it from cracking. Have any of you successfully done this? I don’t have a high precision torch if that’s required for this method.
Other option is to unset the stone and I’ve seen some advice on here on self made tools. Last option would be to cut open the bezel and remake it which I really want to avoid but might need to bite the bullet.
I would really appreciate any advice on which option to chose, particularly if going for option 1 is a safe option?
Laser or pulse arc welding are your best options.
As to soldering with stones in place, that all depends on the type of stone it is. Some species can go in the fire, properly protected, other simply cannot. Also, when set in a closed-back bezel no stone can be properly protected from the fire when the torch will be so close, as there is no way to protect the stone inside the setting.
Thank you for your suggestions and explanations, i will try to find a goldsmith in my area with a laser welder. Otherwise it seems the best option is to take it apart and start over unfortunately. Thanks again!
Like folks are saying laser welding is the most practical solution.
At the last jewelry store that I worked at, once a sterling post broke off an earring like yours, they recommended laser welding a 14 kt. white post on. They’re not very expensive and much stronger than sterling posts.
In answer to the question about removing the stone, it’s a good skill to have if you’ve never done it, so it might be worth it in this case just for the experience.
It’s hard to not damage the bezel at least a little bit, so know that upfront. My favorite tools are an exacto knife, a polished burnisher, strong double stick tape and a flat metal surface (like a steel bench block or similar) and super sticky wax. (sometimes called utility wax or wolf wax sells it as sticky wax I think?).
Put the earring on the double stick tape and steel surface to hold it as best as possible. Very carefully wedge in the exacto knife blade between the stone and bezel to create a space. Pull out the exacto blade and do the same thing with your polished steel burnisher. Very carefully pry the bezel out along the circumference of the setting with the polished steel burnisher doing your best to not damage the bezel or the stone. Eventually the bezel will be out enough that you can pull the stone out with the sticky wax. The trick with the sticky wax is to pull the stone quickly and firmly.
At some point almost every jeweler has to pull a stone from a bezel. Like I said, it’s a good skill to have in your technique tool kit.
Others here probably have different ways of removing stones from bezels, but I’ve had good luck this way.
I second or third a laser or pulse arc welder. Otherwise, take it apart and start over. When I make stud earrings, which isn’t very often, I use a long piece of stud wire and solder both earrings on, one on each end of the wire. You now have something easier to hang on to while polishing. Then grab each earring, one in each hand and stretch and twist vigorously to test the joints and harden the wire. Then cut, dimple, set and finish. Good luck…Rob
I have never tried a laser, but understand that the reflective nature of silver reduces the amount of energy that can go into the metal. I have a pulse arc welder and still find it a challenge to weld silver. Other metals are a breeze. I would love to spend a week just hanging out with Jeffery Herman to learn more about pulse arc welding…Rob
Rob, Jo & Others,
Silver is much more difficult to work with using a Laser, due to it’s reflective nature, but a trick I learned at Stuller’s Laser Training (at least that’s where I think I learned it), was to use Black Sharpie to darken all the surfaces that you’re working on and re-darken as needed, if it takes more than a few “zaps”. This was the only way that we Repaired broken Sterling Silver Earring Posts. One thing that you do have to consider is the Thickness of the Bezel’s Base, if it’s really thin, the Laser can go right through it and hit the Stone - Unfortunately, I’ve done this before…
Jonathan
If people have questions about precision micro welding with either laser or pulse arc, feel free to reach out to me. I’ve worked extensively with the folks from Sunstone/Orion and Lambert/PUK. Both companies have sponsored me teaching precision micro welding workshops schools and art centers throughout the US. While I don’t own a laser welder, I have access to one and have used it a lot. I’ve also have done training at LaserStar headquarters. I’ve demonstrated both technologies many times at jewelry trade shows. If anyone here is a SNAG member, a few years ago I wrote an article about precision micro welding for Metalsmith Tech, where I did my best to concisely explain both technologies with pros & cons, tips & tricks. If there is a question, that I don’t know the answer to, I know right folks within the companies to ask. Jeff
In this case, a laser welder will do just as good of a job as a pulse arc welder. Anyone who owns a laser welder will probably know what to do to weld a sterling ear post back onto a sterling base plate. It’s pretty simple.
With both laser and pulse arc utilizing a bridge metal like palladium silver welding wire will be helpful. Like Jonathan said, the biggest difference with a laser is that you need to darken the silver with a black marker.
If this was a ring sizing or something with more mass, (not welding on a 20 ga. ear post) the pulse arc welder definitely has the edge.
Thank you all so much for your replies!! I should have probably mentioned that the metal is 14kt gold and not silver, hence my resistance in taking it apart and starting over not sure if this changes anything regarding the laser welding!
Welding silver with a PUK is easy. The thing to remember is that you do not want your electrode sharp - not flat either. Just kinda dull. If you sharpen the electrode, at the end just hit the end a tiny bit with the diamond wheel.
Anything you weld needs to fit flush - just like soldering. But with welding you need sacrificial metal. so to do a post, make a ball on the business end, and file it flat. Then position it on the back of the earring and hold it solid. Start welding with a bit lower setting to slightly heat the weld and the back. Then adjust to your working setting and go around the post.
Welding and soldering work in the same way - if the metal is warmed, the connection process proceeds easily.
" the metal is 14kt gold and not silver, hence my resistance in taking it apart and starting over"
Good news! It should be a piece of cake to laser.
Now that said… I’d like to address the broken post.
When soldering on pre factory made posts I prefer to use a small ball burr to make a divot where the post will be. Then add and flow the solder in the divot. This way two things will happen. One: There will be more contact and a stronger connection between the post and the earring back. And B: Since solder loves to go to the hottest thing it will be more likely that the solder will want to flow to the post from the heavier back. I always warm the largest area first and then at the last moment introduce the smaller post.
Additional tips…
I have a wide tipped pair of locking tweezers that I have sawn notches into that line up and are the total width of the wire or post. This locks the post into place so that it’s held stable and straight.
Given a choice I prefer make my own wire and posts. I like to keep some on hand that are .8 mm to 1 mm. I cut the posts just a little too long. Then I drill a hole in the back of an earring, lay the earring front face up on a charcoal block and poke the post through the hole and into the block so that a tiny bit of the post pokes through and the rest is buried in the charcoal. Solder it and then remove the bump with the flex shaft so that the stone will sit flat. This not only makes for a stronger join, but it also assures that the post is straight and doesn’t want to wander around while soldering. I use a pair of small diameter round tipped pliers to create the notch. this work hardens that area and just displaces the metals rather than weakening it by removing metal. And finally use a cup bur to make the end of the post smooth.
Jo
Just a note: you don’t have to use a black sharpie, pink, green, blue, etc. works great. I like the lighter colors to see the seam better.
For welding on very thin bezel base, I use 14 white /palladium laser wire.