The process I used was called “Water Gilding”. It’s essentially the
same process that is used to create silvered, reflective lettering on
shop windows. You need some silver or gold leaf - real or artificial,
it’s up to you. I used white gold leaf because I wanted everything to
be “real”, but it doesn’t affect the final appearance.
The leaf is exceedingly thin and just about impossible to handle
with fingers - it just disintegrates into powder. The leaf is
available in two principal forms: standard and patent (aka transfer).
Transfer (patent) leaf is easier to handle because it is attached to
thin tissue paper with a very mild adhesive. This CANNOT be used for
water gilding. You need the standard type.
The standard leaf is supplied as 80mm square sheets between the
pages of little booklets of tissue paper. The booklets usually
contain 25 leaves.
You will also need a “gilder’s pick” with which to handle the leaf.
It’s a sort of wide brush with rather soft bristles.
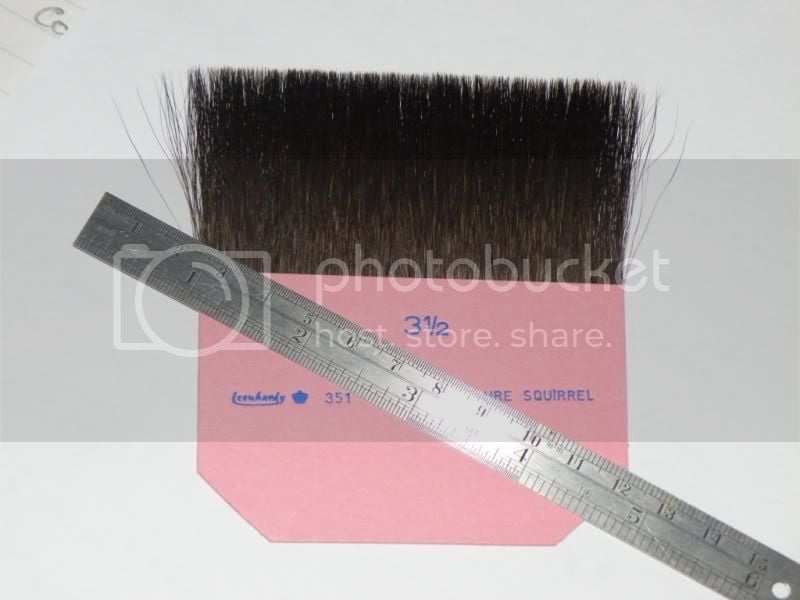
You use it pick the leaf up without damaging it. If you have greasy
hair, you just brush the pick on your hair to charge it with a TINY
amount of grease, or you can rub a smear of Vaseline onto the back
of your hand and charge the pick from the back of your hand.
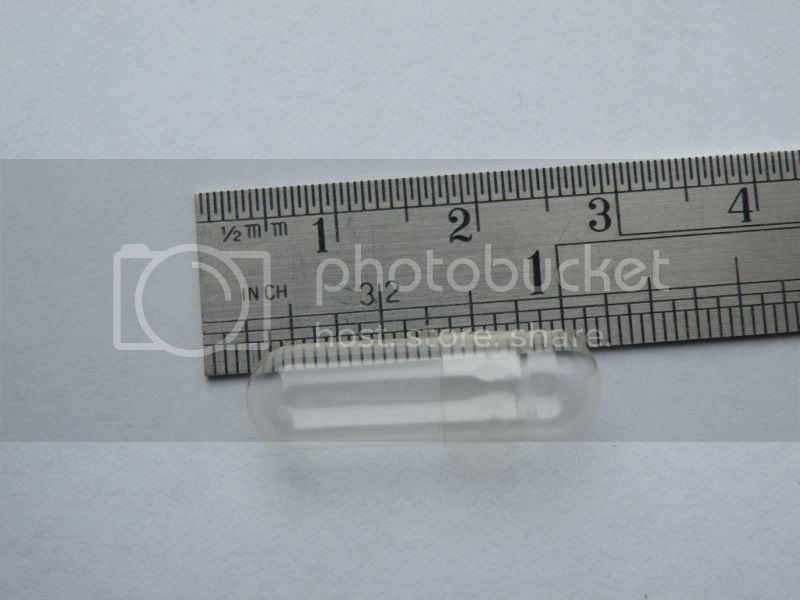
Finally you will need one or more gelatin capsules. They are rather
like empty medicine capsules, see…
I dissolved a single capsule in 125ml of warm water to make a very
watery adhesive. It’s so watery it looks like it will do nothing
useful at all.
I cut an oval hole in a small sheet of cardboard, just smaller than
the oval stone I wanted to gild, and then put a couple of strips of
Sellotape (Scotch Tape) across the hole. The clean stone was then
placed, face down, in the hole, where it was secured by the
Sellotape. I then sloshed some of the gelatin solution on the back of
the stone, picked up a sheet of leaf with the pick, and placed it on
the stone where it was immediately sucked onto every surface.
Unfortunately, my first attempt was not a great success; the leaf
tore a little on one side of the stone, so I wiped it all off and
analysed what I’d done wrong.
I’d held the booklet to one side of the stone and used the pick to
drag the leaf off of the booklet page, across the stone. That was the
mistake! I should have held the booklet directly over the stone,
then picked up the edge of the leaf with the pick and dragged the
booklet away from the pick, thus allowing the leaf to fall gently
onto the stone. That worked a treat, and when the adhesive had dried
I ended up with the gilded stone as shown in this photo…
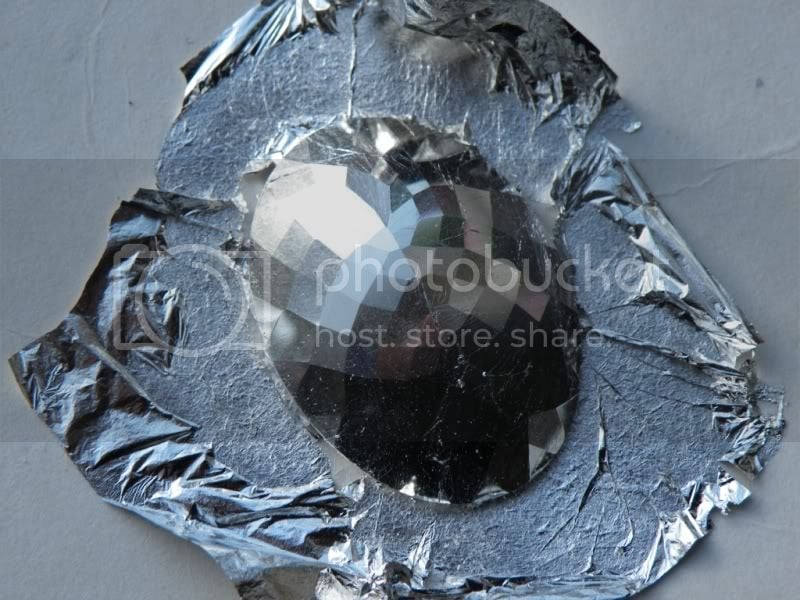
It shows the gilded stone, still fixed to the cardboard, with the
extraneous leaf adhering to the cardboard.
I then painted the dried leaf with gold paint to protect it from
abrasion when the brooch was used.
When the paint was dry I removed the stone from the cardboard and
carefully scraped away any paint and leaf that had found its way to
the front of the stone. Here I got a surprise. The paint itself
scraped away very easily, but bits of leaf were VERY tenacious and
took a lot of scraping to remove.
The following video shows an expert water gilding a picture frame.
The important bit to note is the way the booklet is moved rather than
the pick, thus allowing the leaf to fall into place rather than being
dragged into place.

Regards, Gary Wooding