Not too often do I go into a full description of required setting
tools.
But on a ‘Princess’ stone, each tool no matter how small or
insignificant it might be. is very necessary & important.
I explain the process of selecting burs & why each size is so
ultra-important. Even the correct ring-clamp must be picked for this
project.
This video will answer many questions. As I am sure there always
will be questions on what tool to use & when.
Preparation & selection for the correct tool is almost as important
as setting this Princess stone. hence the name for this
video…“Tools for a Princess!”… Gerry Lewy
Although it is “Canada Day” today, many of ‘us’ are still working,
so was I.
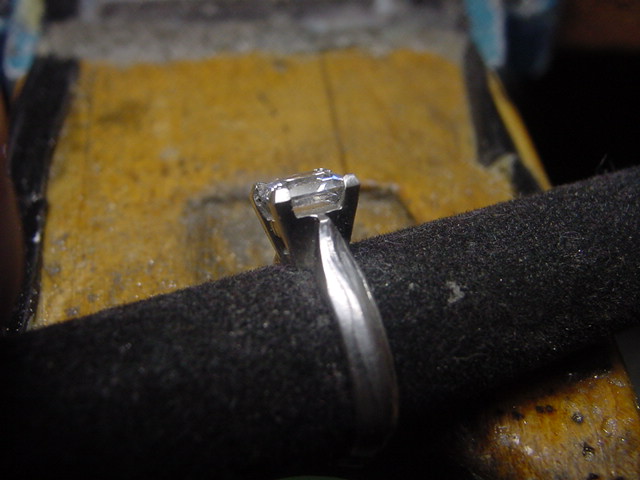
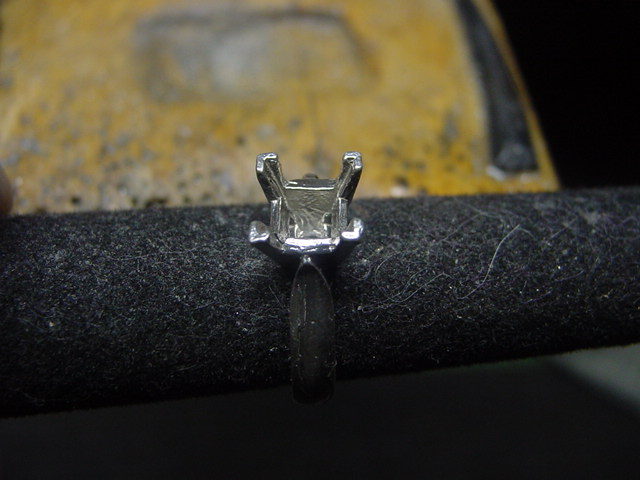
I finished 3 videos in explaining how to set a ‘Princess stone’. But
here I am showing in a photographic version how the ring looks
‘before & after’.
I transformed a bulky, heavy-looking ring into something of beauty.
After all, that is just what a ‘Diamond Setter’ does, he sets a
‘crystal’ into a ring of great value. I place “Princess Setting” on a
scale of 10, to a number in the low 20 range. There are no
short-cuts in this style of setting! No quick methods, no easy ways
to set a multi-thousand dollar gem-stone/diamond. Even if this was a
diamond, this ring would still take me about 15 minutes.
Setting this style of ring is the epitome of stone-setting. No way
about it, this is not an easy project.
There are too many rules to occupy your mind. This is prior to each
choice of burs, when to use them, what size of bur, what file to use
& when, what Pumice Wheel to use & where. How to secure the stone,
which methods to bring the claws to the girdle. Making sure if the
claws are well spaced & straight! This list just goes on & on, ad
infinitum! I’ll download the 3 videos tomorrow!

Gerry Lewy