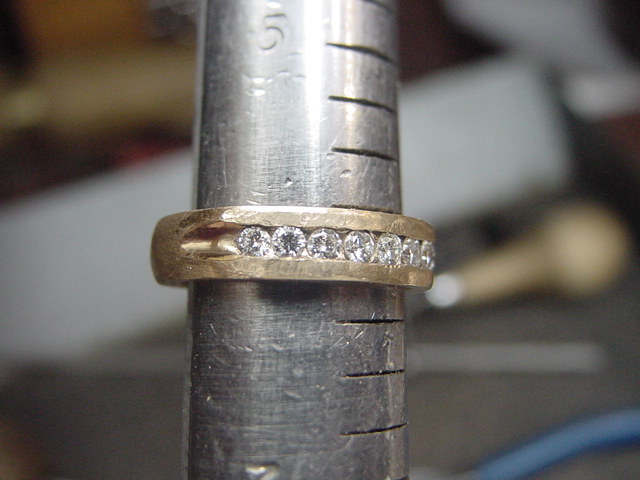
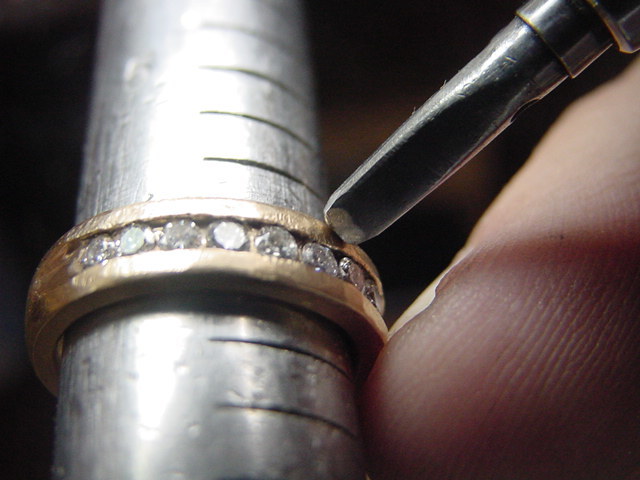
There is an old adage, “If you hit it too hard, it will become flat”, well there is truth for this setting technique. ‘DON’T HIT IT TOO HARD’!!! As you won’t have any chance of Bright-Cutting the inside-edge of your Channel’s trough,(and I have photographs to prove it!) If you have the chance of using your reciprocating-hammer, please use your ‘lightest pressure level that you have’.
You can set either Diamond or even the softer Emerald, Ruby or Sapphire gemstones but “pounding the guts out of your ring”, won’t make your Channel-Set ring w/stones look nice at all! Just never use your hammer right near the front-leading edge of the channel, why so? Lets just say; if your hammer is not hitting in one spot, it might & could slip off the metal off & touch those soft stones…"woops! good-bye stone, very costly!
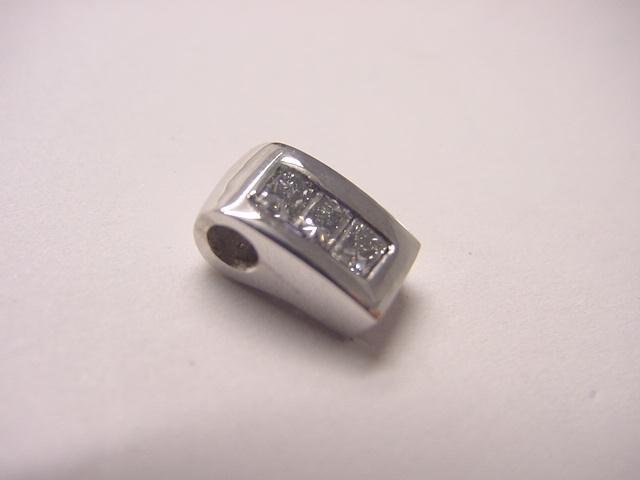
In my following ‘pictorial-essay’, I will attempt to show how to prepare & initiate the Channel Setting procedure! In this essay only, I am currently showing you, what the ring will look like if certain setting rules are not followed! Remembering, Bright-Cutting would be “advisable” in the finishing of any Channel-Set ring, That even goes for a pendant with 3, Princess-Cut stones…nice, clean looking & still Bright-Cut inside the Channel frame!


Thanks Gerry. Your work and shared info are so spot on.
I’m Miz 80%. I like to bring down metal 80% of the way onto the stone.
Then I bright cut. After that I very carefully take the metal the rest of
the way down onto the stone. I use a light touch on the last 20% so that
there are no noticeable bumps or tool marks to mess up my nice little
bright cut.
I’m the same with filing. 80%. Why? Because if you file a seam down all
the way and then emery out your file marks by the time you have polished
out your piece there will be a thin spot showing.
Now if I could just simply apply that 80% rule to food and adult
beverages I’d be in great shape.
-Jo aka Miz 80%
1 Like