Hi guys - thinking of buying myself a pneumatic engraver for next year and wondering if there is any advice out there about what is a necesity and what to avoid? is it worth getting double ended over single? min recommended RPM? or anything else advice wise would be much appreciated.
Merry Christmas…Let’s all treat ourselves to some new toys!
Annika
Hi Annika,
I have an older version GRS GraverMax SC system and highly recommend GRS brand.
I find the quick change hand piece and graver chucks, used in conjunction with the power hone sharpening system and dual angle sharpening fixture to be very helpful in getting a great cutting edge.
(I think my power hone is on my top 10 tool list…)
I opted for a very quiet Sil Air pancake compressor, by SilentAire, to run the system, as the compressor is located under my engraving table. I believe it is about 40 decibels…)
this link has a nifty noise chart)
and lastly, I will mention a GRS engraving ball…
(although lately I have had my eye on the Jura stone setting system…)
http://www.juratools.com/shopjuratools/quick-change
(and have been fantasizing about a microscope system for years…)
this is a cool engraving website as well…great youtube videos on stone setting)
http://alexandreschool.com/cms/shop-information/grs-engraving-devices/
(so many tools…so little time!)
Julie
1 Like
ooh even more toys- thanks for info Julie
much appreciated
Annika
I’ve got the silent compressor as well and have been happy with it. It’s expensive but worth it. About as loud as a fridge.
I also have the Jura master setting tools for the GRS mini engraving ball and use it daily. Very happy with that as well. Use some parts more than others. And have altered one to suit my needs.
I opted for the Airgraver made by Steve Lindsay. Primarily because it’s so beautifully made by a guy who is a world class hand engraver. Just a piston and air, love the simplicity. So that’s another one to consider. He’s got a great and very popular forum and website at Airgraver.com or engravingforum.com. There are some people on there who’s hand engraving work is just astounding. It’s great to see that kind of top shelf craftsmanship is still alive and well.
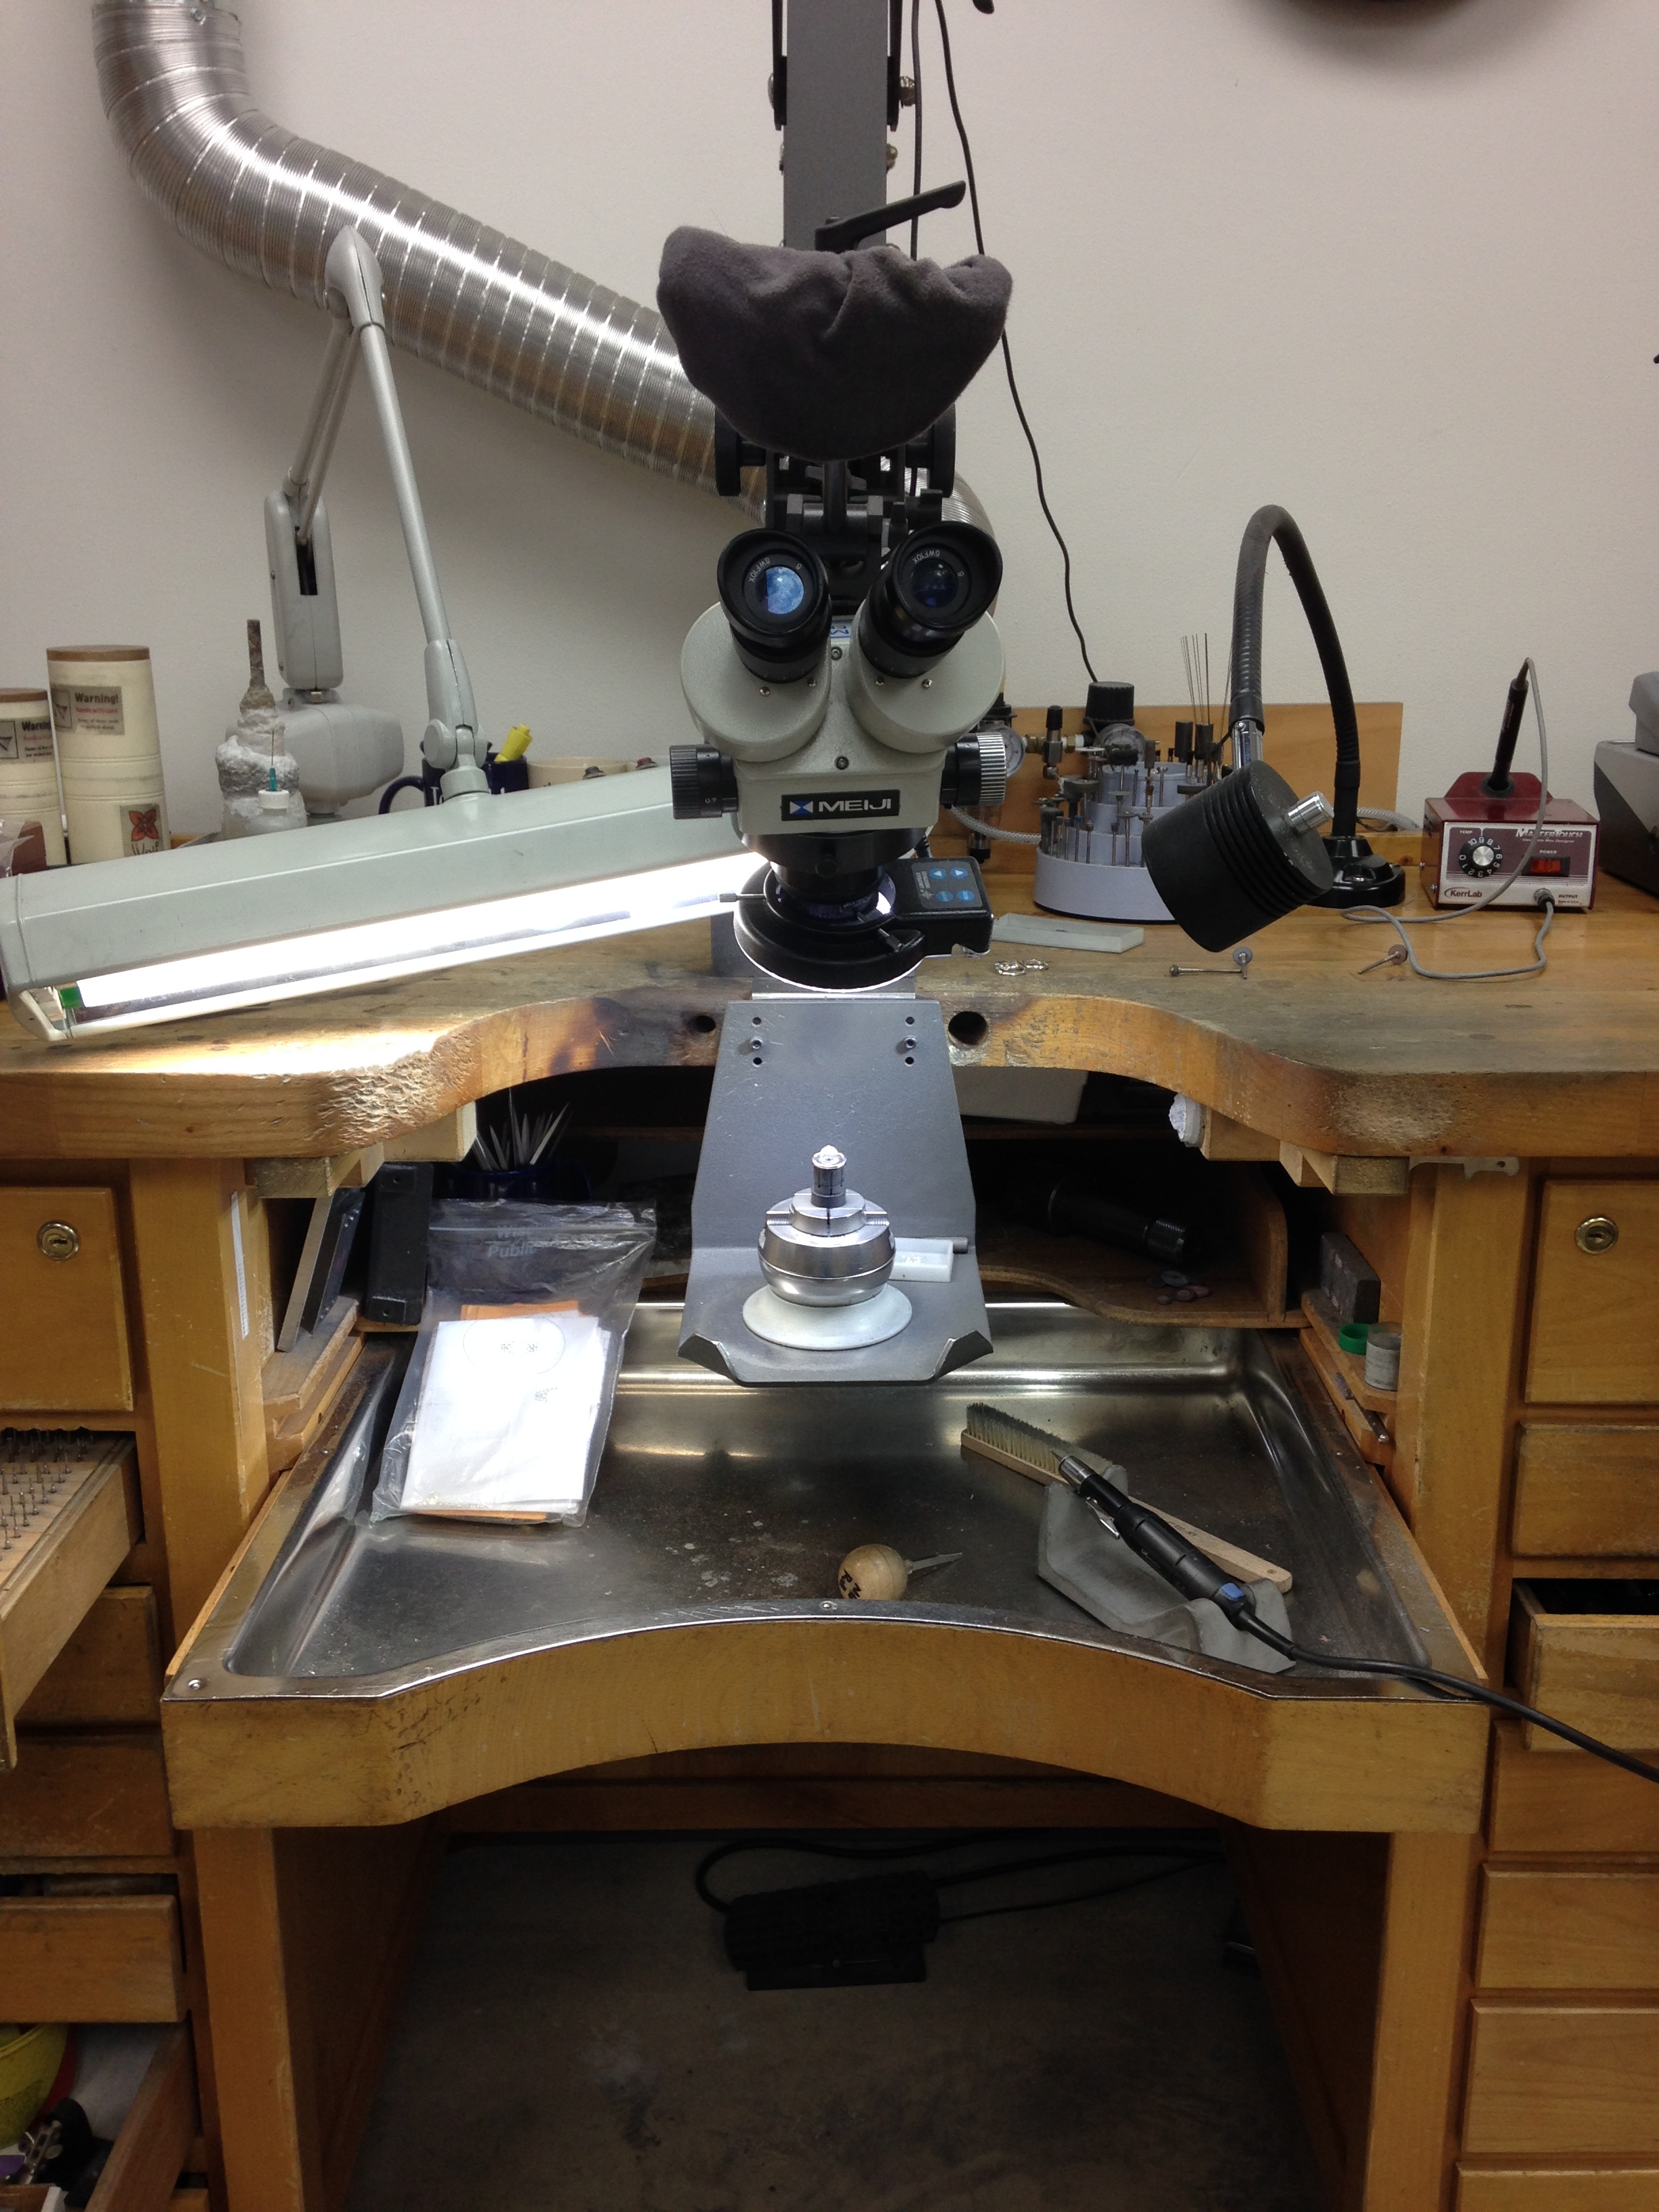
That said, you’ll need a bench scope (mines a Meiji) and the removable miniball shelf to go with your benchmate setup (GRS). Unless you have a dedicated bench with a full sized ball.
Mark
Hi Mark!
…since it is almost Chrismas…what Meiji Microscope setup would you recommend…?
Or another brand even…
Julie
Hi Julie
I have the EMZ-5 with the LED ring light on the GRS Acrobat stand.
I’ve had it for a lot of years. It’s definitely weird at first because your eyes and face are further away from the actual work than you’re accustomed to with an Optivisor. You’re sitting up straighter and if you pick up a stone you have to look around the scope. So all the movements that you do without thinking change. Plus you have to get the drop down plate for your benchmate or, better yet, get the GRS shelf and get used to a mini ball. If you would try to use your bench pin or benchmate at its current benchtop hieght you’d have to raise your chair WAY up which is no good.
So at first it’s all just awkward. But it becomes normal quickly. Now I use it 90% of the time and can’t imagine not having it. It really improves your work because you can see it so much better than the customer.
I usually buy myself a new luxury tool or shop something every Christmas. I think about it all year. It’s fun.
Mark
Hi Mark,
Thanks for the information! You have an awesome setup!
That model seems to be a very popular one!
Julie
Hello, I have personally have owned and use both Lindsay and grs graver systems both at home and work. As a full time stone setting goldsmith and engraver they both are excellent. I like the tiny grs ball vice for most of the work I do on jewelry and the larger ball vice for engraving knives and larger items. Quiet air compressors are the way to go also. I also love my meji microscope for both jewelry and engraving. With all the tiny pave set diamonds in bridal jewelry I would be lost with out it. Getting older you know! LOL
1 Like
You will love the Meji and acrobat. You MUST get the LED light ring.
This setup gets a lot of use and I wish I had enough bench space to leave it in position.
Either the GRS shelf or the drop down plate with bench pin is necessary because the depth of Meji puts your work half-way between the bench top and sweeps drawer. That depth creates the weirdness like Mark described. It took a frustratingly long time to find my fingertips.
You could get the ball vise later.
The GRS folks are most helpful.
Here’s something you probably wouldn’t think about until you started using your new scope.
I started using the scope with my benchmate but quickly switched to a miniball and this is why. You spin and move the benchmate constantly when you use it with your optivisor, no problem. But with the scope, when you do that you move the piece slightly out of focus so you have to adjust the scope. That gets putsy and can get irritating.
With the miniball on the shelf you can move the piece, rotate it and then just slide the ball on the shelf back into focus. Much easier. It’s the reason I switched. But over time I’ve found that thing to be much more versatile than the benchmate.
As far as lights. I like lots. I have a three tube fluorescent and a gooseneck LED (Kate Wolf) that I use in addition to the ring light. It really helps to flood the work with light. Something everyone knows I guess. I just want to put in a plug for that Wolf light.
Mark
1 Like
I have used the GRS system since it first came out. I have not tried Steve Lindsay’s air graver. I use a
the Meji microscope on the acrobat stand. The off brand microscopes do not have as good of optics as the meji. I use a full size engraving ball but do not put it on the shelf unless I am working on something so big that I don’t need the Meji. I put a board in my drawer that brings it up an inch so I have room to slide it around as someone else mentioned. I don’t like the light ring because my hand keeps running into it. I prefer two lights on arms that I can position one on each side.
1 Like
@mpandfamily Which Kate Wolf Light did you get, 4 or 7 LED? Is it pointed at the work from the side? Are you using more than one of the Kate Wolf lights?
I’ve tested various lighting set-ups, and none provided usable light on my work because Meji’s size blocks out all light from above. The space between the work and the lens is narrow and light from the side only created shadows. My best view is without all the other lights and only using the ring light.
@WADEDESIGNS1 describes running into light ring, and I do that too, but it hasn’t hurt the light ring yet even though it’s annoying.
What a wonderful way to treat yourself well!
I own both GRS and Lindsey equipment. If I could only choose one, I’d go with the Lindsay AirGraver. Although I use mine primarily for engraving, it’s useful for everything involving hammering, especially pave’ and other types of stone setting. If what you want to do with your new tools is engrave, no question, I would recommend one of the Lindsay tools. On the other hand, the GRS systems develop more whacking power. They are less precise but more powerful and they are far more complex in both their construction and operation, meaning that the GRS tools require more maintenance. The cost of both systems is comparable.
I have several vises, the regular GRS Magna Block, the MicroBlock ball and a GRS positioning vise that I thought would work well with the scope. Turns out not so much, because unless it is kept dead level, it is out of balance and rotates unevenly. I also have an Otto Frei bench with the steel bench pan which allows me to slide my standard ball vise around pretty easily and keep the work under the scope. Otherwise, the mini ball works pretty well.
My microscope is a Meiji EMZ 8TR, the one with the attached video camera, mounted on an Acrobat stand. I find the camera extremely useful for showing customers repairs that are needed. It is absolutely wonderful for selling repair and restoration work. It turns “Can you explain that again? I don’t understand…” into “OMG! Can you fix that?” It is also great for people that are worried about getting their diamond back. All I have to do is show them an extra facet or a natural or something on the video and explain how that makes their diamond unique.
For you guys having a focal distance issue, do you have a 0.5 objective lens on your scope? It increases the focal length to about 6 1/2 inches or so. I’ve never had a problem with hitting the ring light. GRS also has a 0.3 lens that they say increases the distance to 251mm.
Dave Phelps
1 Like
It’s the 4 LED light version. I didn’t know she had the 7 light version? Too late now…or is it???
Extra lighting from the side…
1 Like
@mpandfamily
Did you mount the light to your bench? It comes with a benchtop clamp or an optional backsplash clamp. I couldn’t tell from the sales description if mounting on the bench was an option.
Yup. Just three screws into the benchtop thru three holes in the base. I don’t remember if it came with a clamp option, but probably did.
I bought a second one and use it for extra light in my polishing hood where I prepolish.
1 Like
I now have on my setters-bench 20 Gravers to cut, shape & modify for my three classes in February. Why so long in this preparation? I need at least 20+ minutes to just use the bench-grinder. THEN comes the paper-polishing process. The total amount of time needed for each Graver will be 30 minutes in total!! Not including the time spent in preparing my desk and that is to avoid any contamination of steel dust to be thrown into my work space in my bench. My choice of Gravers is quite simple and so very basic.
One Onglette #2 graver & a Flat graver #40, Each of these need to be specially hand-shaped, no Gravers can be bought with all of my required angles or subtle grinding cuts. Even the Face of the graver has original contours to allow the cutting to be done on the Right Side.
I use these only for Inside Bezel, Bright-Cutting, inside a Princess-cut, Engagement ring, Channel Setting and lastly the Gypsy/Flush setting.
My setting class in Berkeley, CA will be very innovative, as we will spend 5 days delve & explore the uses of a graver while in these setting processes!!!..Gerry Lewy! .."gerrylewy18@gmail.com".
1 Like
Hi Annika,
Back to your original question. If you look at the Airgraver you should take a peek at Lindsay’s graver sharpening system. It works great. It’s designed for shaping and sharpening square graver stock (into points , flats…). I believe it’s more of a traditional graver making technique. It make the complicated easy and precise. The system cuts a great graver!
Most of us are using preshaped gravers and GRS sells those that are designed for its pneumatic gravers (and those do fit in the Airgraver). Those you just need to lean to sharpen properly.
The Lindsay sharpening system is for something different and is worth knowing about at least.
I use both shaped and Lindsay’s. Although I use Lindsay’s exclusively when adding hand engraved detail. The shaped I use mostly for setting and wax carving (and those are primarily push gravers rather than pneumatic).
Hopefully that helps?
Mark
1 Like
thank you for all your input guys - still not commited but doing so this week. Being based in UK it is a bit more difficult then just taking your advice…seems the easiest one to get hold of here is the GR8 Gravermax… but still looking into options.