Now that I have started to dabble in gold, I have realized how difficult 14K gold bezels are to set by hand. I have read some previous posts about using higher carat gold for the bezels. I like that idea, but have to use up what I have and the higher melting point of the solder scares me a bit since I have melted a couple bezels during the soldering process. Any tips on that would be appreciated. I can get the solder to melt, but the it doesn’t want to flow into the seam. I’m used to silver just jumping into the seam. Not sure what I am doing wrong.
So, I have been hammer setting the gold bezels to get them tight since I can’t do the whole process simply by hand. I was wondering about a hammer handpiece and what you all have to suggest about that.
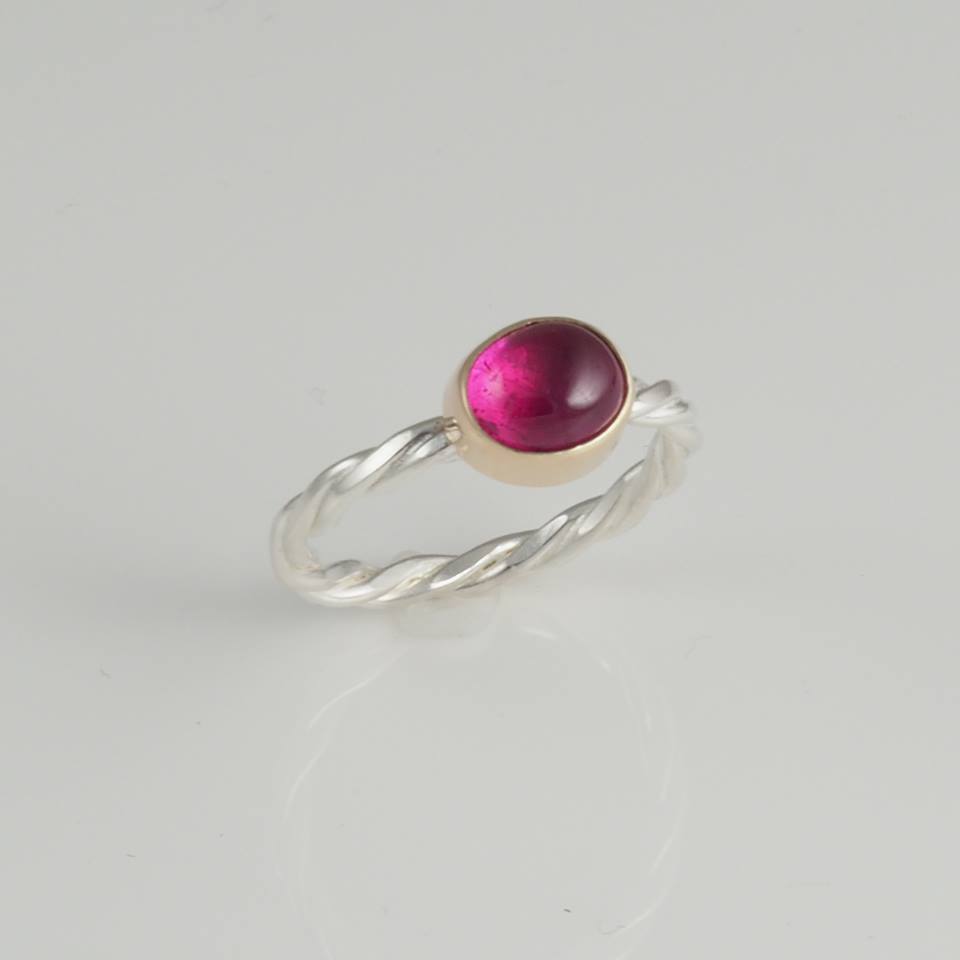
I wan’t sure how to add a picture so, let me know if that link below works. The ring in the photo I set the bezel by hand but then hammer set to roll over the top edge to get it tight. I couldn’t do that part by hand.
Thank you everyone for your wise advice!
Bernie

Gerry Lewy is really the fellow to ask, however I posted this on another thread and perhaps it will be helpful for you.
Hammer setting a stone in a tube is done differently than setting a stone in a wire bezel. You don’t push the top of the bezel over the stone, it is too think for that. Rather you upset the thickness of the tube so it covers the border of the stone. Then you clean up the edges of the tube, with abrasives on the outside of the tube and by bright cutting inside the tube. This takes practice.
Here’s a diagram.
1 Like
Practice is in doing this for 58 YEARS!
I use an Onglette #1 or #2 modified to cut
only on one side…“thou shall not use a
Flat graver for inside Bezel walls”. If you do
You will get a Faceted cutting!
Gerry! from my IPhone!
2 Likes
love the comments Gerry.
i use an old beading tool that i have shaped into rounded graver with a 45 degree face and a 20 degree heal to do this
it gives me a slight undercut not he bezel wall that makes it easier to move the material over the stone .
i then use another modified beading tool that i have just polished to hammer the metal over the stone.
the punch is about 2mm across and round. With a light touch very little need for abrasives afterwards.
Les
Led Riddell,
Would love to see a picture of the
rounded graver with a 45 degree face
and a 20 degree heal. Please.
I would “shy” away from using a reciprocating
Hammer-hand piece, why so? It will leave 'dimples’
on your metal, just like a golf-ball. What’s more
It also squeezes the crap out of the metal…;(
This will leave the metal quite thin to Bright
Cut. The clean-up process is quite lengthy &
and you’ll be wasting too much metal that is
needed to hold the stone.
If everyone thinks my answers are are too
Involved well these answers are needed.
BTW, I use only Pumice Wheels of #180
grit as I can still keep the stone tight!
“details” are my middle name…
Gerry! from my IPhone!
1 Like
Not sure how this will work but here we go
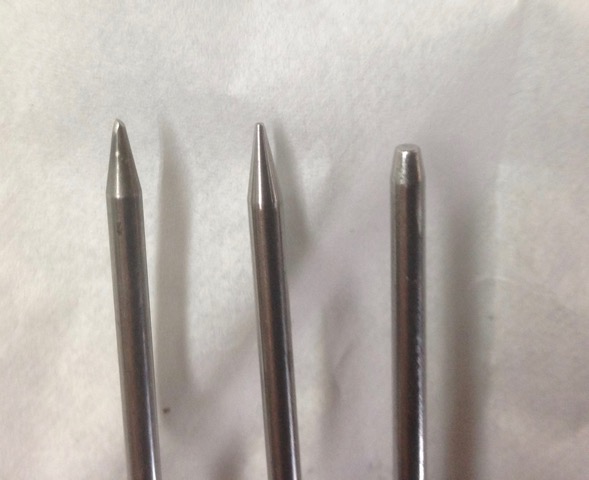
left to right
round graver 45 face 20 heal this graver was made from an old beading tool. the face was ground using a GRS jig for the face and the heal was ground by eye. the photo is not the greatest but both the face and heal are polished. No tempering was used on this graver. It is only used for graving seats in precious metals and is easy to sharpen or change the shape of as needed. the total width for the working end is 1.8mm. when it gets sharpened to the point that it is greater than 2.5mm i use it for larger jobs and temper the tip i then make a new one out of a #4 beading tool.
the second and third punches are polished flat punches again made from old beading tools. I use these for turning bezels closing channels and hammer burnishing surfaces. They are great for pushing metals up down and sideways. If used carefully and the tips kept well polished very little abrading is necessary before final polish. they are also very good for dealing with light porosity.
all tools are fixed in a handle using GRS quick change attachments and can be used with a traditional style handle or in the impact graving systems.
I have used these tools naked with a chasing hammer for impact with great success as well although the beading tools are short so you have to either extend them with a bit of steel rod or watch your fingers.
Les
you might get this twice sorry if you do.
left to right
round graver 45 face 20 heal this graver was made from an old beading tool. the face was ground using a GRS jig for the face and the heal was ground by eye. the photo is not the greatest but both the face and heal are polished. No tempering was used on this graver. It is only used for graving seats in precious metals and is easy to sharpen or change the shape of as needed. the total width for the working end is 1.8mm. when it gets sharpened to the point that it is greater than 2.5mm i use it for larger jobs and temper the tip i then make a new one out of a #4 beading tool.
the second and third punches are polished flat punches again made from old beading tools. I use these for turning bezels closing channels and hammer burnishing surfaces. They are great for pushing metals up down and sideways. If used carefully and the tips kept well polished very little abrading is necessary before final polish. they are also very good for dealing with light porosity.
all tools are fixed in a handle using GRS quick change attachments and can be used with a traditional style handle or in the impact graving systems.
I have used these tools naked with a chasing hammer for impact with great success as well although the beading tools are short so you have to either extend them with a bit of steel rod or watch your fingers.
Les
Great points Gerry.
and this business is all about detail
Bernie,
After working in silver I always have to remind myself that switching from silver to gold is different in that gold can be spot soldered. The tiny flame I use can be concentrated on the seam of the bezel and solder.
The gold bezel does not need to be an even temp like silver does to get the solder to flow.
My thoughts on:
when I solder the bezel to the metal base/bottom… Sometimes solder will move with the heat or when heated quickly. If so, I would heat the flux to set the solder in place. Paste solder can be helpful.
If soldering a gold bezel onto a silver base:
I would heat from the bottom up = heating the silver base evenly
flash flame the top of the silver base inside of the bezel where the solder is if you feel heat is needed there.
Keep moving your flame back and forth with most of the heat coming from the bottom. When your silver evenly heated and at flow temp it will flows.
Gold will sink into silver so as soon as your solder flows remove the flame.
I agree 14K bezels are hard. A higher carat will help. Also, check your adjustment on the hammer handpiece to soften or harden the blow.
That’s some of what I experienced, hope it helps you or someone else.
Take Care,
Debra

