haven’t’ had much trouble with cracking… some, yes but not catastrophic… I think I let the ingot cool within the mold until I could take the mould apart using kitchen gloves and channel lock pliers…before quenching and pickling…if it seemed too stiff with rolling, I’d reanneal after a couple of cranks of the rolling mill.
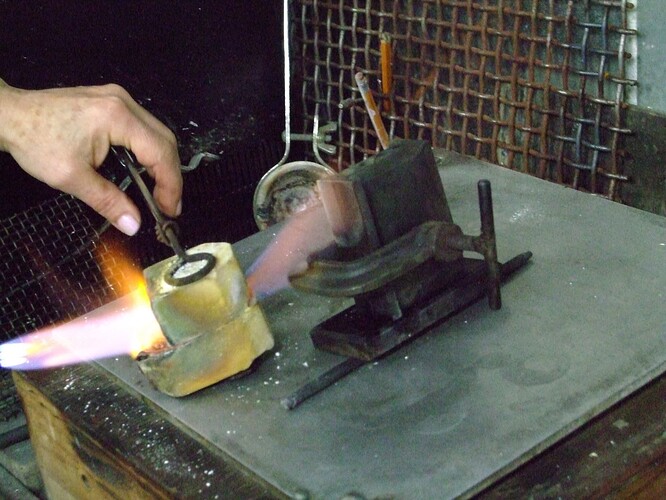
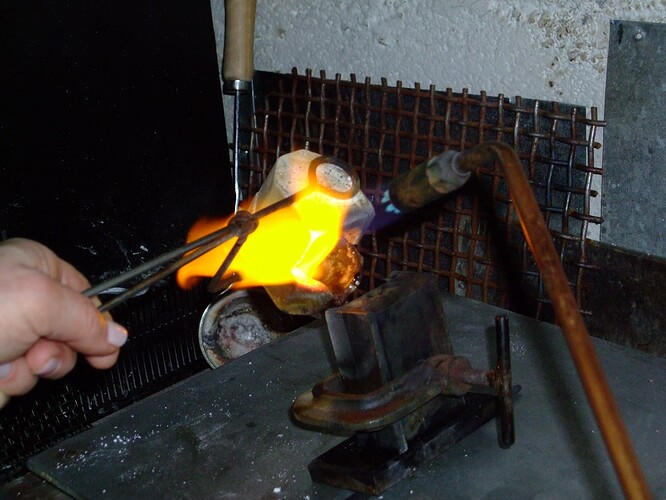
I think that it starts with the casting process. Make sure that the mold is coated with oil that you heat until it smokes or coat it with a reducing flame. The ingot needs to be hot before the pour. I heat mine with my big torch first then keep it warm with a butane torch while melting the metal. I also keep the mold close to the crucible so that the heat melting the metal spills on to the mold. Once everything is up to temperature, do a quick pour and then keep the flame on the opening of the mold for a bit. I pop the ingot out and then place it on my anvil and let it cool slowly. If I get impatient, I place a thick steel 20 ton press spacer on top. Once it is cool, I sand the ingot to remove all the sharp bits of flashing. Then I give it a good forging using a heavy hammer. I always forge in the same direction on all four surfaces. I don’t know why, but I read it somewhere a long time ago. This can be hard on the fingers. Roll in little bites annealing often. I don’t generally get a lot of cracking. I do once in a while get a porosity spot in the middle. There is little that you can do about them, so I just drill them out like a dentist drilling a cavity. I don’t ever quench when the ingot is hot, I let it cool on my anvil. Once I get to the thickness that I want, I will pickle after the last anneal. At this point I will sometimes get a small blister. This usually happens at 18 gauge or thinner. The blisters can be lightly rolled out. If I am making sheet, I will sand, remove firescale and polish the entire sheet before I cut it up. This is easier than polishing the smaller pieces one at a time. It also helps to find any blemishes. I mark these areas with a scribe so that I can avoid using them. Once in a while I have purposefully allowed the edges to crack and then incorporate this texture into the piece. This is usually when I use the cracked sheet as backing for a piece of lapidary. When I get done I always promise to stop recycling scrape and just buy sheet. This lasts until the next time that I need sheet in size that I don’t have. Lots of fun…Rob
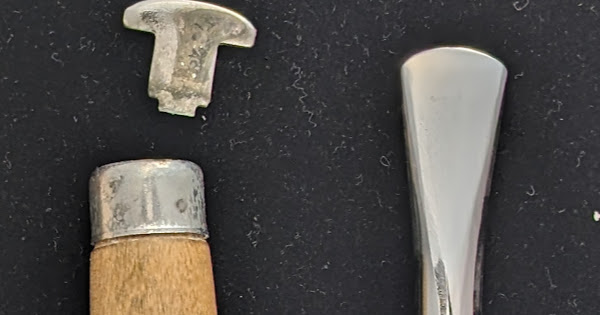
Following is a link to two pictures. One is an ingot that I recently poured. It has been squared up and rolled out to 14 gauge. I will take it down to 18 gauge, sand, remove firescale and polish. It looks pretty clean with no edge cracks. I did do the melt in my new electric melting furnace and it was a larger pour, at least for me. I think about 3.5 ounces. These may be factors in edge cracking. The second picture is just anecdotal. I managed to break my bezel roller. It was probably 40+ years old and I am too embarrassed to tell you how. I decided to see if I could make one out of a 3/8" carriage bolt. I wanted both a roller but also a roller shaped bezel pusher. I tried it out yesterday and it works well for both purposes…Rob
I left an important word out.
The ingot needs to be hot before the pour, should say The ingot “mold” needs to be hot before the pour. Sorry for any confusion…Rob
Hi,
ah…quenching after pouring ingot…different from quenching after annealing…
julie
I don’t quench after I pour, I let the ingot cool completely on my anvil then prepare it to be rolled as described in my amended post…Rob
My late colleague, Sigrid Schneider, an Austrian goldsmith, said The Brepohl was their goldmsithing text book at the University of Applied Arts in Vienna. Sigrid would have been 67 this year, so it was probably 45 years ago when she was in the program there.
I keep the mould very hot but not visibly hot as in glowing very dull red…smoking hot if using oil, paraffin or vaseline… it’s the fine dust carbon residue that does it. the metal is superheated… runny liquid a couple of hundred degrees or a little more above melting point… it make for an easy quick pour and will fill the mould without internal bubbles or other defects. I have to use two torches… one for the mold and another for the metal… once the desired temperatures are achieved you have to work fast to avoid excessive cooling.
So here is some info on pouring ingots and making sheet and wire that is from an article that I wrote for the MJSA Journal a few years ago.
Why should we all master the art of making sheet, wire and rod by hand when we can buy it already made from suppliers?
I always insist that my new students learn to do this. I believe that one of the greatest hurdles for newbies is fear. Fear of ruining something by melting it. The fastest way to get over this is to just jump in and just start melting stuff. Also in the process of making metal stock students learn the most about the working properties of metals and learn an intimate feel for the metals that you can only get from melting and forming it from scratch.
When my sweetie Timothy Green and I were apprentices in the trade one of our first jobs was to pour ingots and make wire, sizing stock, tubing, and sheet from scrap and casting grain in silver, gold and platinum. All three metals and their various alloys feel and work differently.
Here’s a basic primer on doing this.
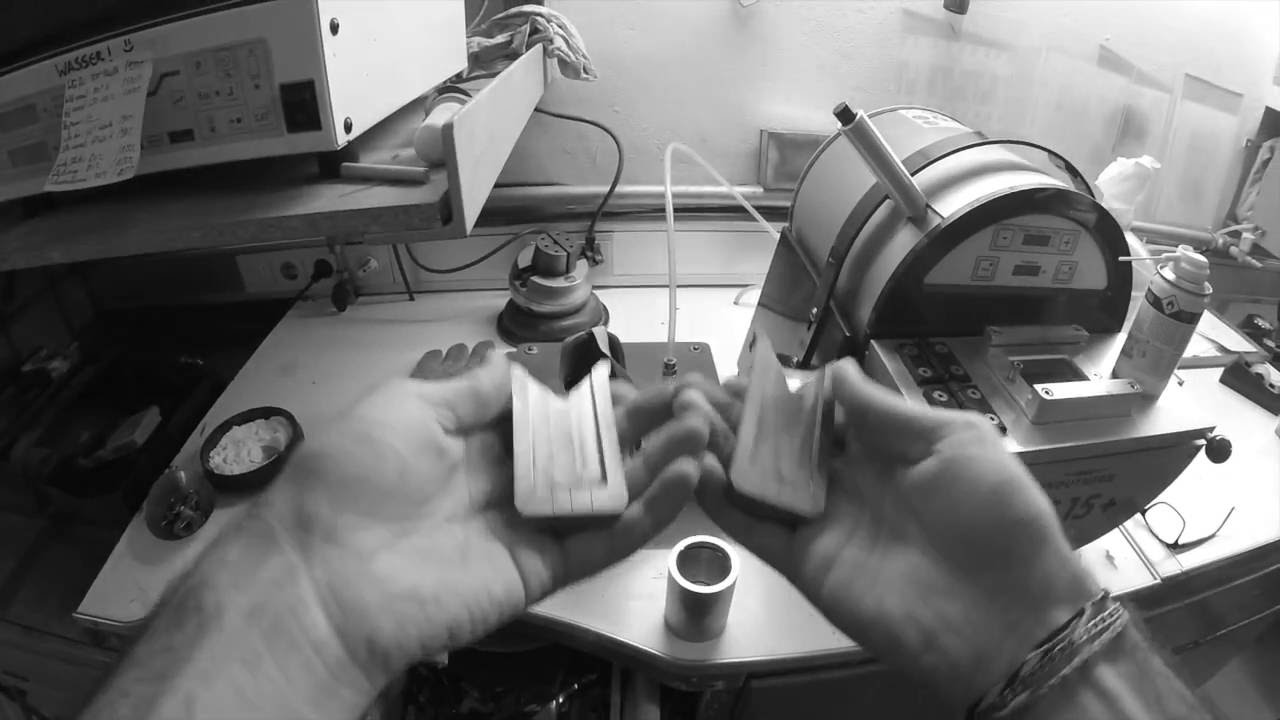
There are various types ingot molds you can use. Open metal molds, closed and clamped metal molds are the most common. One can also use a charcoal block with a trough carved into it or also make a delft clay mold. The last two are useful if you want to make a specific size or shape to pour and they don’t need to be pre heated. We usually use a closed and clamped mold for gold and silver. For platinum we just melt it on a platinum block.
I always coat my metal mold with oil and heat it up before poring. Much like seasoning a cast iron frying pan. Pouring into a cold or damp mold is dangerous and can lead to metal exploding out from it as well as cold and partial pours. Under a good exhaust fan I heat my mold until all of the oil is burned off and no longer smoking. This takes longer than you’d think so I always go to the bathroom before I do it:-). I like to slightly tip my mold toward the side that I will be pouring from so that it makes it easier to hit the opening at the top. You should be able to feel the heat radiating off of the mold with your hand by holding it a few inches away.
When satisfied that the mold is hot enough, I start to melt my metal. With the exception of platinum I always use borax on my metal as I am melting it. When melting alloyed metals such as sterling and different karats of gold it is very important to not burn the metal. If you see sparks on the metal you’ve got it too hot and are likely burning out the alloys. I like to use my casting torch with a rosebud tip and not too hot of a flame. Too much oxygen=oxidation. You don’t want that. Never ever wear open toed shoes or flip flops when doing this. I like to see my metal melted to the point that when I gently shake the crucible the metal is not just a thick honey like blob but more splashy like water. While holding the pouring lip of the crucible next to the opening at the top of the mold I keep the flame on the metal and then do a very quick pour. Do not hesitate during the pour or you’ll have two shorter ingots instead of one. If you screw up and miss the mold or have a bad pour, no problem. Relax. Just melt it all down and do it again. Nobody gets stuff perfect the first time. After 6-10 tries you’ll be an expert.
Once you’ve mastered pouring an ingot it’s time to pickle and clean the ingot to get any traces of flux off of it and remove any flanges with a file.
Next comes forging. This keeps the ingot from cracking at the edges while rolling. You’ll want to forge it with a slightly heavier hammer that has a very lightly domed face. I like to use a light weight sledge hammer with a polished face. Hammer all four sides of your sheet or rod. I fully hammer each surface at least 4 times. After forging anneal, pickle, clean and dry your ingot and you are ready to roll it out.
While rolling I like to reduce my rolls in 1/10 mm increments. The smaller the bites you take out the less it will want to distort and curl. When rolling bar stock I turn the bar 45 degrees after each roll. With plate stock I like to flip it over after each roll. When rolling plate stock roll in one direction. If you feel you need to cross roll you must anneal the metal before you do this.
Thanks for this detailed explanation, Rob, and thanks for your article, too, Jo…I haven’t done any melting yet…I got one of those electric melting furnaces so I wouldn’t have to juggle a crucible, a torch and flux and fool with the mold at the same time. The crucible in the melting furnace has a small narrow opening and is, as I’m sure you both know, made of graphite, which produces a reducing environment. What I’m wondering is whether I need to play a torch flame over the crucible while pouring or if the small opening and graphite crucible produce enough reduction that I don’t have to worry about the slight exposure to air as I pour.
Rob, I hadn’t thought of using the small butane torch sitting near the ingot mold to keep it heated! That’s a great idea. I suppose that right at the moment of pouring I could pick that up and play the flame over the crucible…what do you think? -royjohn
royjohn…Keeping everything hot is the name of the game. The crucible, if hot enough and big enough (think mass) should retain enough heat to allow you to pour if you do it quickly. You can always do it over if the pour starts to solidify before you get it in the mold. When this happens it looks like you are trying to pour mud. I don’t see any problem with playing a flame on the pour stream, but that is a lot to have going on and it may slow you down. Tipping the mold a bit is a lot of help. It gives you a more direct target and I think it allows air to be displaced more easily. Practice your moves first. The best thing is to just do it and then figure out what to change based on the results. Good luck…Rob
This is a little off topic of the direction the thread is going, but a while back ago folks were talking about the Christian Koch ingot mold. I decided to try one out to see what it’s all about. I’ll be honest, it’s more expensive than I thought it was going to be. You purchase a frame and then have to pay about $200 for every individual ingot shape. I ended up getting the frame and a 4 mm round ingot shape for $325 with shipping. That’s expensive! You could buy 2-3 regular ingot molds with multiple size rod shapes and a sheet shape for that price.
I haven’t had a chance to try it yet, but I’ll report back how it went. Three things that are different from regular ingot molds. They recommend using candle soot as an ingot release. You don’t have to preheat the mold. There’s a fairly wide funnel pouring area, so it should be comparatively easy to get the metal into the hole.
Full disclosure, I didn’t personally pay for this. I bought it through my teaching job. I can’t imagine buying this for myself. But like I said, I wanted to try it out and see if it’s miraculously easier. I’ve got a few students who have a cultural connection to using high karat gold where any mess up is potentially a big one.
Jeff
We jewelry types are all tool junkies and this looks very nice. However, if I wanted something like this I would go to my local machinist.Two pieces of appropriate sized square bar stock could be trued up flat on one face, then clamped together and drilled out to 4mm or whatever size you wanted. The cone shape on the top looks suspiciously like exactly what you’d get if you used a 45 degree bit used for drilling stock for lathe centers. Might want to drill a couple of holes for bolts to hold it together instead of using a keyway to keep the halves lined up. It wouldn’t have a pretty logo, but I think I could get out for the cost of materials plus 1/2 to 1 hour labor. Of course, I am not using a whizz-bang induction furnace with argon (which this fits into), just my cheap Chinese electric melter…-royjohn
royjohn…I had the same thought the first time that I saw these molds. I am curious about induction melting but can’t figure out why it is so expensive…Rob
Rob (and all)
I think the induction melting they are talking about is those big Nutech and similar vacuum-induction casting machines…so usually you put in the casting flask and then your metal and close the thing up, and it melts the metal and then, at the push of a button, whoosh, the metal goes into the casting flask which is protected by argon or some other inert gas mixture. Evidently, this mold fits into the furnace and you can melt your metal in the furnace and “cast” an ingot which you can then use for fabrication. So you have a high dollar ($10K??) casting machine, but you are using it, in this case, to cast an ingot for hand fabrication. I think that’s right. Not really necessary to have this special shape if you are going to torch melt or use a pour-by-hand electromelt. -royjohn
Hi,
i messaged the creator…you can also pour into the molds from a crucible/ torch setup
or, use the machine…
julie
David from Pepe said that using a torch and crucible with the KC ingot mold is no problem. I made sure to ask that before I bought it. But am happy that you double checked!! Thanks Julie!
I’ll let you know what I think after I give it a try.
Jeff
Hi,
indotherm…cool…
keeping the mould hot is crucial. The pour has to be in just one stroke… doing it correctly is very difficult. Two out of three ingots had to be remelted and repoured before I got the hang of it. I used oxyacetylene for melting and a propane air torch on the mould… juggling torches, melting dish was difficult also… using superheat to keep the metal liquid and flowing is also crucial… if either ingot mould or metal or both aren’t hot enough, the pour will not fully fill the mould and leave defects. Not that easy… Could have used a more simple mould than a steel ajustable one, but the steel mould does have holes for rods to make wire. I could not make an igot and a rod at the same pour. Maybe someone else with more experience could comment.
Julie
