Making a wax bezel for casting

Hi again!

Those who have seen my previous post would be aware I’m making an opal engagement ring with an opal from a trip to Lightning Ridge. The band is finished and will be 3d printed with a wax resin. As the opal is hand cut it’s not uniform, and modeling it in software with high accuracy is quite difficult; I have opted to try and make a bezel from wax to attach to the 3d print later.

This is my first attempt, I am looking for any and all feedback about dimensions I should increase, decrease, considerations etc.


I hope the pictures are clear enough!

Tom

Nice opal. What a wonderful thing to do for your partner-to-be!

Just a couple of comments — the setting looks pretty heavy. Is that the look that you want? It might tend to make the opal look a little smaller (like a relatively big frame on a small painting). Nothing wrong with that if that’s your intention.

Do you plan to epoxy the opal in the setting? If not, a heavy bezel like that might make moving metal difficult when setting. Also, is your opal’s bottom cut flat or does it have extra material (a “belly”) like typical opal cutting in Australia? I’m assuming that you’ve left the the bottom of the setting open to deal with that.

Gary

1 Like

Once cast, will you be cutting down the bezel a bit? It looks very heavy and could be a chore to move around a fragile stone like an opal. At the same time, a bit more bezel may help to protect the opal. Maybe something in the middle. Just some thoughts as I don’t cast. Good luck…Rob

This is a jeweller that she particularly likes, so the bigger bezel has just come from her styling. I’m certainly open to making it smaller!

It has a belly, however I mainly cut the bottom out of the setting to push the opal out of it. I also thought it might allow more light in? I had planned to epoxy the opal in for the purpose of keeping it in the right spot during my first bezel setting, but I’m open to other suggestions.

In several pictures there is still a thinner bezel that can be moved over the stone. Some look like the stone is set from under the bezel and held in place mechanically. Regarding epoxy, you might want to research how long it will last and it also runs horribly. If it gets into the exposed surface of the opal, you will never get it out. This is just a comment, an engagement ring is meant to be worn and last a long time. Being worn, they get exposed to a lot of abuse. You might take that into account in selecting it. We just celebrated 53 years of marriage and my wife’s stone has been reset three times because the metal just wore out. The stone, being a diamond, is in pretty good shape. I am concerned that an opal, being soft, might not stand the test of time as an engagement ring. I am not suggesting that you need a diamond. I like the trend away from diamonds myself, but there are other stones much harder than an opal that you might consider. Whatever you do, I am sure that she will love it…Rob

1 Like

Tom,

The jeweler you are using to model your designs, uses a lot of tricks to set their opals. Although their designs look like bezels, they have raised very small notches in the metal to actually hold the stones tight. In the designs that are cleaner, the opals may be actually set from behind. I wouldn’t recommend trying to bezel set your opal, especially if this is your first bezel set opal.
I would approach setting your opal as if you’d be setting it from behind and redesign your wax and possibly the shank to accomplish this. In my opinion, if you continue with the wax you have, it might not end very well.

Make the wax so it looks like a finished bezel from the top and put the opal in from the back side, leaving plenty of depth to accommodate prongs, maybe three or four. The prongs will hold the opal against the clean underside of the bezel, and the top can be finish before you set your opal. Never push the prongs directly toward the stone, but push at an angle, back and forth, slowly bringing them into contact with the opal. Setting the opal this way gives you a clean look without as much risk. Also, make an area on the underside of the bezel for attaching to the ring shank. And by the way, light does not come in from the back side of the stone!

Tjones
Goldsmith

Some of my work over the years

2 Likes

Nice items. :heart:

I hate to be a Debbie Downer but… I hope that your client is aware that choosing an opal for an engagement ring is something most jewelers would not recommend. They are very fragile and very soft. Not a good choice for a ring that someone is going to wear every day for the rest of their life.
When setting fragile stones it’s best to have a light-ish thin gauge metal so that that stone is not chipped or broken in the setting process. From what I see in the photo it’s going to take a lot of pressure to move that metal over the stone. Personally I prefer to fabricate stone settings. It’s much easier to get an even thickness on the prongs or bezel wall. Also it’s easier to make a level seat in metal rather than trying to carve it our of wax.
Jo

1 Like

Everyone is making excellent suggestions! In general an opal is not a good choice for an every day ring that is worn for many years. Over time the stone will get scratched, and possibly chipped or broken. And yes, a stone that is glued in can fall out. Prongs or bezels are more secure. Hand fabricating a bezel like what Jo suggested is generally a more effective way than a thick wax bezel.

But wedding and engagement rings are very personal choices and if this is what the person wants, this is what they want.

You said that you had a previous post on this topic. I wasn’t able to find that, so I’m not sure if you’re making this for your own engagement, for a customer or a friend? Whoever you’re making this engagement ring for, you should tell them that an opal is a relatively fragile stone and it isn’t an ideal choice for daily wearing ring.

Assuming that this opal is still the top choice and that you don’t want to make any major changes, my recommendation is that you raise the height of the setting’s edge slightly so the metal is slightly higher than the stone. That way when the ring gets bounced on countertops or whatever, the metal will take the first hit, not the stone. Also, if you do end up gluing the stone make sure that use longer set time epoxy, not 5 minute epoxy.

Again, everyone’s suggestions are good ones! I often say, there are often multiple answers to the same question and they all are correct. This is one of those situations. Now it’s up to you, the maker, to decide what’s best.

Keep us posted!

Jeff

2 Likes

My apologies everyone, new to the forum and assumed a user’s prior posts were easily visible! This is the original post for some more background but TLDR:

  • I have done every bit of opal research imagineable, including talking to dozens of miners, cutters, jewellers, and wearers in the heart of Lightning Ridge.
  • Ring for my partner, I’m not a professional (first timer actually) but this is very much what she wants and me creating it is a meaningful part of the gesture and a representation of our love languages.
  • The opal isn’t changing, and since that post I have settled for no cap (for now, ring is subject to change with the meaning being more important than the metal).
  • It is going to be 14K white gold so I’d rather get it as manageable as possible in CAD and go very slowly in setting it.

I like the idea of mounting it from the back but without the time/skill/gold to waste I’m looking to cast to eliminate any soldering etc. A smaller bezel sounds like the way to go, I think given what I’ve learnt playing with wax I’m going to be comfortable modeling it in cad with a thin wall. Originally thinking it needed to be perfect, I’m now OK with the accuracy I’ll be able to get, and a bit of working the gold if need be.

@jeffg-moderator I love the idea of the setting providing more protection, but if I’m understanding correctly that would be if I wasn’t setting from the top? If I’m using a thin bezel the height of the setting would be dictated by the thickness?

Looking around online I’m thinking 0.5mm would be a good bezel thickness, somewhere in the middle of workable and still protecting the opal a bit?

Height is completely flexible with cad/print/cast too, so I’m thinking 1mm above the turning point of the opal?

Thanks again!

Hi,

i took a look at the website you referenced as one that your partner liked.

most of the items have stones set in the bezel…are you looking to do that?…

one item in particular looks similar to your wax bezel…the crystal opal blob necklace…is that your inspiration?…

the stone in the blob bezel is being captivated by “beads” that were raised on the edge…pushing metal over the opal.

note the size of the metal pushed over…see how little is needed…the number of beads used is more decorative than functional…less beads would still captivate the stone…

what i am trying to covey is that you do not need to move a whole lotta metal to captivate the stone…something to ponder…

a few other styles on the website also did not have stones on the bezel…and the bezels were more flat/ beveled…in this case, the edge is compressed down into the space left by the top curve of the stone…basically captivating the stone….with just a thin compressed “lip” of metal…

again, not moving a large mass of bezel metal

i hope that makes sense…
julie

I mention this, Tom, because of concern for protecting your opal. The very first ring that I made was with an opal doublet that I had cut. That was years ago. My wife declared it to be hers the moment she saw it, and she’s worn it every day, all day long, ever since.

It was set in a 24 gauge silver bezel and the opal has held up just fine. Every few years, maybe 3 to 5, when I happen to notice that its surface is just a little hazy, I re-polish it in the setting.

It’s a sample of one, and I’m certain that there are other stories of opal damage, but opal is not nearly as fragile as many believe.

Gary

Tom, I asked if you have bezel set opals before, if not then I would suggest you do a practice run first with an inexpensive opal. 14k white gold is a stiffer metal than sterling, making it much harder to move into place.

Opal is an amorphous stone that does not have a crystalline structure, and is very prone to chipping and breakage. Even a blow that’s not directly on the opal, but to the mounting can cause the stone to fracture.

A doublet is a two piece stone where the base is generally quartz. The additional material adds a certain amount of strength. Gary K and his wife have been fortunate.

Due to the difference between opals in hardness, many will be scratched just in handling them if care is not taken, the dust in the air is mainly made up of quartz, which is 7 in hardness, a dirty bench pan filled with filings for example can be a source of concern. Special care must be taken when working with a file or graver around the opal. Opals should not be subjected to heat, chemicals, temperature and air pressure changes. I’ve had opals sitting in a safe craze. I had to tell a customer that her beautiful opal bead necklace was practically worthless because all the beads were crazed, they had just been sitting in a box for some time.

I think opals are beautiful and have set a few over the years, taking every precaution I can think of.
I have bezel set opals from the top,
https://photos.app.goo.gl/DQBh5xHRpV5q1FSh9,
I have used well placed prongs
https://photos.app.goo.gl/JUKDtiCEduaw1q8K9
and I’ve set the opals from behind.
https://photos.app.goo.gl/EyBFgMVmYA88KpJH9

Experience dictates a lot of the way I would approach a design and knowing my limitations.

6 Likes

Thanks for showing me your original post! Boy, there many deep dive questions and thoughts there! I’m not actually sure where to begin?

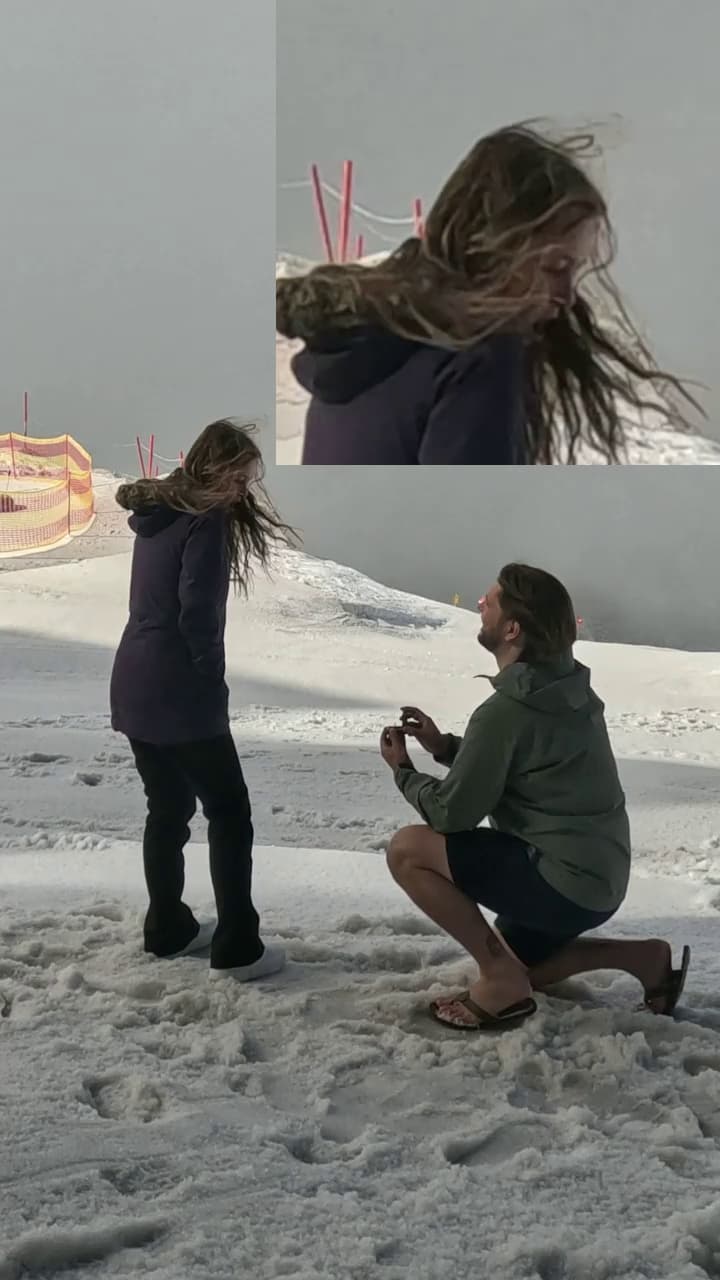
But now I think that I understand a little bit better. Please correct me if I’m wrong or am missing anything here. This is what I think I’m reading. You are an absolute beginner who has never made a piece of jewelry before, who is looking for advice to make a 3/D printed engagement ring for your fiancé to be cast in white gold with a handmade bezel set opal.

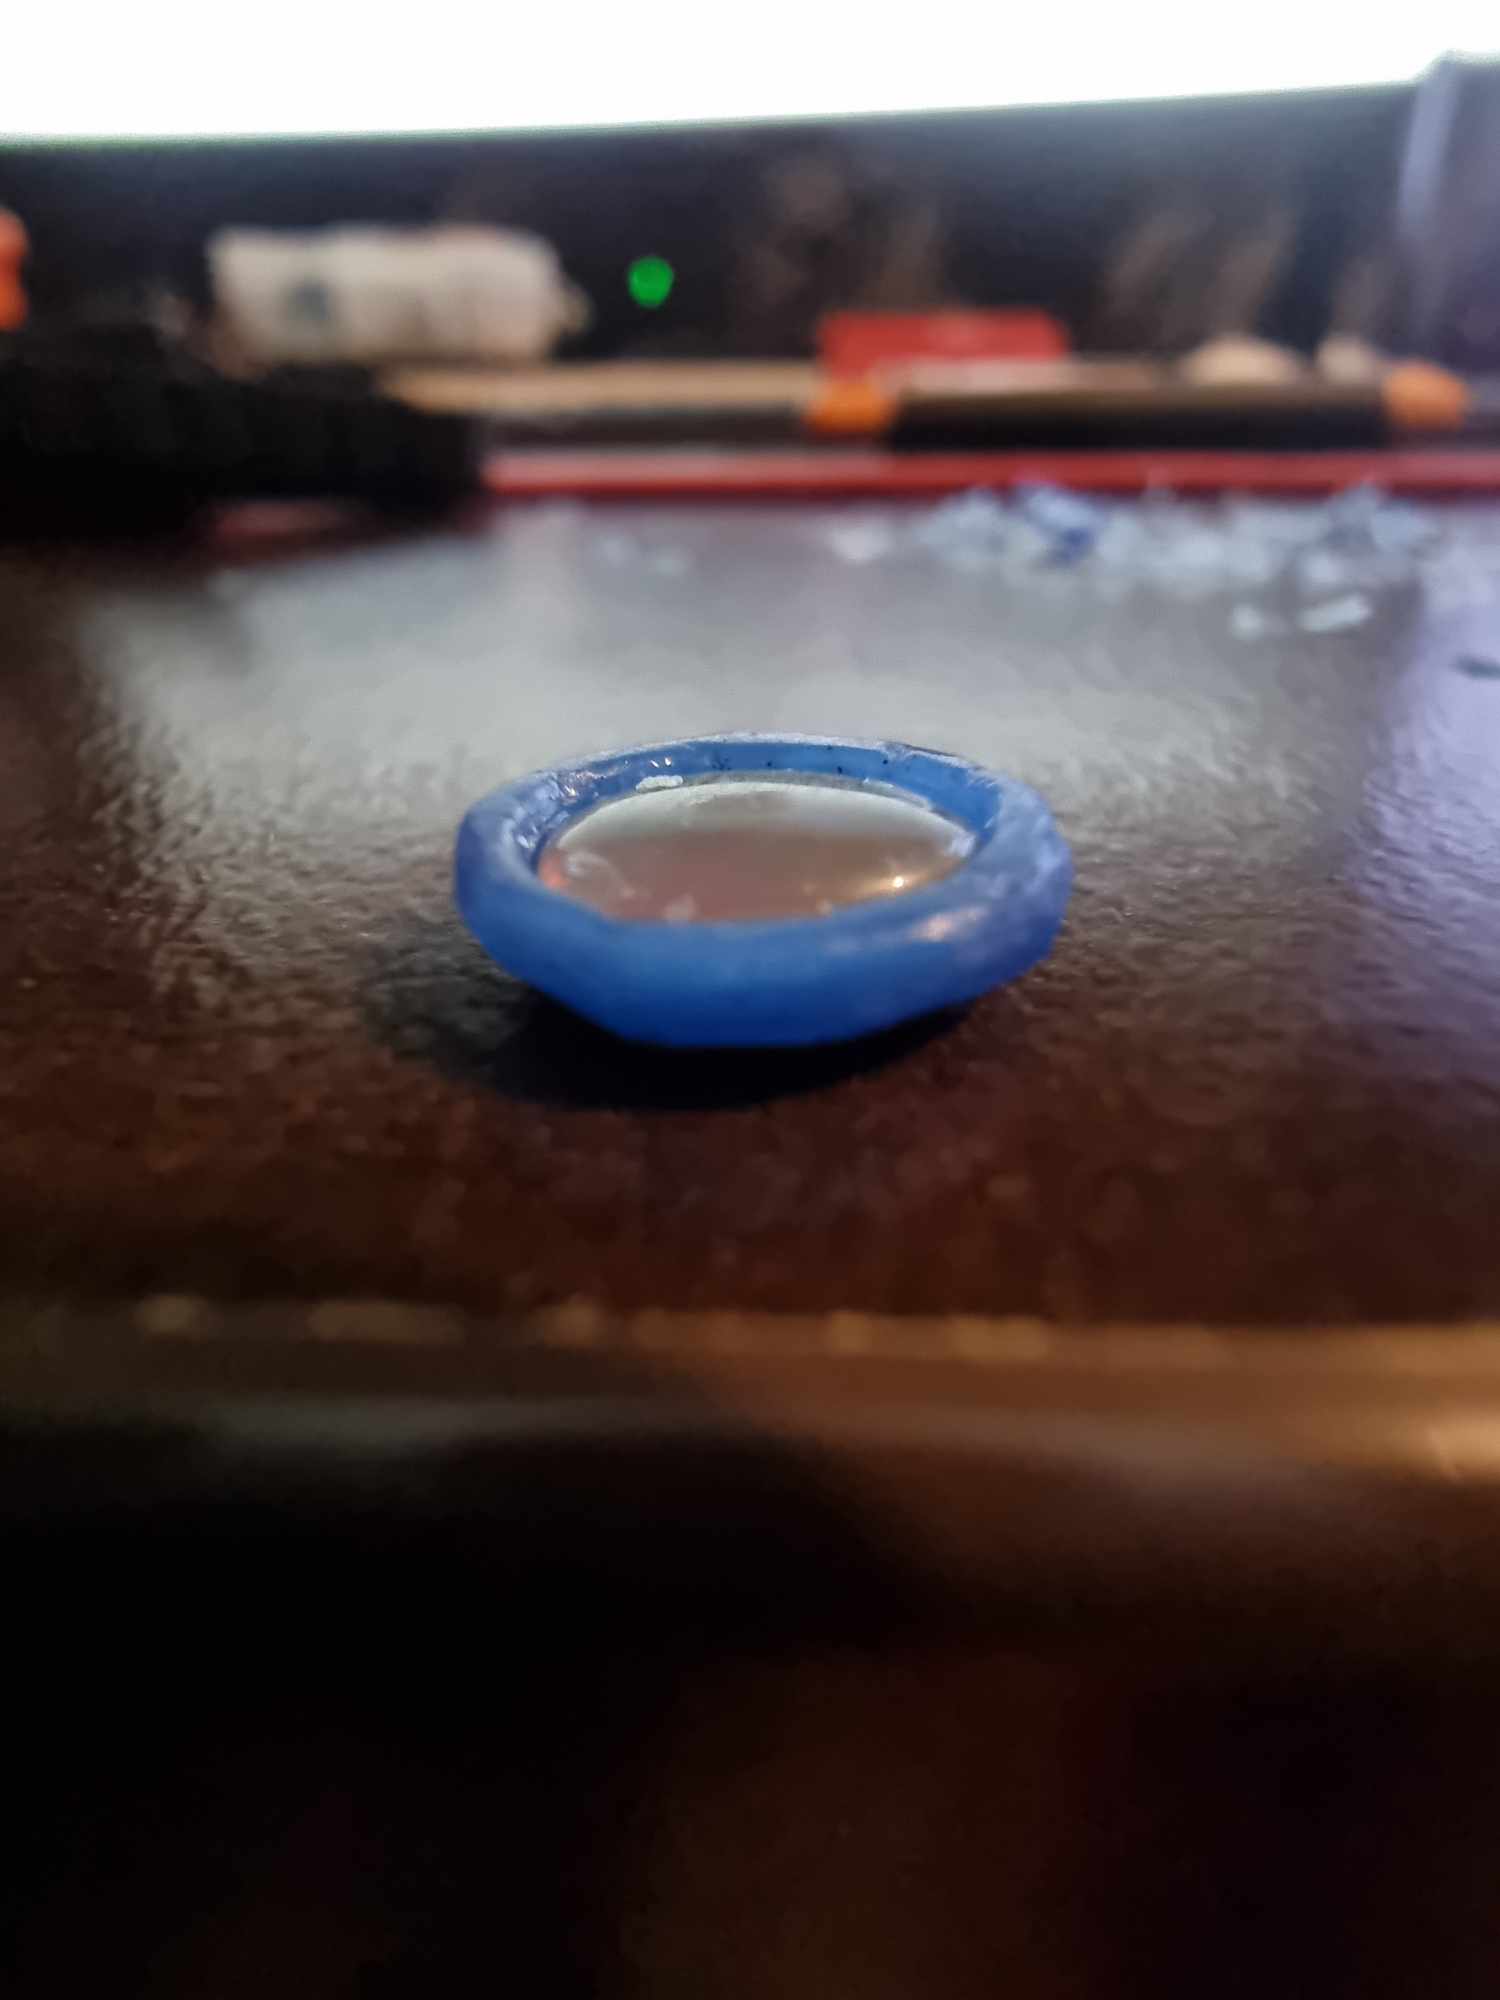
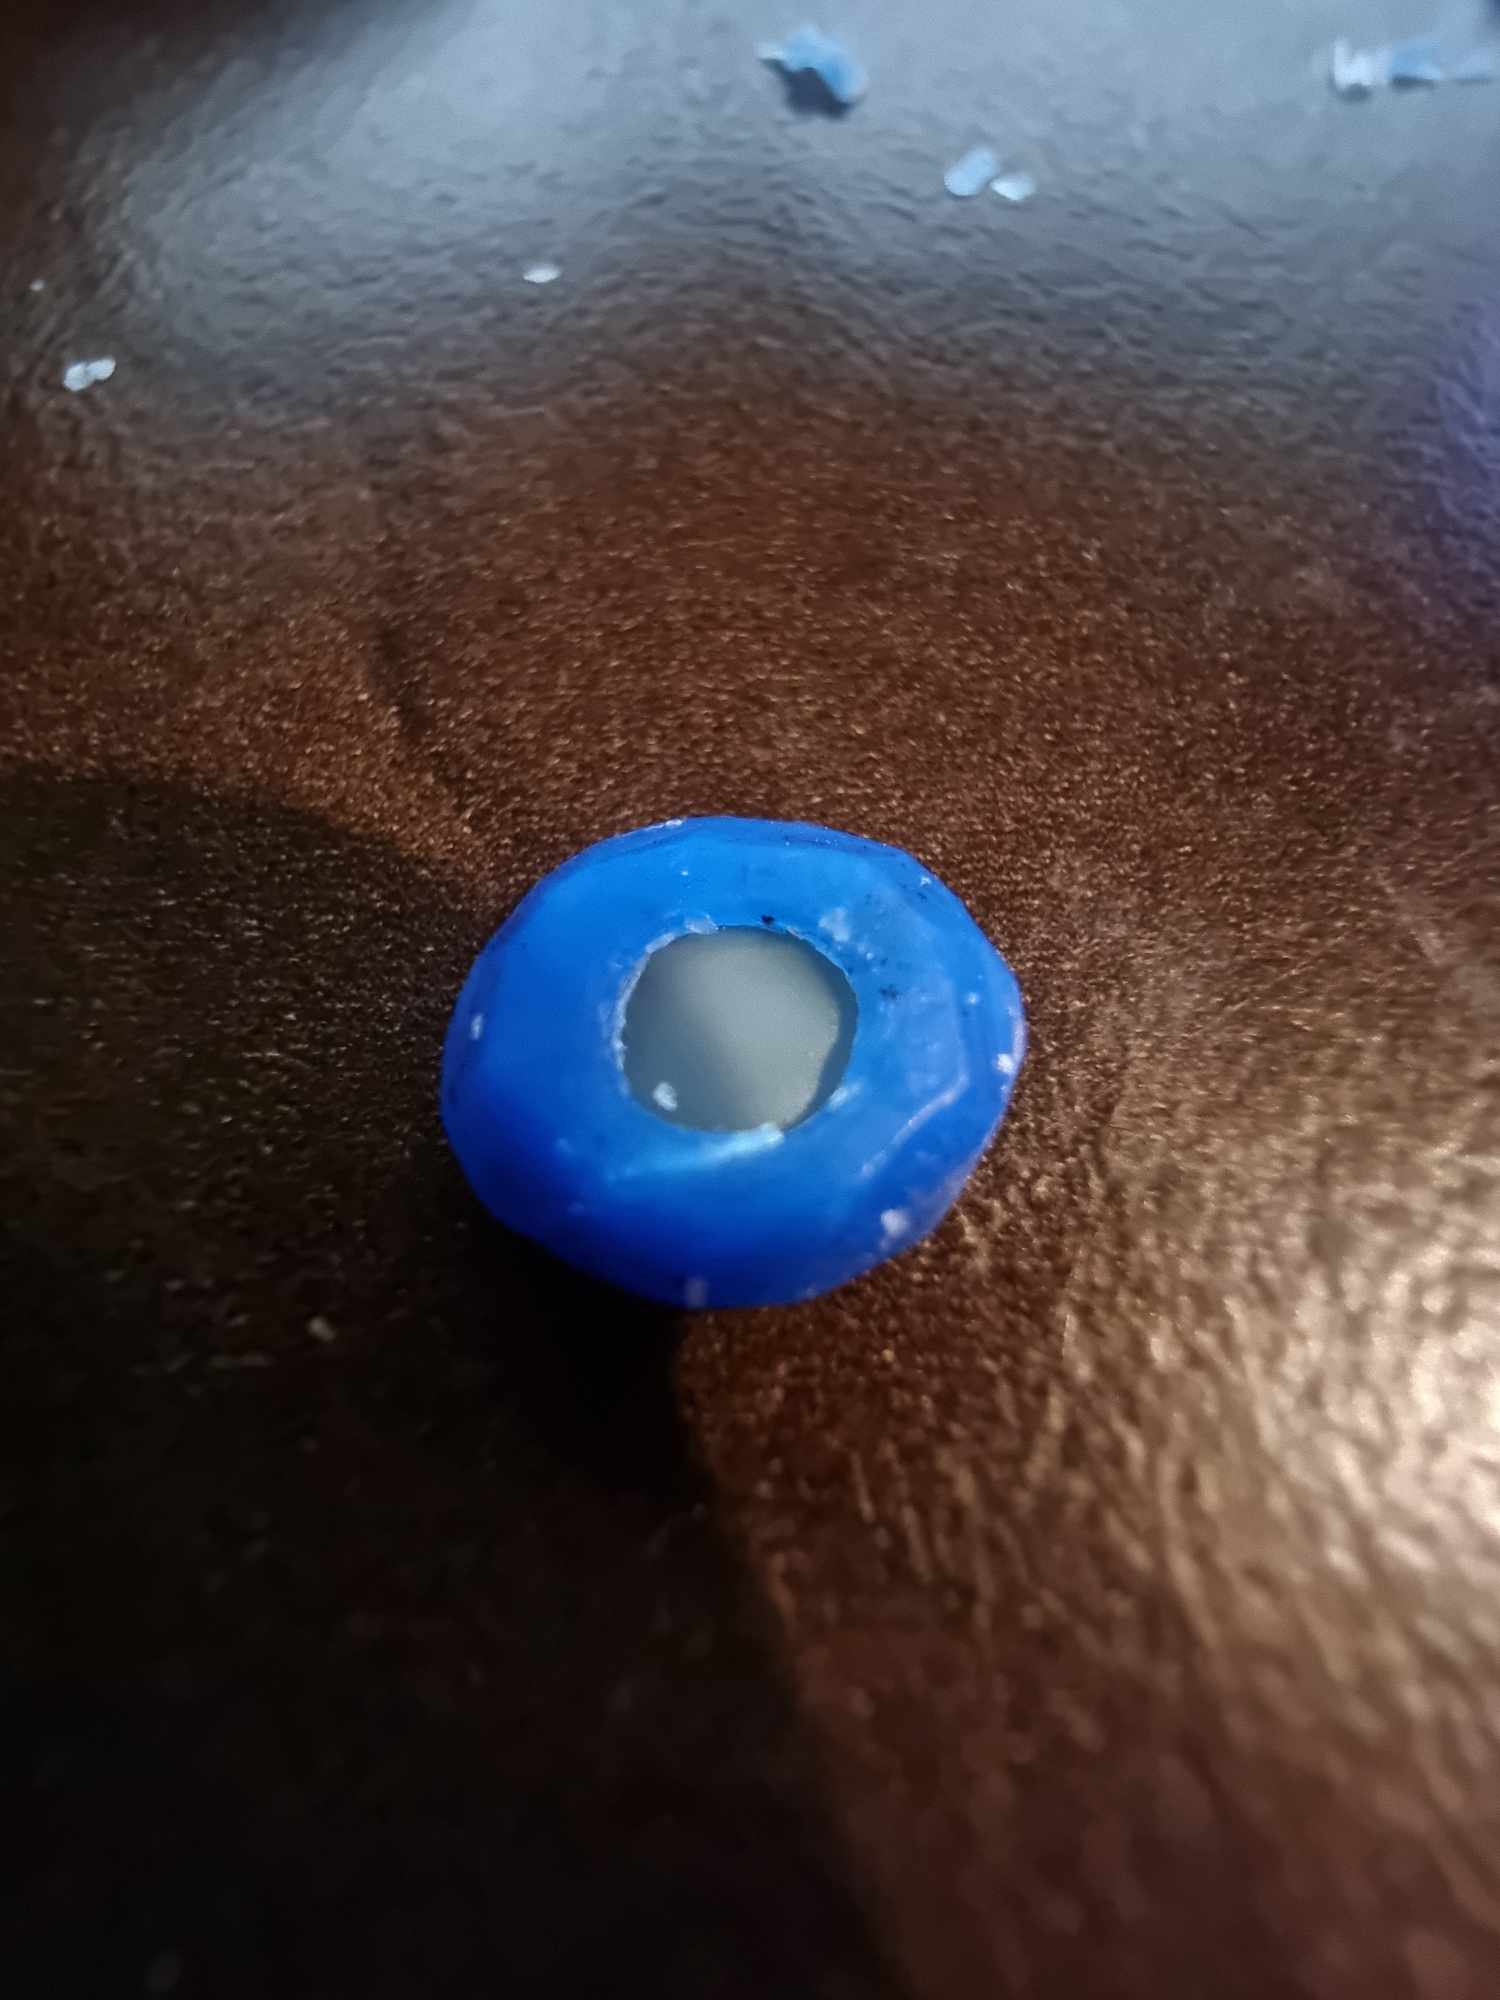
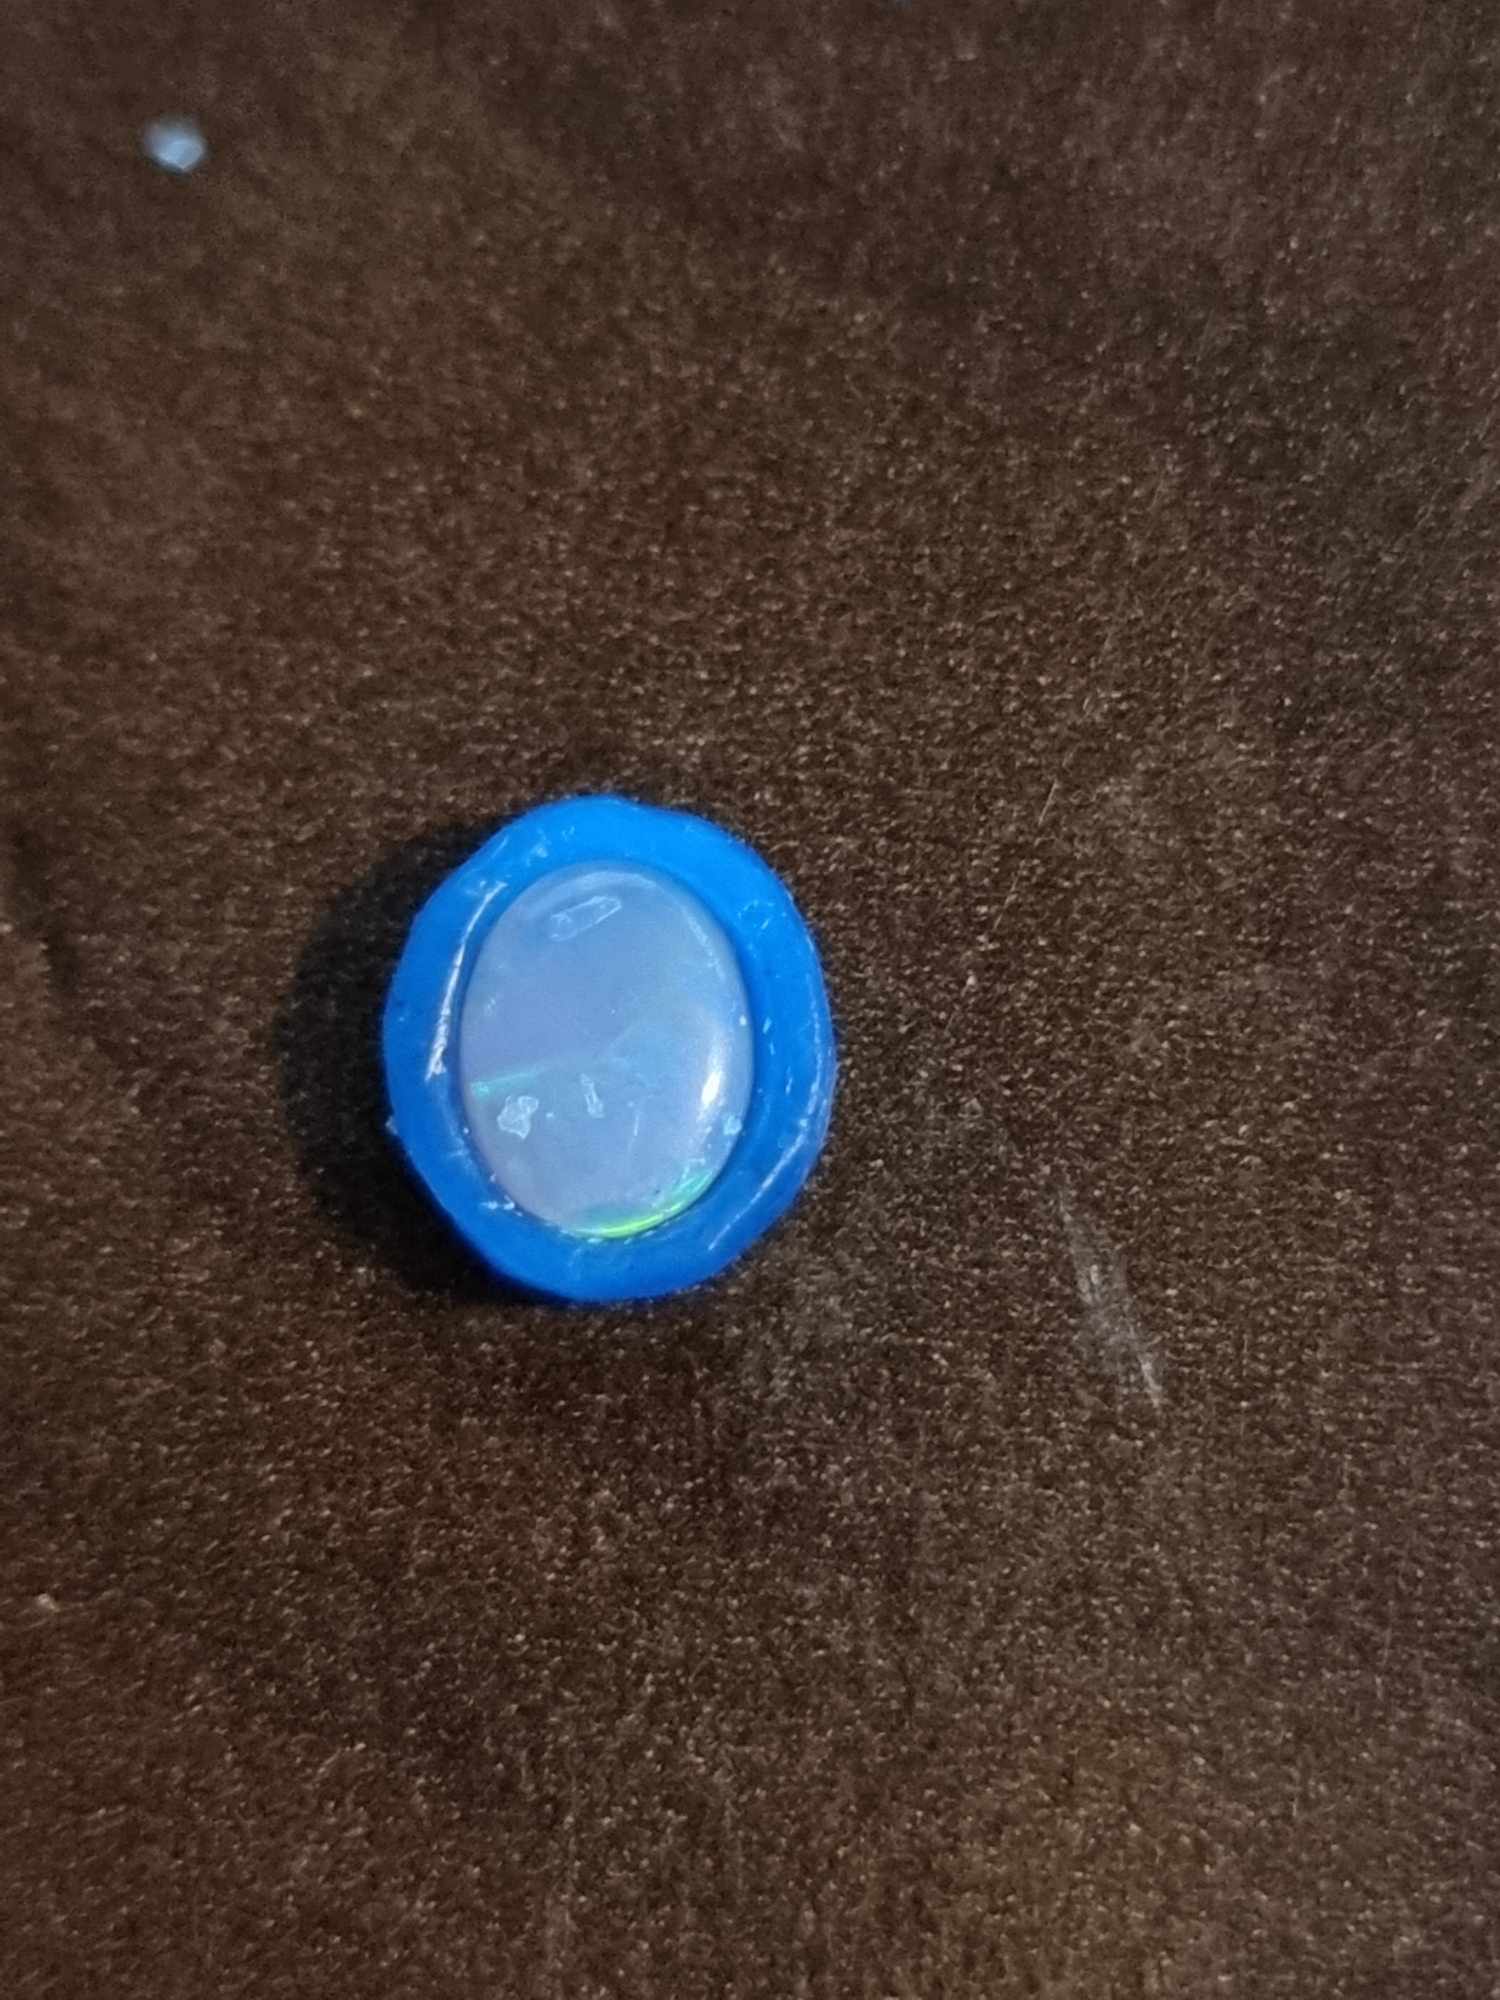
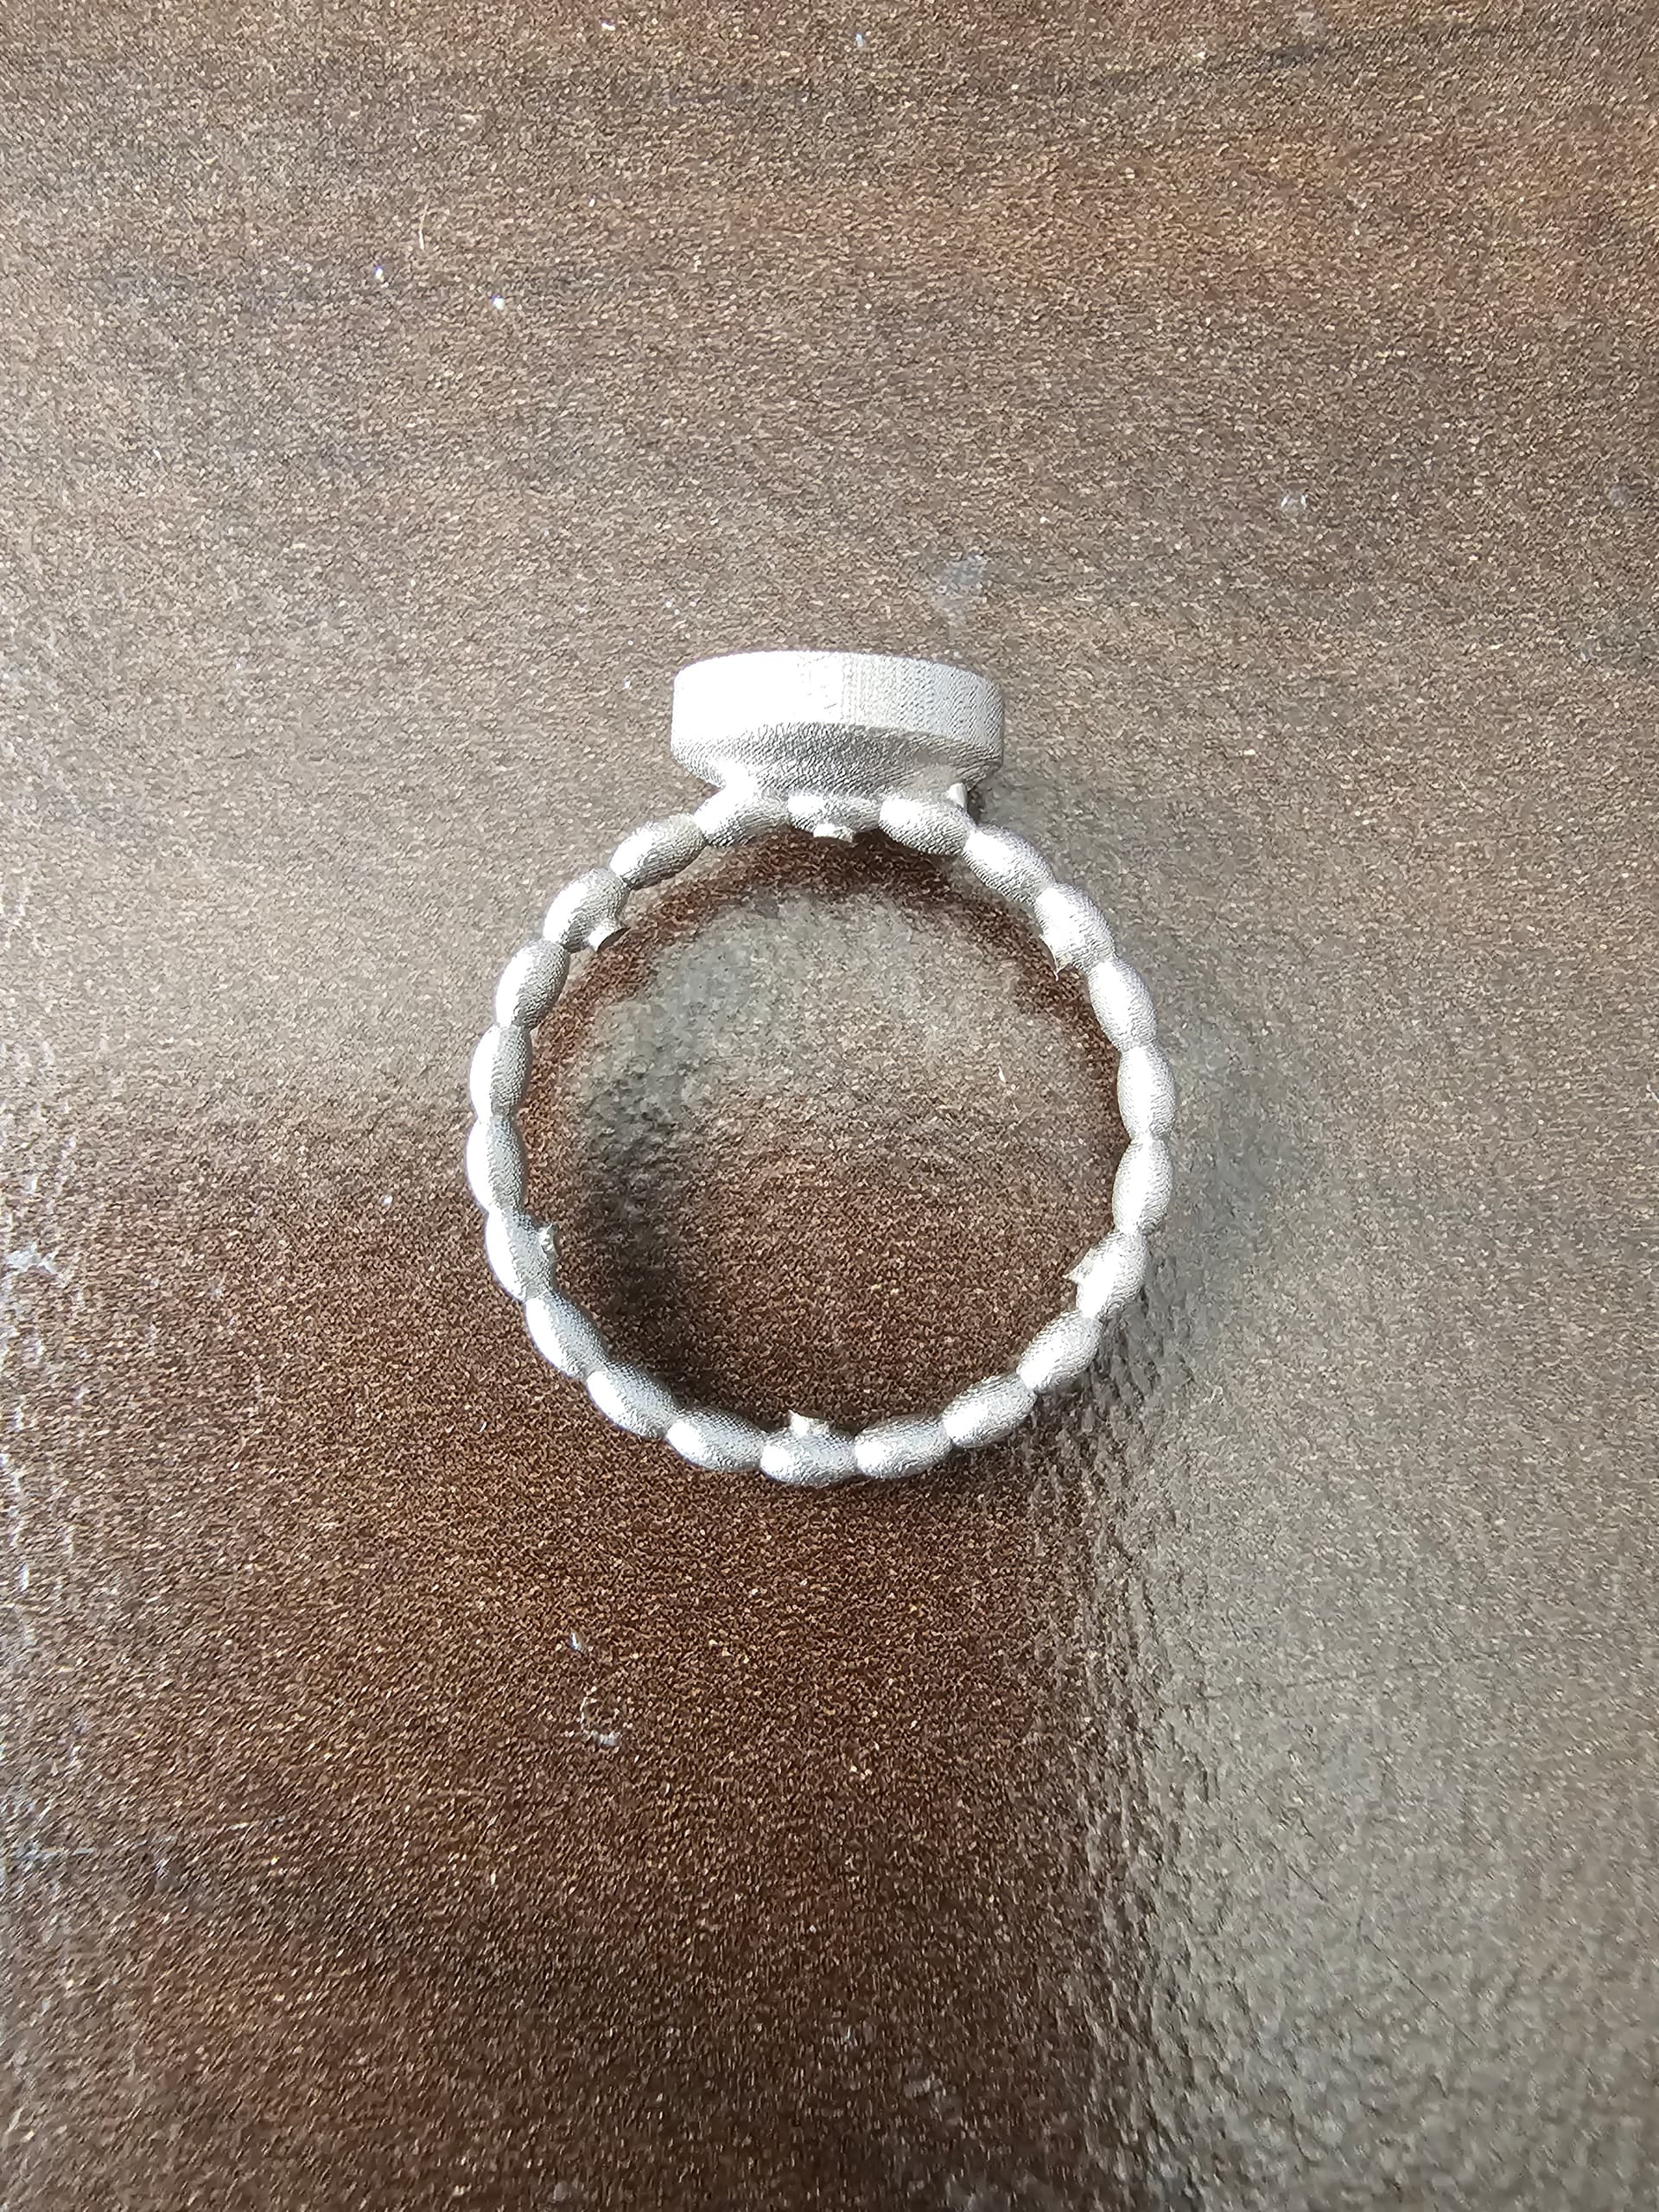
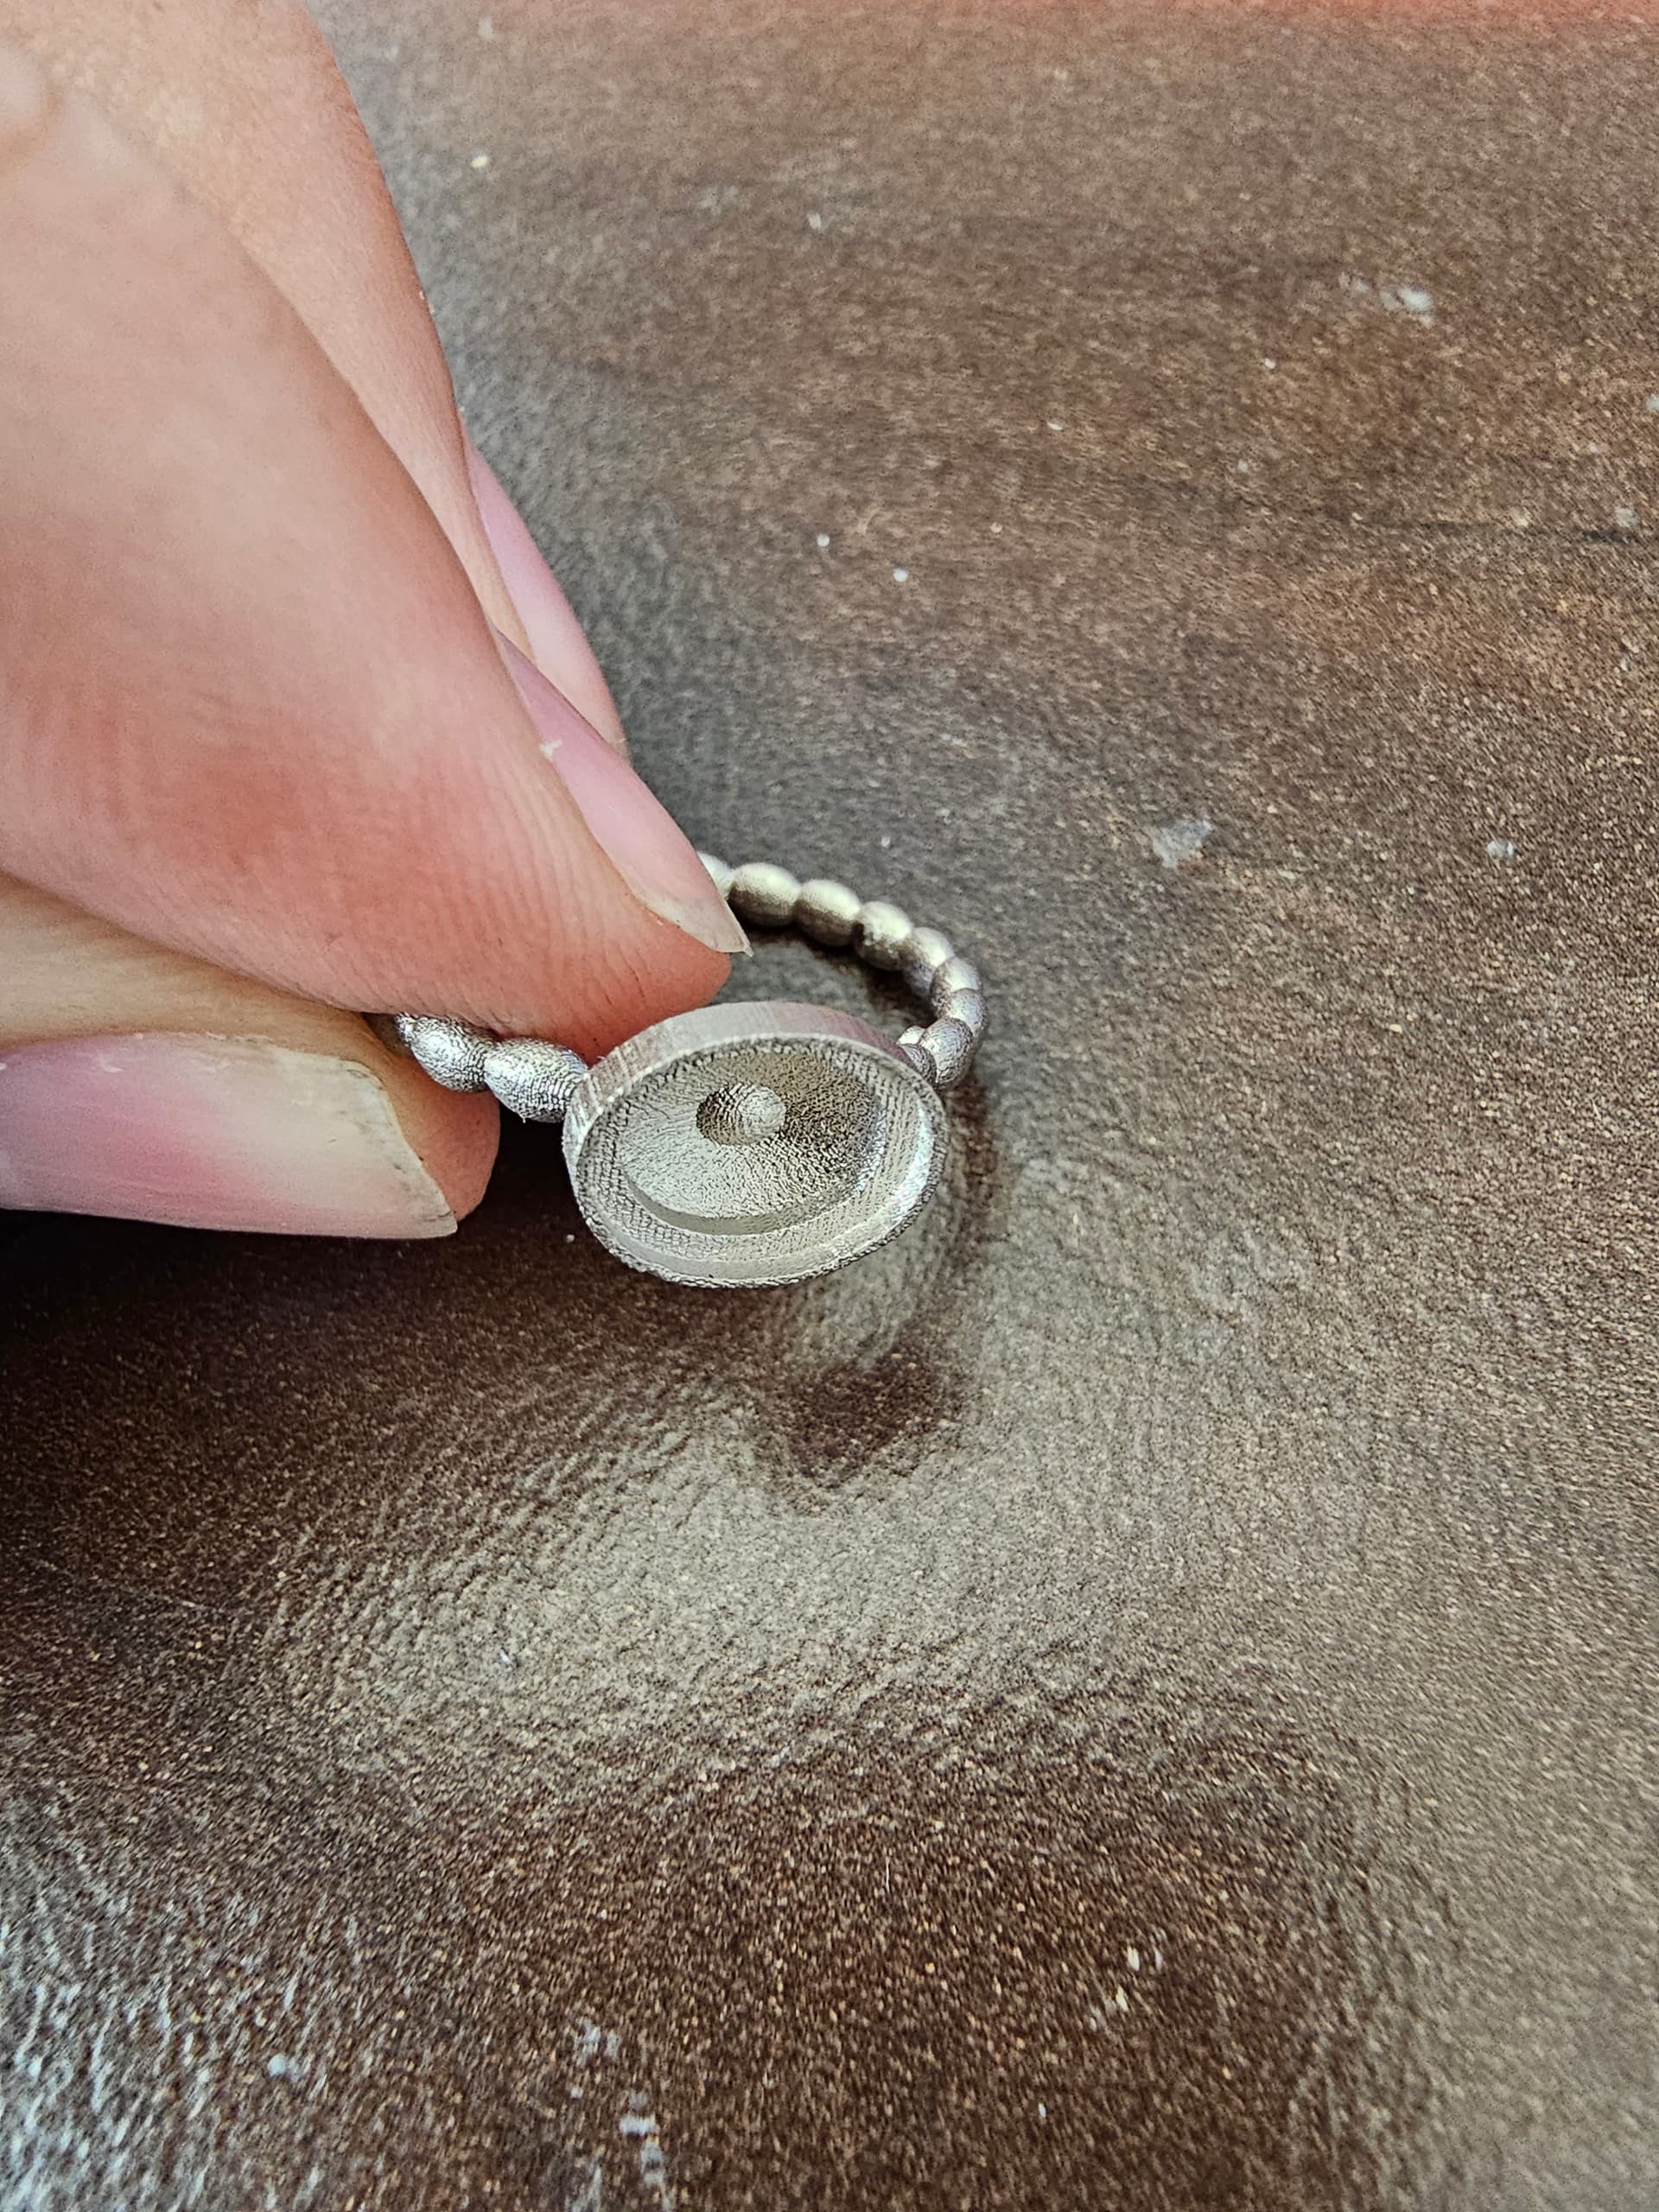
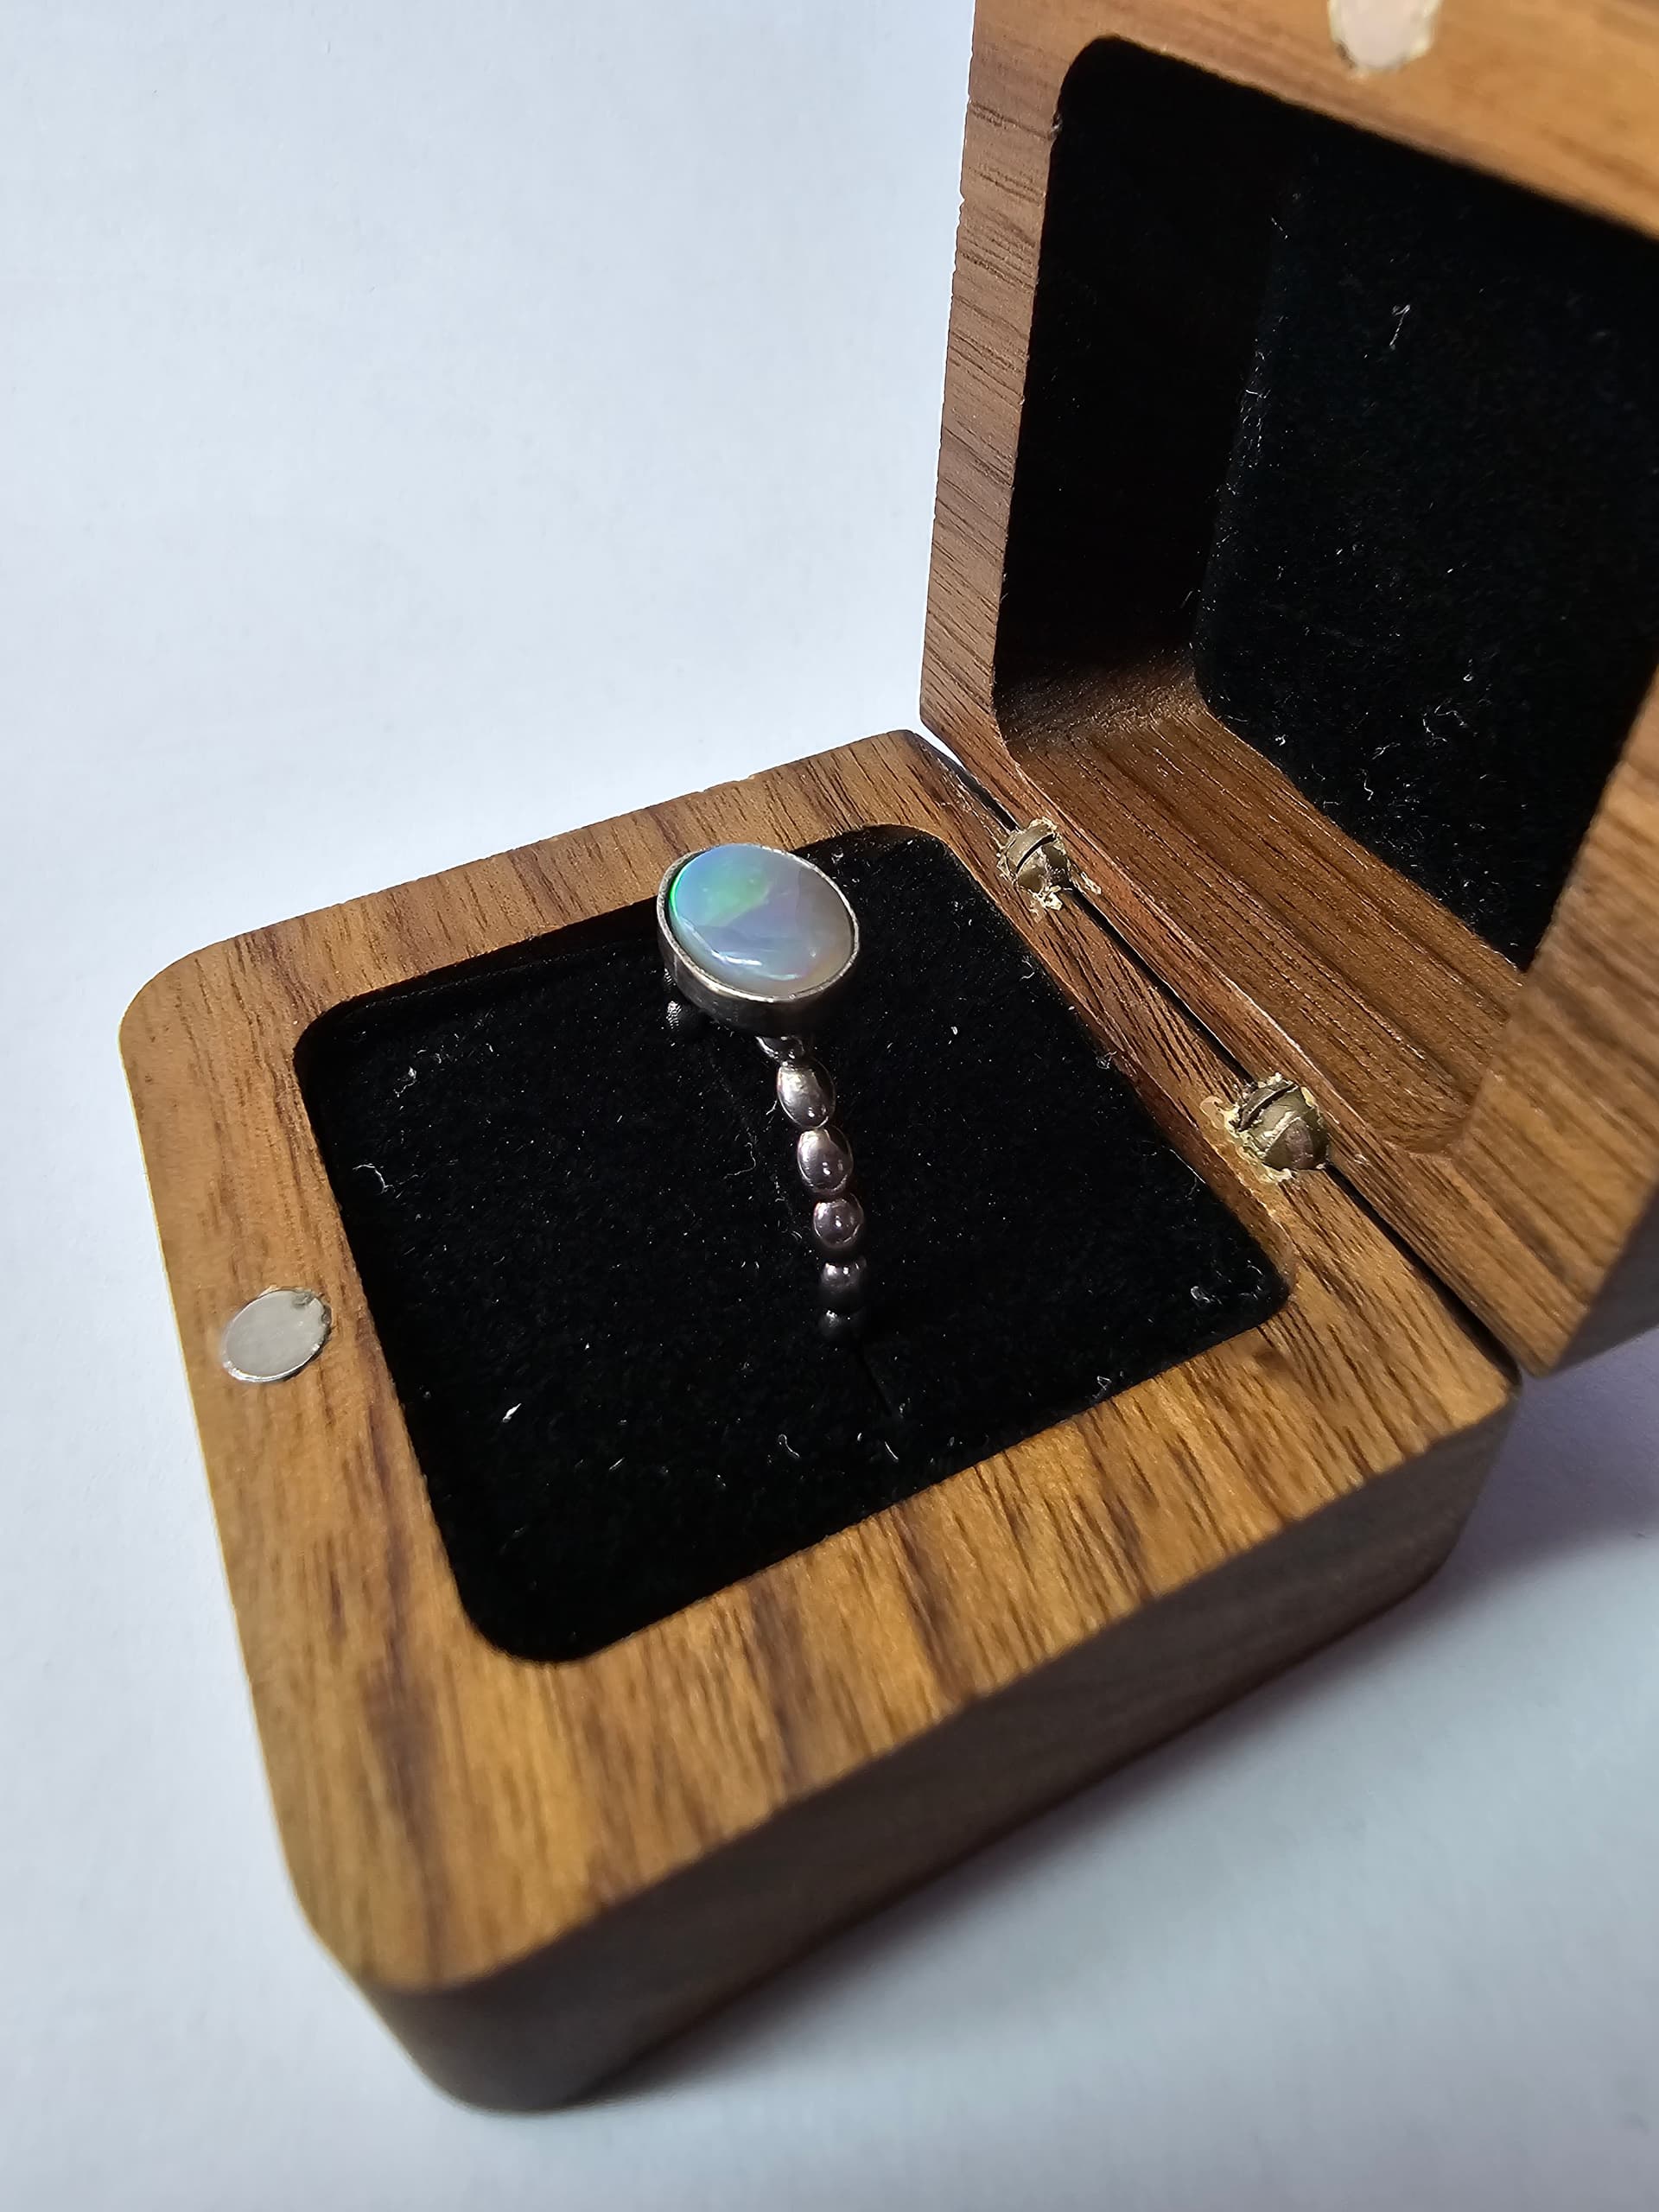
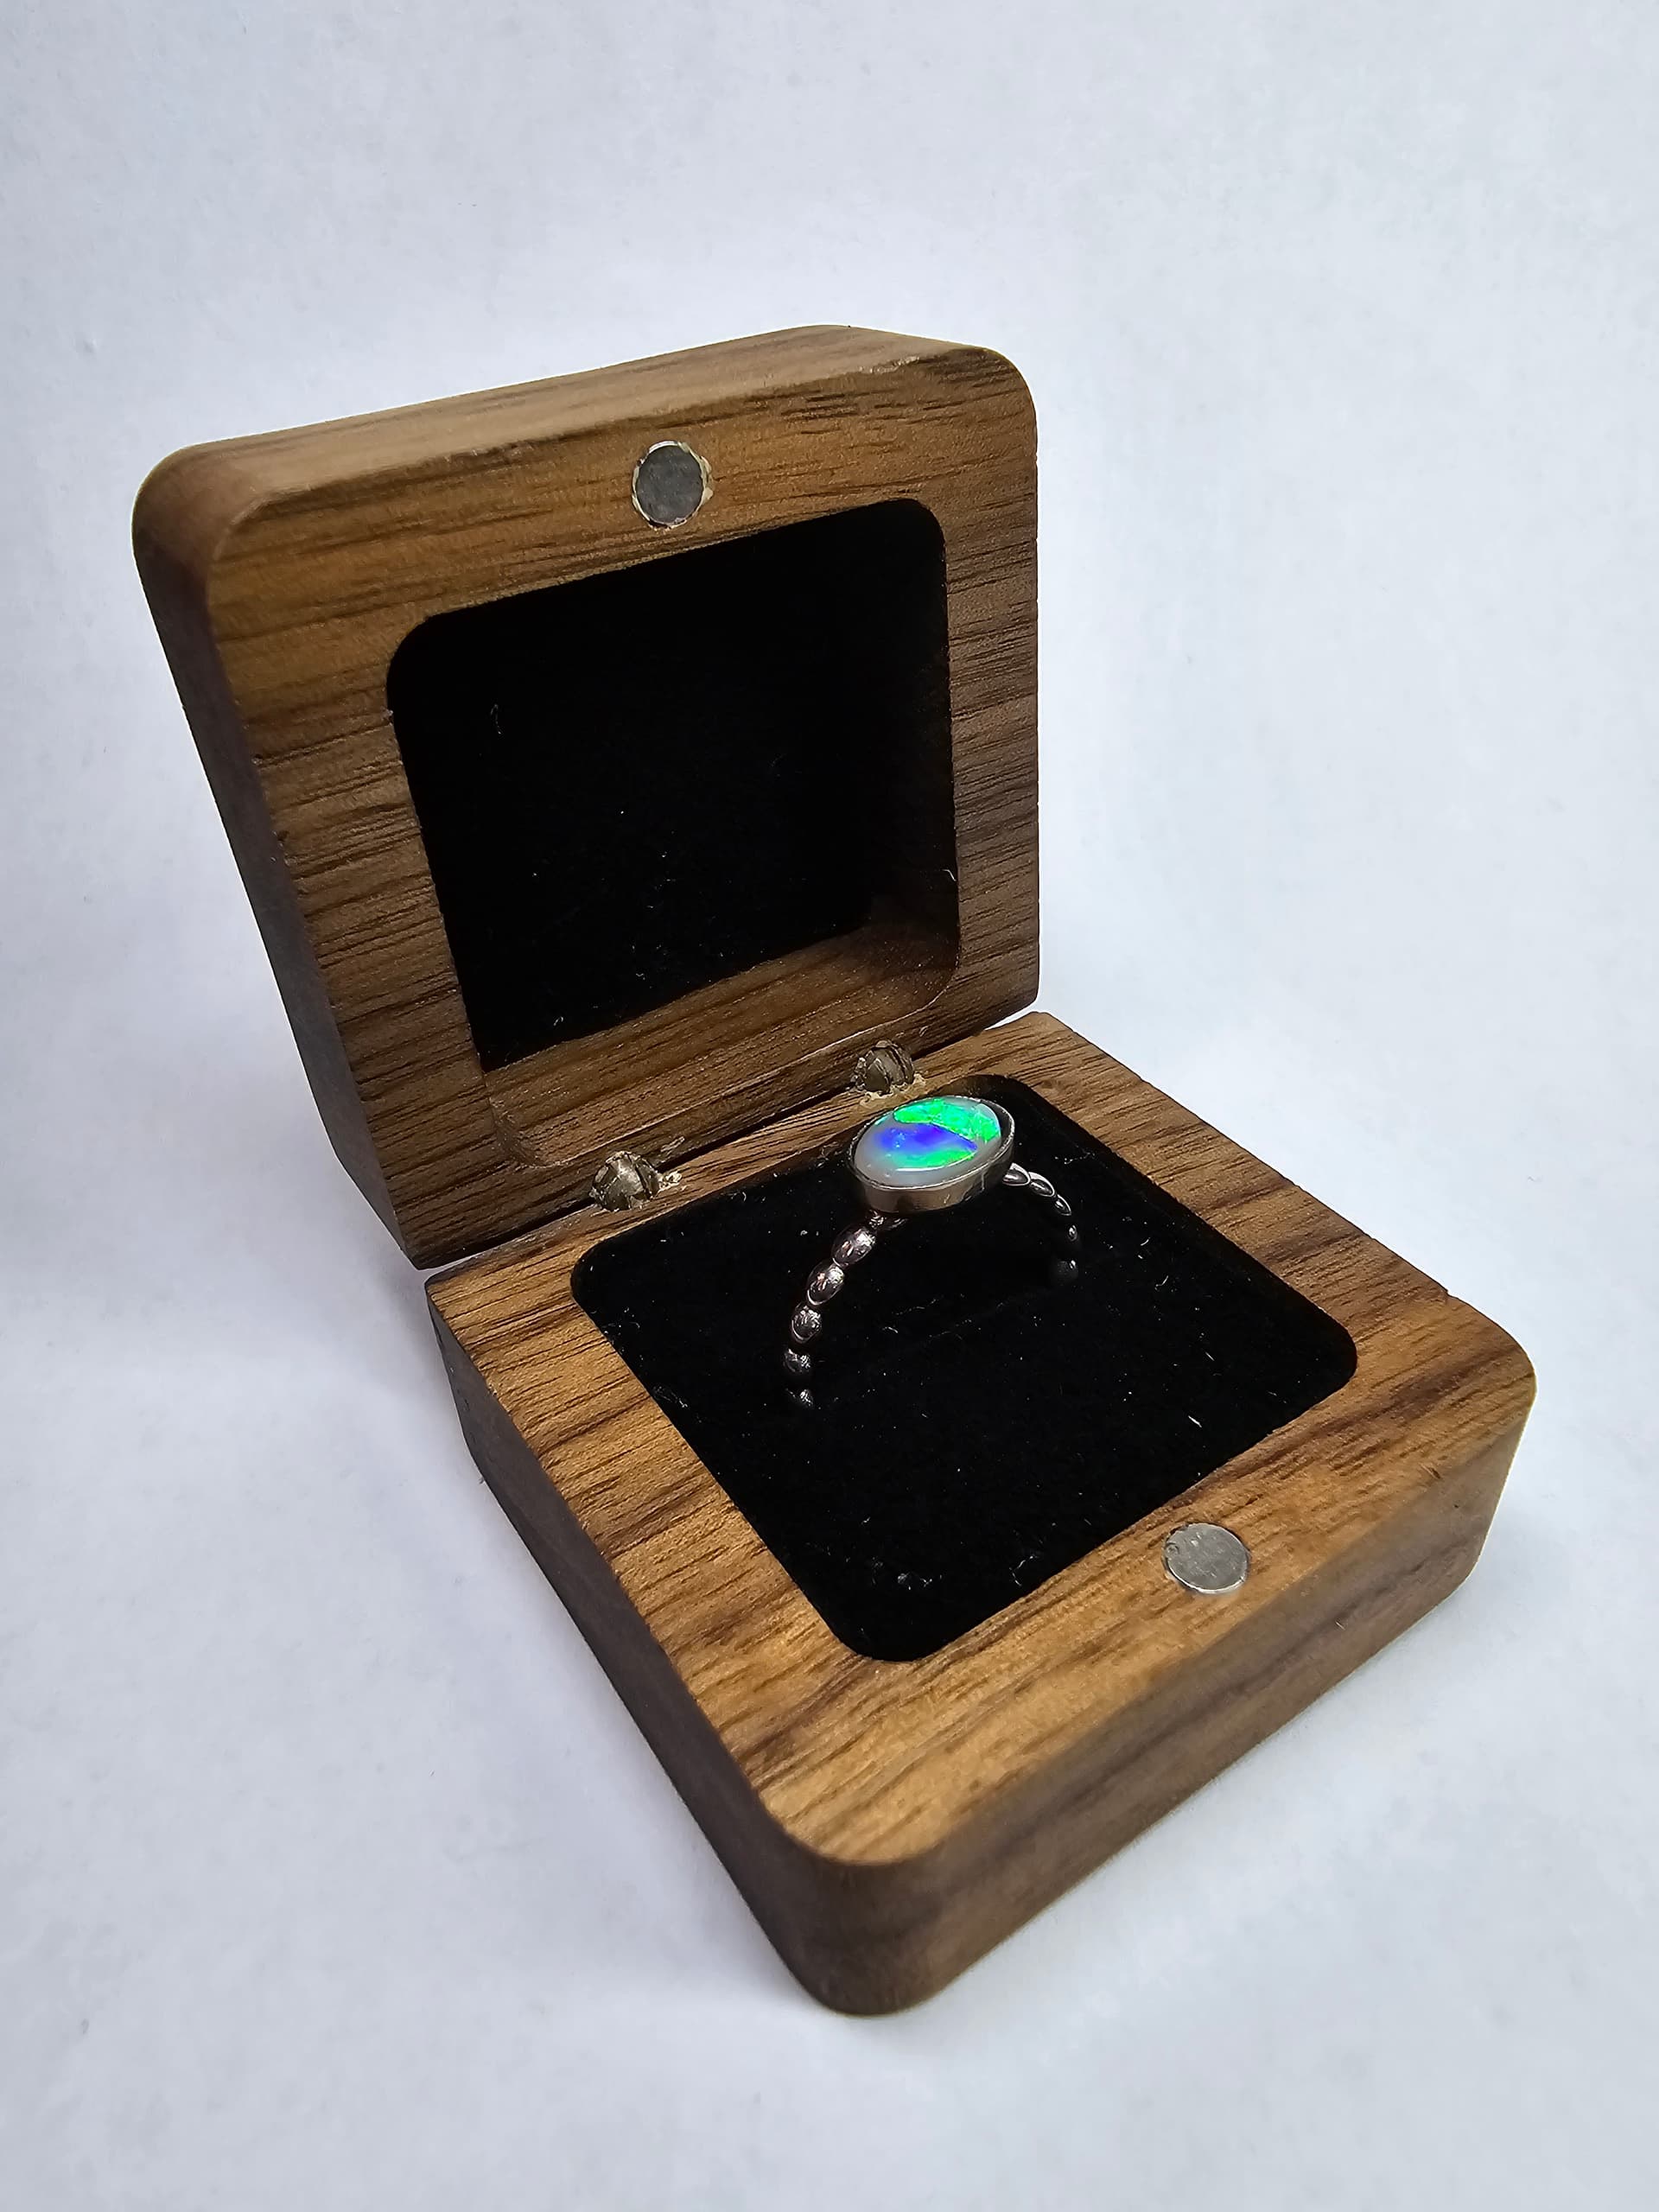
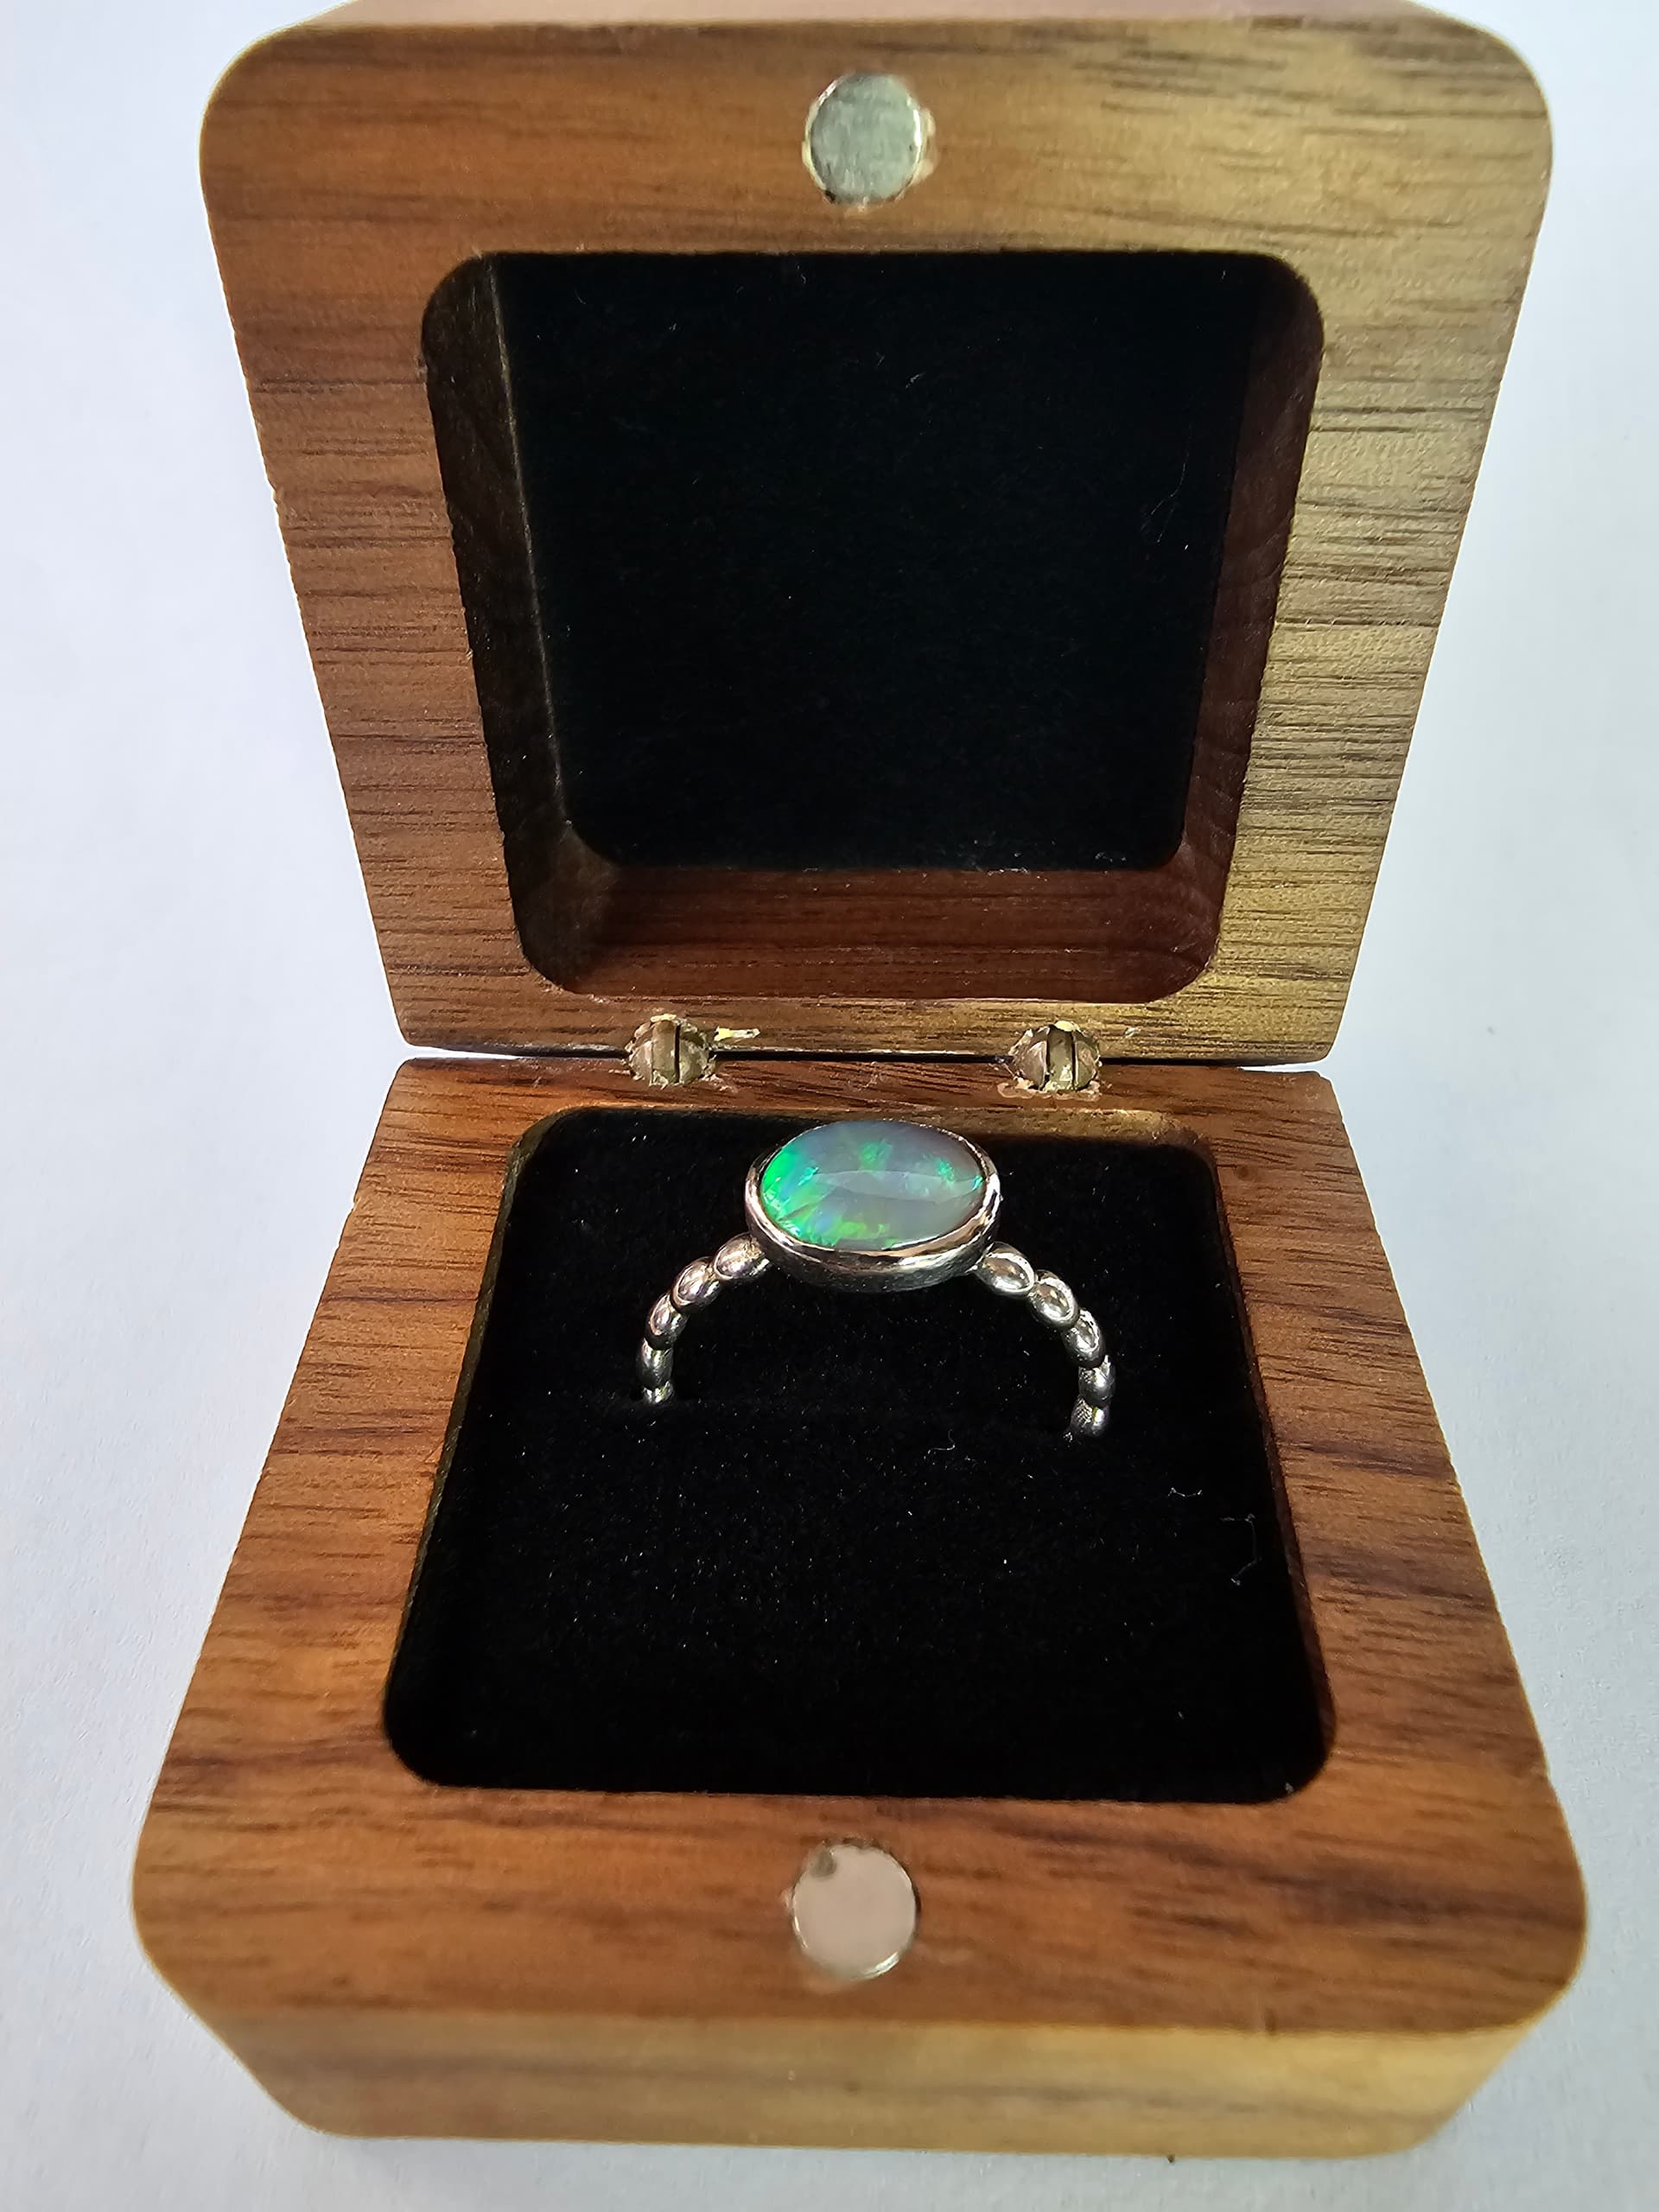
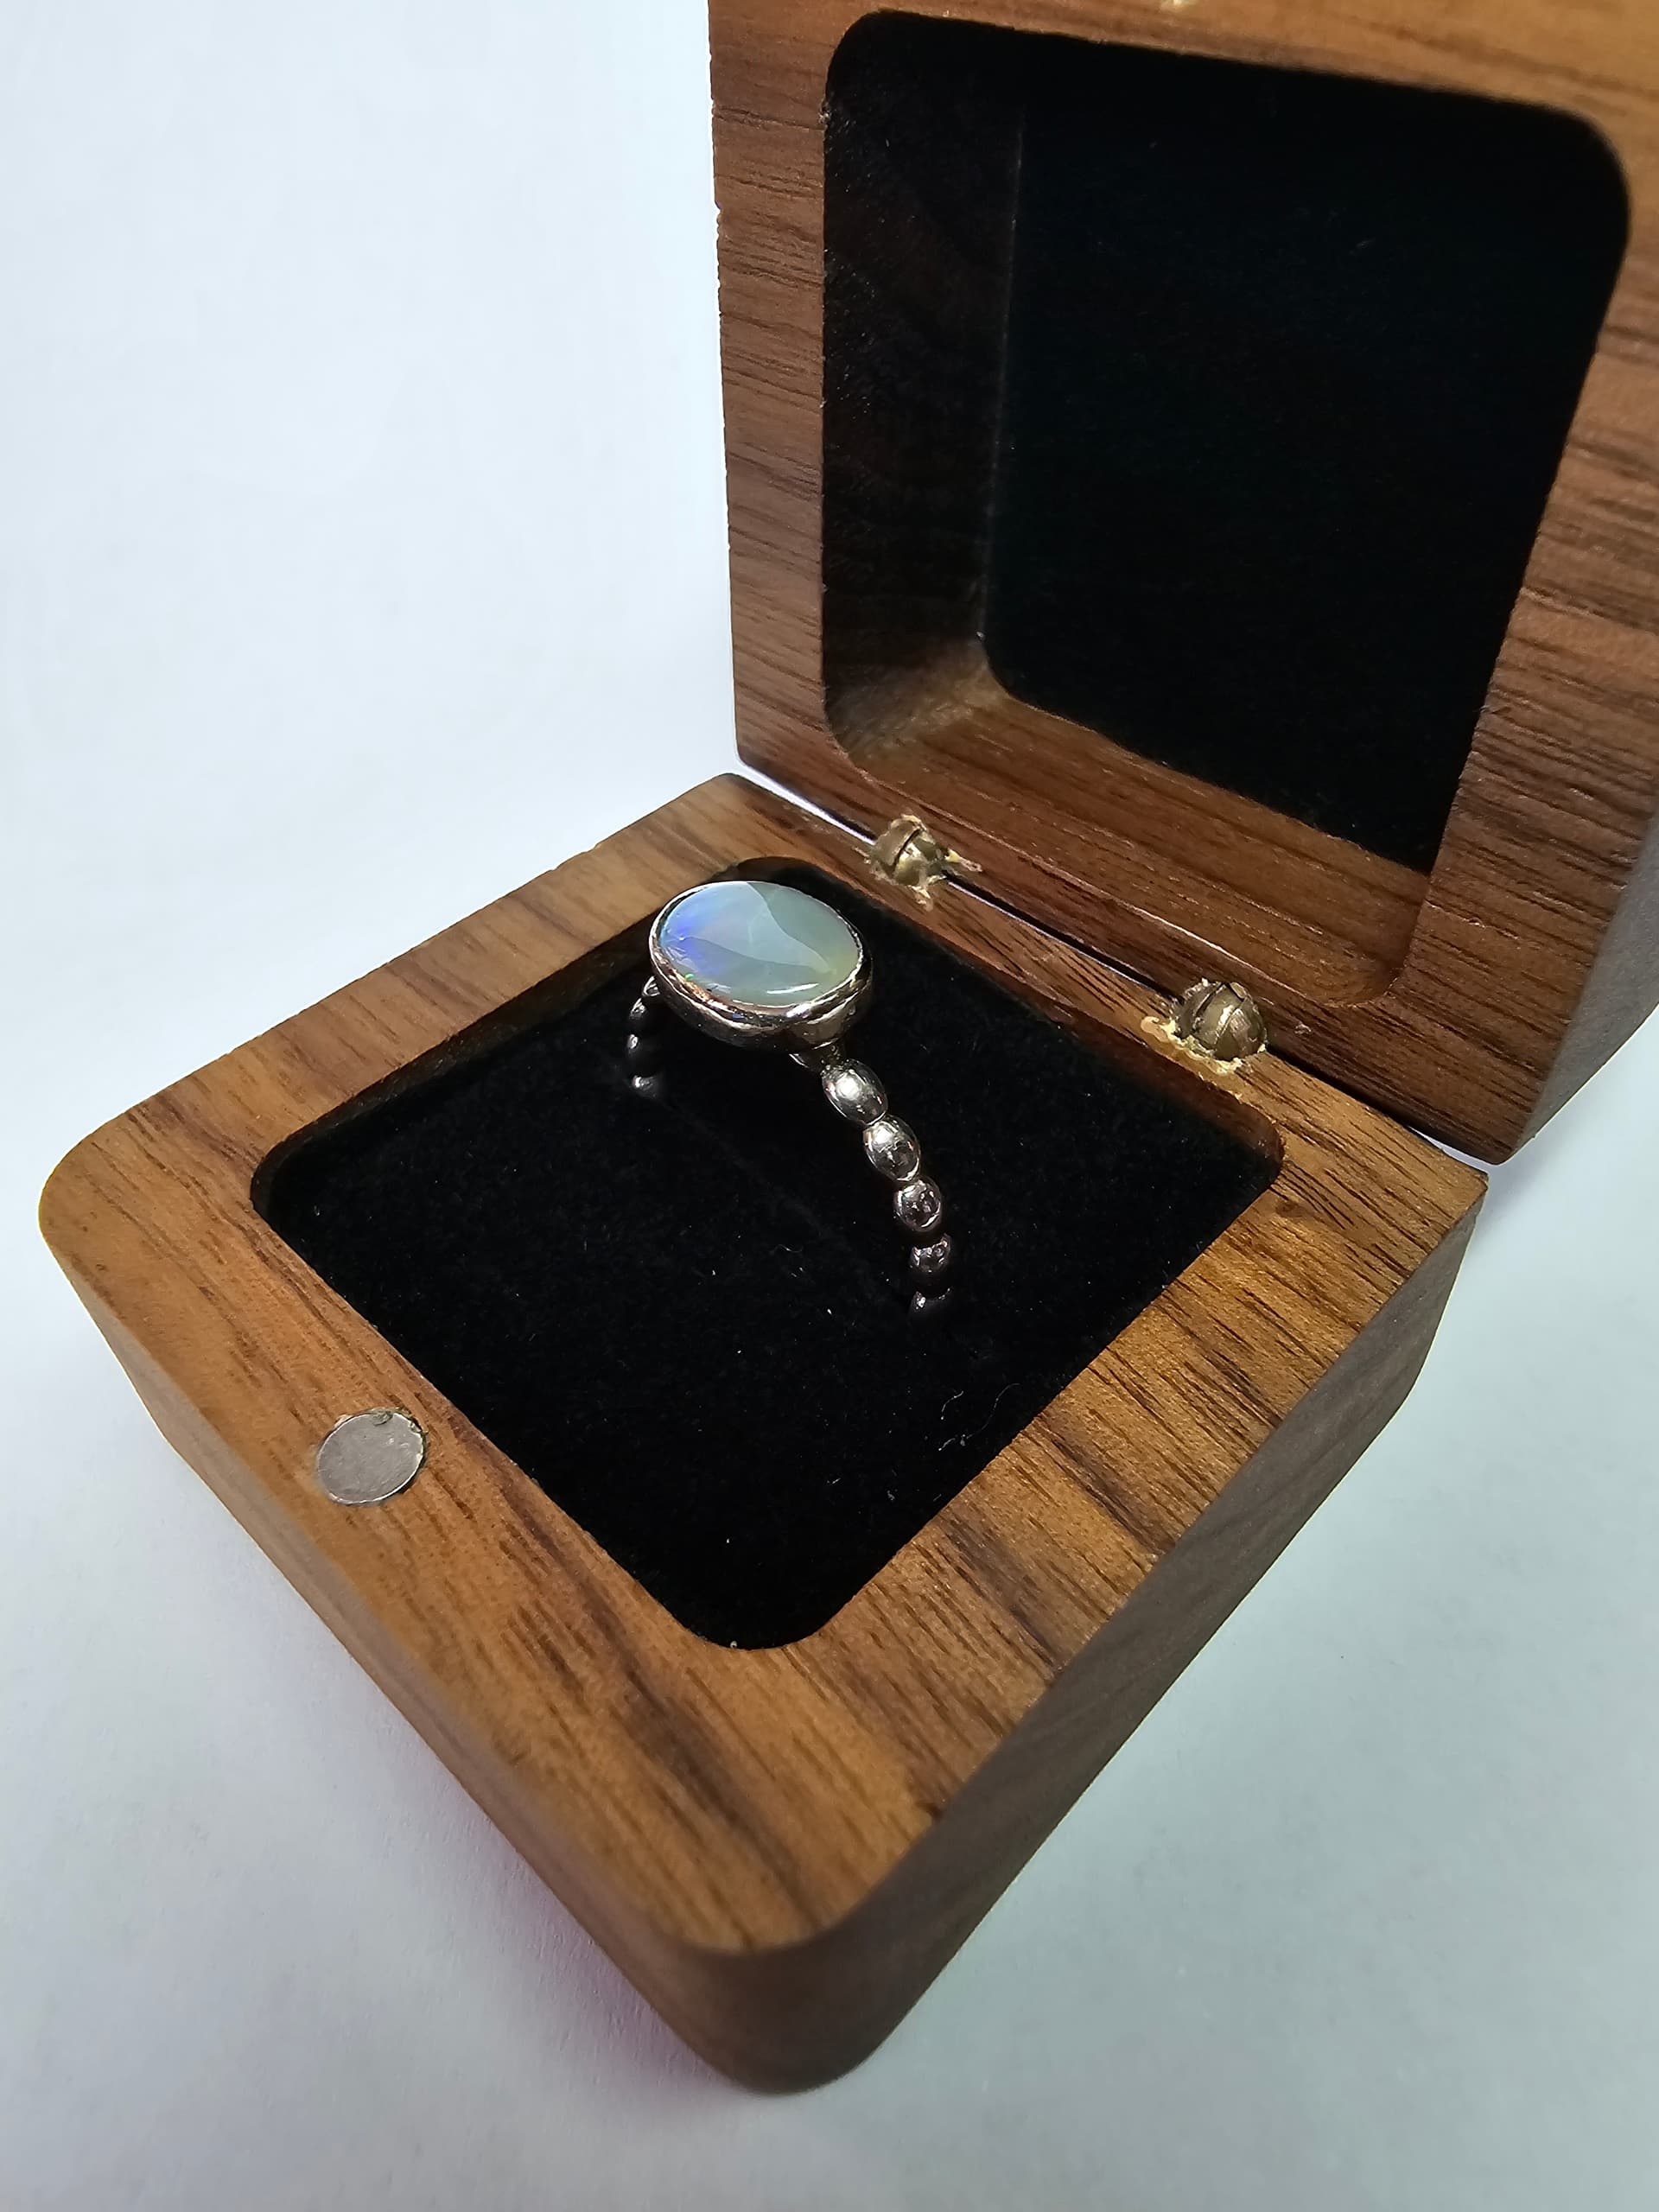
For an absolute beginner, you did a fantastic job with making your wax bezel!

That said, and this is just my opinion, this is a situation where you should hire a professional jeweler to make this ring for you. As Jo said, an engagement ring is a lifelong, everyday ring. White gold is much harder to work with than yellow gold. A professional jewelry artist can set this stone correctly like how Tjones79 has described.

For sure what Tjones79 said is imperative. You need to practice first. Make an exact duplicate practice ring out of sterling silver with a cabochon stone that is the same size.

But you also describe that you don’t have much time, that there is an approaching deadline.

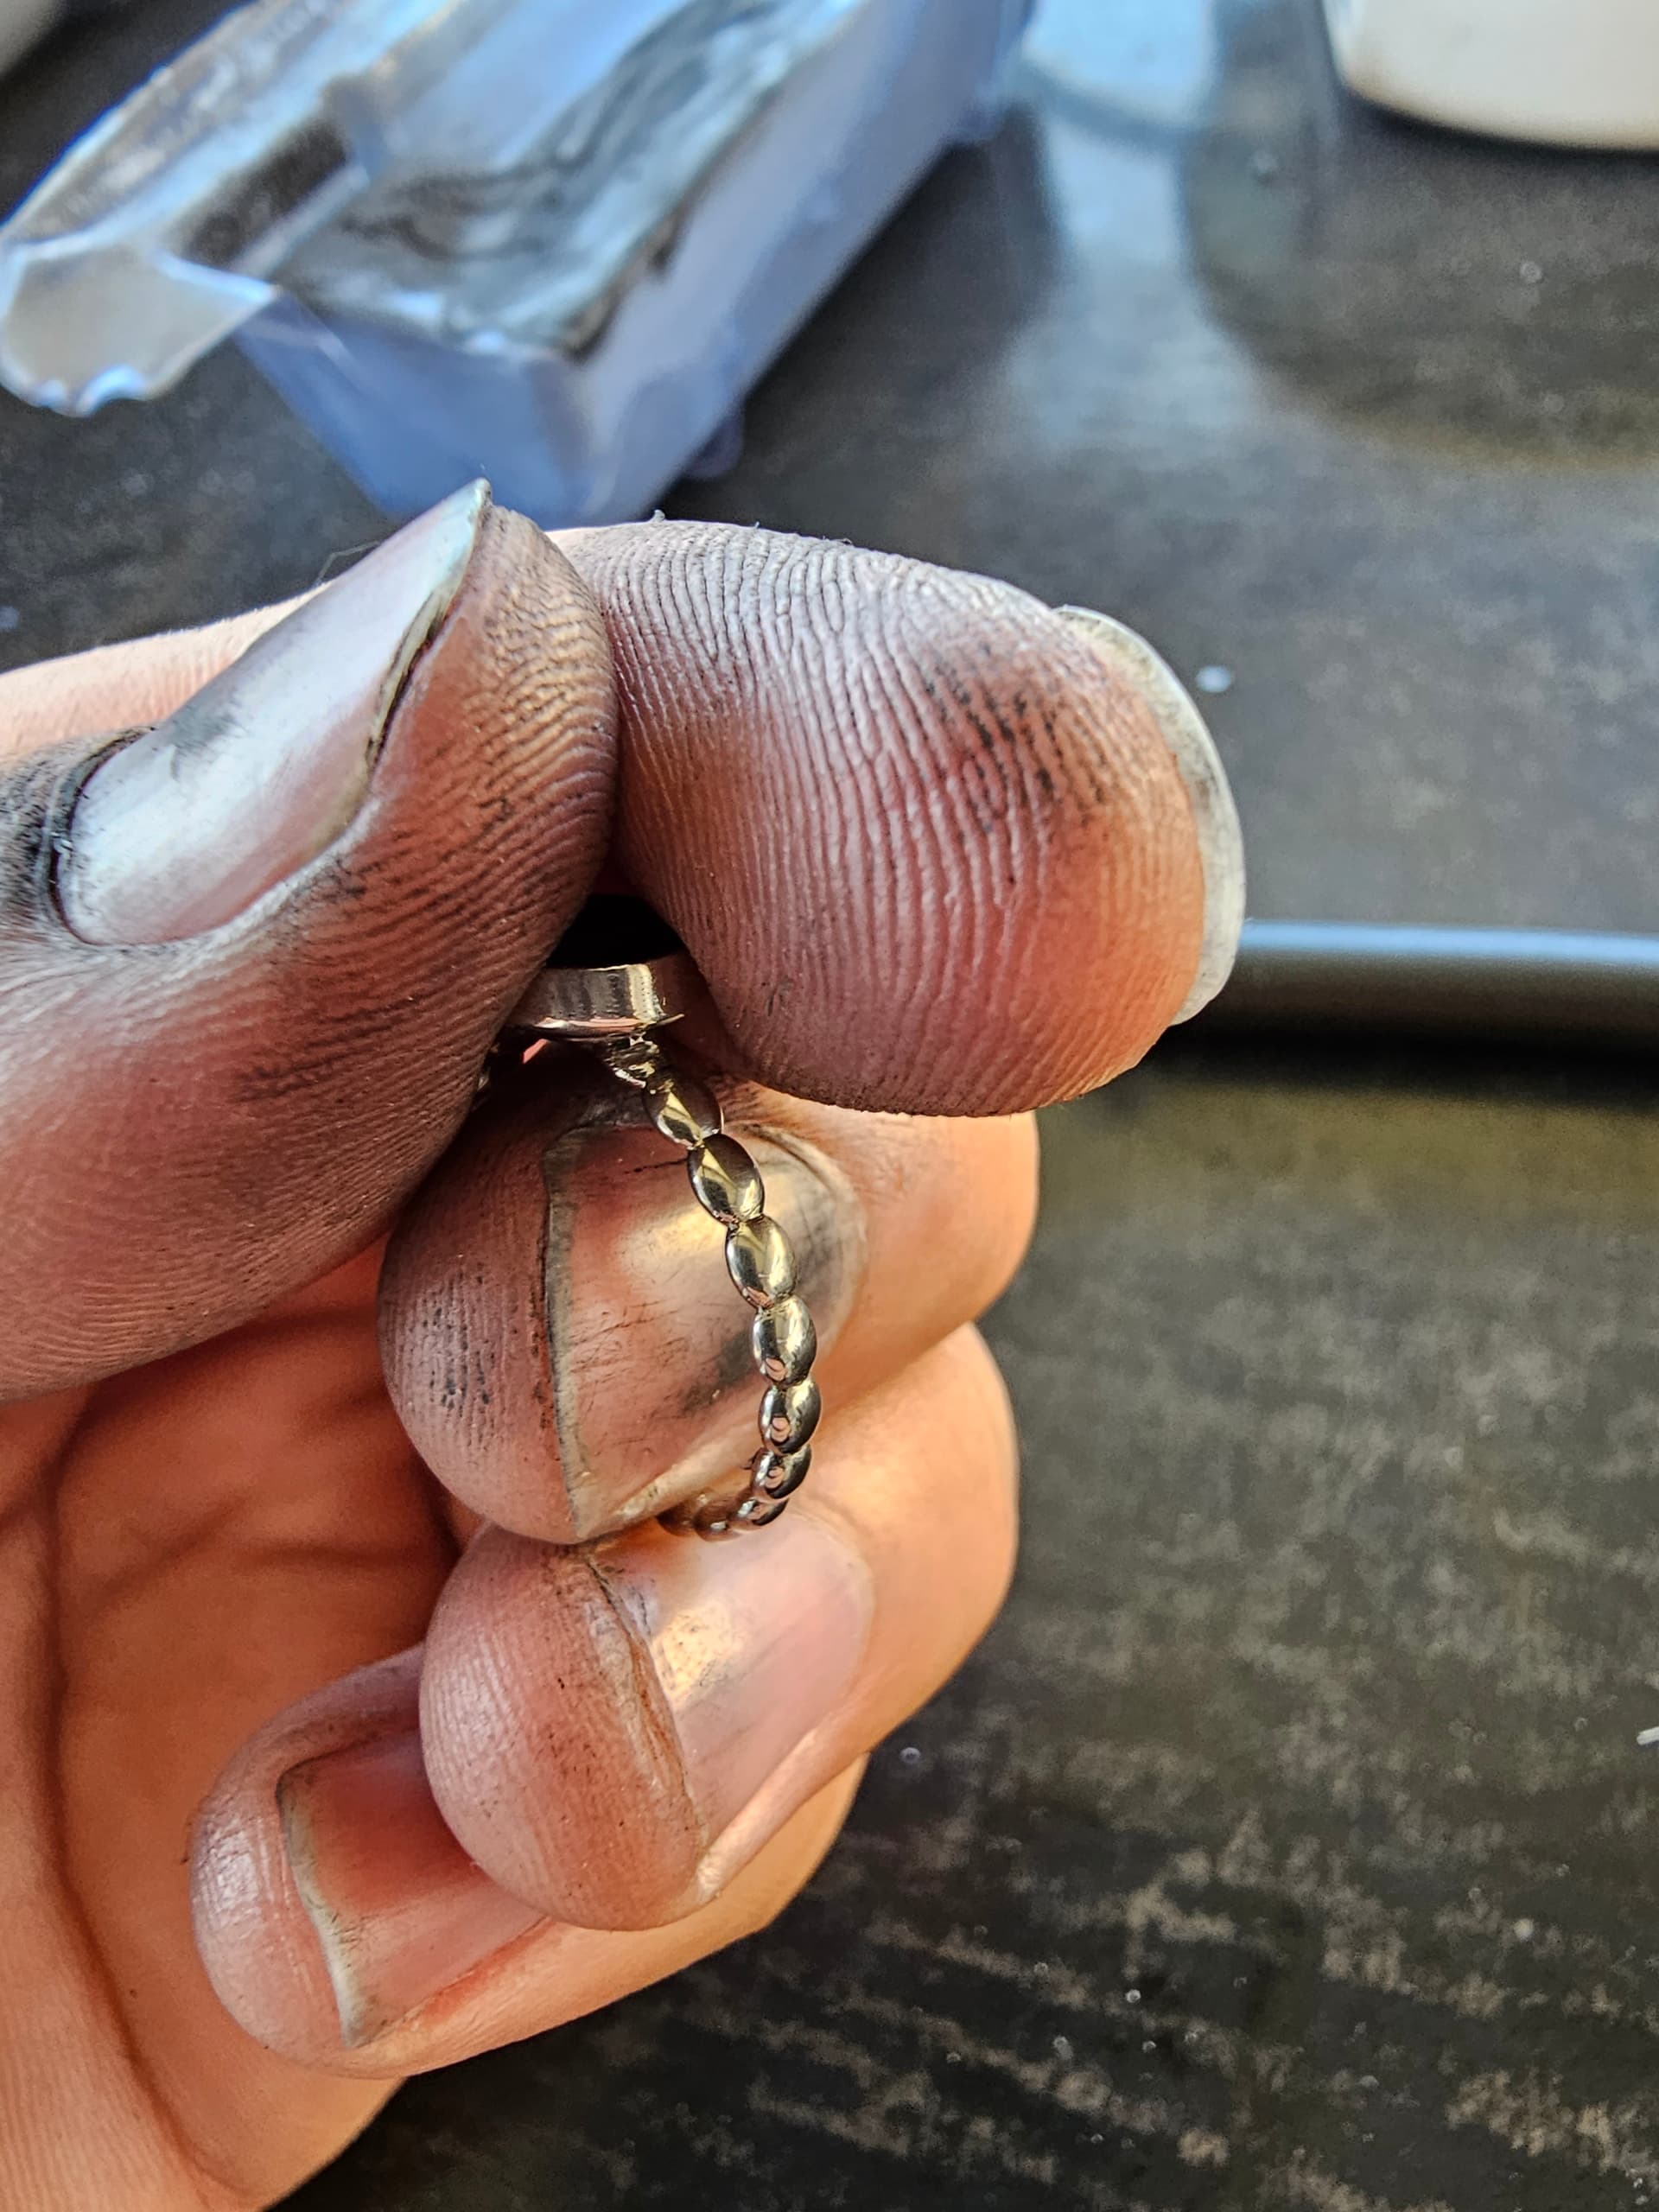
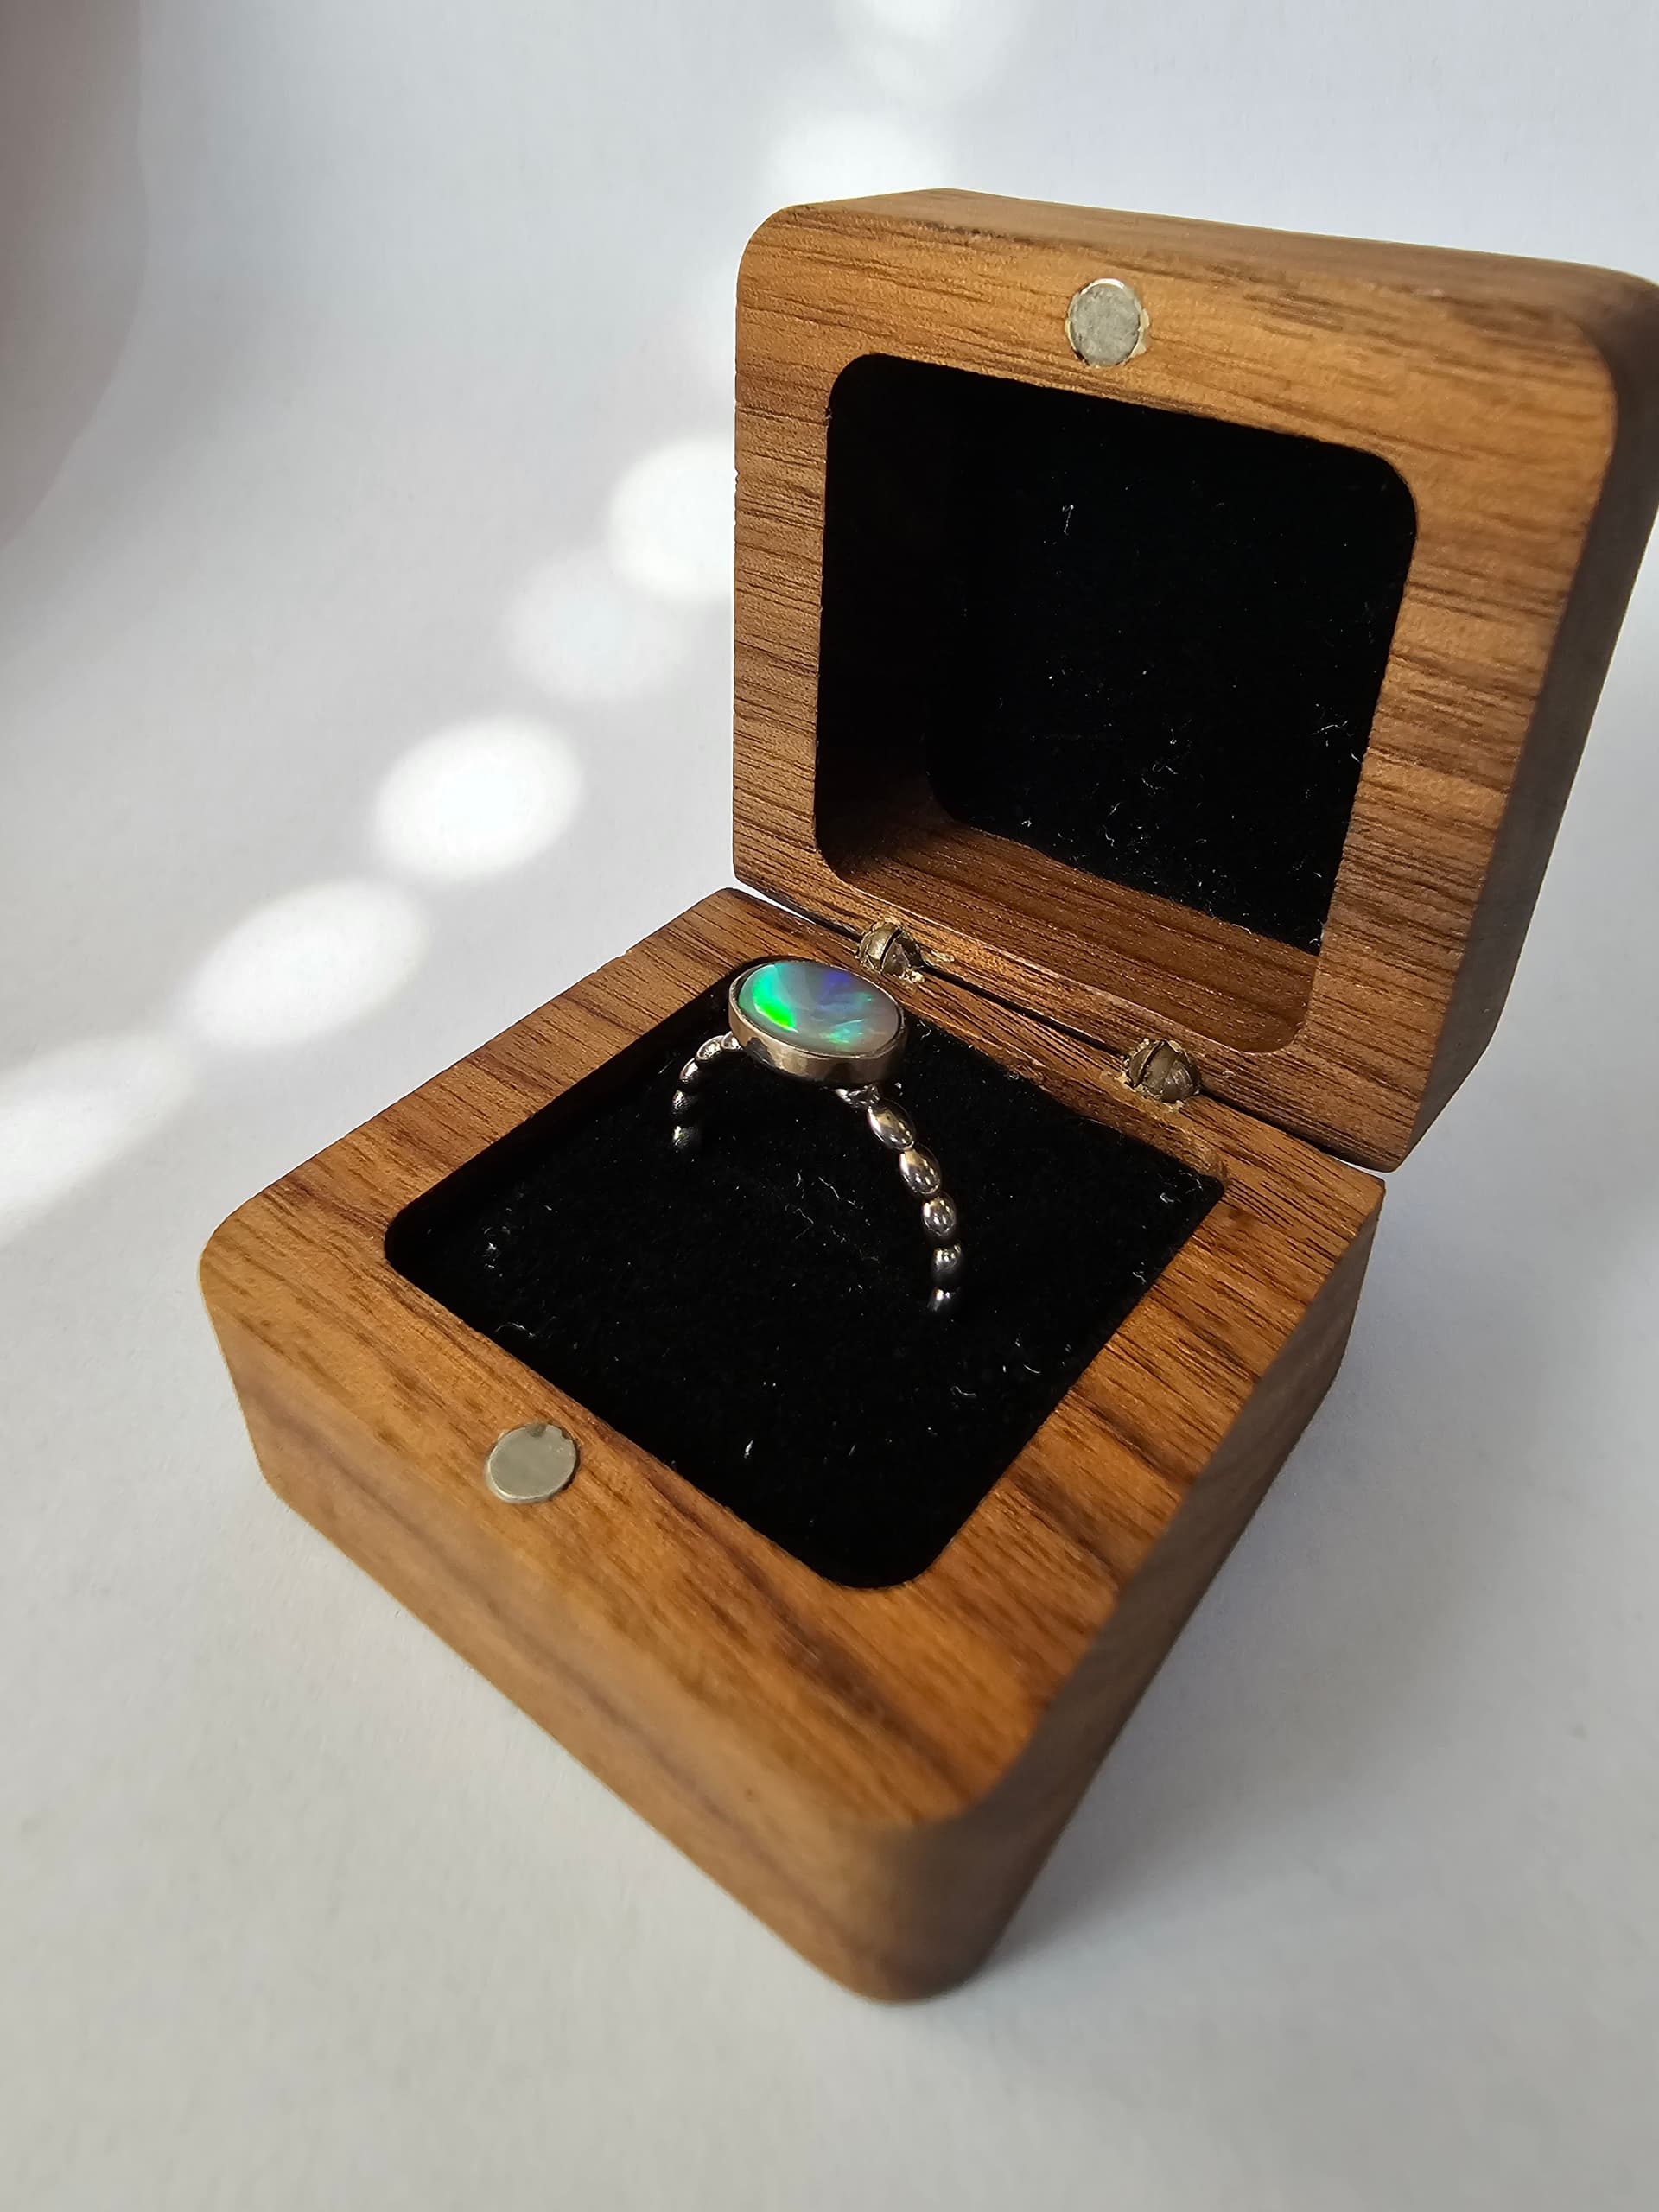
Based on everything I’ve read in your posts, if you do want to make this ring yourself, gluing the stone (with epoxy) is probably your only option. I think the bezel that you made will work for that. As others have said, it’s not an ideal solution, but it will work. Maybe the stone will fall out at some point, but you can get a new stones and replace them as needed. You can attach the bezel to your 3/D printed model and somehow get it cast, finished and polished. Your finished casting will probably shrink a little bit, so you’ll might need to grind out your setting slightly, but that’s no big deal for jeweler.

Hopefully the cast ring will end up being the correct finger size. Part of what a professional jeweler will do if they make this ring is insure that the finished ring fits. It doesn’t sound like you have the equipment to size a white gold ring if it’s ends up being the wrong size. (that happens all of the time in casting)

Again, having a professional make this ring for you is without a doubt the best solution. Making a practice ring out of sterling silver is the second best idea. If you don’t want to do that, from what I’ve seen gluing the stone will work. It’s not ideal, but I’m pretty sure it will work.

I’m so sorry to sound discouraging, but I want you to be successful in getting the ring that you want within your deadline. I very much wish you the best of luck! Huge congratulations on your upcoming engagement and marriage!!

Jeff

4 Likes

Thank you once again everyone for your thoughtful and considered responses, I have been able to read them via email and take advice on, even though it has been tough to find some time without eyes on my computer to log on and reply!

I appreciate the concern for the end result and the stone itself, I’ve certainly been through similar thoughts about what could go wrong and at first I was determined to protect the stone at all costs, but ultimately I’m very confident that she’ll appreciate the love that’s gone into the ring even with imperfection or a remodel down the track. I fully intend on offering to redesign it with her, so a lot of my learning now is foundational and will help determine the design constraints for another iteration. I know most people hold a lot of value in the ring, and I don’t mean to suggest that’s not valid, but for the type of people we are the ring is just a shape that holds some precious metal and a stone with a story, representative of the bit that’s important to us; therefore if the stone gets damaged it won’t be the end of the world, we’ll take a trip together and find another stone with another story and it will be perfectly capable of representing the same importance. If her style changes and she wants a different look, the fact that we will be able to design and create something together will be more valuable to her than a ‘perfect’ ring.

All that being said, I’m intending on doing everything I can as well as I can! I ended up modeling the bezel in CAD, and I have engaged a specialty casting place to cast it for me. They will cast one silver ring and one gold ring, and I should know soon how close to the design the cast size is. I discussed ‘shrinkage’ with the caster and they said 2% is a good number to go by, so I scaled up my ring and I’m prepared to have it professionally resized if need be.

For the setting, I am going to see how close the cast is and how the metal moves (keeping in mind the gold is harder); I went with the 0.5mm bezel and I over-heighted it so I can sand it down to the exact right height. I think glue and my best setting effort will work, but if I have substantial trouble with the silver I will engage a professional. This project isn’t about saving money or suggesting I can do something that I FULLY appreciate takes a lifetime to master, rather it’s just about our love languages. I am very grateful that this community exists and doesn’t gatekeep such valuable information, the small subscription fee has been a wonderful investment.

We fly out for France and Germany in one week, so I’m going to take my time polishing and setting and hopefully I’ll have something most of the way done by then!

Finally, any tips on the polising process? I have a rotary tool that I am very familiar with and have previously polished up small car parts etc, but only ever in aluminium alloys.

Tom

2 Likes

Let’s have our fingers crossed that the casting come out well and that it just needs polishing, not filing and sanding or sizing. You won’t know that until you see the ring in white gold.

If I was to pick just one polishing compound that can cut out small scratches and give a shiny finish, I’d probably pick Dialux Blue.

You’ll also need some small cotton buffs. These are probably the simplest solution as they’re already mounted to a mandrel.

Remember to do your best to not breath any of what flies up into your face while buffing and to wear safety glasses and an adequate dust mask.

If you end up with more questions after you get the finished ring, it would be best to post a picture with multiple views. There’s a zillion ways to approach these issues.

Also, if you get into a jam, most casting companies will also polish what they cast. Something to think about.

Again, huge congratulations on your upcoming engagement!! Here’s to a long and happy life together!

Jeff

I’m sure it’s apparent, but time got the better of me! Fortunately for me this only meant I didn’t have time to come back to the forum, and I did in fact get the ring done to a point I was happy with, and having now gotten the “yes” I have been able to confirm it’s exactly what she wants too :smile:

3250m above, at Hintertux Gletscher in Austria:


(yes, I’m in thongs, we were meant to be skiing but they closed it due to visibility so rather than the ski boots I had to wear the only shoes I had with me :sweat_smile:)

Starting from where I left off, the caster had some issues with the print and needed two cracks at it so I ended up getting it later than anticipated. As soon as it arrived I got stuck into the sanding and polishing (picked up some blue as recommended and already had some calico buffs with my dremel), as it came a lot more textured than expected. I was slowly building my confidence to roll the bezel, but as my model turned out larger than the opal I knew I was in for some work. I feel like I should have gone a bit thinner on the bezel and if I remake it some day I’ll go smaller too, but I got there in the end as you’ll see in the pics. Made sure I cleaned up the inside of the setting so there weren’t any ‘sharp’ edges to chip or crack the opal from the bottom; I thought I’d have a go at setting it without glue to start with, and as far as I can tell it’s secure!

How it arrived:


During the polishing:


Polished and ready to set:


Set and ready for the scariest bit:


I wanted to wrap this saga with a post for closure, and to thank everyone for their input which all helped to get to the end result in various ways! I’m going to stop paying for the forum at this point, but I’ll likely be back when the time comes to make our wedding bands, so it’s only a goodbye for now :smile:

6 Likes

Hi,
great love story!
great job on the ring! it looks amazing!
see ya back here again soon!

julie

2 Likes

Good! live your lives, wear out the setting, reset the stone a couple times and the next thing you will know, it will have been 50 years. We are working on 54 years ourselves and our original stone has been reset at least three times. Our wedding bands, that were made by my father, are dinged and dented and a lot thinner, but still mean as much, if not more, than they did the day that we put them on. Good luck…Rob

3 Likes

Yes, huge congratulations to you both!! Great job on the ring!!

Jeff