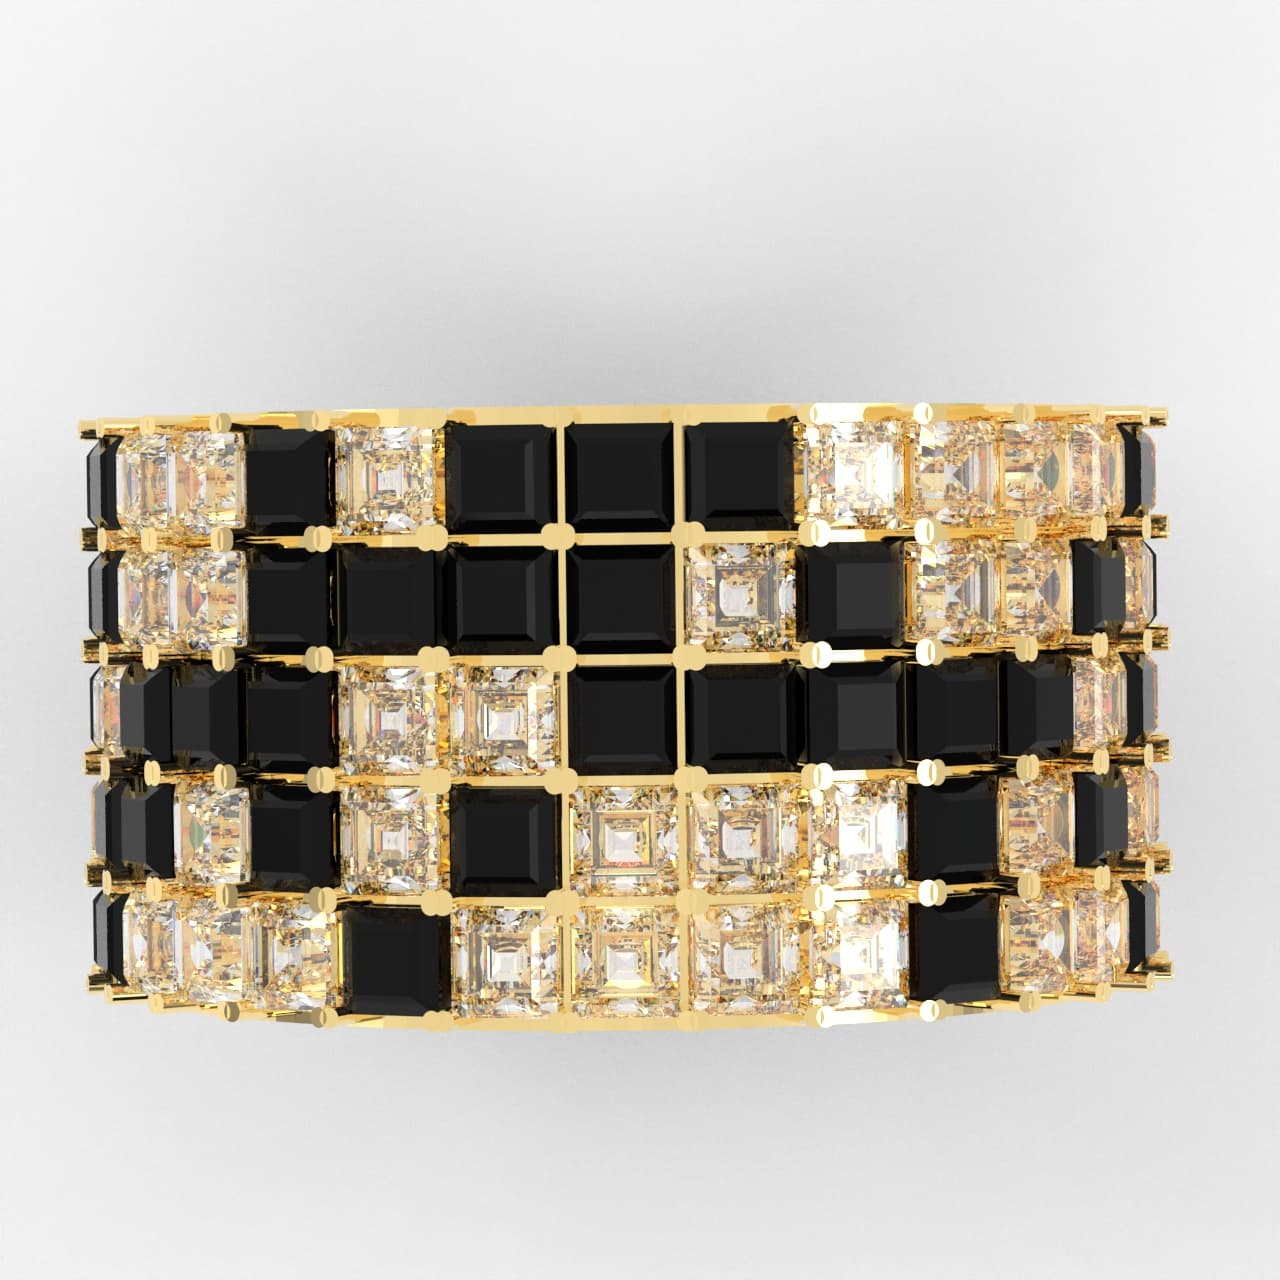
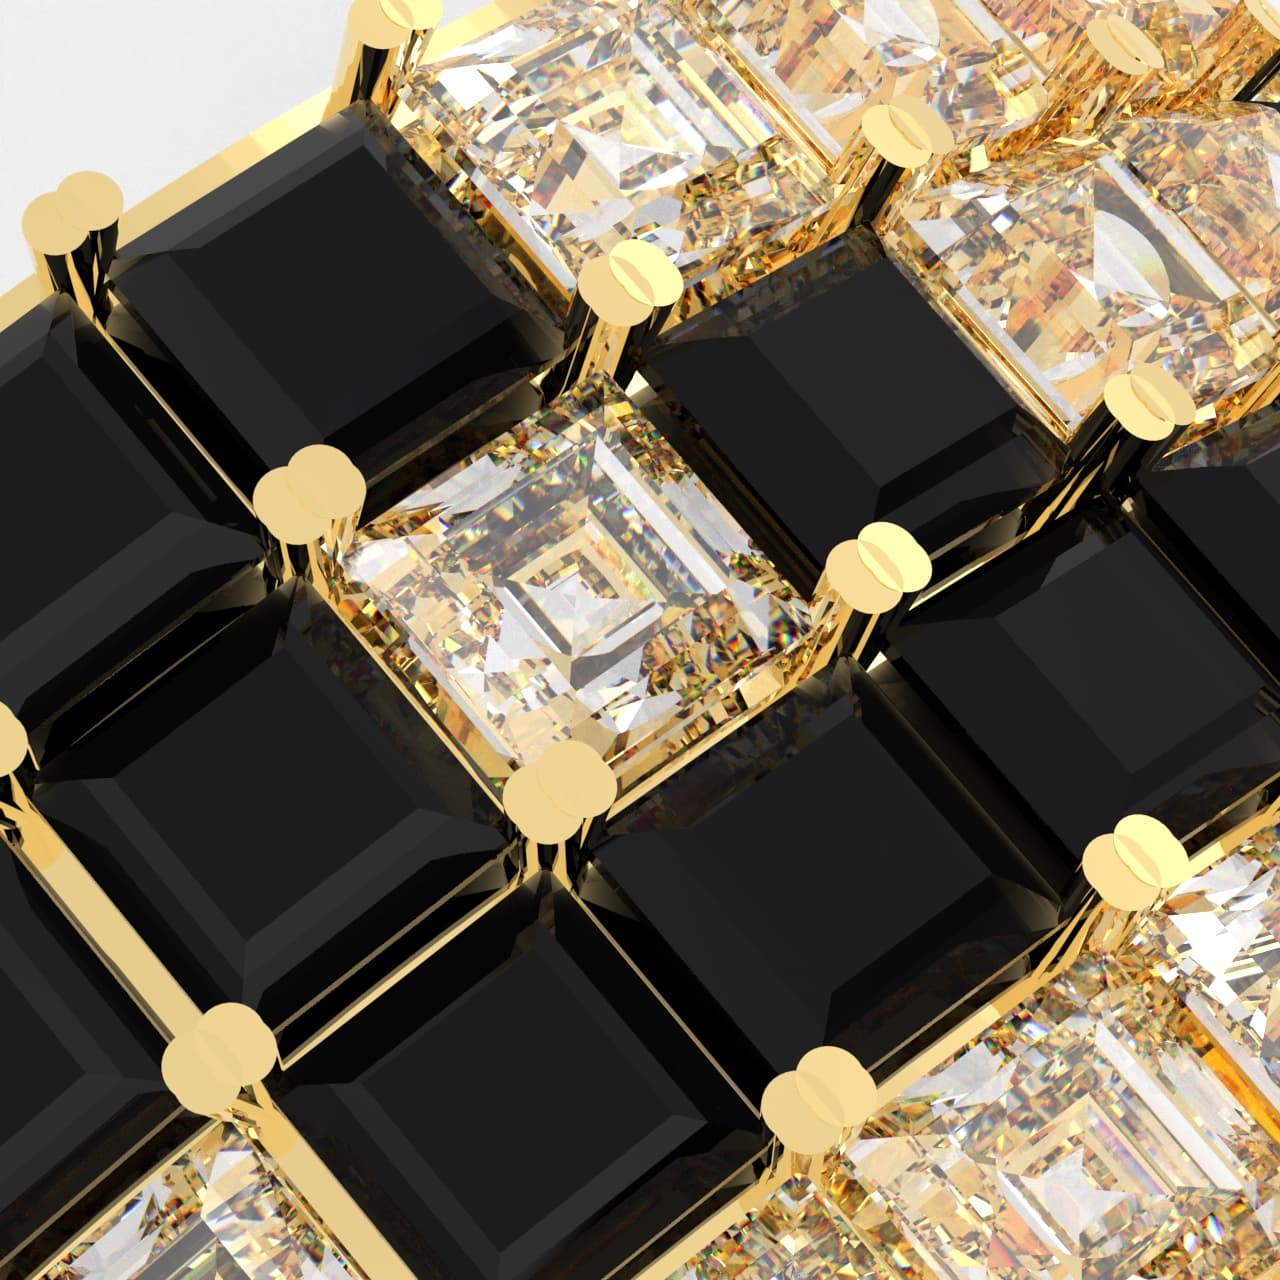
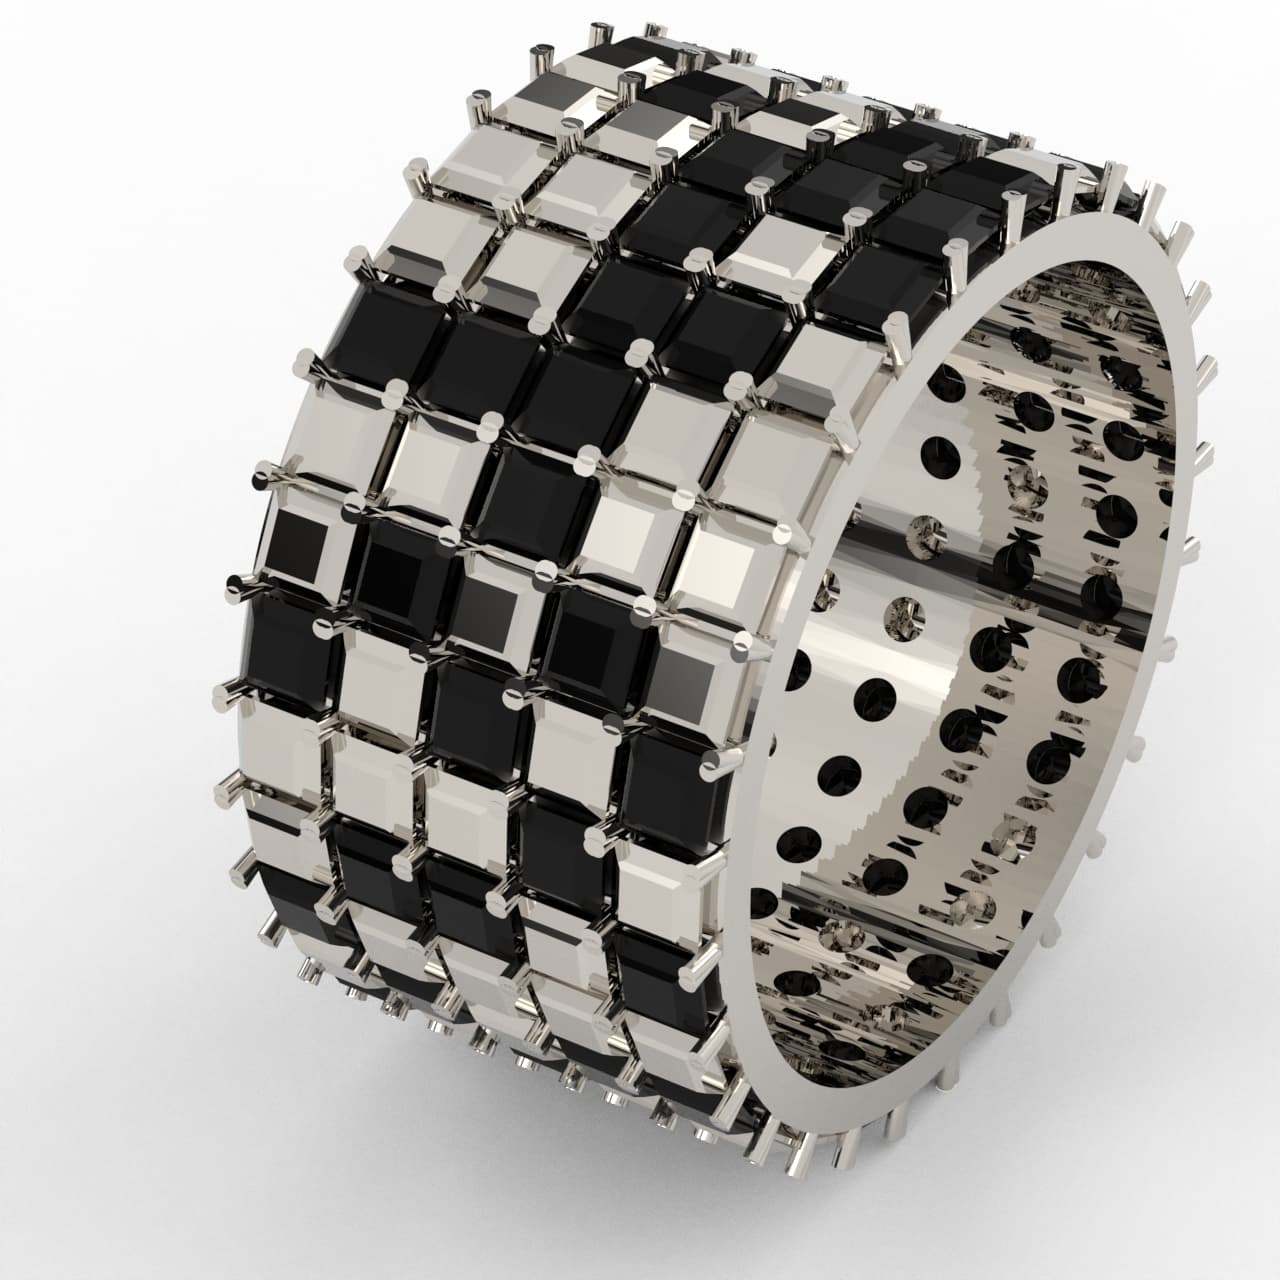
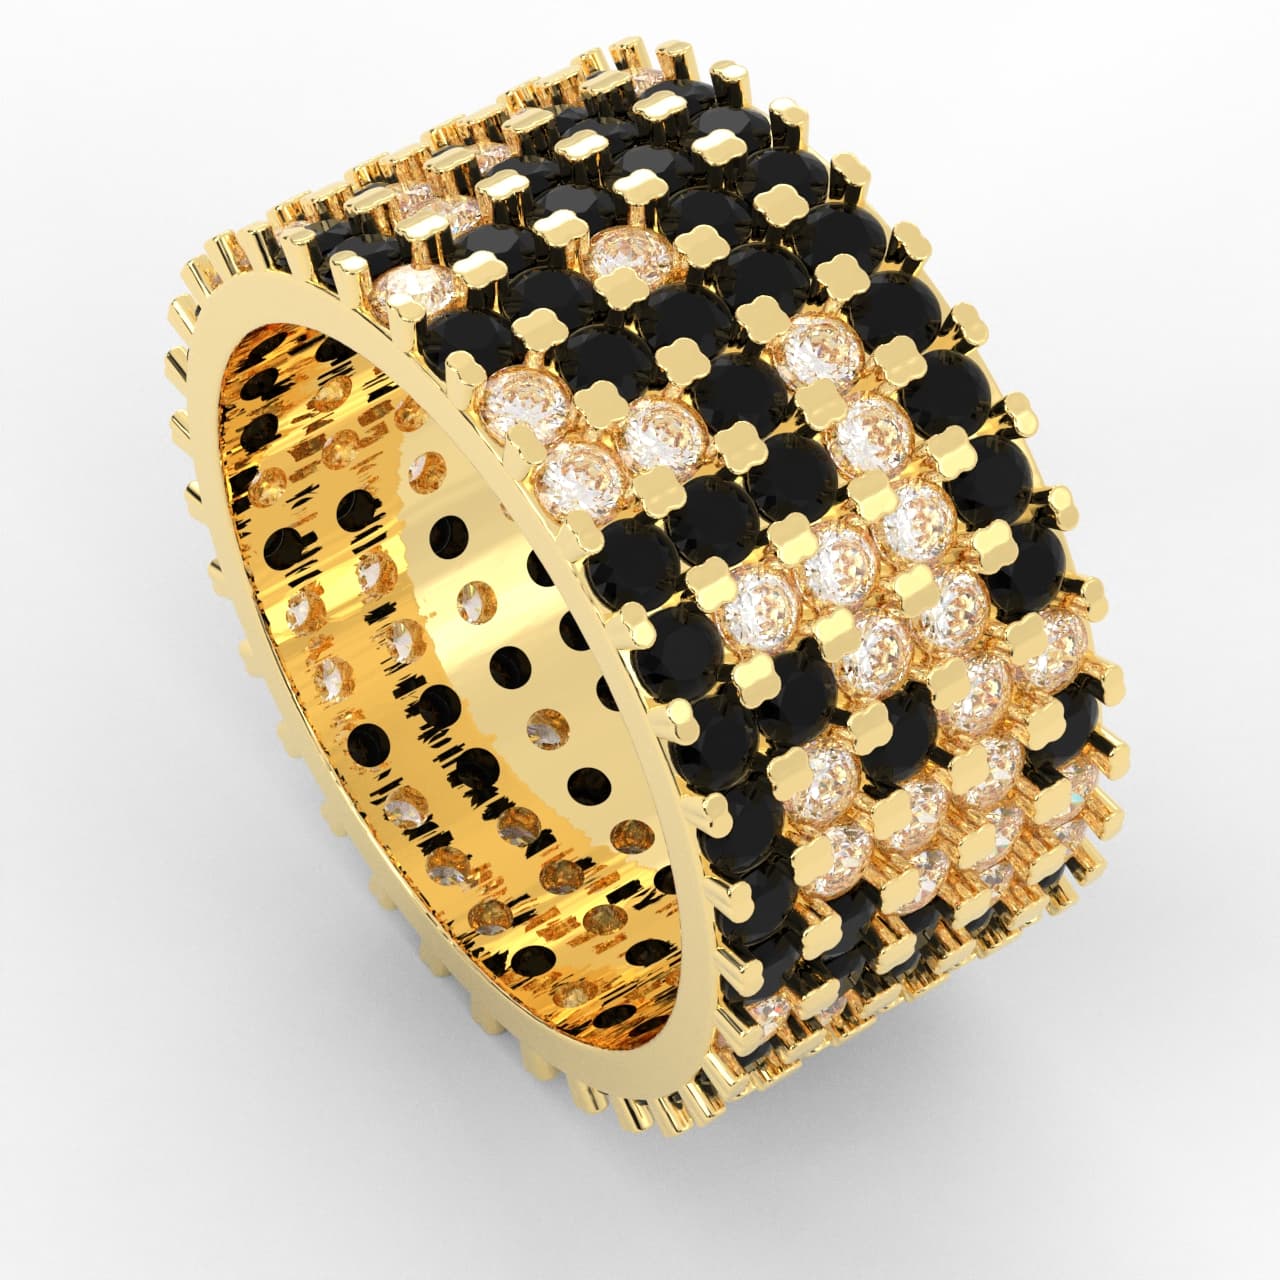
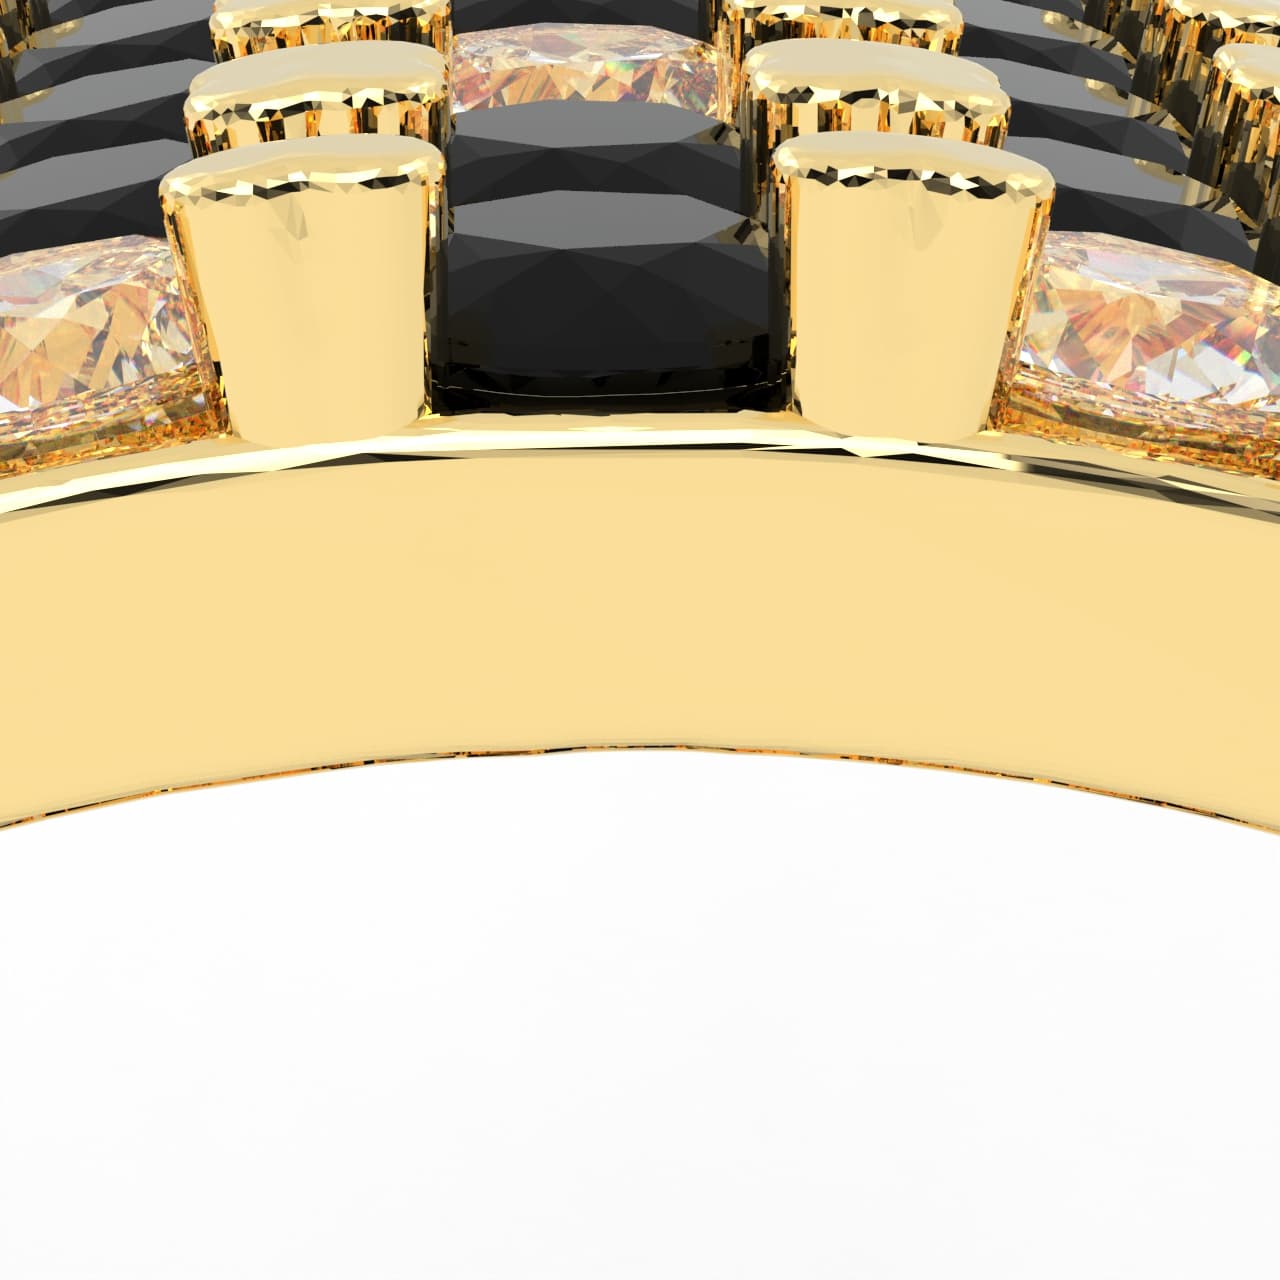
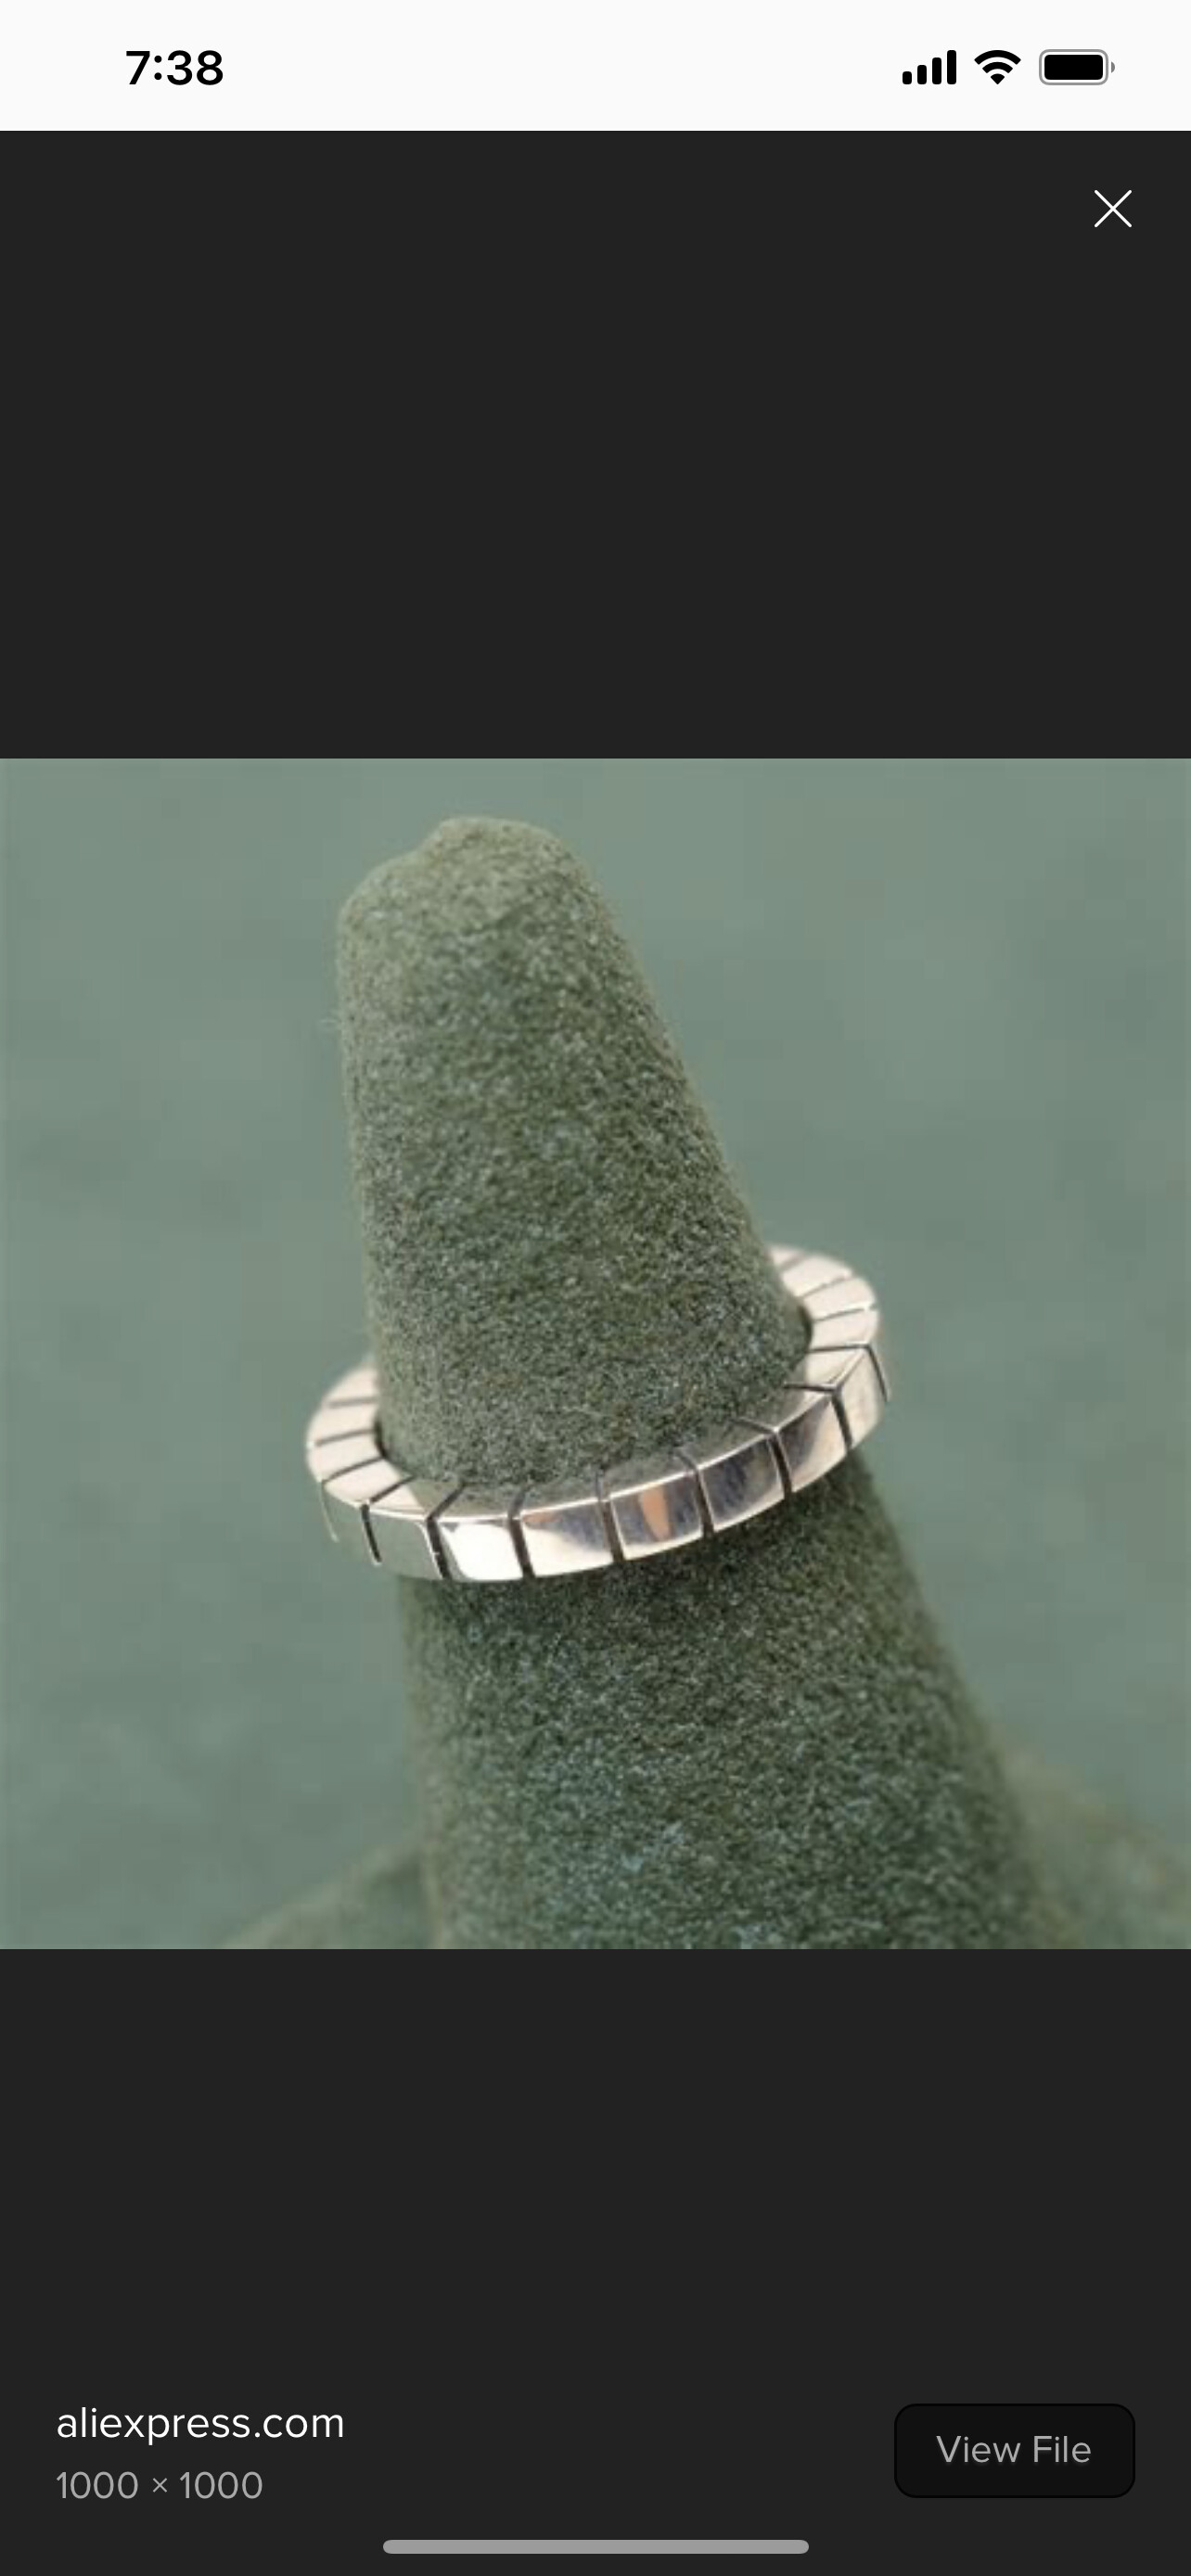
Wanting to get feedback on my pavé design.not quite sure the best way for using princess cuts. Maybe I should channel set? The prongs are little weird because I did them parametrically in Grasshopper. Also not sure if the stone should rest on top of the shank or float above it. Are the gaps between stones too large?

Well, I can tell you that it’s going to be hard to set. Not impossible.
You will not be able to get rid of the gap if you want to set Princess cut stones in prongs in rows like that.
1 Like
How close can I get with round stones? Would that be better? I have no experience setting a stone myself. How would you do it?
Do you mean you have no stone setting experience at all or that you have no experience setting en pavé? Because if you have no setting experience at all setting en pavé is not the way to begin as it is one of the more difficult types of setting.
If you intend to job the piece out to a setter then you should ask that setter’s advice, so the layout will be one he feels comfortable with.
5 Likes
I am a CAD designer working on my own and teaching myself. i have only a few months experience working in the jewelry industry (nine years ago). I use Shapeways and they outsource the casting and polishing, and I hire a couple of bench jewelers in the Diamond District who do soldering and setting. So I am all ears for advice and feedback.
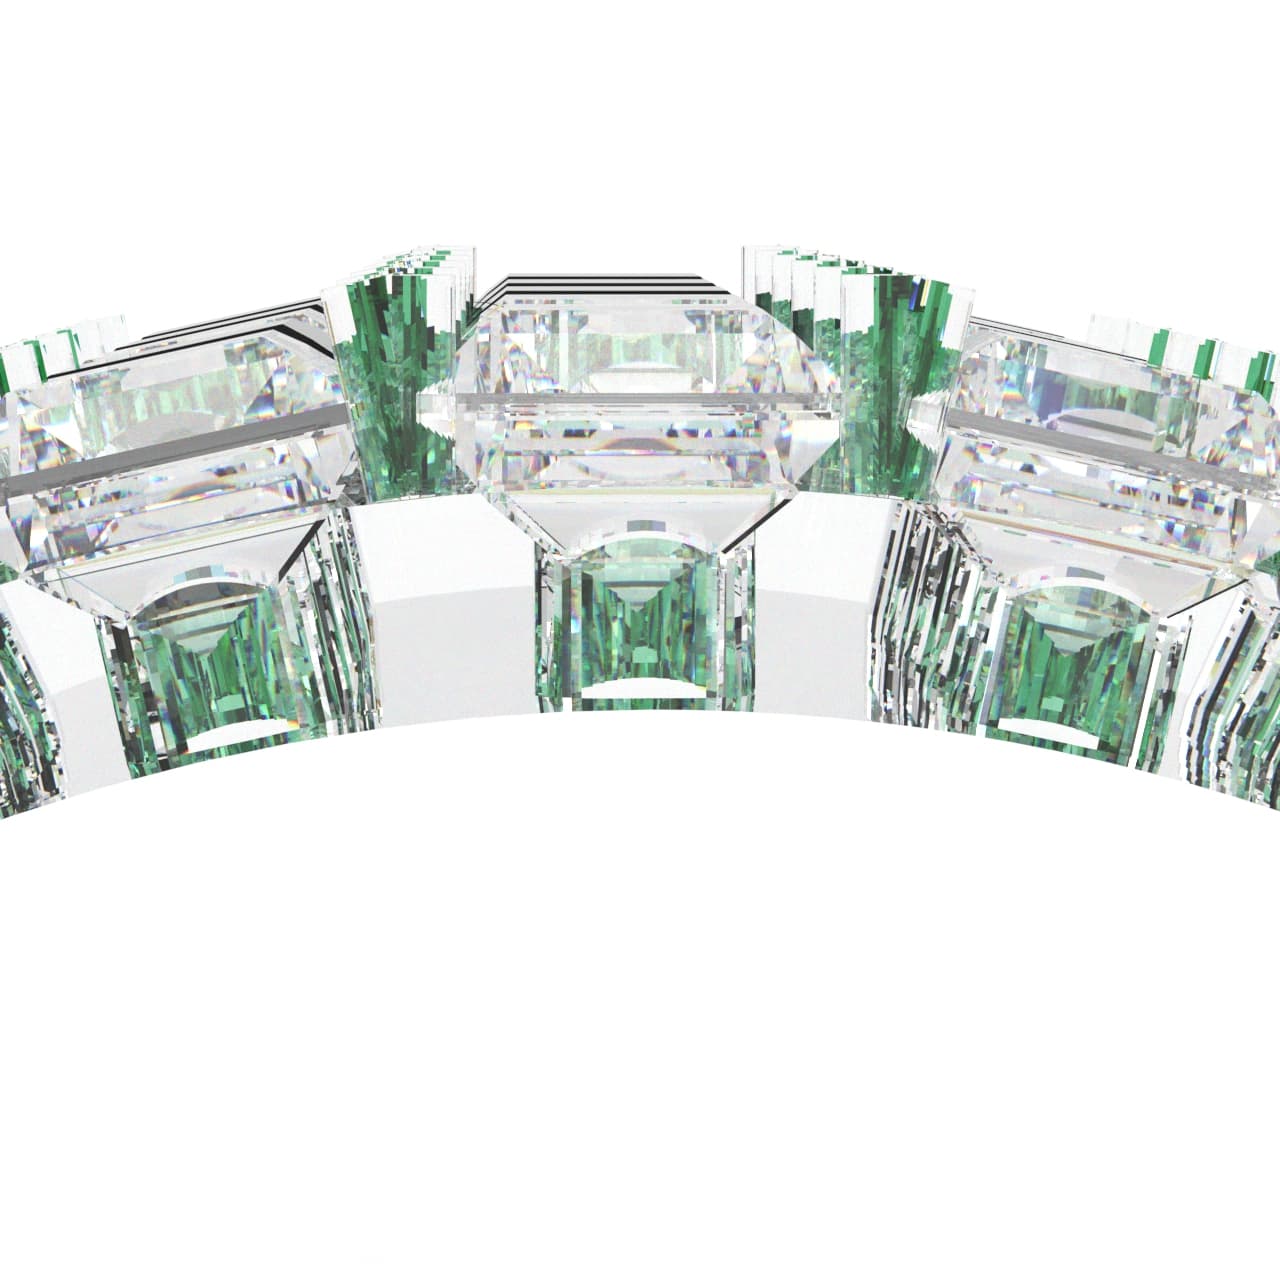
This is what it looks like with round stones. there is a lot of gold peeping through, even if the prongs will be trimmed. I think I might try channel set.
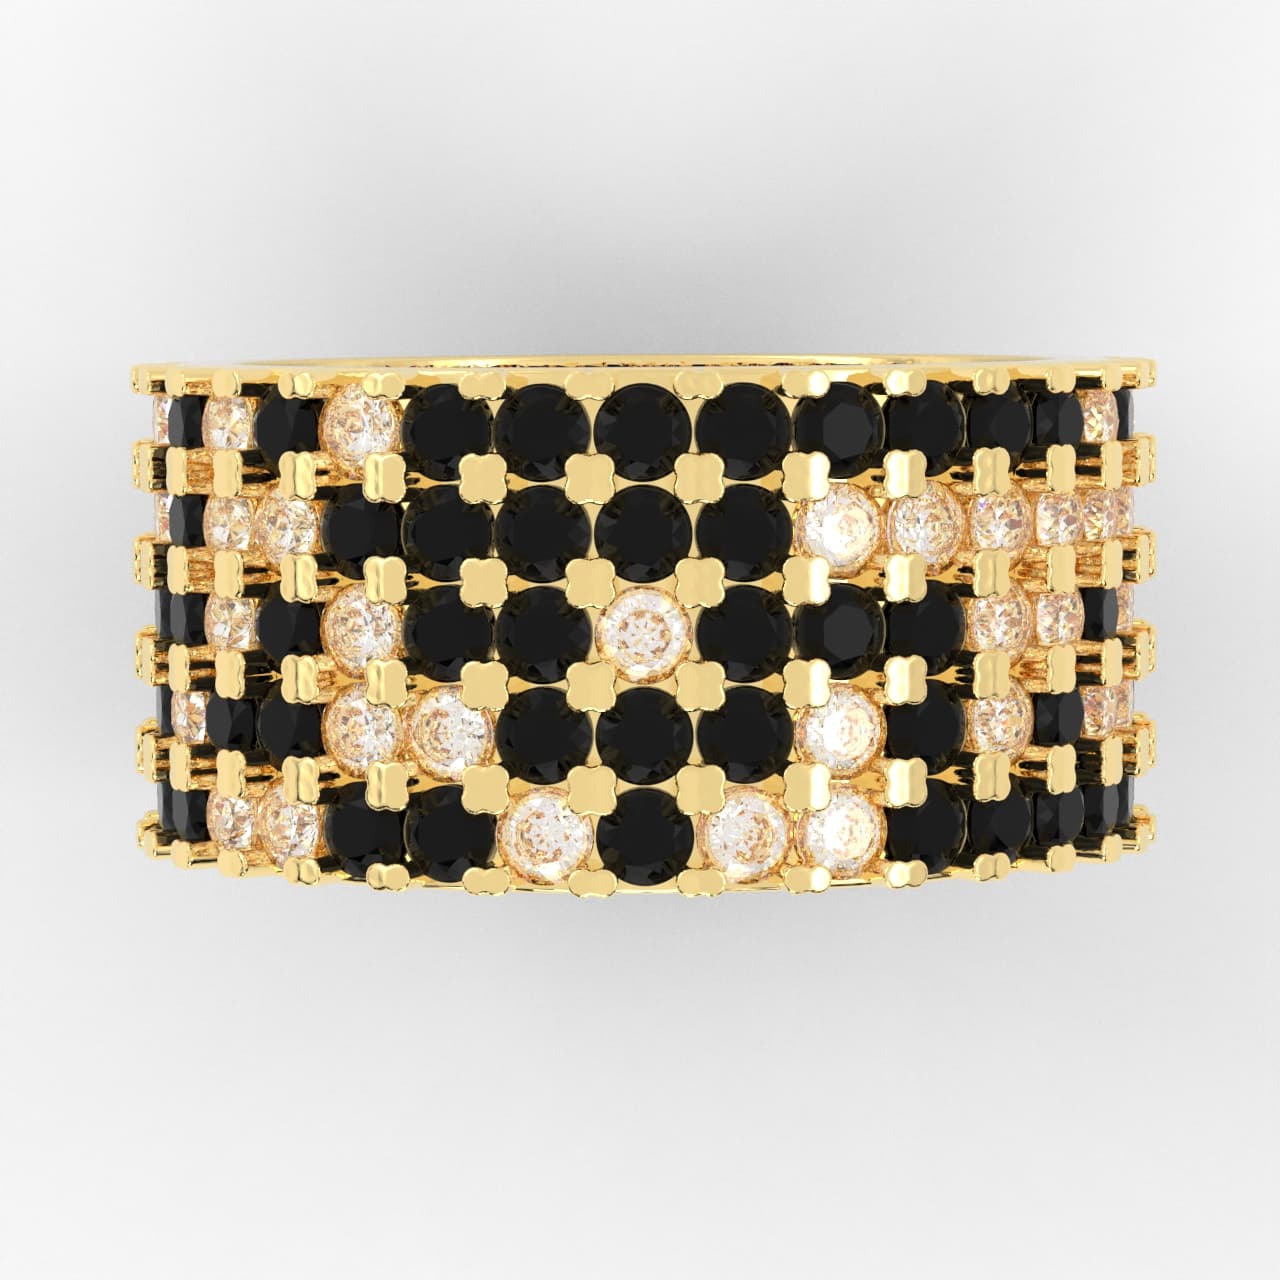
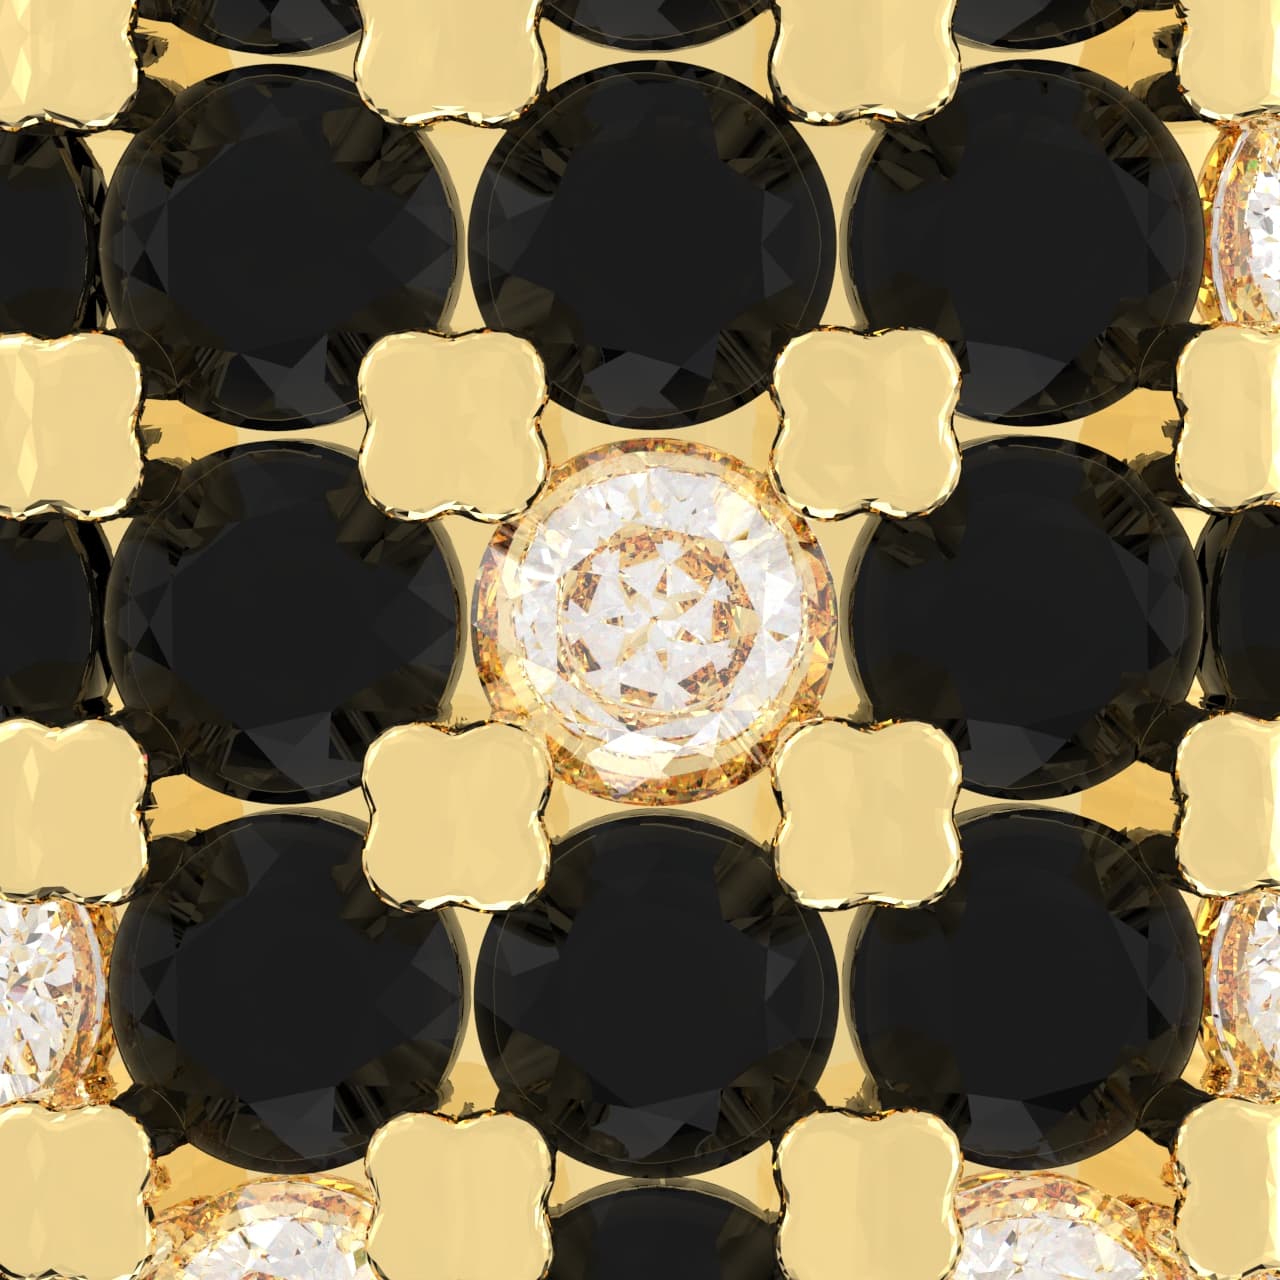
Pardon the stones not sitting square in their seat. Had some scaling issues in ZBrush getting the boolean to work.
Hi Steve,
take a look at these 2 videos for insight as to how the stones are set…see how metal is removed, to “reveal” prongs…
in the below video, on the top surface, a beading tool is used to push down/ spread the “shared prong” over 3 stones…the outside edge prongs, as well as the side surface prongs are “split” using a graver, and then each is pushed down/ spread over 1 stone.

in the below video, the prongs are spit, using a graver to reveal 4 prongs, so that each stone has its own prong, versus shared prongs

you can make “cutters” and boolean difference to “remove metal”…
in the render, the prongs are shown overlapping/ pushed down on/ spread over the stone…already “set”…
for real life/ production, the “metal” is left “as-is” before setting cuts are made…the setter needs the real metal there to set tge stone…if the printed model already has the prongs pushed over, or they are already “nudged” over the stone, they cannot get the stone in…
search youtube for other setting videos for more examples:
stone setting
pave stone setting
eternity band
fishtail setting
french setting
diamond setting
julie
1 Like
If you want rows of squares set with their girdles touching you must either use octagons, so there will be room for the prongs, or use invisible setting, which is an entirely other level of difficulty.
For rounds, the tightest you can pack them is in a hexagonal array. Setting them in a rectangular grid will always leave more metal exposed.
1 Like
Hi Steve,
what software are you using to build the ring?
i have never done what you are considering, with square stones…so i am just thinking out loud here…not sure if it will be of any help…just some things to think about as you build models…
for square stones, the corners each go deeper into the prong…also, a round bur is used to make a divot for the corner of the stone to seat into, to alleviate putting pressure on the facet junctions…and then the prong is nudged over…
in the case of a fixed, shared prong, i am not sure if this is possible…at least if you split the prong with a relief cut, you can then move the prong over the stone…butt the prongs need to start out far enough “out” to be able to get the stone in initially…you cannot design the production model with alot of metal already overhanging the seat
the “render” model shows what the piece looks like when set and finished
the “production” model needs to follow tolerances, minimums and maximums specifications, in order to actually produce a piece that can be set and finished, and have structural integrity…
they are two different types of models…for different end uses…
i hope i am making sense
and…imagine your shared prong having 4 corners intruding into the metal…of one prong…you need to have enough metal left over after the seats are cut, to maintain structural integrity of each prong…
julie
I truly hate to rain on your parade but….It is imperative that one should first learn hands on the basics of jewelry making and stone setting before embarking on a career in jewelry design. Too often the pieces that are designed by folks with no bench experience are impossible to cast, set and wear. My husband who has roughly 50 years of designing, making, and setting stones in custom jewelry is these days the lead of the wax and modeling department in an internationally recognized and highly regarded platinum foundry. It is his job to grade and rate CAD files and CAM models to see if they can be cast, finished and set. Oy! The stories I hear from him over dinner. “That design will need to be shot through a black hole and into a time warp continuum in another dimension and universe to work.”
4 Likes
Thanks Jo, I can’t imagine anyone designing jewelry without having a clue how to make it…Rob
3 Likes
Hi,
actually, in the pink pave band video above…
on the top surface, it looks like the center row has only 2 opposing bead prongs, and the two outside rows have 3 bead prongs (one inside, 2 along the outside edge…
i dont think 3 stones share one bead prong…
interesting…
julie
This is a story that I hope you bear with me and read. My Grandmother had for years asked at Christmas time for a necklace like she had when she was young. Problem was she never said what it was like. It became a puzzle for for the family to figure it out. Over the years the family gave her all sorts of necklaces. She always gave them back. My sister when she flew to Denmark took her a beautiful coral Indian made necklace. It hurt my sister when it was handed back with a big “not right”. I was 16 when I ventured to give her a necklace. It was one I found in a small jewelry store outside of Omaha. It was a cameo. Not a fancy one but a very pretty one. If my Grandmother turned it down, I would keep it. Well wonder of wonders it was accepted. Reason given it was almost exactly like the one she had when she was young girl. It didn’t make her neck hurt with all the extra fancy work around it.
Since that time It’s always stuck in my mind the comfort of the piece. With rings, and this is my personal gripe and might not be a problem for others, is the band width and thickness. It’s hard to keep you fingers together if the band is thick and width of it makes it worse. I personally would stick your ring in a box and never look at it again. Not that it isn’t pretty, to me it would be so uncomfortable I wouldn’t wear it. I try to think of the fingers anatomy when designing a ring. Is it something that when you wear it, it becomes part of the finger, or is it something you use your hand differently because of the ring and how it sits on your hand?
This is my opinion. There are those who will love it no matter what. I would do the rows only on the top portion of the ring and leave comfortable non pave section where the fingers touch and underneath so you don’t ruin the settings. For me a good test is to wear something while typing. If it bugs me then, it is put into that box never to be seen again.
Again this is my opinion. Others would think differently.
5 Likes
Hi Aggie,
Thank you for sharing, I personally agree with you.
I am always looking for big wide diamond bands…(big rings in general!) and try them on when I find one I like…and I never buy them for the reasons you mentioned…comfort…in addition to the fact that I have short stumpy fingers (haha!)…
…but! I do like the look…in a display case, or on someone else’s long, slender, graceful, fingers!
I guess the trick is to achieve both the look, and comfort, by very well thought out design, that takes the fingers anatomy into deep consideration…regarding width, thickness, shape, taper, stone size, etc…
i love big rings!
Thank you for the design reminder!
julie
I am using Rhino, Grasshopper, and ZBrush for the boolean. I saw a jeweler on Instagram make it with Asscher cut stones. I think that would be a way to go.i also think I can design the prongs differently so they are scalloped out like traditional pavé rather than posts.
1 Like
Hi,
i am wondering if you will be able to find acsher cut melees…
julie
1 Like
If you have money to burn perhaps since you’d probably need them custom-cut by a diamond lapidary. ![]()
Princess cut stones are much easier to find than Asscher cut. What if I put the prongs in the midpoint of the princess cut? That would be easier to set.
1 Like
Hi,
so…your design goal is the geometric square pattern in black and white…perhaps brainstorm other ways to effect that…?…perhaps not entirely made up of all square stones, side by side…perhaps introduce negative space in between, that allows for more ease of setting, while holding true to your overall geometric pattern vision…
julie
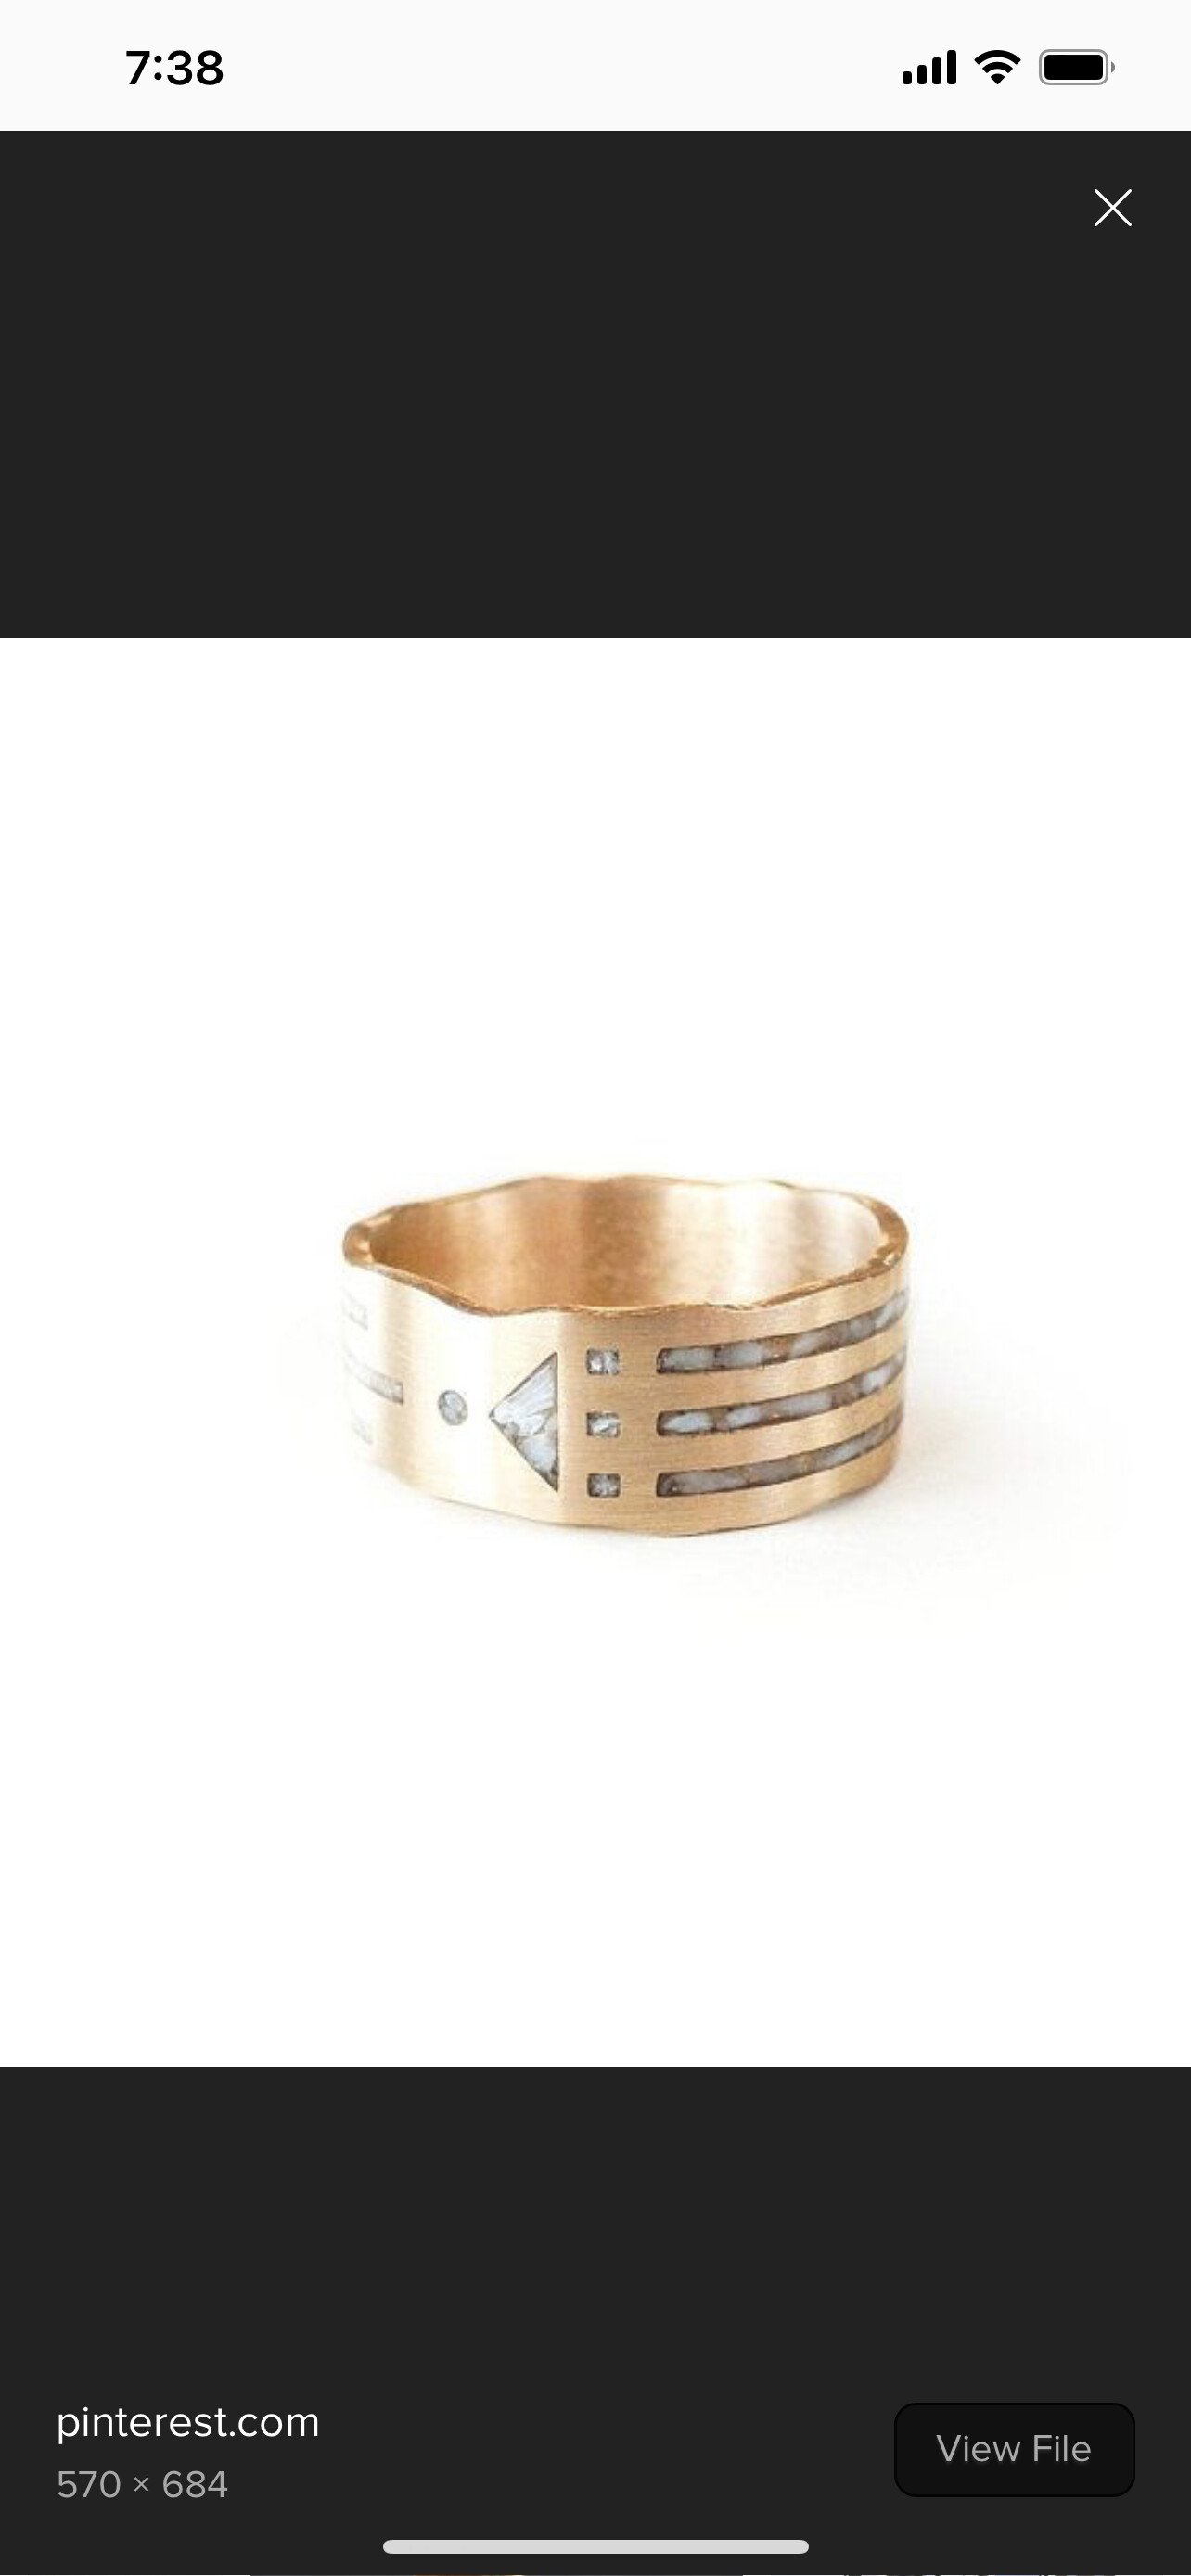
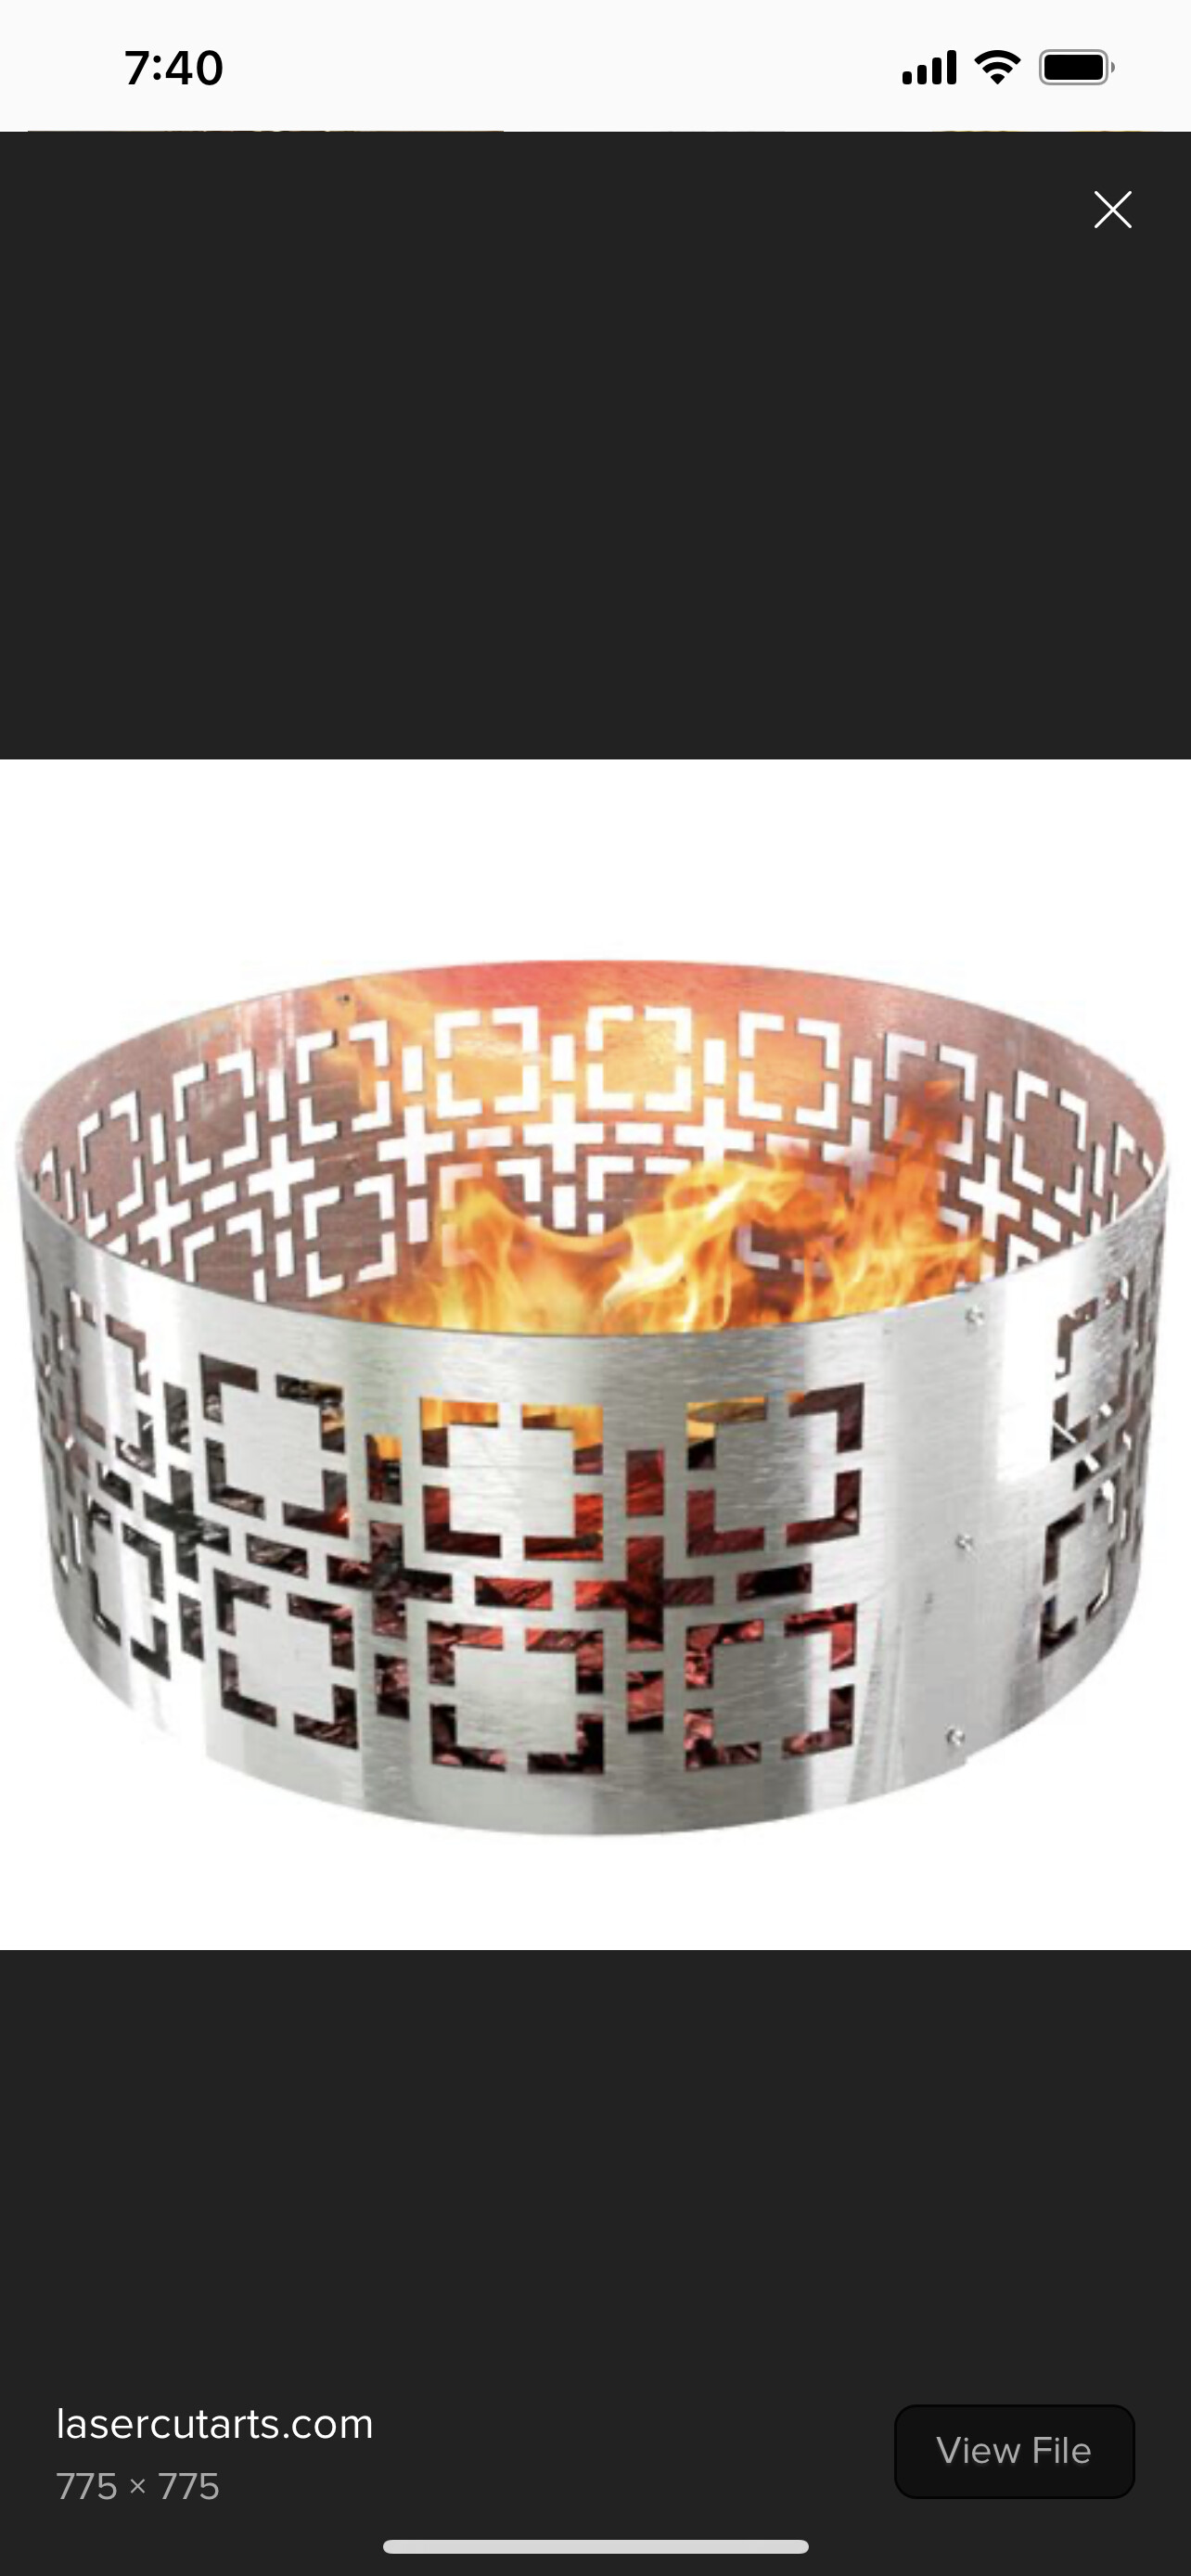
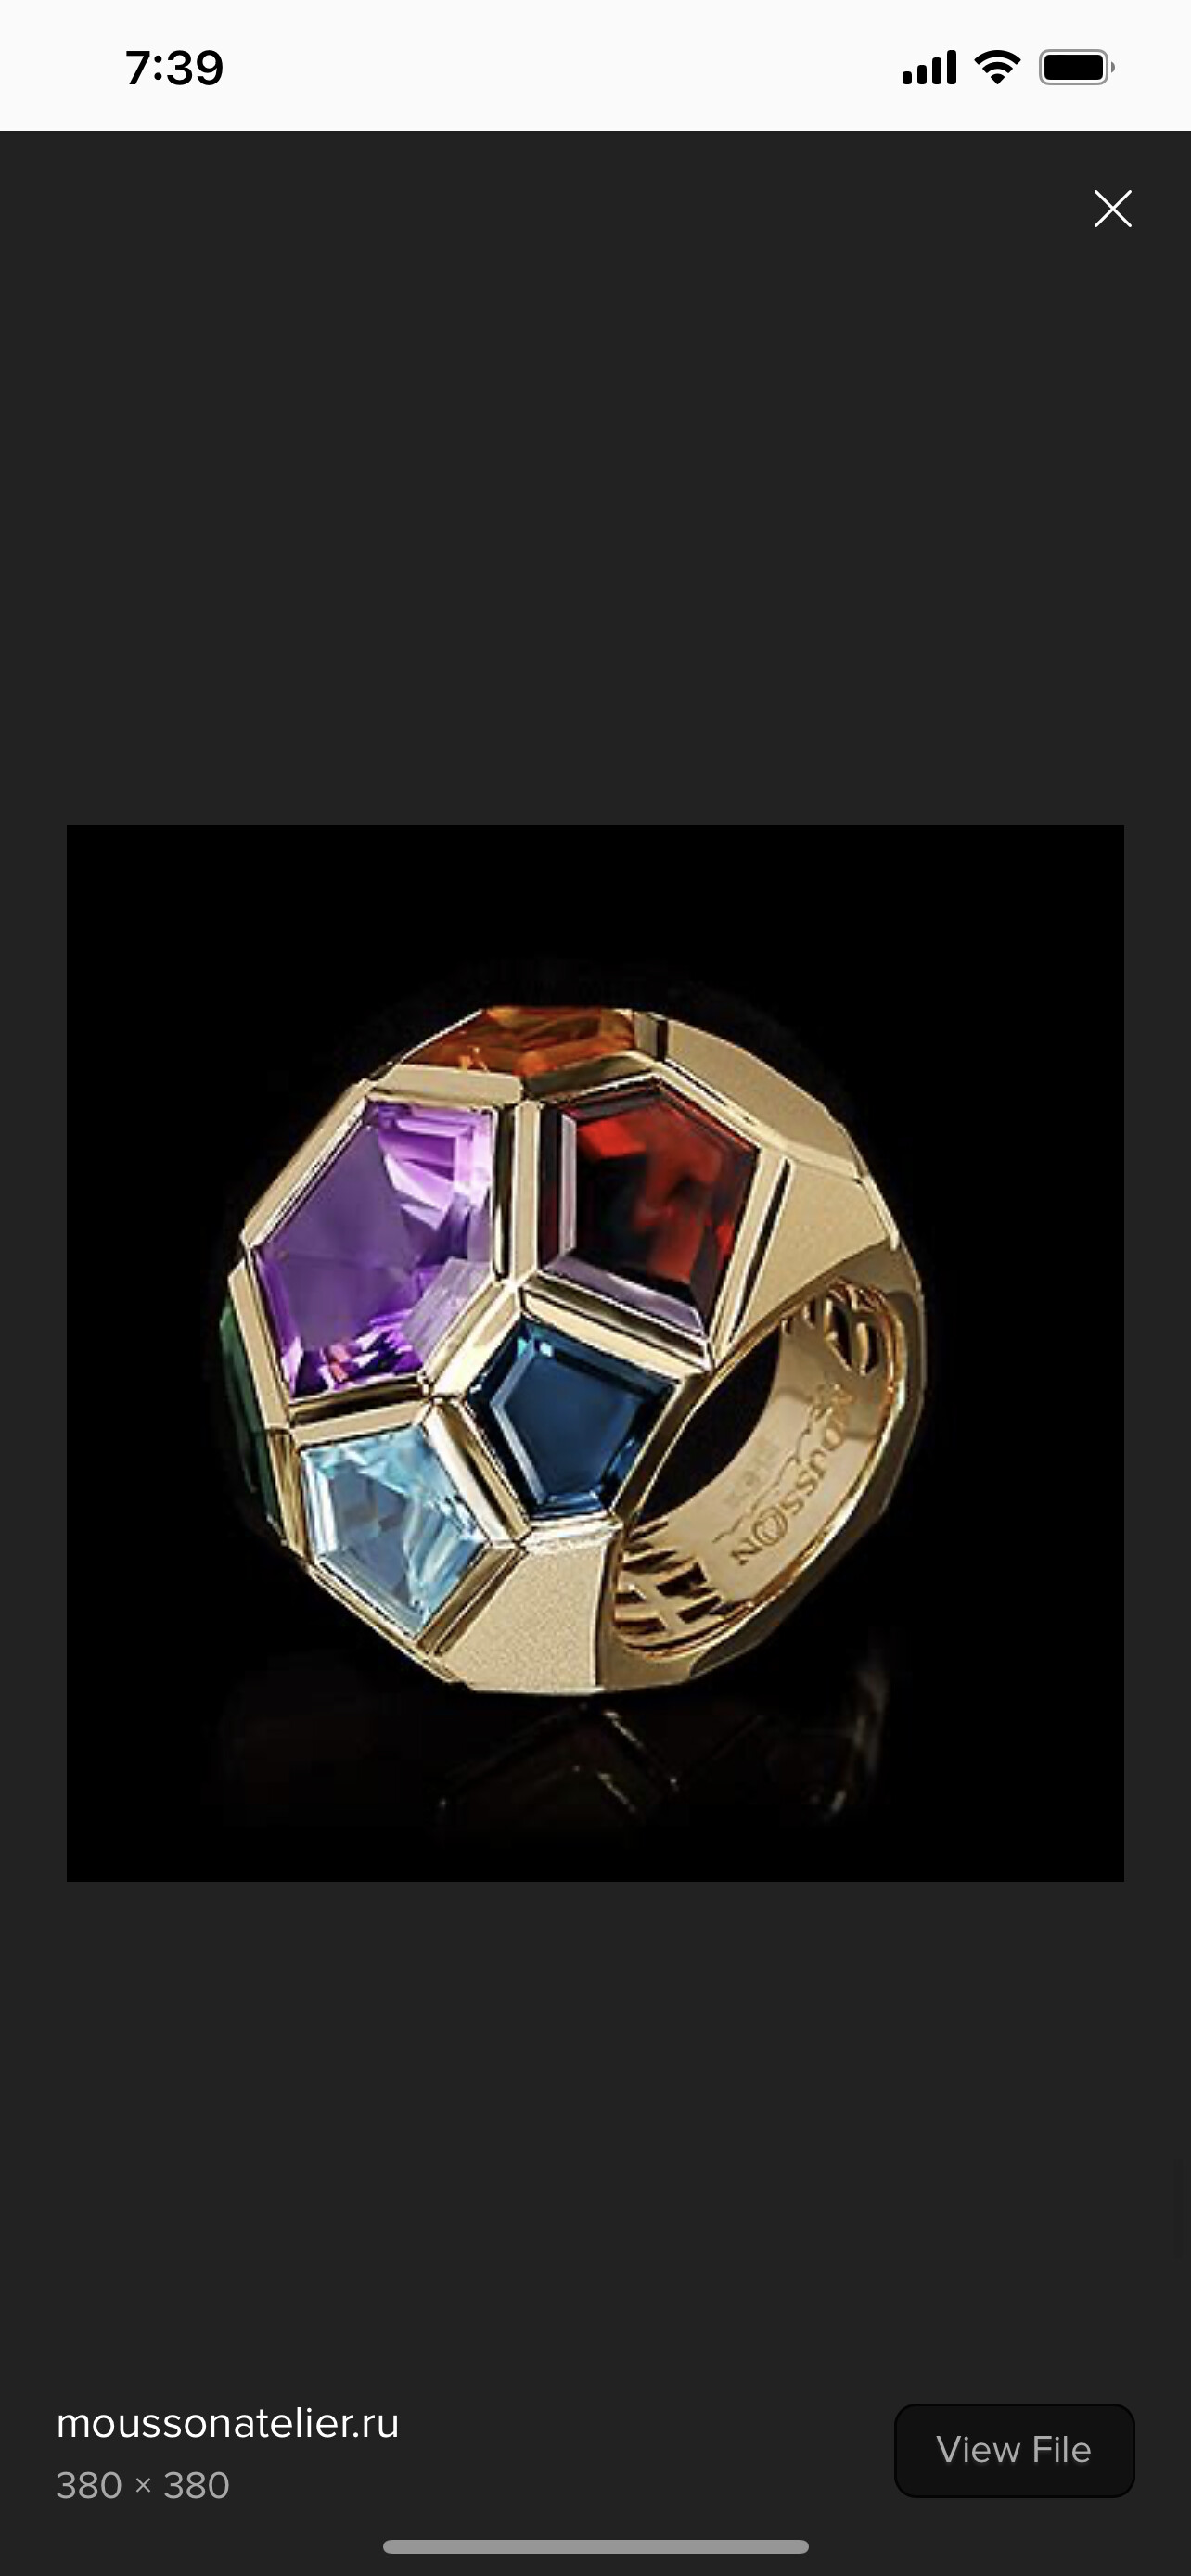
Hi,
here are some images taken off the web, while searching geometric rings….for you to see examples…that are using shapes (ie: more metal) and spaces, as well as stones…and enamel…to create geometric designs
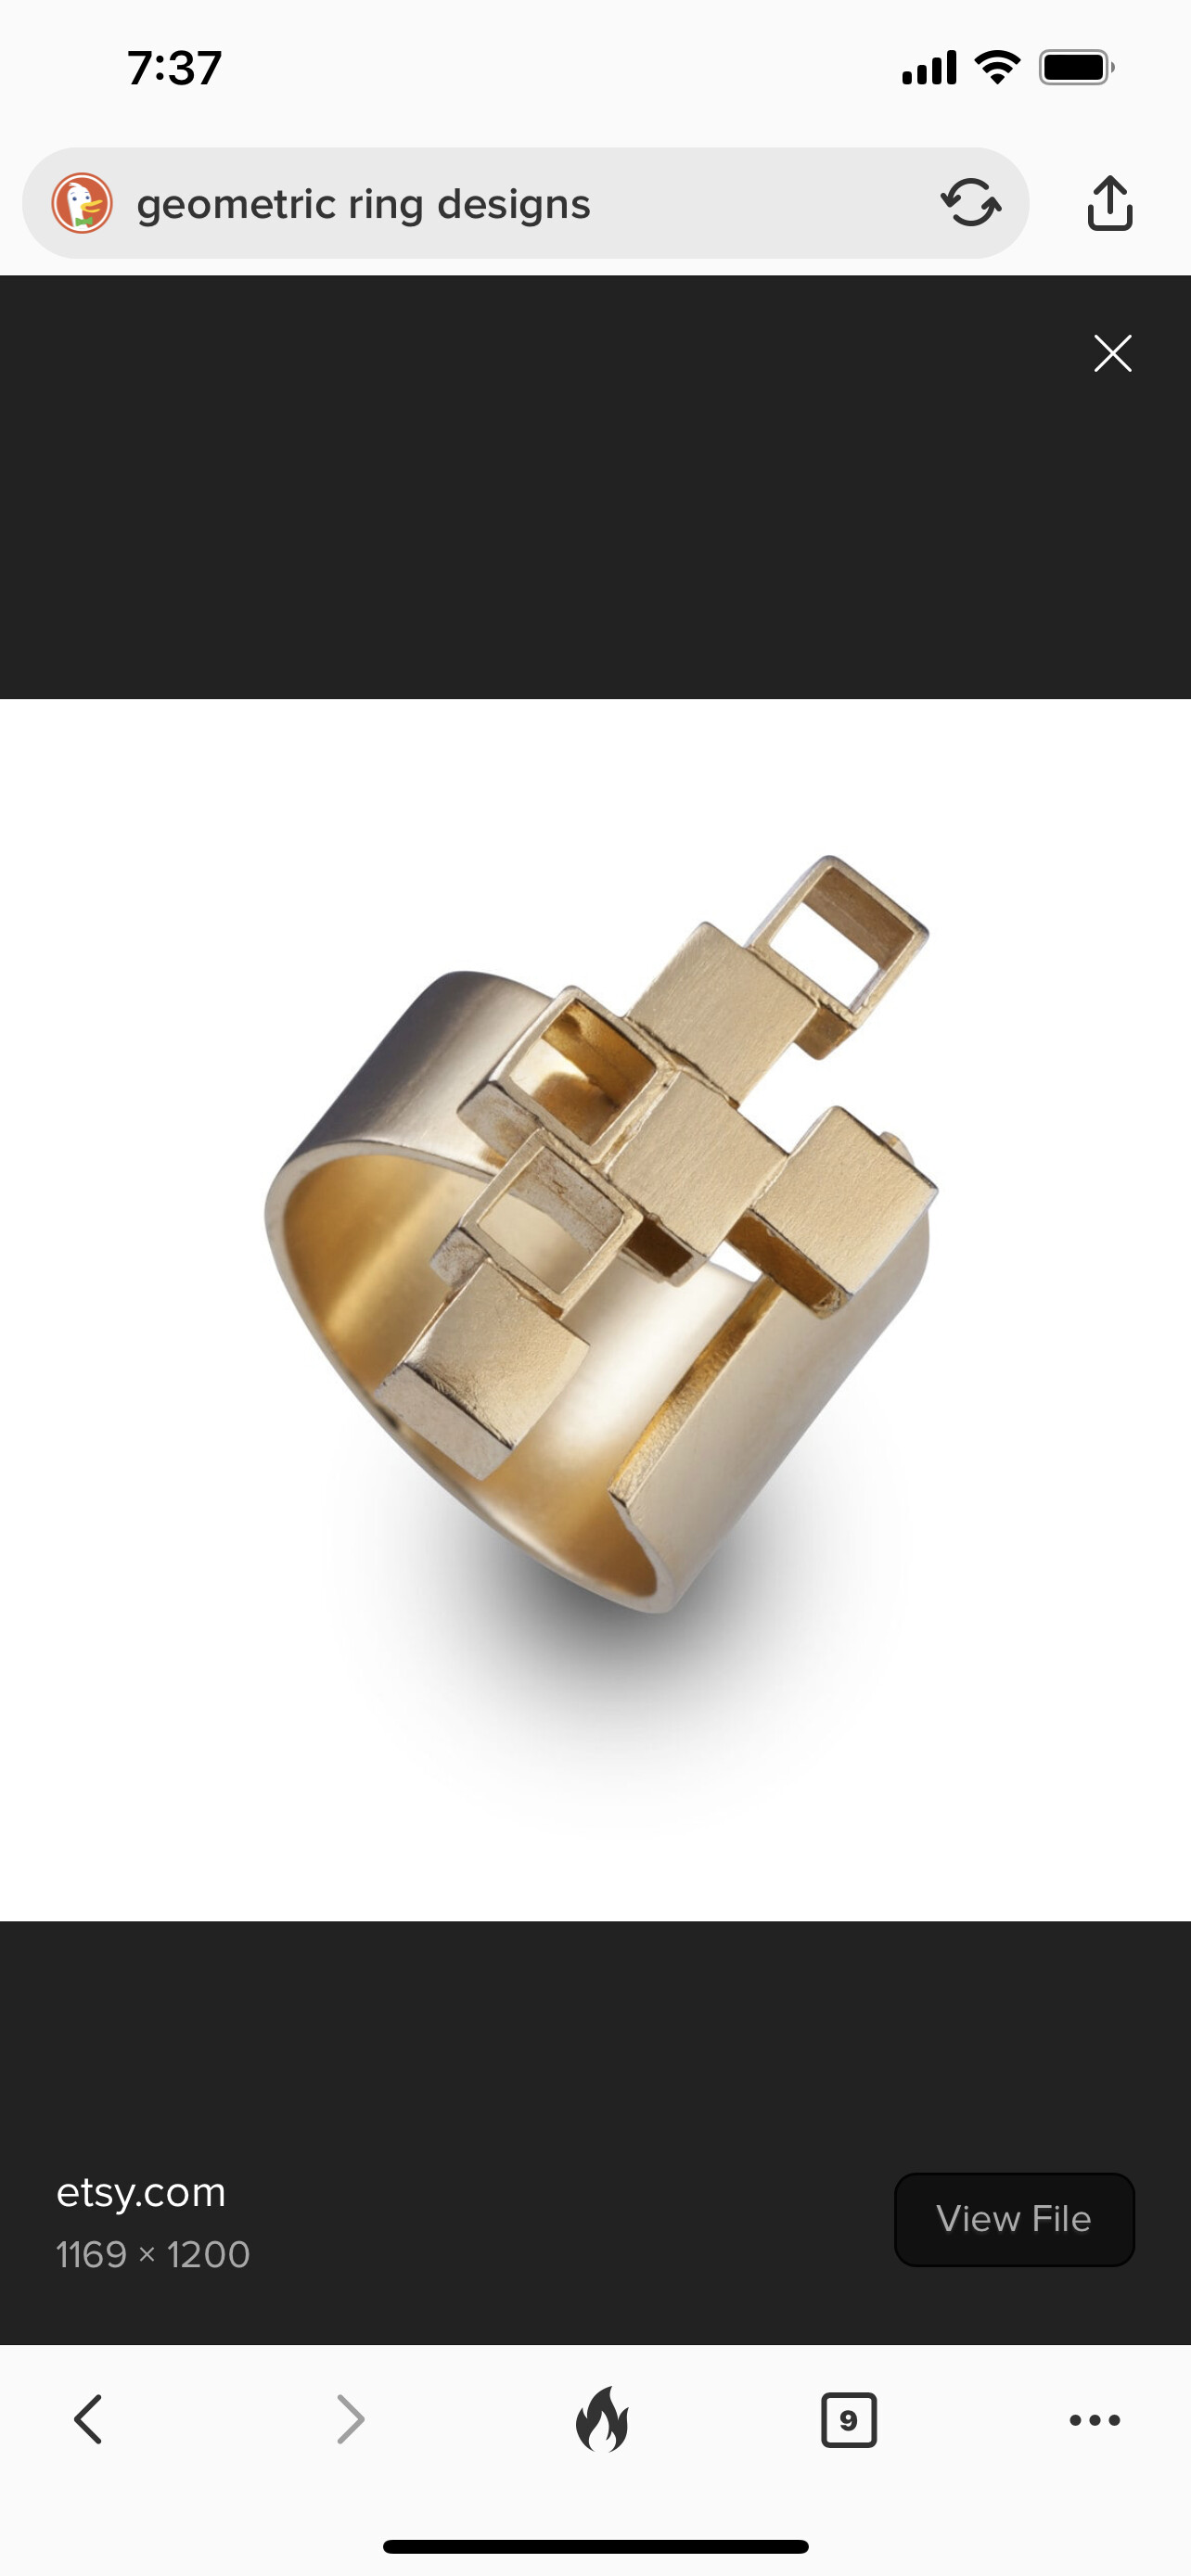
on a related note, also…consider how you can create your design utilizing the unique power of CAD…precision…accurate scaling and layout…volume…etc
julie