Looking for advice on photographing jewelry and the best camera

Hello everyone. I am hoping that you can give me advice in a couple of areas. I searched old posts but there is nothing very current (2001, 2006, and 2014) so I thought I would start a new thread.

Does anyone have a resource for photographing jewelry for someone who knows very little about the subject? I have a hard time taking pictures of my jewelry. I have a nice lightbox and have been taking pictures with my android phone. When I look at my phone screen everything looks great. White background, no major reflections, colors all look great. So I take the picture and when I open the picture on my computer, it looks like dog crap. They always come out with a yellow background and darker than they should be. I have been trying to adjust the white balance, and brightness but the pictures end up looking fuzzy and weird looking. A friend told me that instead of “paint dot net”, I should be using “Photoshop Elements”. Which I will be downloading later this week.

Now to my second question. Can you suggest a decent quality camera to use instead of my android phone? I would like to take good product photos with it, and if possible hook it up to my ATEM Mini Pro to take video at my bench to use on my blog. I would like to keep the entire cost below $350 if possible for the camera.

Thank you in advance for your assistance.

1 Like

Gerald, the yellow background could be due to 2 things. A possible but less likely one is that your monitor’s color is off. What it really sounds like to me is that your phone is set for daylight white balance but you are lighting with tungsten or warm LED lights.

I had a link to a very good photography instruction site but may have deleted it. I will try to find it and get back to you.

There are a lot of very good cameras. If your main interest is in closeups for jewelry then I suggest you look for a camera that will take macro (sometimes called micro) lenses that are designed to be their sharpest and with best color correction close up rather than at infinity.

When considering a camera to buy, do check into the menu it uses to control all the settings. Some brands have well designed menu trees, some others could drive you to distraction.

As with menus, some companies provide useful software, others not so much. I’ve never figured out Nikon’s software and have read comments that I’m not alone - it is poor. Maybe they’ve improved it by now so don’t rule out Nikon, but do check into the software.

It is also handy to be able to view your photos right away via a long USB cable, Bluetooth, or WiFi rather than having to remove a data card and insert it into a card reader or move your camera closer to the computer to examine each shot. If you go with WiFi read reviews - so many devices I’ve read about have miserable WiFi capability that never works or keeps dropping the connection.

3 Likes

Gerald the problem is the lighting. Your phone is very computer oriented in its capture. The light will be what is called “center weighted” meaning the brightest spot in the frame will be what the sensors will adjust their light for. Digital cameras can use either the center weight, or can be over riden for manual adjustments. Now for the light itself, with the phone it will be crap unless you are outside in nice saturated light. In fact the best light is on a cloudy day where it is muted but still all encompassing. Take a look at your hand and the detail of your hand on a sunny day, verses a cloudy day. Also avoid the hours from about 10:30 am until about 2 pm. They have harsh light. As for a remedy you can try on the short run to see if you can improve your images try bounce lighting. Very easy to do with cardboard tin foil and or some white fabric. Cover a poster board sizr piece of cardboard with the tin foil (or today it is aluminum foil) Aim your light source at the covered cardboard to Then the reflection from that light source off the foil should be aimed at your jewelry. BUT you will need two set ups, one from each side. If that picture comes out too harsh, take the white cloth and cover the light source so the light is not as harsh when you bounce it back at the jewelry. You might not get what you want with the phone. Then a digital camera is the way to go. Ply with lighting, and different types of light sources.

2 Likes

There’s an excellent website called Digital Photography School which has good articles.It has hardware and software reviews, paid courses, free tips, and cheat sheets.
Consider subscribing to their email newsletter.

Also, you don’t need to buy Adobe’s software to do simple photo editing. The FOSS programs GIMP and darktable are excellent and replace Adobe products for all but the most advanced graphic applications.

The GIMP (Gnu Image Manipulation Program) does nearly everything that Photoshop will do except for Photoshop’s newest features.

Darktable is an excellent alternative to Adobe’s Lightroom.

Both are free, open source and run on all three major platforms: Windows, MacOS, and Linux.

As to a camera, any decent digital camera will take better photos than a cellphone camera. That said, jewelry can be difficult to photograph because of the hard reflections. Diamonds are notoriously a problem as black spots will appear where some facet reflections are not seen by the camera. Often the photos will require retouching to close those blank spots in the stone’s image.
Jewelry photography is something of a specialty among product photographers.

6 Likes

Yes, that’s the one. Very good.

2 Likes

Gerald…Lots of good suggestions here. When I started out taking pictures of my jewelry, digital cameras and PCs hadn’t even been invented. I wasted a lot of time and money trying to learn to take decent pictures using 35mm film and waiting for it to be developed. What I learned was that taking pictures of jewelry, especially silver jewelry, is a real challenge. Polished metal is highly reflective. While this is a good thing for the jewelry, it causes all kinds of problems photographing it. Fast forward maybe thirty years and we now have really great digital cameras and cell phones that, by themselves, take good pictures. I have developed a formula that works for me. I use 4-57000K lights that create nearly perfect full sun daylight. They are directed on a flat surface with various props that I use use depending on what I am photographing. The jewelry is almost always surrounded by a piece of frosted milar. It probably cost me $2.50 and takes the place of several expensive cloud tents that I bought that don’t work as well. I control for stray reflections using pieces of heavy black paper and sponge rubber. I have used several digital cameras over the years. My current camera is a SONY 6000. You very much need to be able to control the white balance of your camera. The next setting is your aperture or f stop. I have learned that F11 is a good compromise between good focus and speed. Obviously focus is important. Most cameras have automatic as well as manual focus settings. I found that a center weighted automatic focus works well for me. Finally, you need to be able to support the camera so that it doesn’t move. You can buy real expensive equipment to do this, but my set up uses 1”X2” PVC molding and the top of a file cabinet. If you have colored stones on your work or colored metals, I find that my cameras are a lot more forgiving than when the metal is highly polished silver without a stone. Following is a link to my setup. Since I make a lot of bracelets, I have figured out a way to support them in a way that makes them look like they have nothing holding them up. If you photograph a piece of jewelry directly on a black background, it tends to seem to sink into the background, so supporting it prevents this. Following is a link to a series of pictures of my photography setup. It works for me, most of the time. Good luck…Rob https://photos.app.goo.gl/Q3Nv7qACSXBAWHtL8

4 Likes

Hello,

also check out https://learn.photigy.com/

julie

3 Likes

I second the advise about using GIMP software for image editing. It has built-in filters including one for color temperature compensation that will take care of that yellow tint problem instantly and automatically.

You mentioned having a light box, which I find to be a great investment. I also bought a battery-operated turntable that is great for showing off the sparkle and fire of gemstones, and for getting multiple views of an item.

https://www.amazon.com/dp/B08QRTLJJ5?ref_=ppx_hzsearch_conn_dt_b_fed_asin_title_5&th=1

I set up my Android phone on a tripod, set it for video capture, then shoot video while the turntable makes a full revolution. I then use my computer to snap still image screen captures from different angles while the video plays. I send the video and several still images to customers via email to show them a selection of gemstones that are available for their project, and to send status update images and video while work on their project is in progress…

4 Likes

Forgot to mention, I bought a clip-on lens set with macro capability for my android phone. It allows me to get extreme close-ups of such things as engraving, my hallmark and metal purity stamps, and close-up views of gemstone details such as inclusions.

I bought an expensive Hayear 4k video camera with replaceable C-mount lenses that fits in the eye tube of my jeweler’s microscope that I use to record video of stone setting work. But for product close-ups, it’s hard to beat the convenience of my clip-on lens kit for my android phone…

3 Likes

Here’s the lens kit:

https://www.amazon.com/dp/B01A6D2JVI?ref_=ppx_hzsearch_conn_dt_b_fed_asin_title_2

This is my microscope cam:

https://www.amazon.com/dp/B0B71S9GZS?ref_=ppx_hzsearch_conn_dt_b_fed_asin_title_1

Lenses:

https://www.amazon.com/dp/B06XZ2TQ98?ref_=ppx_hzsearch_conn_dt_b_fed_asin_title_1

1 Like

Thank you for the info. I have an android phone, or as my friend says, a dumb phone not a smart phone lol, and have been trying to figure out how to take good photos. So again, thank you for the links!

I have a pixel 8 pro. It is an Android phone that takes really good pictures. I sometimes can’t tell the difference between the phone and my SONY 6000 digital camera. Again, you need to be able to control the light, white balance, focus, depth of field which is controlled by your apeture (f-stop) and how your piece is displayed. Once you get a decent picture, write down your settings so that you can repeat them. I never intended to become a photographer, but I did as a result of needing to take decent pictures of my jewelry. Good luck…Rob

I forgot to mention speed. For jewelry, I am always trying to replicate the actual color and brightness that I see in a piece of jewelry under muted sunlight. I have to adjust speed to do this making sure that my apeture is around F11 and everything is as focused as it can be. Depth of field is not important if you are photographing something flat like a flat pendant. But I am often trying to photograph a bracelet such that I can see as much of a curved surface in focus as possible. This is where depth of field and apeture or f-stop settings become important. Remember that all of this is taking place in close to a macro environment. I often see something in a closeup picture of my jewelry that I missed just looking at it under shop light or even magnification and then go back and fix it. It is usually a piece of polishing dirt, firescale or a scratch. I don’t do much editing of my photographs and rely in the built in editor on Google photos to do it. If I am doing any real editing, I use a free editor like photopea or even gimp. Photography can become an obsession if you aren’t careful…Rob (again)

Hi,

here is my stream of consciousness ramble…

lighting, lighting, lighting…try to understand it…

and…

years ago, my camera savvy brother helped me to buy a point and shoot camera…he stood there and looked thru the viewfinder and fiddled with all the cameras available…and then said…”this one”…i later learned that it’s macro setting was a “wide angle”, so that i could get farther away from the object, and not hover up close casting shadows…

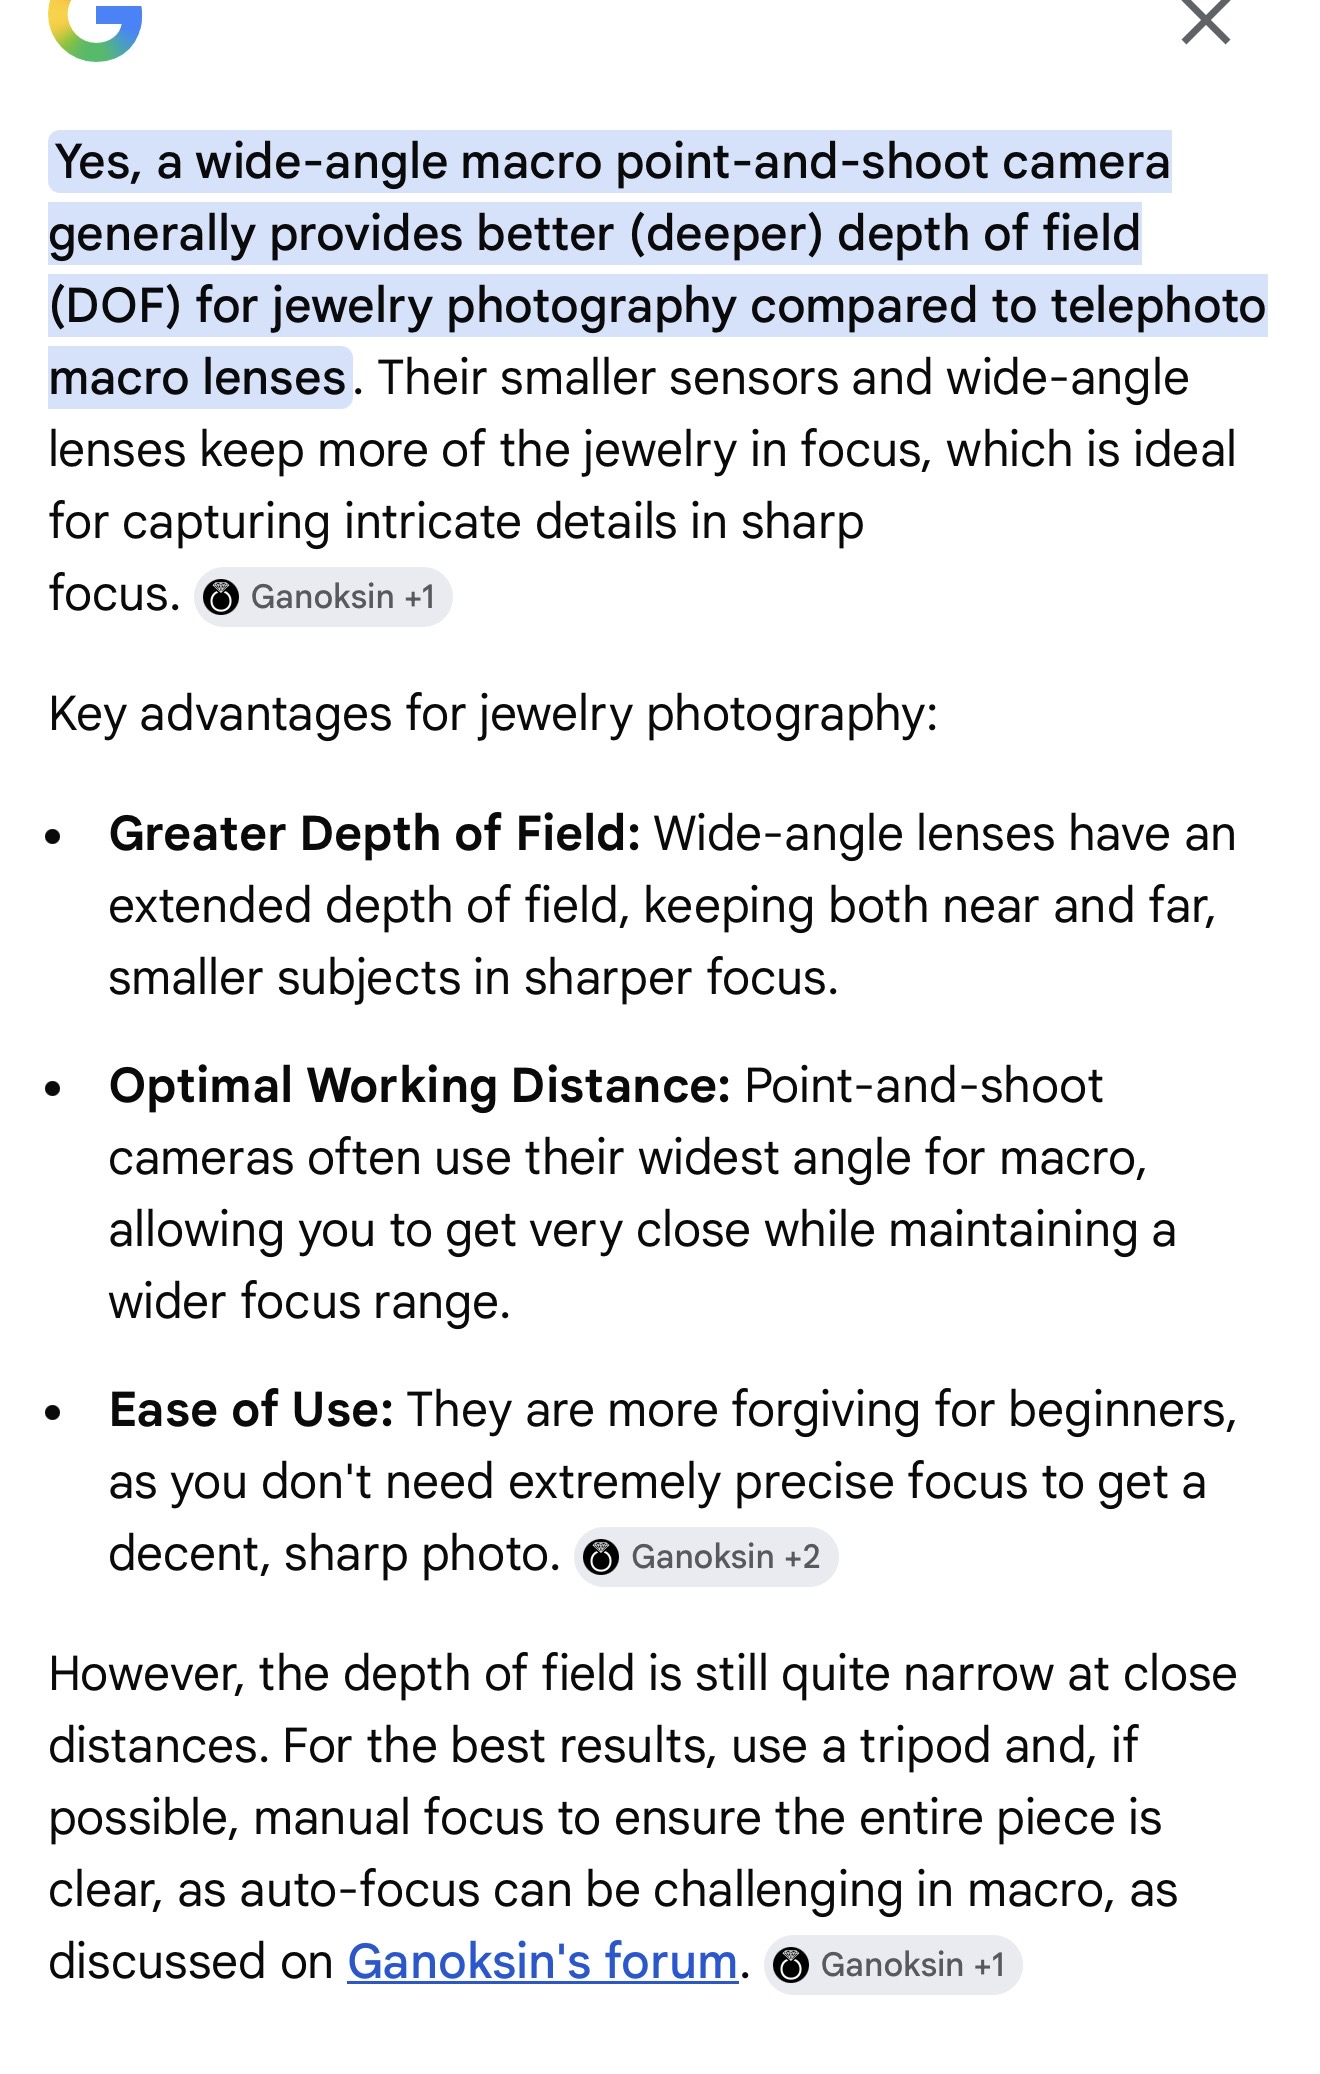
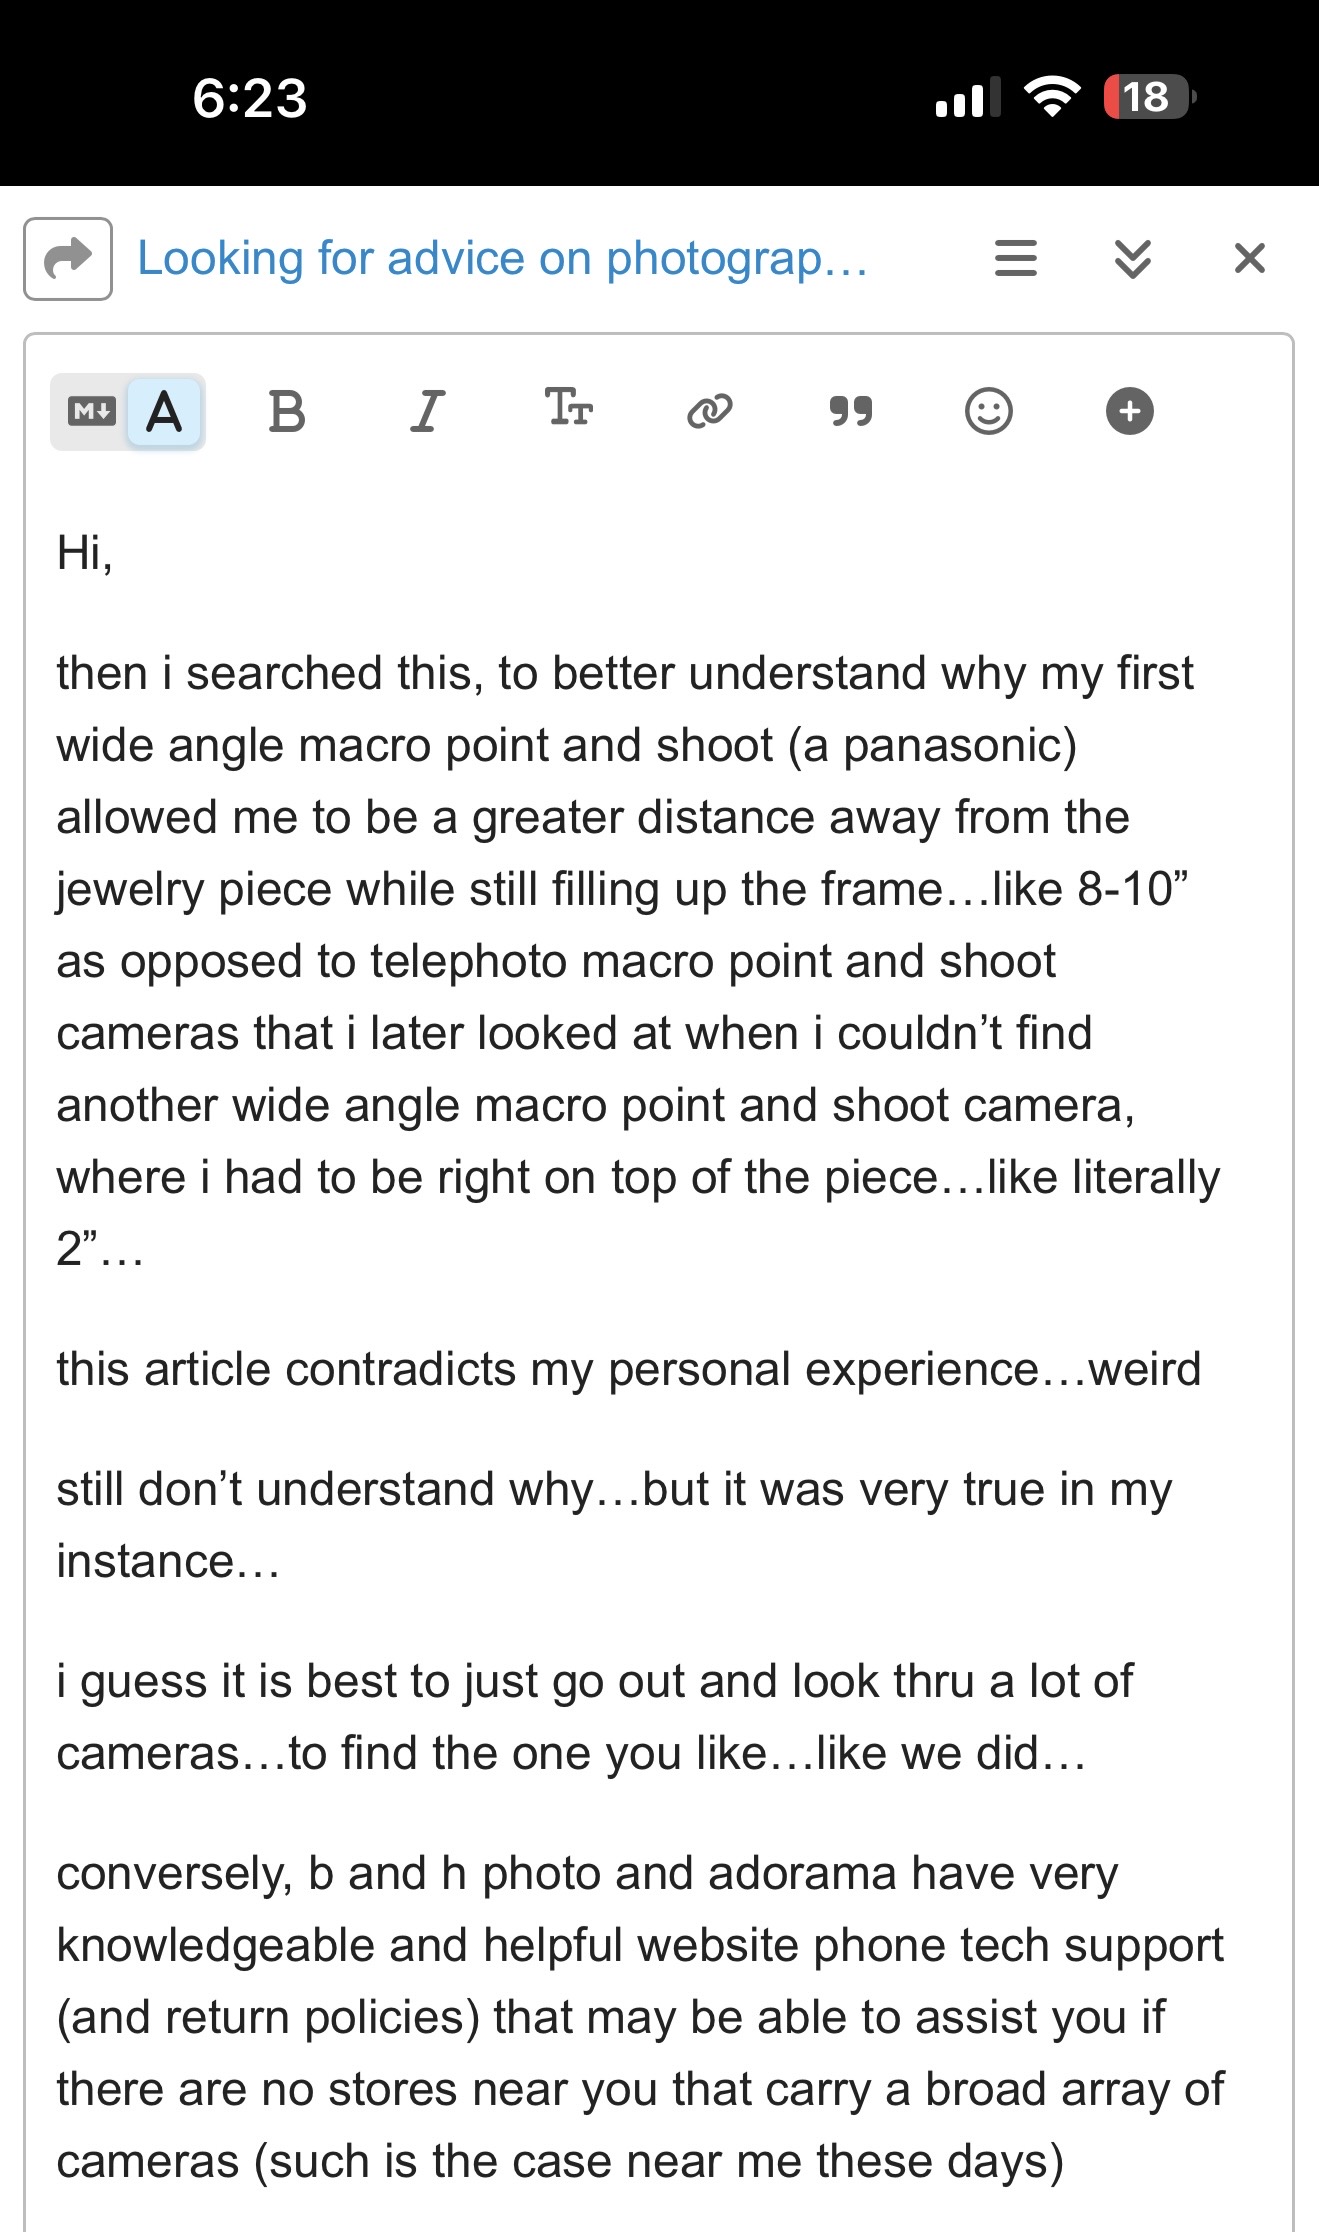
when i later tried to replace this camera, i found it very difficult to find a point and shoot with “wide angle macro…

i ended up buying a nikon camera body and a 1:1 prime macro lens…105mm macro and then later got other lenses…60mm macro…i like the 60mm better…gotta stand too far away with the 105mm

my brother told me a few things

fill up the frame with the piece…more data in the image…more ability to adjust…

understand histograms…a kind of graph of what data the image is comprised of…helpful when trying to figure out “how/ why” to adjust camera settings…lighting…etc…ie if you are “blowing out” the shot…histogram weighted to one side and not balanced…

the object is a mirror…it is reflecting what it sees…understand this and adjust the surroundings to control the reflections

Photigy videos taught me that you figure out what you want the object to represent and adjust lighting setup accordingly…ie: do you want to emphasize a sharp edge?…a soft rounded edge?…gem sparkle?… you do this by controling reflections…creating “gradients” of reflection…for example he would angle a light, to hit the diffusion panel, such that the panel has a gradient of light/ color bright to dark…and then make the object reflect that…

he would take a mini mag light and wave it around behind the diffusion panels/ boxes…and see where the light reflection hit the piece…and move his lights to where the mag light was…to help properly position his lights…

you are not lighting the object, you are lighting what the object is “seeing”/ reflecting…ie the diffusion panel, the bounce card…

light boxes…ie surrounding the object with white diffusion can sometimes “soften” the object more than you might like…not allowing for sharpness where you want it by using “gradients” of light, light to dark…

camera settings, lighting setup (is key), and reflections

overcast days…the sun is the light source…the clouds are the diffusion “material”

sunny days, no clouds…the sun is the light source…it is a hard light…no diffusion

usually don’t want “hard” light…want diffused light…my brother and i walked around walmart and he held up clear plastic totes and bowls…looking at the store lights…he showed me the results…said i dont wanna see a hard light shape thru the plastic…when deciding on diffusion materials…and when positioning the lights behind

if shooting with a macro lens, if possible, get a camera that you can cable to a laptop or pc…it is much easier to “see” on a bigger screen…my software allows me to take the shot from the laptop, or via a remote…and make changes to the camera settings and see the differences.

in addition to a remote, a tripod will help to reduce camera shake, which when shooting macro, can negatively affect the shot.

realistic expectations…shooting 1:1 prime macro has a very shallow depth of field…basically one distance point will be most in focus with front and back points blurred…professionally jewelry photos are corrected in “post production” software (a whole nother skill) using “photo stacking…where they take successive photos as they move the camera (usually on a professional stand/ track) with each shot focusing on a different point, from front to back…then they “magically” combine all the photos to get an image where the whole object is in focus…

jewelry photography is probably one of the most difficult of product categories to shoot…

and, highly reflective jewelry can be an even more challenging category…

just my ramble…

julie

1 Like

hi,

here are some histogram videos

https://youtu.be/ZmAw_Zd7zP4

here is a depth of field video

aperture

Photigy has great jewelry photography videos

vadim chiline of epicmind studio has great videos

hi,

i searched to get a clearer explanation of why my brother found the wide angle macro point and shoot camera to be the better choice for me…he was looking thru all the cameras and better understood what he was “seeing” in terms of the differences…

and!, note the ganoksin link at the bottom!

i clicked on the link…very interesting ganoksin post…on depth of field!

https://www.google.com/search?q=do+wide+angle+macro+point+and+shoot+cameras+have+longer+working+distance+than+telephoto+macro+pount+abd+shoot+cameras&client=safari&hs=JwwU&sca_esv=2ba40b21a873a186&hl=en-us&biw=440&bih=796&ei=QnbKaci3Lb3MkPIP6Kbg0AY&oq=do+wide+angle+macro+point+and+shoot+cameras+have+longer+working+distance+than+telephoto+macro+pount+abd+shoot+cameras&gs_lp=EhNtb2JpbGUtZ3dzLXdpei1zZXJwInVkbyB3aWRlIGFuZ2xlIG1hY3JvIHBvaW50IGFuZCBzaG9vdCBjYW1lcmFzIGhhdmUgbG9uZ2VyIHdvcmtpbmcgZGlzdGFuY2UgdGhhbiB0ZWxlcGhvdG8gbWFjcm8gcG91bnQgYWJkIHNob290IGNhbWVyYXMyBBAeGApIleQBUN8OWOzfAXAIeAGQAQCYAVqgAcUSqgECNDC4AQPIAQD4AQGYAg6gArgFwgIKEAAYsAMY1gQYR8ICBBAhGAqYAwCIBgGQBgiSBwIxNKAH8y-yBwIxMLgHqwXCBwYwLjEzLjHIBxmACAA&sclient=mobile-gws-wiz-serp#lfId=ChxjMe

julie

Oh…my wide angle point and shoot was a nikon cool pix.. not a panasonic..

and cambridgeincolor.com is linked in this post…great website!

https://www.cambridgeincolour.com/tutorials/depth-of-field.htm

julie