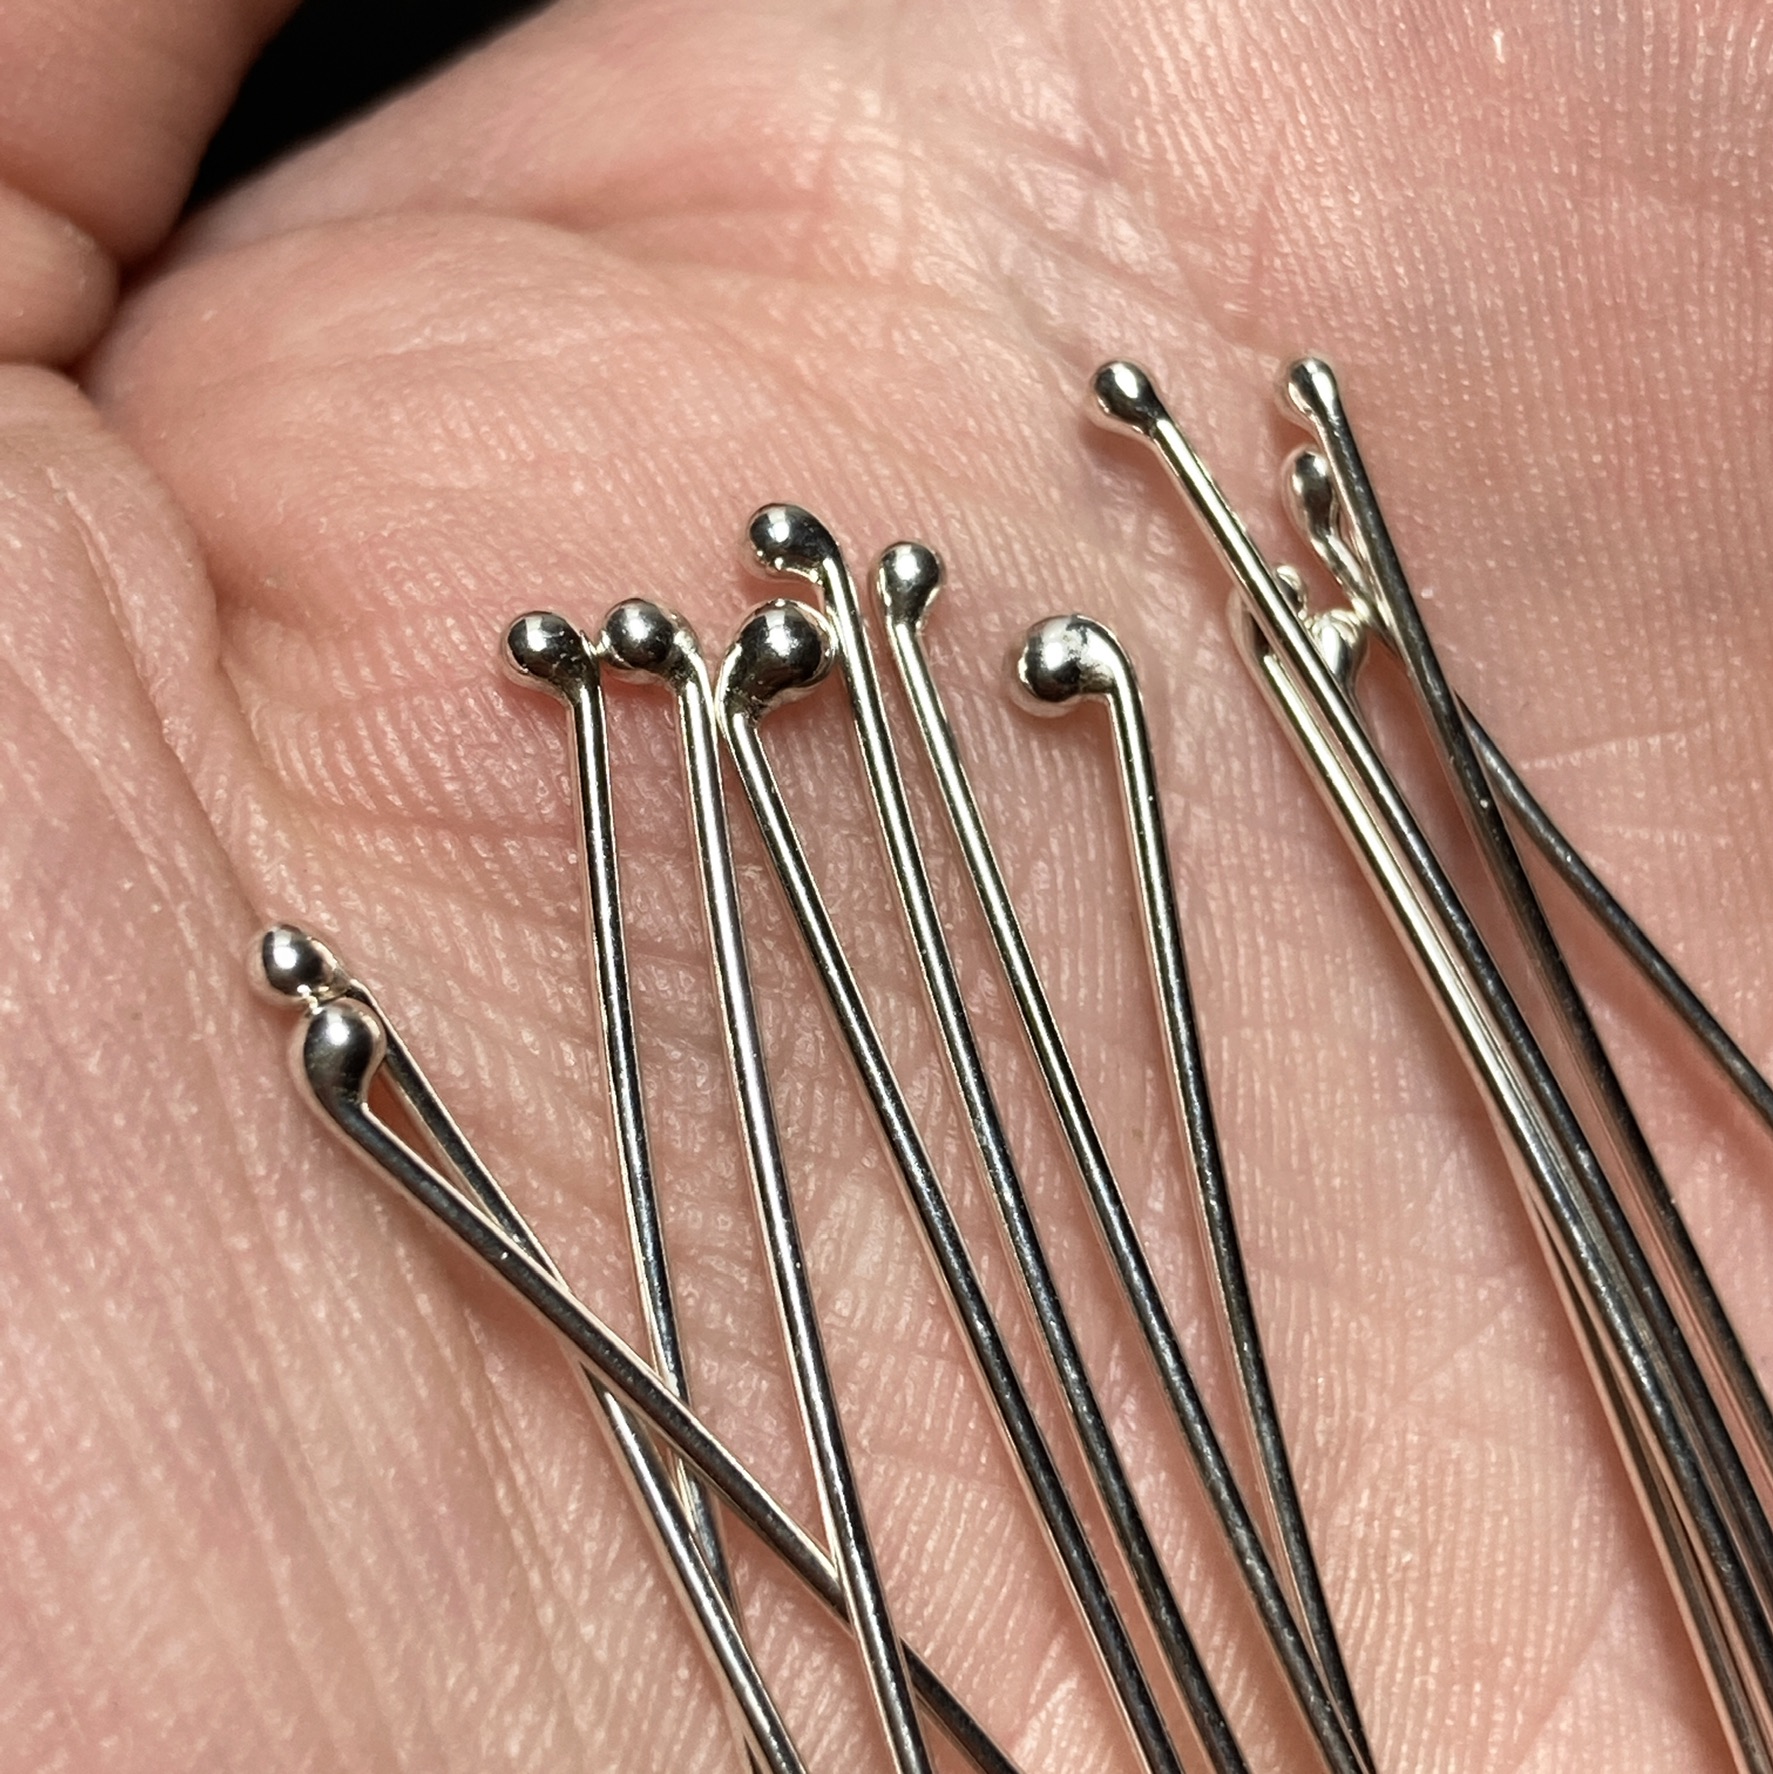
Or rather that’s what I want. I can make perfectly nice balled headpins except for one thing- the ball is always canted off to one side, no matter how I hold the wire or which way I point the flame. Same issue regardless of whether it’s sterling, Argentium, brass, copper, nickel alloy… they always go off to the side. I think this is because the behavior of the molten metal is controlled by capillary action and surface tension rather than solely by gravity, but my question is whether there’s anything that can be done to keep that balled end centered. Anybody got this magic?
Visual aid below, though I’m sure everyone here knows what I mean. They’re not bad, my brain just loves symmetry and wants a little more.
I haven’t tried this but maybe use a steel metal plate with a small hole that’s the size of the wire +. Put the amount of wire thru the hole for the size of head you want.
The wire would be vertical with the torch at the bottom.
I learned this from a Hans Meevis rivet-making tutorial. It works well.
Drill a hole into a charcoal block the length of the pin (or rivet) you want. Use a ball bur to make a half-ball cavity on top of the drilled hole. Insert a piece of wire somewhat longer than the hole, so wire sticks above the block. Melt what sticks up.
You will have to determine how much wire to leave above the charcoal to get the size ball (or rivet head) you want. Once you know that they will all come out perfectly.
I love the charcoal block idea. Must try that. In my designs I tend to opt for a slightly more shaped ball (drifting towards a nail head) - if you pop the pin into a draw plate backwards (not your best one) you can tap the offset ball into a better shape with a small planishing hammer. You could even make a nice jig by drilling the right sized hole through some mild steel and cutting out a cup with a ball burr to give the right shape at the bottom while you add some some funky faceting on top with a hammer. Not tried that. So using the torch to get some meat where you need it and then the jig and hammer to cold work in the right shape.
So after some experimentation I did get some better results. I wasn’t able to attempt the ones involving a draw plate as I don’t have one.
I do have a riveting anvil. I tried the idea of hammering to recenter the ball- doesn’t really work. You’ve still got that asymmetrical neck, and this just emphasizes it.
Drilling into the charcoal also didn’t go well- about a third of the length also melted. I also tend to make very long pins, like 3”, and drilling a hole that long through the block or futzing with supporting it in a smaller hole is just not practical for me right now.
The thing that did make a significant difference was to let the ball just begin to form, then at the same moment dip it down into the central blue part of the flame, tilt it in the opposite direction of where the ball is trying to roll, and quickly pulling it out the side of the flame. It’s a whole lot happening in the space of a second or two, especially with thinner gauges, but it was a reproducible result.
When I need ball ends on my copper, brass, or nickel-silver wire, I dip the end in my high-temp. black flux, hold the wire vertically, and heat the lower end with my acetylene torch. Shortly, it will start to ball up. The trick is to wave the flame up and down just a little, so the ball doesn’t fall off. When the ball is the right size, take the flame away immediately. Works for me. --Judy Bjorkman
I went through a rivet happy phase a few years ago and Judy’s trick was what I discovered as well. Gravity and the flame were 2 forces pulling the ball off center in different ways so I flipped it. Using a pair of pliers, hold the pin and heat from below with a centered flame. I found this works the best of any method I tried other than Hans’s charcoal block method.
The block is a little fussier, but it’s easy to drill a bunch of holes and make a batch of rivets at a time. Once I nailed the right amount of wire to stick up, that method was very predictable.
I usually use the inverted method for a small number of rivets and the block for batches.
As several others have suggested, heat straight up from the bottom. There will come a point where gravity will take over and the molten ball will fall off. I did discover today that my PUK 5.1 will ball the end of a piece of wire to make a nice rivet out of 16 gauge wire. I do the same thing to clean up the cut ends of new ear wires…Rob
Doesn’t the charcoal heat sink the majority of the (inserted) metal and inhibit melting?
The entire idea behind having wire (for rivets or whatever) embedded in the charcoal block is to prevent that part from melting. The only part of the wire that should melt is that which is above the block and exposed to your torch flame.
If the same length of wire is above the block with each application then the ball for the rivet head will be the same size each time, and will be centered, not off to one side.
Since silver conducts heat so well perhaps if one applies too much heat for too long then melting might take place below the level of the charcoal block, but I have not had that happen. It takes just a light touch with a very small flame.
I have done the ‘hold the wire vertically and melt from below’ procedure plenty of times. That’s how I was taught. It works, usually, but the results are not uniform. When I want repeatable results for multiple pieces I use Hans Meevis’ method.
As others have said, often there is not just one right way to do something, and whatever works for you…
Interesting. I must have made more than a 1000 argentium head pins. When I first started with Arg, I had lots of these golf clubs. The image is Argentium? I redo them because they are heated wonky. Hold the pin vertically in a tweezer half way up or more (well away so as not to heat sink too much). Heat the end where the ball will form but also give some heat up the pin a tad. You have been climbing a hot ball up a cold wire and it stops flowing…just needs more heat! Its a finesse move with an extra second or less of flame. You can make these perfect without any other messing around. Let me know if this is still not working. I will make you a quick video.
I have had decent results from suspending the wire straight vertical in a third hand and heating slowly from directly below - the ball tends to climb directly up the wire.
So, as I’ve said upthread, I am suspending the wire straight up and down heating from beneath. It still climbs the sides 90% of the time. Dipping down into the center of the flame sometimes helps with Argentium but that’s the only thing that’s made any difference.
At this point I’m just making my peace with the shape I get. Long as the beads stay on they serve purpose.
It would depend on how much you use your welder. I don’t use mine a lot yet and the 40 cuft. tanks that I use last about 6 months. Make sure that you close the main valve when not in use and don’t leave the gas flow test button actuated. Locally it cost me around $30 to exchange. Hope this helps…Rob