I just posted my 81st technical essay to my blog! It describes all of the many uses in using this fantastic setting tool. This new essay contains 26 photographs and some of them are shown here.below! I show in detail many of its varied uses of a ‘reciprocating hammer’ and the various anvil head formations. I suggest that this setting tool is to be one of the best inventions any setter has in their tool inventory. Go and read for yourselves! Enjoy, Enjoy!
I bought a “Reciprocating Hammer” about 15 years ago and it is still in great working condition. I bought another one previously, but it ‘totally failed’ after 6 months with only casual use. I walked by a garbage bin and dropped it inside, money was wasted!
When you have the need to buy a "Metal Hammer ", please realize you are not buying it for today, your purchasing is for the many years or decades to follow. It will just never stop working, trust me!
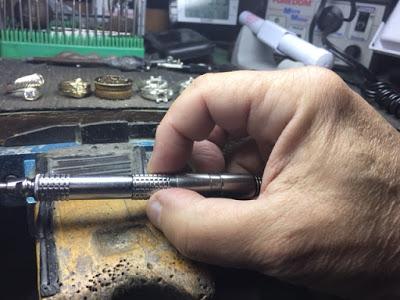
I personally call this (no name given) hammer as my very expensive setting tool . It has given me great use over the past many years and has never failed me. The distinction is that the little turning of the ‘knurled rotating mechanism’ is where you can easily adjust the hammer hitting power. I just never rely upon the strongest or powerful hitting step.
I suggest you experiment with the different hammering power settings that it has Inside the handle is where the ‘powerful’ internal metal (other hammers used a hard plastic) mechanism starts to move the important outside anvil up & down!*
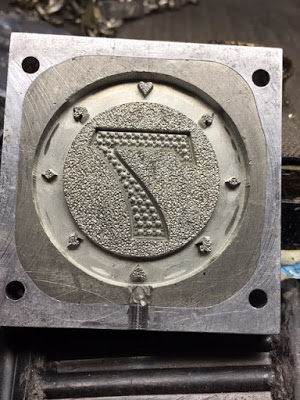
On a soft metal mold, the surrounding surface was ‘flat and boring’ . I used my modified hammer anvil by filing the metal to a fine point then made sure that there was no more ‘flat’ showing.

On this metal mold , you can see that every surface is now ‘spotted’ from the anvil that made it much nicer to look at
The results are that my key-chain now has a fine matte finish. I did this special ‘surface finish’ as I couldn’t polish the surface with any cloth wheel, so why not add a bit of sparkle to it, agree?
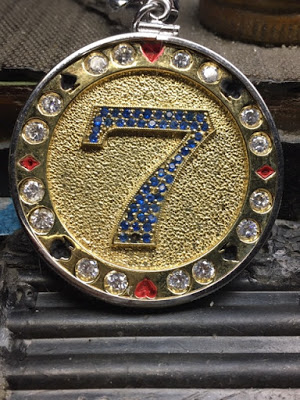
Just for some extra finish, I hit the surface again with my modified anvil. Then I had to get the plating done as the anvil removed some of the platings.
For my regular anvil-shape configuration, this has a rectangular shape! I sometimes use only the ‘corner’ of the flat surface. For this reason, I get a hit exactly where it should be, as a setter I want precision.
The metal must be leaning over the stone, any hand pushing is too difficult. Then I prefer my hammer, but I keep the ‘speed of the hitting action’ to a bare minimum!
Once the metal is over and down onto the soft stone I then prefer to give the metal more chances of being touched and to hold the gemstone in place…with no movement!
My old “Medical-Alert” silver bracelet has seen much wear , I quickly thought about making it clean and great looking again. With my pointed anvil, I then used it for this newer purpose!
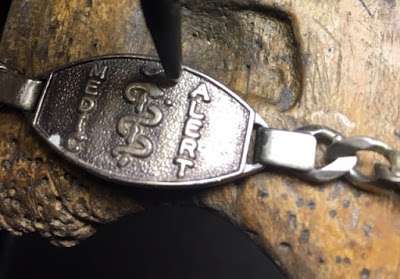
If you have a little pin-hole from a defect in your casting . I suggest a new way to remove it without soldering. Guess what I did? With my pin-point anvil, I just hit the soft silver metal and literally ‘moved’ the surrounding metal surface over the hole.
I then smoothed the remaining surface t o make that there are no ‘little valleys’ around the covered hole. Isn’t this a great idea?
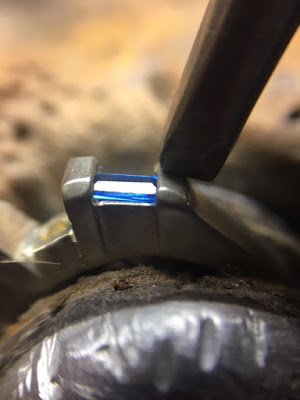
For Baguette setting, this hammer does its great work. Now I don’t have to keep pushing the metal over and down by my hand pressure. The hammer-anvil does it for me in seconds!!
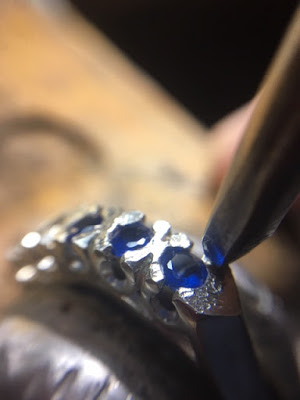
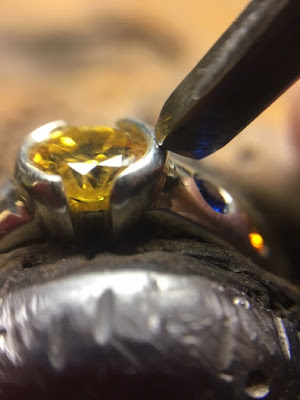
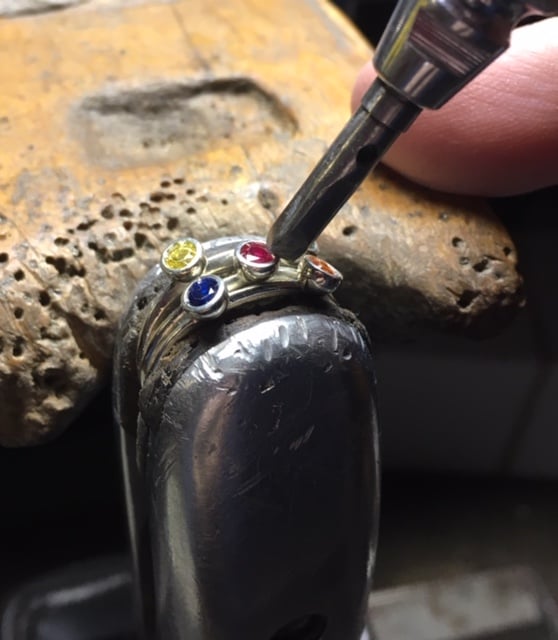
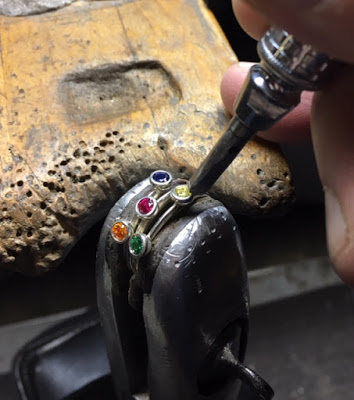
Remember to keep your anvil on its ‘lightest pressure’. You can see that I’m now using half of the anvil surface to make contact on the Blue Sapphire.
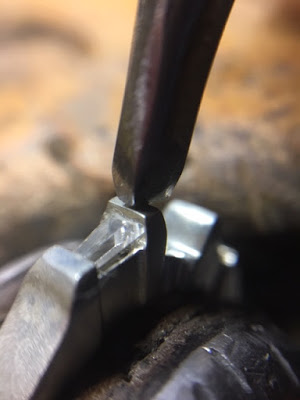
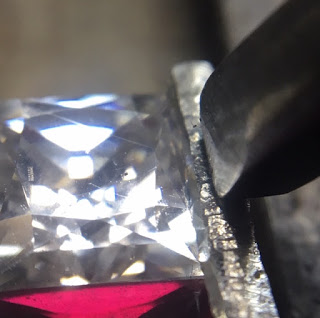
For a Diamond or White-stone , I’m using at this setting project, only the corner of the anvil to make delicate pushing down to the Bezel wall.
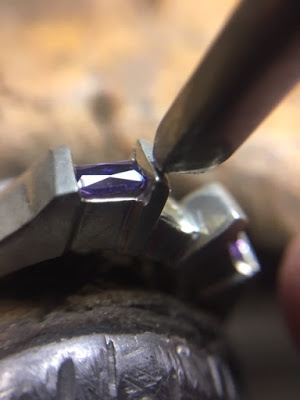
For a very soft and delicate Amethyst , you can see in this photograph where the contact spot is. Remember that this stone is only a ‘6 on the Mohs Scale’ of hardness. Keeping your hitting on a very light hitting pressure, you shouldn’t have any problems with a softer stone.
But an Amethyst should be your limit with the softer stones. You can set a Blue Zircon if you wish, but be very careful with this hammer-hitting. Warning, is that problems (breakage) might occur!
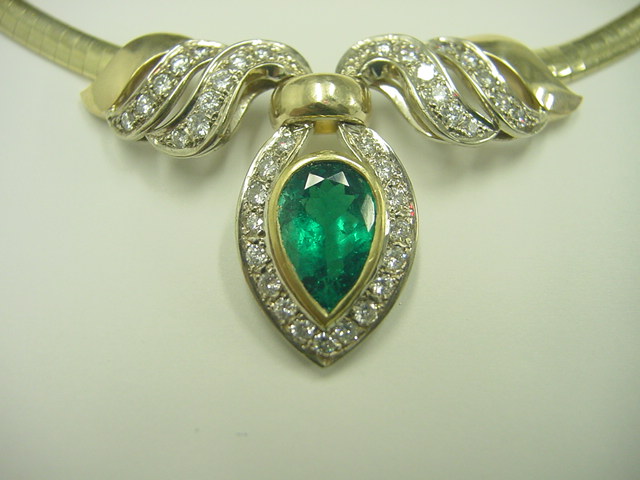
I don’t think many comments are needed here , I used my Reciprocating Hammer on the Bezel wall. The metal was 18karat but look at the final results, of course, I did the Diamond Setting first then the jeweller Laser-Soldered the Emerald bezel into the Oval frame opening.
BTW, three other setters in this city (Toronto) totally refused to attempt to set this spectacular pendant upon seeing the project.
I used this for the delicate setting operations as on an Emerald pendant worth $10,000 just for the stone. I rotated the gnurled twisting-lever to the ‘minimum setting’. The hammer hitting power was never reduced or compromised.
When you have the need to use your hammer, please avoid placing your ring in a leather-lined ring clamp, why so? The leather absorbs 100% all of the hammering hitting power. You’re wanting to have the metal cover the stone is wasted.
What would I do in this case? I use little ‘wire hook-beads’ that go over the Girdle of the stone.
The wanting to secure the stone with your hammer-anvil can be very misleading , it isn’t going to work in your favour! No matter how hard you try to use your favourite hammer handpiece, forget it!
After many years dealing with this same problem, the ‘wire-beads’ is my only solution.
This hammering is a very special setting tool, respect what I’m writing now . Try and find a metal-base or metal-holding device in your collection of tools and other instruments. As you can see in this photograph I just placed this pendant in an old (45 years old) piece of steel. All of the powerful downward hittings is now directed right to the pendant in question.
For more direct hitting of the anvil, I rotated the anvil so I have only a narrower hit!
For other broader hitting, I again rotated the handle as to give the anvil a wider degree of force.
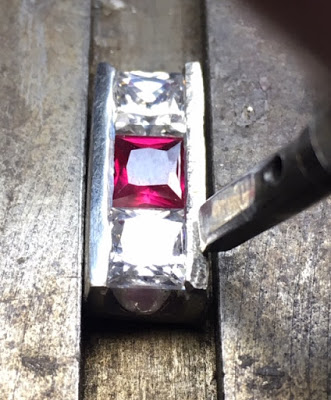
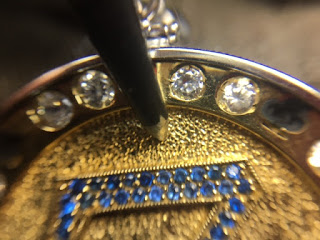
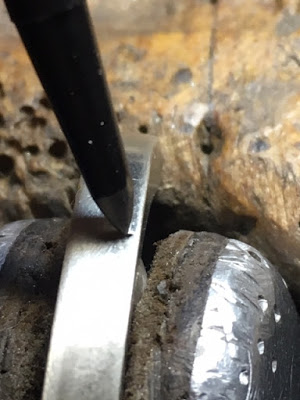
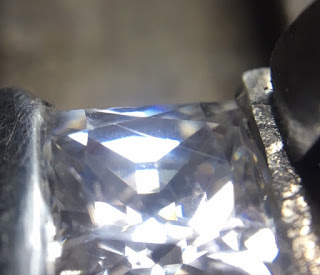
Here is a very close-up of the anvil at work! I never get the anvil right up to the edge as this is where my Bright-Cutting with my Flat graver will then be used.
For a more lateral hitting, I continually rotate the anvil where and when it’s necessary! Again, you can see how far away from the edge the anvil is hitting.
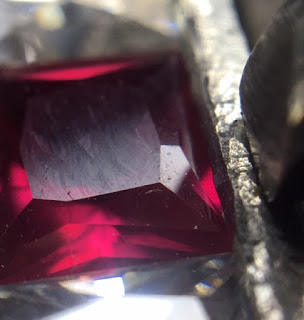
Very carefully you can observe a starting of the Bright-Cutting. Eventually, all of the inside of the Bezel will nicely carved away and this will shine like ‘a wall of lights’!..:>)
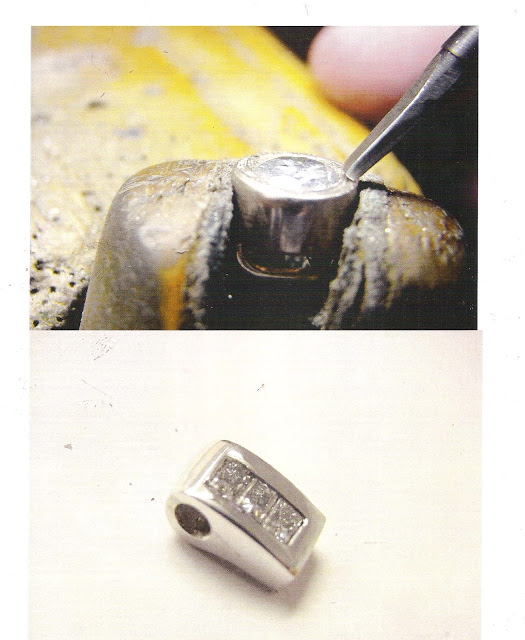
Here is something interesting and totally unorthodox in using the anvil! I’m at this point, leaning the anvil in such a configuration, that I’m using only the edge of the flat face. I will never hit the anvil to the Bezel down flat, but always at 30-degree angle.
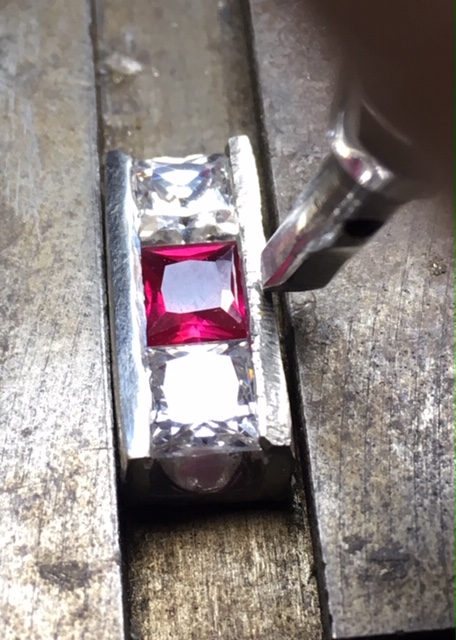
In the lower photograph attached, I finished setting with my hammer three 'Princess shaped or square-cut stones with no problems. Even though, when I finished the hammering, I went further and Bright-cut inside of the setting.
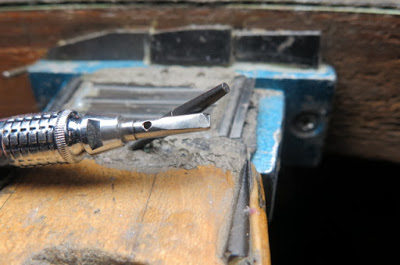
Here is the gnurled, twisting lever that delivers the correct stages of hitting power that every setting you will be needing.
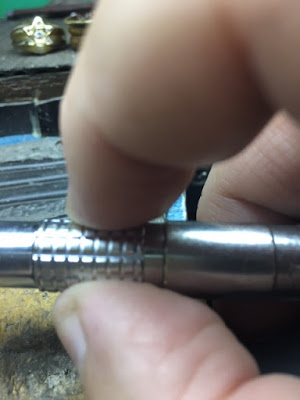
This is your so very important twisting gnurled lever that you should be practicing with. All it takes is a bit of practicing on how many times you should be turning the screw away or close to you!
This is the most important feature of this mechanism , this is the nicely shaped anvil. I really can’t emphasize too often that the shape of the anvil will be your continual ‘friend’ while setting stones…:>)
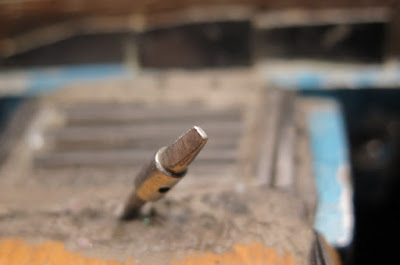
I make darned sure that I have two or maybe three anvils at my disposal . You just never know what other situations that might arise, and you must be aware of them.
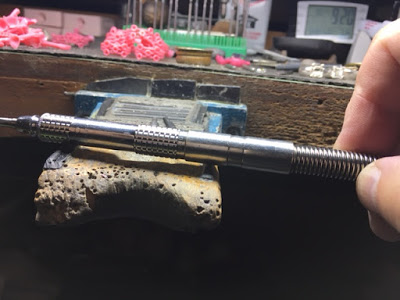
This photograph shows the overall image of the whole hammer assembly and how it looks from a distance. Please be advised that every hammer assembly MUST HAVE A FLEX-SHAFT. Just to replace a broken flex-shaft is about half of the total cost of the hammer.
Don’t experiment by bending the whole assembly into a tight “U” configuration . I won’t show this to you, as I don’t want to ruin mine in the demo!
I honestly hope that you have learned a few interesting techniques in using this great reciprocating hammer. There are many, many uses of this instrument in Diamond & Gemstone setting… “ENJOY, ENJOY!”
Note From Ganoksin Staff:
Looking for a hammer for your jewelry projects? We recommend:
- Reading our guide to the Best Hammers Review for jewelry work here
- Searching for more discussions about Jewelry Hammers here on the Orchid forum