In my many essays, I’ve touched on ‘how to use polishing papers’, but with very few details!
In this essay , I intend to explain the grades or grits of paper to use, in sequence , "How, Why, Which and of course When!"
The difficulty of this exercise is only at a "6.5, on the Difficulty Scale of 10".
Let’s start with the polishing papers and using the new grit numbers, for the same papers.
Shown here are a few of my (constantly used) gravers. In fact, one of the handles is ‘colour-coded’ as I will grab it within a moments notice and while not taking my eyes off of what I’m cutting. For your information, I use the “Rose-Wood” coloured handle specifically used for a Flat #40 graver.
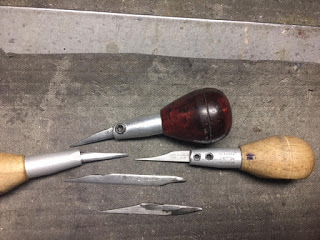
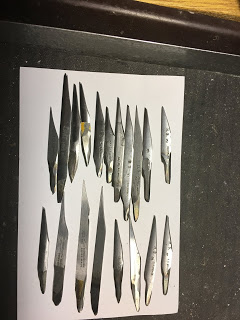
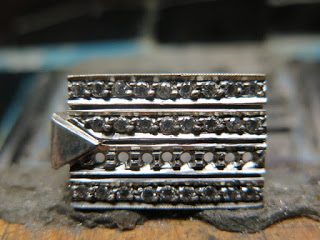
If I can’t exactly ‘modify’ any graver, no ‘Bright-Cutting’ can be done with ease! Remember, that Bright-Cutting is a near difficult task to start with, so why make it any more difficult than it is?
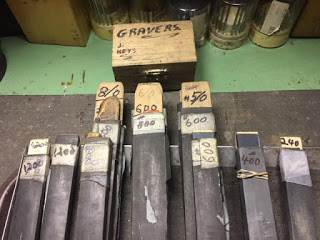
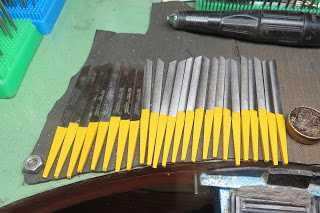
I’ve ‘staged’ these graver papers for this photograph & showing when these are to be used in a sequential order! The “Emery” papers shown are #240, #400.
The remainder are my favourite ‘Polishing’ papers from #600 up & including #1,200 grits. There is now a #2,000 grit paper, but this is too soft for what we’re presently working on.
The many gravers shown here were created for a (previous) gemstone setting class. Can you just imagine how long did it take me to grind them all? (Can you say ‘days’…?) Then after the grinding was completed, I started the paper-polishing!
I must tell you a short, but a very true story! In one of my setting-classes, a student decided to polish his graver by putting his graver against a rotating (30,000 r.p.m.) polishing wheel! The sound of a polishing machine was not a part of my ‘demo on graver shaping’ & this totally surprised me…;>(
I approached some members of my class to listen as to why he was doing this very dangerous act! He said, “I thought that this would be a faster method!” I told him in a very loud voice "If you this again, I will quickly escort out of the class and report you to the head-office as to why I’m throwing you out of the class." (I told him in no uncertain words.) "You should be damn glad that I stopped you just now, as you could have gotten impaled by that graver blade as it slams you either in your face, or abdomen".
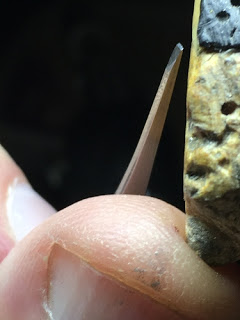
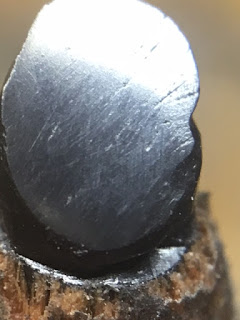
The ‘Flat Graver #40’ (shown here) has a thickness of the ‘face’ (not measuring width) of only 0.35mm’s. Absolute total care must be given at all times & no errors are permitted, at any time in this exercise.
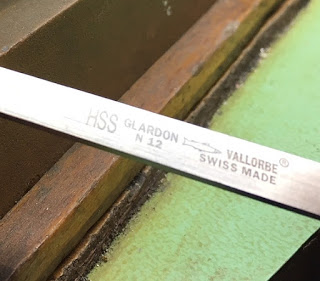
During these recent years I ‘found’ an interesting & reliable blade , it is made in ‘HSS’, a.k.a. "High-Speed Steel" . This company is now my favourite and I prefer these over any other makes on the market. The higher HSS strength is great as the point of the graver doesn’t break off too often
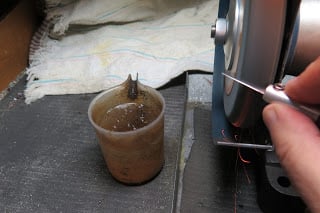
When the ‘grinding process’ has started , I make darn sure a little vial of water is within hands reach! If not, the blade will for sure get extremely hot and the steel will turn a ghastly blue or purple, what happened here? In one word, the steel got ‘soft’ and not worthy of any further use, pity!
In this grinding process… PLEASE USE AN EYE and FACE-GUARD , if not, the steel shards of metal will hit the Cornea’s of your eyes, (let’s not discuss the painful ‘Operation Room’ dangers here.)
Once you have your grinding finished, lets now proceed to use your #240 grit paper. Why not use the higher grits first? Either you use the correct ‘sequence’ of papers, or don’t read this essay, simple as that! I started using polishing papers at an early age and found that this process is the only method!
In using the #240 Emery (not Polishing) Paper totally removes any shards of metal caused from the Bench-Grinding process. This graver is not to be used until we reach the #1,200 grit paper. This #240 paper is only a ‘preparation’ grade for the next (many) steps! This exacting process lasts for 30 minutes from ‘start to finish’…OUCH!
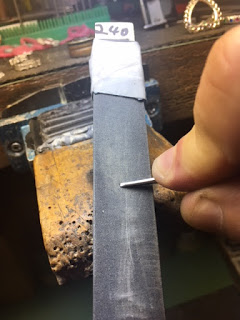
Now that we are at the stage of #400 grit paper. Please use your 10x power loupe and examine the curved, or barrel-shaped sides of the blade. Keep rolling the blade on the ‘surface’ of the paper, why is this now so important?
You need & must to keep the “Barrel-Shape” to the blade , this enables you to carve at a slightly curved and subtle angled surface while you are Bright-Cutting. This is so-o darned important if you don’t do this you, will have a flat surface on this expensive “Onglette” side-curved graver. We prefer a flat surface only on a Flat graver, nowhere else!
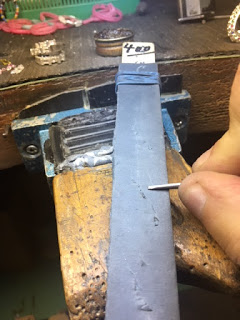
We are now carefully getting into the ‘finer grits’ of paper polishing. Again, please examine (10x power loupe) the steel surface at all times on the sides of your graver. Don’t have any little scoring or lines on either side of the blade.
Don’t put too much weight from your hand/fingers on to the paper! I simply run the blade over the paper at a ‘light-weight’. Take longer strokes, I estimate 3 inches or 75.0mm’s in one stride!
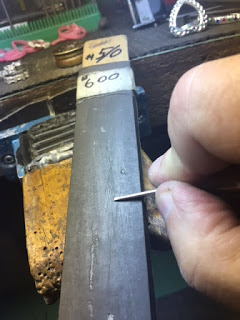
We are now into the ‘final’ stages of polishing , this is where much more care is taken! The #800 grit is a remarkable paper, as it is smooth , but not smooth enough for me!
When you are rubbing the blade with the finer paper , don’t put too much finger-weight on the paper! If you do you will for sure ruin the paper with deep gouges and you might just tear the paper to shreds, YUK!
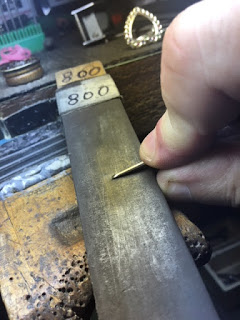
Here you can see just how the paper is starting to shred, why? The graver blade might have been turned too far over on the side and the underneath sharp-edge has literally cut into the paper…not nice to have!
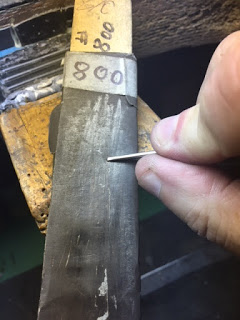
In this photograph, I am using a wide soft-leaded Graphite pencil with a grade of #1 softness . This pencil lead will fill in the pores of the papers. This process literally makes the #800 grit paper equal to a #1,000 grit! Using an #1,000 grit paper, after the pencil rubbing, it will be easily transformed into #1,200 grit!
How far along the paper would I rub this soft lead? I would run the lead all along the usable side of the paper-board. I need to watch what I’m doing at all times! I would just never allow a ‘short-cut’ by putting the paper on the side of my bench, just a very poor decision . Again why so?
Not a good idea to put the paper on the side of my setting-bench, why is this? I have no or little chances of seeing how the graver is being cleaned.
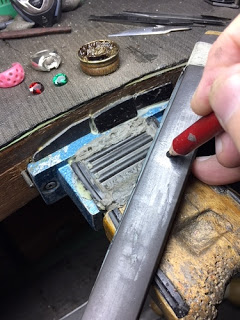
In this photograph, you can see up close how this softcore Graphite pencil is being used. Upon this application of Graphite, I want to make sure that there are no areas of the paper remaining untouched.
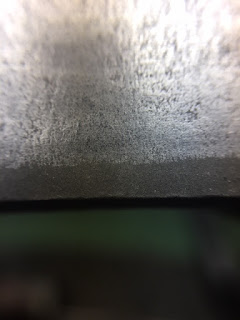
The lower section of this photograph shows exactly how and why the lead is so important in the higher grits of the paper. I have other paper sticks with the same textures, again why? I might use the Graphite to the #600 grit and even #800, in case I’m not too pleased with the paper being selected.
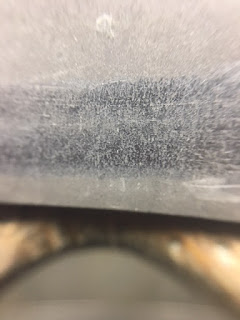
BTW, where did I get my many numbers of sticks? I went to the " Home Depot " hardware store and asked the attendant for some ‘paint stirrer’ sticks. The person in charge might not give you 8-12 boards, so I went back multiple (?) times until I had the just the correct number of boards to use for my papers.
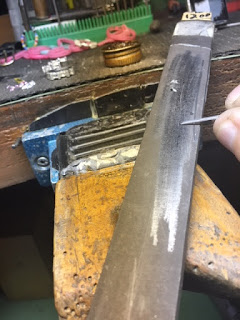
I am showing you as an example the placement of a Flat Graver to the board. This graver has to be placed flat and holding the blade securely on the paper. With rubbing a Flat graver, don’t let the tool ‘rotate or rock’ sideways on the paper. Here is the ruling: “3 <=> 4 inches, 75.0 mm’s” for you!
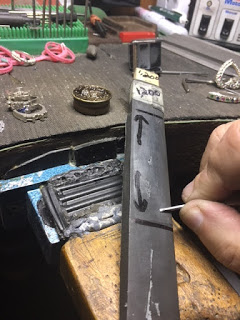
You can see some scoring of the paper, what happened here? I leaned the blade over (by accident) and cut into the soft (#1,200 grit) paper! Don’t worry, this will and can happen many times while you are in a hurry to get your setting done…fast!
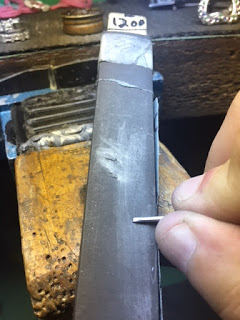
This is an up-close photograph of the Graphite Pencil lead, you can see just how wide the rubbing will be. I just measured the lead width, it is at 3.50mm’s!
I sincerely hope that this essay has been of some assistance to you. I’ve touched upon some very important and basic ‘notes & rules’ for using your polishing papers. I did tell you in my opening remarks that this is not the easiest topic, but it has to be shown & explained in the greatest of details.
Other salient points just on "Bright-Cutting"
1) How to grind the graver? 2) How to modify the sides of the graver during some interesting cutting patterns? 3) How to discover & repair why your graver isn’t cutting anymore?