On this first day of 2019, I ‘published’ my second of two new essays on my (growing blog). As of this date, ** I now have 77 essays posted,** all of this information is 'free to everyone & everywhere.
The most challenging program/essay is showing you “***How to set Princess-cut stones in a new ‘hand-carved’ Channe***l”. The other essay is showing you “How to set Round stones, also in a new hand-carved Channel frame”. These two essays can be (almost) easy, but only if you practice the setting techniques frequently.
Enjoy reading these essays along with the many up-close photographs.
This essay name may be long, but these results are going to be just phenomenal.
We will be starting with a domed, semi-round wedding band, this “Essay-Demonstration” will show how this important channel is carved.
The ‘Difficulty Scale’ in this essay is 9.5 out of 10!!!
What tools are needed?
An assortment of Round & Bud Shaped burs! (Sizes to be shown during this essay!)
Flat Graver #40, or Glardon #12.
Please, NO "156c" (under-cutting burs) in this setting process!!!
The letter “C” in this name refers to a “Carbide” bur, not the aggressive cutting “HighSpeed Steel” bur.
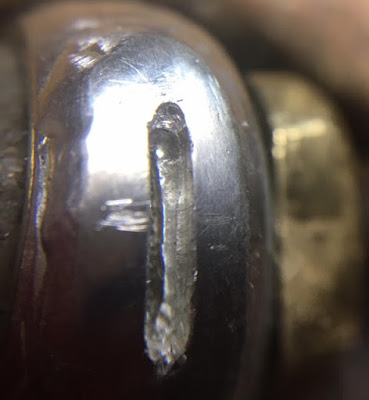
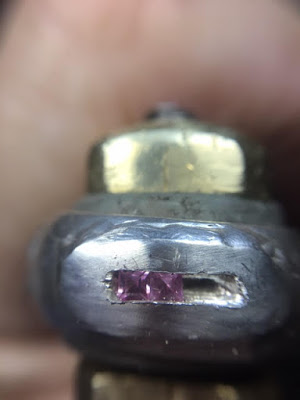
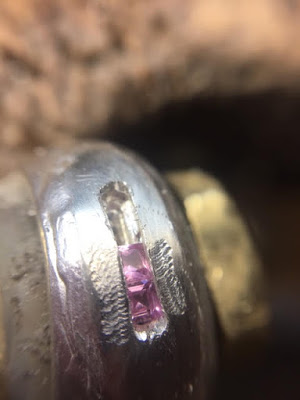
In this very first photograph, you need to gauge the length of the Princess, square stones that you need to set.
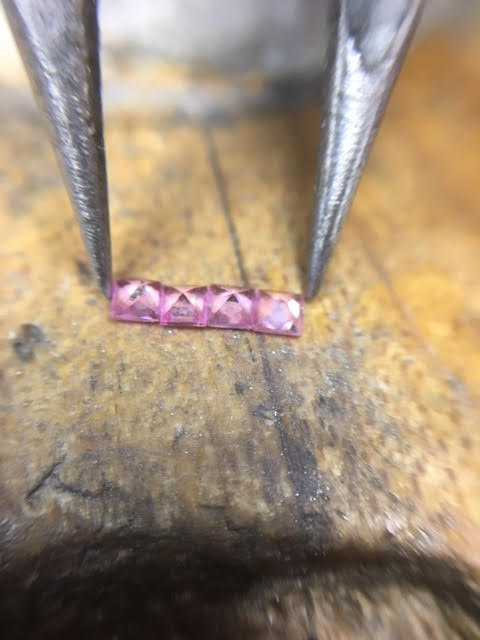
That “gauged length” should be 90% of the channel you are now making. I always gauge a smaller opening, just in case you need to extend the channel-wall further and during the setting process.
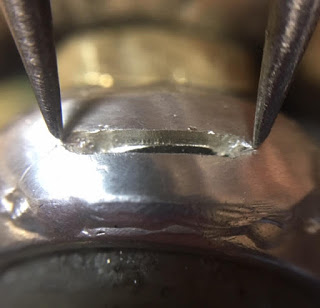
I feel that it is really necessary to figure out where the ‘center’ of the opening. I have to know right now just how far into the channel wall will I have to carve with my multitude of burs.
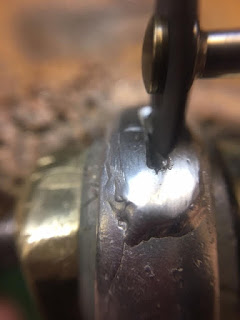
With my bud-bur, I MUST now excavate the lower section of the new channel, I have to clean out the opening just for the Pavilion of the stones. This must be done with absolute care.
No stone Pavillion should be touching or even resting against any metal . If not, breakage will definitely occur!!!
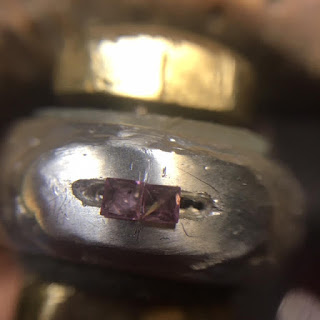
Examine the newly made channel, just to see if the stone will be ‘fitting’ as you expected!

Do not to use any triangular file to create parallel sides of new ‘walls’ of the channel. That file will leave extended marks on and beyond the new Channel opening.
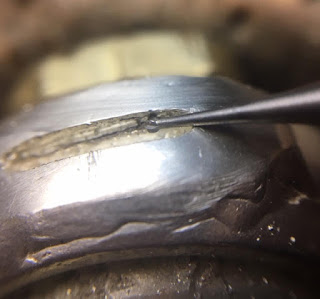
Use your separating wheel to ‘evenly carve’ where the stones will be resting.
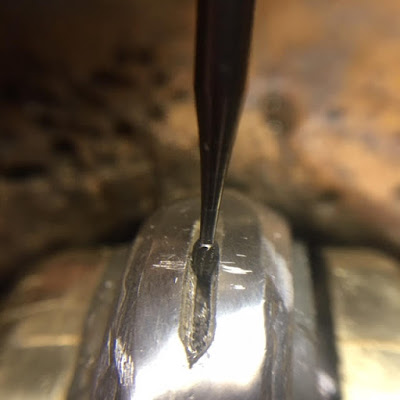
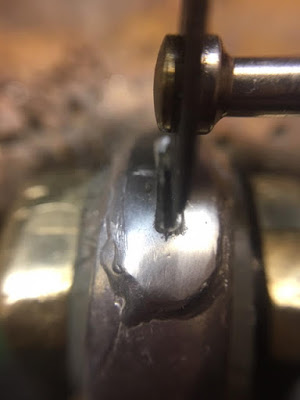
At this point, we are slowly starting to under-cut where the Girdle of the Princess stones will be sitting. I will never make the new ‘bearings’ anywhere near the top of the wall. I want, at all times, “depth”, as I need this depth for future setting steps.
Can you see where the shaft of the rotating bur is ‘resting’ while it is turning? I want a ‘steady & secure’ bur to cut out these very important bearings.
I don’t want any uneven bearings, as this can easily be a major problem further in the setting process.
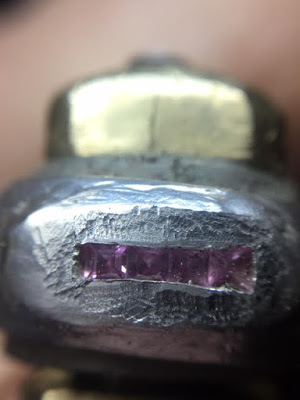
In this photograph, you can see how the first of many stones are sitting. Don’t worry about the curves at the “end of the channel”, I will modify the ‘end cuts’ afterwards.
I discovered during the setting & placing of the ‘used’ stones a few abnormalities with these stones. The first is one of the corners is broken…ouch! The other problem is that that the stone on the left is " slightly larger " than the others!!
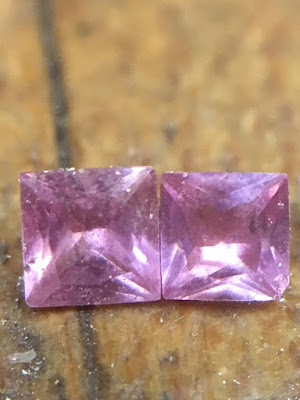
With these two stones in question, where will I place them? One easy answer, I’ll be setting these two problem stones at the ‘curved’ ends of the channel.
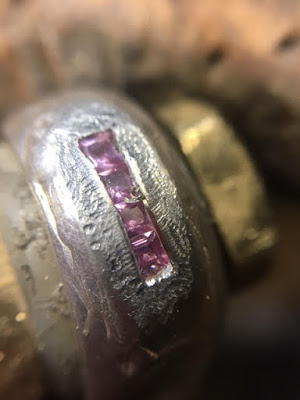
My eyes will now gravitate toward the center and looking at the evenly-shaped stones in the middle of the ring.
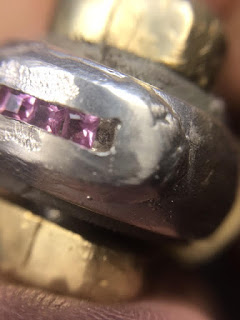
I’m now securing, for the first time these stones with my Reciprocating Hammer. This step is only to gently ‘securing of the stones’, nothing else!!!
Remember when I said to keep the stones low, this is where the ‘depth’ comes in. If I had the stones higher, breakage will occur from the hammer-anvil hitting the ‘Table Facets’.
Can you see that the Hammer anvil never comes any closer than what is shown here, why? Let’s move on with the answer, in the next few steps.
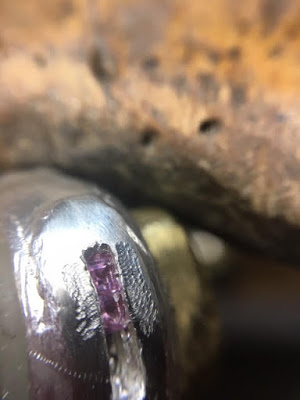
I want to have the ‘broken corner’ of that problem stone sitting under the bearing-cut, not between the stones.
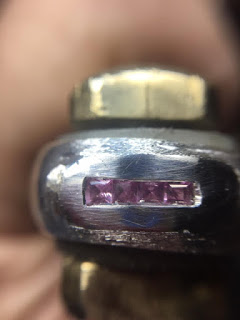
I used my Flat Graver #40 to Bright-Cut the inside of the Channel wall. I also Bright-Cut the ‘curved ends’.
Don’t clean with any file, as that file will leave a serrated edge, not easy to fix!
I used a "Snap-On, Sanding Disk" to clean the hammer ‘hits’ and followed then with my Pumice wheel of #180 grit.
Even with the multitude of ‘cleaning steps’, the stones can & will never be touched,.
It is my firm belief that this particular setting of the Princess-Channel is one of the most difficult to work on, no mistakes are permitted.
I always provide more stones, in case of size and ultimately any broken stones you might come across.
For any question on this difficult setting process, please contact me