I was taught to solder without using a soldering block to support the piece being soldered.
Most times the soldering blocks acts like a heat sink, where the piece being soldered won’t get hot enough. I was told, and found that it was best to be able to apply heat from all angles, particularly underneath the object being soldered. When the joint is hot enough, the solder will be drawn into the joint. Heating just from the top will often cause the solder to burn, without getting the joint hot enough. When I did use a solder block, it was used as a base, as I hand held with tweezers, the item and adjusted the joint against the block to make sure it was straight. Melting and remelting the solder raises the melting point where the solder just won’t flow, so it is a challenge.
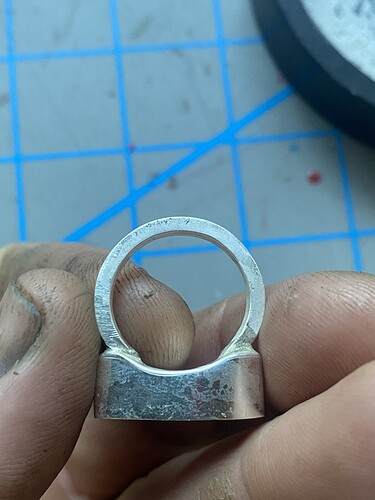
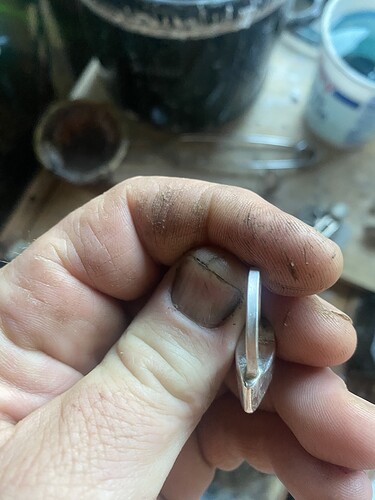
So, I’d support the bezel in tweezers, extended from my bench, where I can supply heat from the torch from many angles. It’s important particularly with silver, because it transmits heat so well. If the shank is preformed to match the curve of the bezel, then I would put it in place, without holding it with tweezers and apply a small clip of solder with flux to the joint. Then proceed to the soldering, heating the bezel and the shank equally until the solder was almost ready to flow, then moving a hotter flame to the joint to flow the solder. Any tool used to hold the object being soldered will draw heat from the area being soldered.
If the joint needs adjusting, I’d use a separate tweezers, hand held, to nudge the shank into place when the solder joint is brought up to the flow point of the solder. Doing one side at a time to make sure the joint is correct. My hand is supported from my bench pin, to minimize movement. The shank can be hand held in tweezers, and held in place also, in this case I’d flow solder on the bezel side of the joint and then proceed to solder, the shank being thinner will heat quicker and draw the solder.
I’m not a fan of third hands to hold items to be solder. I could never get them to aline the objects correctly. I’d think I’d have everything lined up then add the heat, only to have have the pieced shift it’s position. The same with binding wire, it just didn’t work for me. I’d tried investment to hold pieces, but the same thing, getting things lined up correctly and for the solder to flow properly were issues, not to mention the mess. The clay wasn’t available when I was learning, but I’d make certain that it was used in such a way as not to create a heat sink.
Remember that solder flows to where it’s the hottest, solder flows to where it’s the hottest! This is why you preheat the area before attacking the joint.
Tjones
Goldsmith
Some of my work over the years

