Hello. I have never worked with pearls before, but I would like to design with them. Any resources on how to design a pearl mount? It is like a screw? Is this something a typical stone setter can mount?
1 Like
Half-drilled pearls are glued by the jeweler onto a post. Don’t cast the post, add it after casting and cleanup. The bottom of the pearl generally sits in a cup of some sort.
Mabé pearls are generally hammer set in tubes by a setter.
These days the only time through-drilled pearls are on a post is if the post ends in a tube with a stone set in it, haute joaillerie style, or if the designer is trying for an antique look.
2 Likes
There are actually many adhesives for gluing the pearl to it’s post . she advertise as specifically for pearls. Also look into purchasing a pearl drilling kit and special burs for drilling pearls are helpful
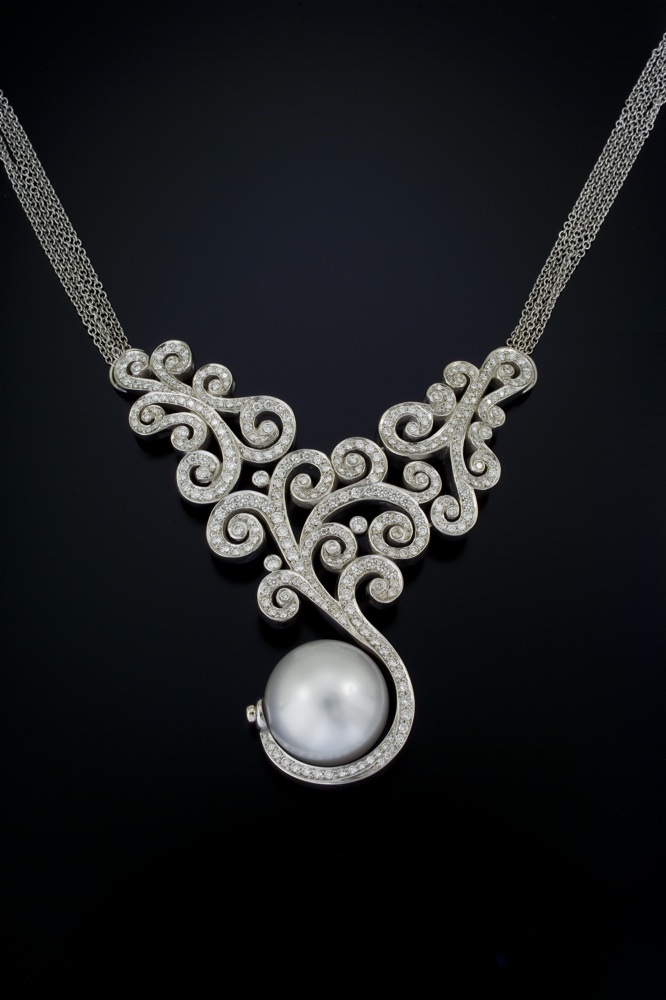
There are several different ways to mount a pearl. Only rarely are prongs used on pearls because it’s super easy to scratch or chip the pearl. We’ve only done it a couple of times and only when the pearl is in a ring mounting. Pegs are most often used. The peg should have a rough surface on it to help the adhesive hold the pearl. Though there are many adhesives out there the common industry standard is to use 330 Epoxy. Never the 5 minute epoxy. It deteriorates within a year or so. Super glue is not so great either. Ideally there should be a cup with a peg so that the pearl is glued to both the base cup and the peg inside. And yes the peg should not be cast metal but fabricated. Before modern adhesives were invented the pearl peg was made slightly too thin, and then horizontally sliced 1/2-3/4 the length of the peg. Then a tiny sliver of a wedge was placed on the top, As the pearl was pushed down the peg the sliver wedge would widen the peg to hold the pearl in place. Some times the pearls are mounted on a screw. The attached image below is one that my sweetie Timothy W Green made a screw with a diamond cap on it for a ridiculously big ass 22 plus millimeter south sea pearl. And yes of course I tried it on.
Sometimes I get to be Cinderella for moments at a time. Magically all of my liver spots and wrinkles faded away, my spine straightened, and I looked 10 lbs thinner.
Most laymen mistakingly think that we jewelry makers live the life style of our clients. I tell them that we are really like Maserati mechanics or Rolls Royce coach builders. Behind all of the glitz, the glamour and the crystal chandeliers we are the guys behind the back door covered in dirt and with
bandaids on our fingers trying to make a living wage.
8 Likes
Steve, I would really recommend that you find a local manufacturing/metalsmithing jeweler and arrange to intern or apprentice in their workshop. You can’t really design jewelry well until you’ve had the metal under your fingers and you understand how it moves, how it is worked, and what it can and can’t do. Pictures and CAD give a very incomplete understanding of what makes a workable, wearable workof art.
2 Likes
Hi Steve,
i may have already mentioned this, but if not, you might also want to check out the below jewelry training website, to at the very least gain insight as to how jewelry is made and set.
Peter Keep is an excellent trainer, and his curriculum is very well set up.
He has some free videos, and the rest are on paid subscription, and individual video purchases. i recommend spending a few months watching the videos…it is about $40-50 USD per month for the all access.
Soham Harrison also has videos on the sight, but they are mire beginner projects.
https://www.jewellerytrainingsolutions.com.au/
julie
I love this post. You say the word ‘jeweler’ or ‘goldsmith,’ and everybody thinks you sleep on a bed of diamonds and gold. You know what, though? I like being covered in grease and bandaids. We get to play with the pretty stuff, but I’d rather be making things than rubbing elbows with the high rollers anyway. My social skills suck.
So I’m interested in how you described the ancient way of pearl-setting. I’ve bought countless books on stone setting and not a single one mentions pearls. I’m sure the info is out there, I just haven’t gotten around to it yet, but it’s on the list. Do you know of a good place online to learn about pearl setting in particular? Everybody has said that the modern way is to use epoxy or some sort of adhesive. Is this method more superior to the ancient way of using the wedge you described or just faster and easier? Thank you so much. I love the way you write!!!
Thank you. I’m betting that most of us would rather be making things than being nice to strangers. Although I can mange pretty well but only for maybe 20-30 mins. When folks ask us why we don’t have a store I tell them “Well I can be nice to people or I can get shit done. Pick one.”
The old way of making the post with a wedge has been replaced by adhesives for a good reason. If a pearl ever has to be removed or replaced a soaking in acetone or Attack will dissolve the glue and make it easy to remove. With the old wedged peg technique the only way to remove the pearl is to cut the peg off of the mounting and drilling out the old peg.
Yay for modern adhesives.
That said using glue to set cabachons or faceted stones is very much frowned upon.
-Jo
3 Likes
Pearls also used to be set on posts with “pearl cement,” which is just white-colored shellac. You carefully heat the post and the pearl just to a temperature that will melt the stick shellac. Daub just a bit of the hard shellac to the post and quickly slide on the still warm pearl. If the pearl ever needs to be removed a bit of heat softens the shellac.
Pretty much no one uses this method any more. There are dangers in heating the pearl. If the pearl is dyed, as are most small diameter black pearls, the heat will change the color. Also, since the pearl must be slid onto the post quickly, before it cools enough to harden the shellac, there is a danger of damaging the pearl via internal stress.
Epoxies harden slowly, so one can be gentle with the pearl.
3 Likes
Thanks for the link it looks promising.
1 Like