Hi Frank,
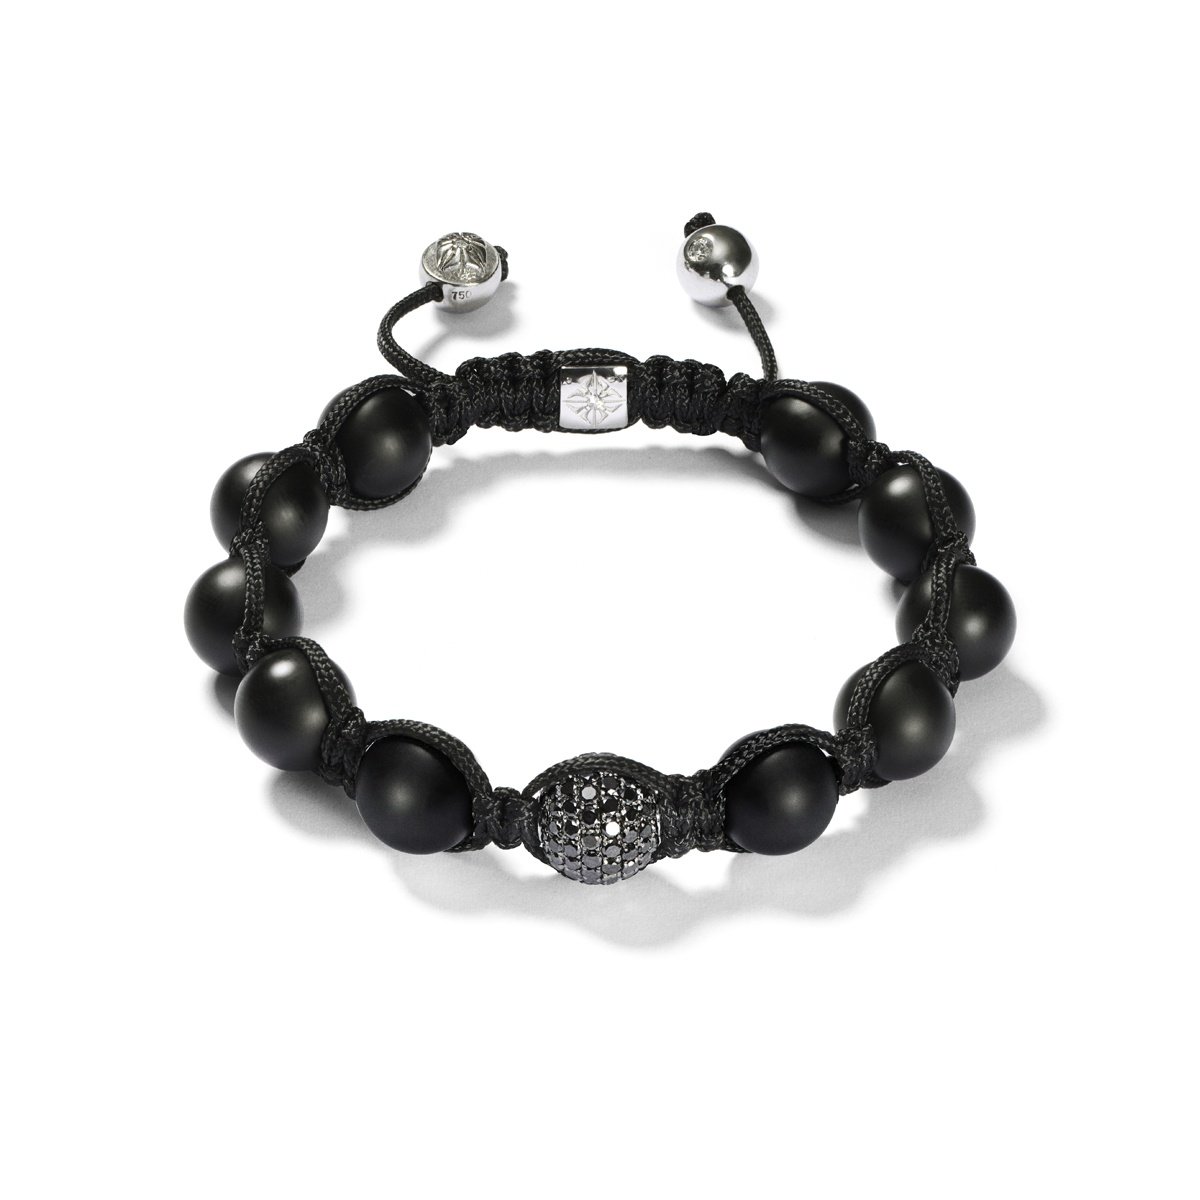
I'd like to get started with this project of bead setting :
http://www.ganoksin.com/ftp/1_Shamballa_Black.jpg
Oh boy. I guarantee that you’ll have a learning experience.
If you listen to nothing else I say, please listen to this: find
someone local to you to teach you how to do this. Internet videos
and books aren’t enough. You really do need to watch someone who
knows what they’re doing, and can critique what you’re doing, live.
Most especially about sharpening the gravers.
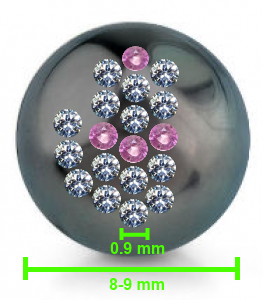
1. Drill a hole with a ball (?) burr, 3/4 diameter of the stone
(0.9mm (?). the stones are 1.3mm (.01ct)) deep enough so the table
of the diamond is slightly above the surface of the metal (by
slightly less than the lenght between the table and girdle (?)).
You can’t drill accurately with a ball burr. Drill the hole out with
a regular drill bit, slightly undersized. If your stones are 1.3mm,
I’duse a 1mm drill.
It doesn’t exactly matter what the drill is, so long as it’s smaller
than the diameter of your stones, by ‘enough’. ‘Enough’ is a
judgment call.
2. Drill the seat of the diamond with a setting burr (same size as
the diamond (1.3 mm)).
That’s one way to do it. The ball burr was the beginning step of
another way. Make sure the included angle on your setting burrs
matches the angle of the pavilion of your stones. The goal is to end
up with a hole that has a small ring around its inside, that
supports the pavilion of the stone at the very edge. The other goal
is to make sure that the stone sits both level with the surface as
well as coplanar with it. (as in: the table should be either in-line
with the surface of the metal, or a smidge above, but most
importantly, level in both pitch and roll with respect to the metal
surface. On a sphere, you have a little more room to fudge, as its
impossible to compare adjacent stones.)
3. Cut the beads using a #2 onglette graver, starting about 2mm
away fromthe stone (not sure that'll be possible, though) and
stopping just before reaching it. slightly lift up the graver at
the end (from a 40 to 45angle (?)).
Not exactly. I always use a round (round bottomed) graver to start
the beads, then an onglette to clean up the cutting path left
behind. Onglettes aren’t wide enough to push up much of a bead. As
for what size of round bottomed graver? Dunno. Smallish, generally.
(Or, the ‘right’ size for the space available. Again, a judgement
call.)
4. Shape the beads with a beading tool.
5. That's it? Jo mentions several types of gravers, but I believe
those would be for bright cutting, which isn't needed in my case
(there's virtually no space between the diamonds)?
Tell the truth, I normally use my onglette mostly for cleanup and
bright cutting, it’s the others that do most of the setting work.
I would need :
1. Flexshaft [eBay link removed: sorry no eBay links on Orchid]
Yes
2. 0.9mm round burr : http://www.ganoksin.com/gnkurl/ep810y
Probably not.
3. 1.3mm setting burr : http://www.ganoksin.com/gnkurl/ep810z
OK
4. Burr lubricant : http://www.ganoksin.com/gnkurl/ep8110
OK
5. #2 onglette graver (not sure which on Rio Grande's website !).
Among others. (round, flat bottomed, etc.)
6. Stone to sharpen the graver :
http://www.ganoksin.com/gnkurl/ep8111
OK, I expect
7. Beading tool (not sure what size) :
http://www.ganoksin.com/gnkurl/ep8112
Pick up the set that comes with the handle. (113-340) No telling
what size your beads will turn out to be, and you need a handle.
8. An optivisor (I'm still in my 20's !).
Enjoy it while it lasts.
9. Eventually some shelleac after trying on a silver plate.
Not shellac, that’s a term from older books, and generally describes
something quite different these days. Setter’s cement or setter’s
pitch is what you want currently. If you can’t find that, use
Jett-Sett, or one of the thermoplastic setting compounds. They’re
much nicer, and much stronger.
Setter’s cement is very much like dop wax for lapidary work, so at
last resort, use that. (Rio, 206-054) I poked around at Rio for a
few minutes, and couldn’t find any setter’s cement. Looks like all
they’ve got these days is Jett Sett.
The purpose of this is to grab the part, and hold it onto a handle,
like a cut off bit of broomstick. So you’ll need it even if you try
working on a sample piece of copper first.
10. Bandaids !
Oh yes. One word of advice: do not, ever, let your holding hand get
‘downrange’ of the engraver. Keep track of where the graver will go
if it slips RIGHT NOW. Do not ever let your other hand be there.
You will regret it if you fail. A graver sharp enough to peel metal
will puncture fingers with frightful ease.
Especially when trying to raise a bead the first few times. Trust me
on that.
And thanks for sharing your personal experiences with beads
setting. I'm willing to invest quite a lot of time and effort into
this. I'd like to give it a try on my own before considering taking
classes.
Frank, please, listen to me on this: find someone local to take
classes with. You will save yourself much struggle, pain, and time.
(and probably money too.) Sometimes, wisdom is realizing when it’s
time to ask for help. You’vetaken the first step by coming here, but
the greater step is to continue to take it slow, even tough you want
to leap off and go make her that jewel you’ve been dreaming of.
Trust me, I’ve been in your shoes. It really will work out better if
you get local help.
Regards,
Brian
 enjoy your journey