I found the instructions below on an old board, but it stopped after the build and had no more instructions. Ive got my kiln, all my wax, my plaster etc, just no vacuum. Ive also seen a guy that built a vacuum caster from a can and his vacuum thst i may try out. Im trying to come up w a solution till i can make my next big purchase.
Building The Caster
-
Cut a 6 inch piece off an old broom handle or any other old round handle that you might have around the house, or buy a 1 inch diameter dowel rod from the hardware store and cut off 6 inches of that. This is the handle for your steam caster.
-
Drill a small 1/8 inch hole in the center of the cut (flat) end. Be careful drilling this hole. The use of a vise to hold the handle would be good, but if you do not have a vise use a c-clamp to hold it down to a table while you drill it. If you do not have a c-clamp, have a real trusting friend (and I find that getting them drunk first is helpful) to hold it for you. Really, it is not that dangerous, but caution should be used so that the dowel does not begin spinning during the drilling process.
-
Drill or punch a hole into the center of the empty tuna can bottom. Put the #10 by one inch sheet metal screw through this hole so that it is sticking out the bottom of the can. The head of the screw is in the can.
-
Screw the can on to the end of the dowel. The hole that you drilled into the handle will keep it from splitting. Be sure to tighten the screw.
-
Tear up three paper towels into approximately 2 inch pieces. Soak these in water and pack them into the can. Pack them in as tightly as possible. (You can even use another can that is slightly smaller than the tuna can to help you pack it tightly. Just pack the paper towels in to the tuna can, then turn it over and press it down on the smaller can until no more water can be squeezed out.) It is important that no more water can drip out of the caster.
The paper towels should be damp now, not soaked and dripping.
I’ve never had good luck with steam casting, but I haven’t tried for a very long time.
Three low-tech, direct-pour casting ideas are cuttle bone casting, tufa stone or charcoal block casting and sand casting. There’s lots of info about all three of those kinds of casting methods all over the internet.
Don’t forget that there are lots of professional casting services out there who don’t charge very much to cast your waxes for you. Like I’ve written before, many jewelry artists prefer to have their work cast by professional casting companies. It can be a great way to go, especially if you don’t want to invest a pile of money in equipment or if your studio doesn’t have adequate ventilation .
I don’t do it anymore, but I used to cast local jeweler’s waxes in my old home town. It was a great little side business. There’s a good chance there is a jewelry store or a jeweler in your local community who would be willing to cast your stuff for you.
One of the funniest low-tech casting techniques that I ever heard of was called spaghetti casting. You pour molten metal into wet noodles. That was more of a 70’s, make-jewelry-out-of-blobs-of-metal concept.
Cheers!
Jeff
1 Like
Important in steam casting is sprue size… Use a wax wire 12 ga. 0.080". Melt your metal on the inverted investment mold in the sprue button. The surface tension of the metal will keep the metal from flowing into the small sprue until you force it in with the steam.
So melt on the investment and then add the tin w the wet papertowels?
I’ve never done spaghetti casting. I just saw it on a book once a very long time ago and never forgot it.
It literally is just pouring molten metal onto wet noodles to create metal blob forms.
Jeff
The one thing that I do remember from my steam casting experiments a long time ago, was that I was surprised how much very hot steam there was. I remember wishing that I had made a longer wooden handle on my steam casting contraption.
Most of the time I use 8 ga sprues with lost wax casting (or sometimes 10 ga). That’s a great tip to use 12 ga sprues. It makes sense that with a bigger sprue hole that a little metal might go down the hole a bit and block the entrance to your model.
Thanks!
Jeff
1 Like
I am just curious, can you gravity or steam cast using Delft or petrobond clay? I may have to try that out…Rob
1 Like
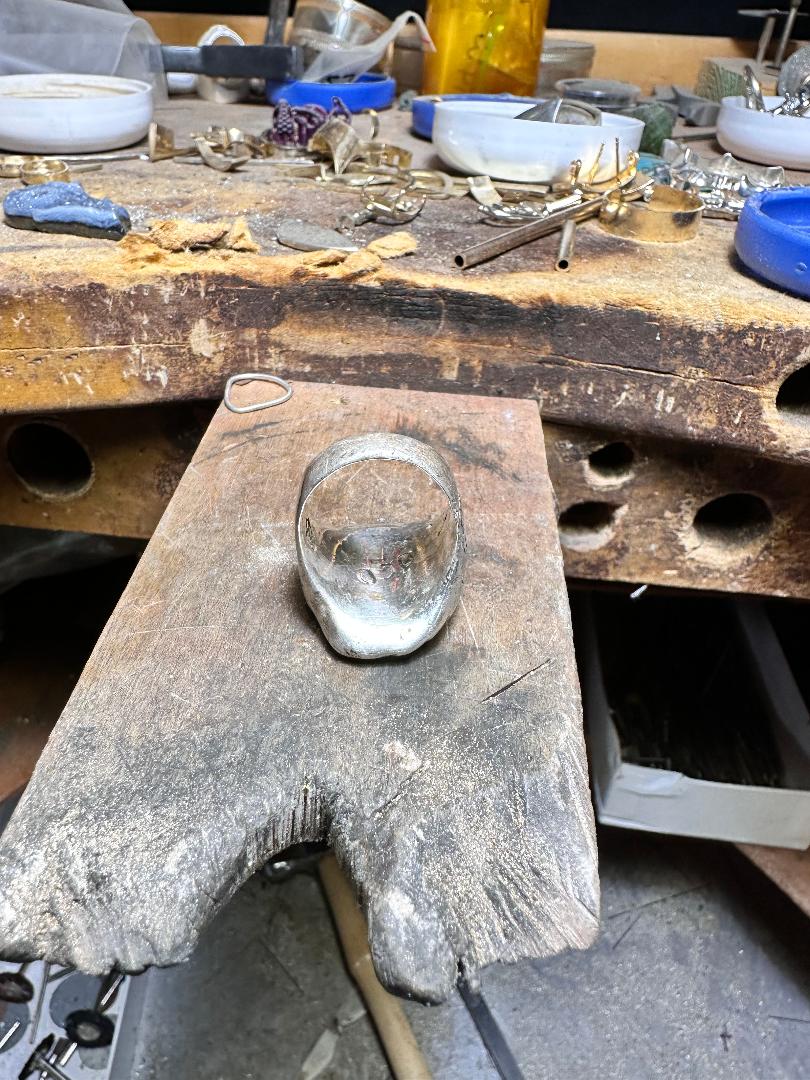
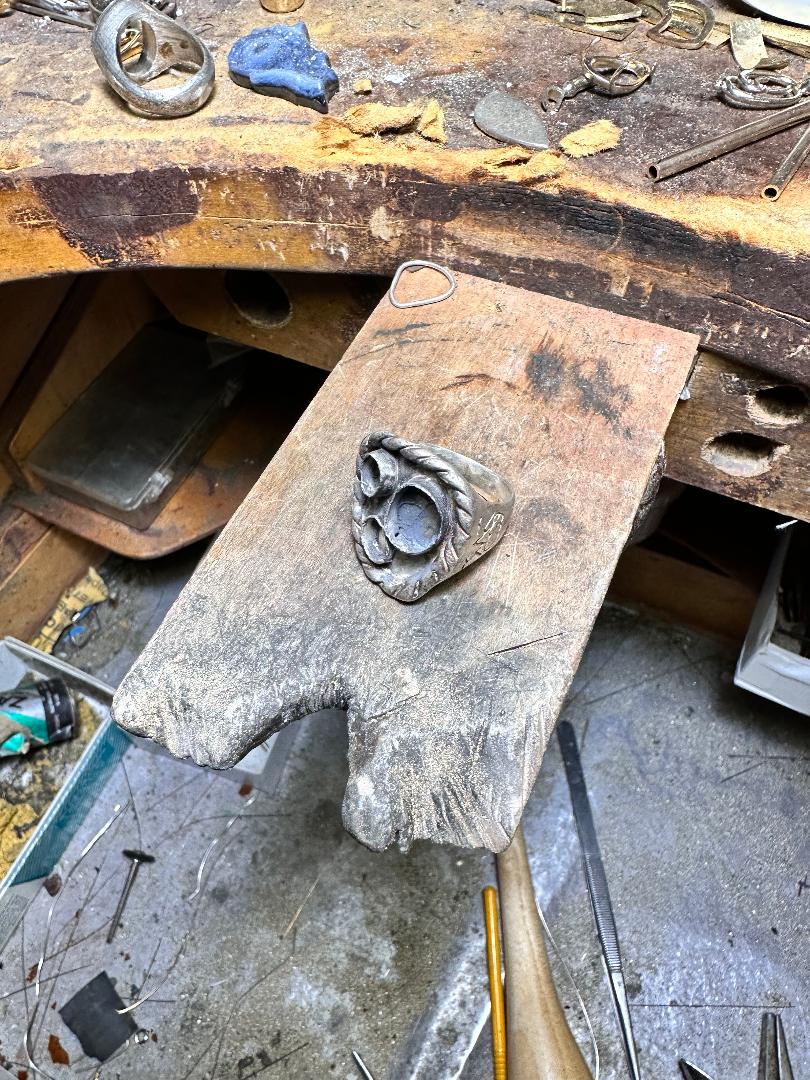
This is a ring I steam cast in 76’, I applied the bezels using a propane torch from the hardware store, I have the ring because the fella asked me to replace the stones (opals) that were just plain broken. I steam cast a surprising number of pieces before someone bought me a centrifuge .
Your list of instructions is pretty good.
From what I remember is I was using a wide lid from a PeanutButter jar , packed it with layers of newspaper soaked in water. I was burning out the wax in a borrowed ceramic kiln.
The flask was hot hot. 1100-1200 F, turned the flask sprue up on a stable piece of fire brick, placed the un-melted sterling into the sprue cup making sure any pieces of silver are not small enough to fall down the sprue hole. With the water soaked lid and dowel close by I melted the silver in the sprue cup and then all in one motion moved the torch and forced the lid with the wet newspaper on top of the hot flask and melted silver. you have to be quick because you want the silver or whatever metal hot. Give it a minute catch your breath and quench the flask. With some practice and patience it works ok for heavier thicker pieces.
I think the one caution is protect yourself with a face shield etc.
2 Likes
While steam casting sounds like a great, inexpensive method… **
I caution everyone to be careful when mixing water with metal. It is extremely dangerous.
There are many other inexpensive machines that are much safer and more reliable.
PLEASE BE CAREFUL. CASTING IS NOT A GAME!
2 Likes
I’ve done steam casting a few times. It’s a great alternative to a lack of equipment. I agree that sprue size is important. Also thin and narrow areas need more sprue. We always carved out a “crucible” in the open end of the flask (before burn-out). It’s also helpful to keep investment about an 1/8" from the bottom edge of the flask like you do for a vacuum table. Wear long welders gloves, fabric gloves can let steam through to your skin. Long to protect your arms. I would also wear a long sleeve shirt.
The steam is quite powerful and you have to keep good pressure on the handle because it will want to buck up and allow steam to escape. This would be when people get burns unless they are wearing protection. Safety glasses of course and I usually have an apron or lab coat on in the studio.
It’s also true that you can get pieces cast very reasonably. Even have molds made and multiples cast. I put steam casting in the interesting to try out novelty category along with sling casting (scarey) and things like spaghetti casting or pine needles.
For another low tech method you might look into Ashanti (or Asanti) casting. No kiln needed either in that case. Probably safer than steam casting. I seem to remember a Metalsmith article from about 30 years ago that went over the technique. Or it was in the Quarterly News from SNAG. I just saw an article on it here on Ganoksin.
Good Luck, Stay Safe, Have Fun!
Ruthanne Robertson
1 Like