No matter what name you give this procedure, it’s still the same, setting a stone with no visible claws.
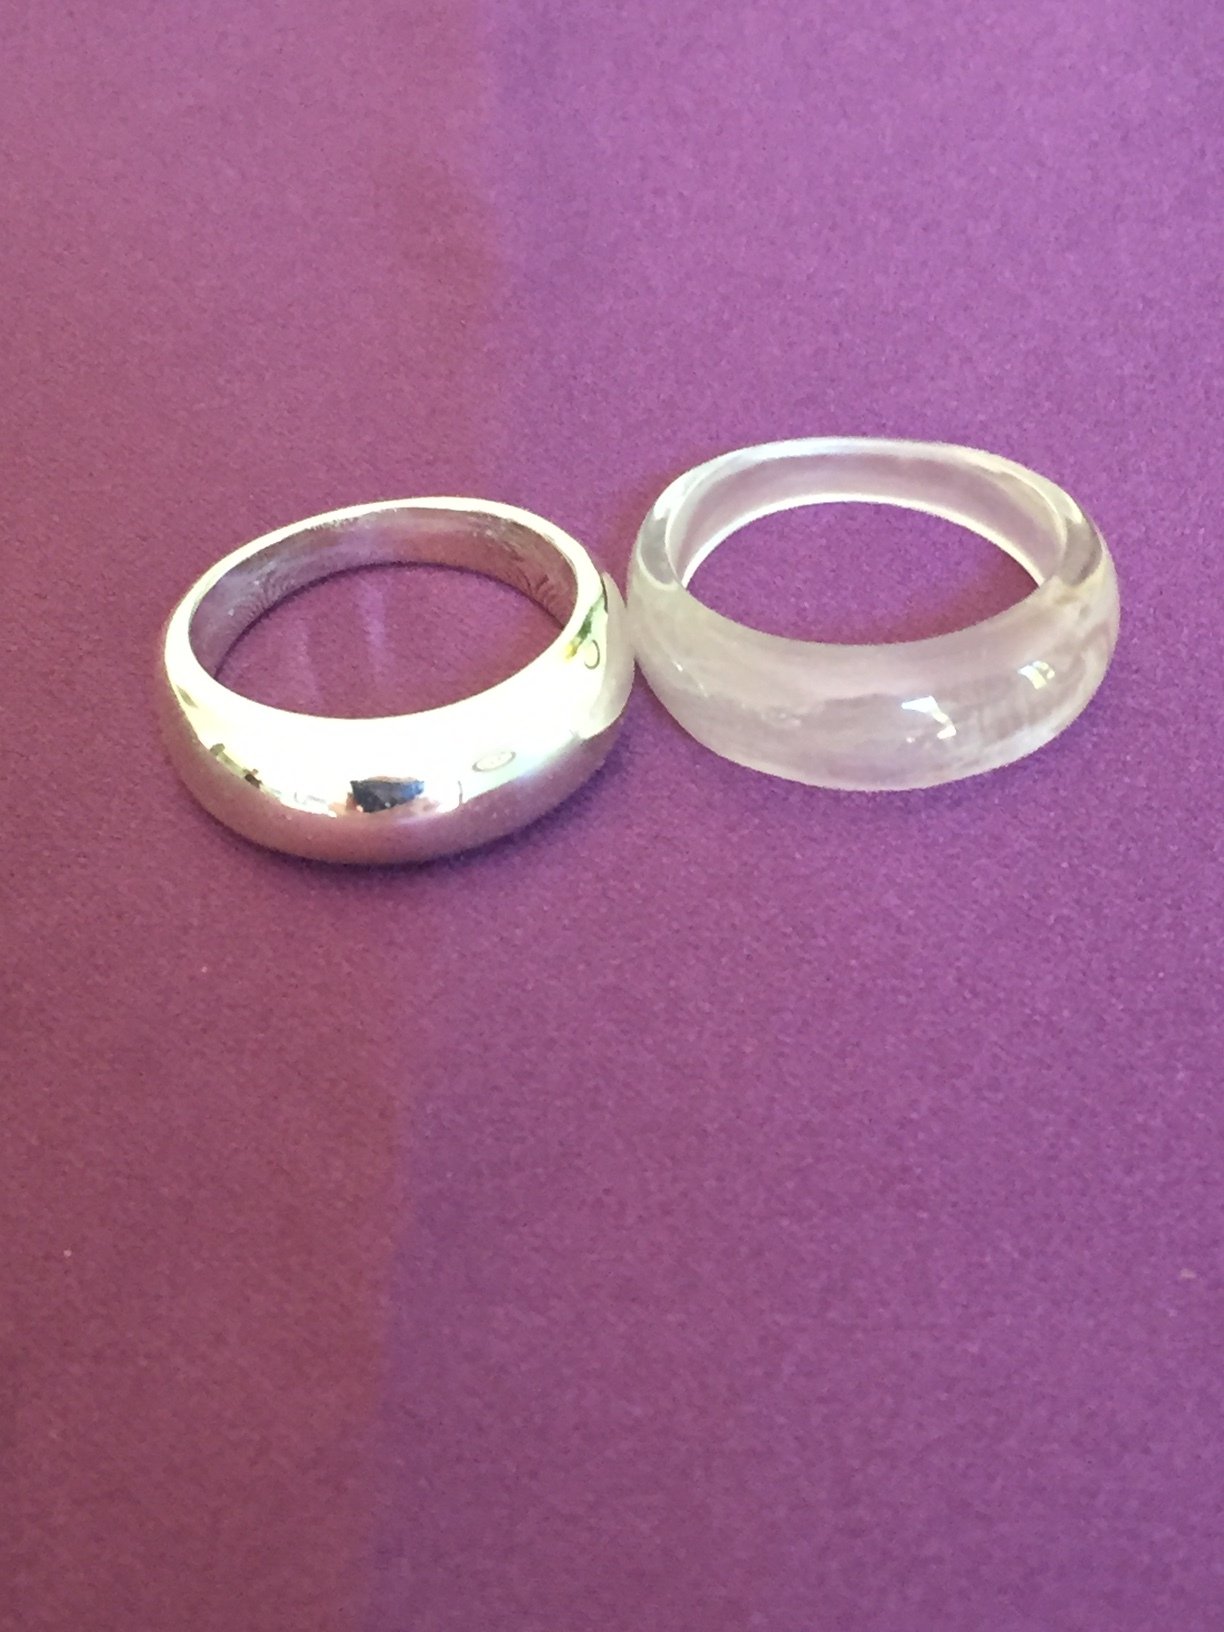
Let’s start with the size of the stone, what is the optimum size to use. I ‘feel’ comfortable with stones between 2.00 <-> 3.50 mm’s. As you get larger in the width, the deeper of the ‘culet’ & thicker of the ring and in return, heavier of the metal.
What tools/burs would I use? I would use a Carbide bur of 80% of the diameter of the stone. With a 2.5mm stone I would use a 156c bur of size #021, or #022 I would totally shy away from a HSS bur, as this bur will be too coarse and have a shearing effect & remove too much of the delicate metal needed. A Carbide bur has many teeth and does a great job of cutting only where you need it to do the cutting as compared with the HSS that only has few teeth, this bur will literally destroy the inner-wall. As with the undercutting or hart-shaped, you will have more control over the cutting process. Let’s call it by it’s generic name, a “156C”.
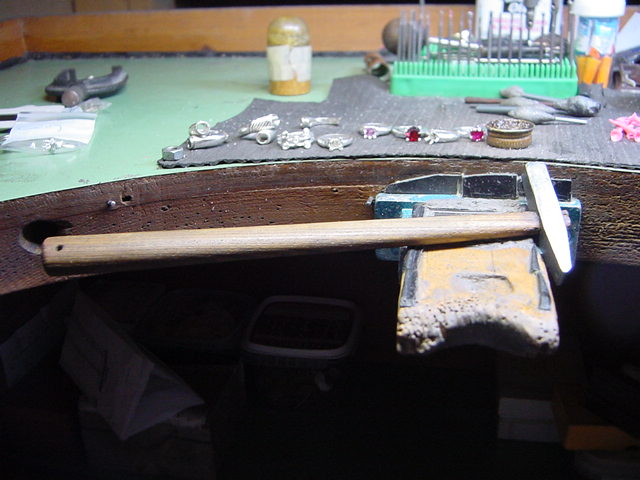
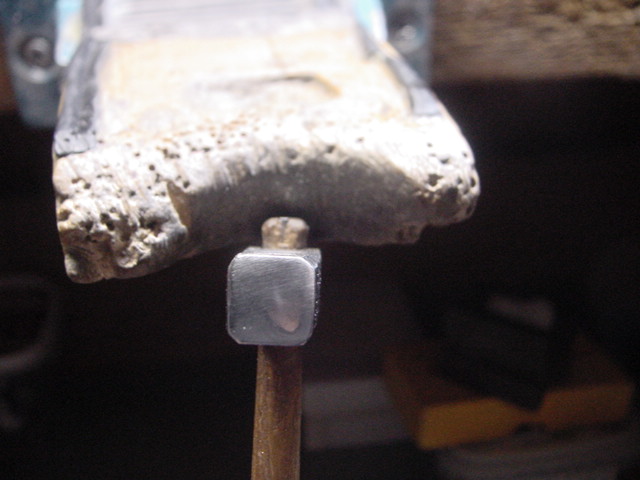
The other tool of my choice is a riveting-hammer. My hammer has a weight of 85.00 grams, NEVER USE A RECIPROCATING HAMMER! It will leave deep dents all around the small hole, very difficult to remove after setting. The chances of the ‘pounding’ hammer-anvil could very easily jump around and sometimes hit the stone!! I need a thick wall to Bright-Cut afterwards & that kind of hammer actually ‘squeezes’ the metal into a fine sheet to hold the stone. Please refer to my photographs & drawings.
There are many details, but once understood, it will become easy to master! The Hammer face must be smooth as any hits or marks will be transferred to the metal upon being hit!.
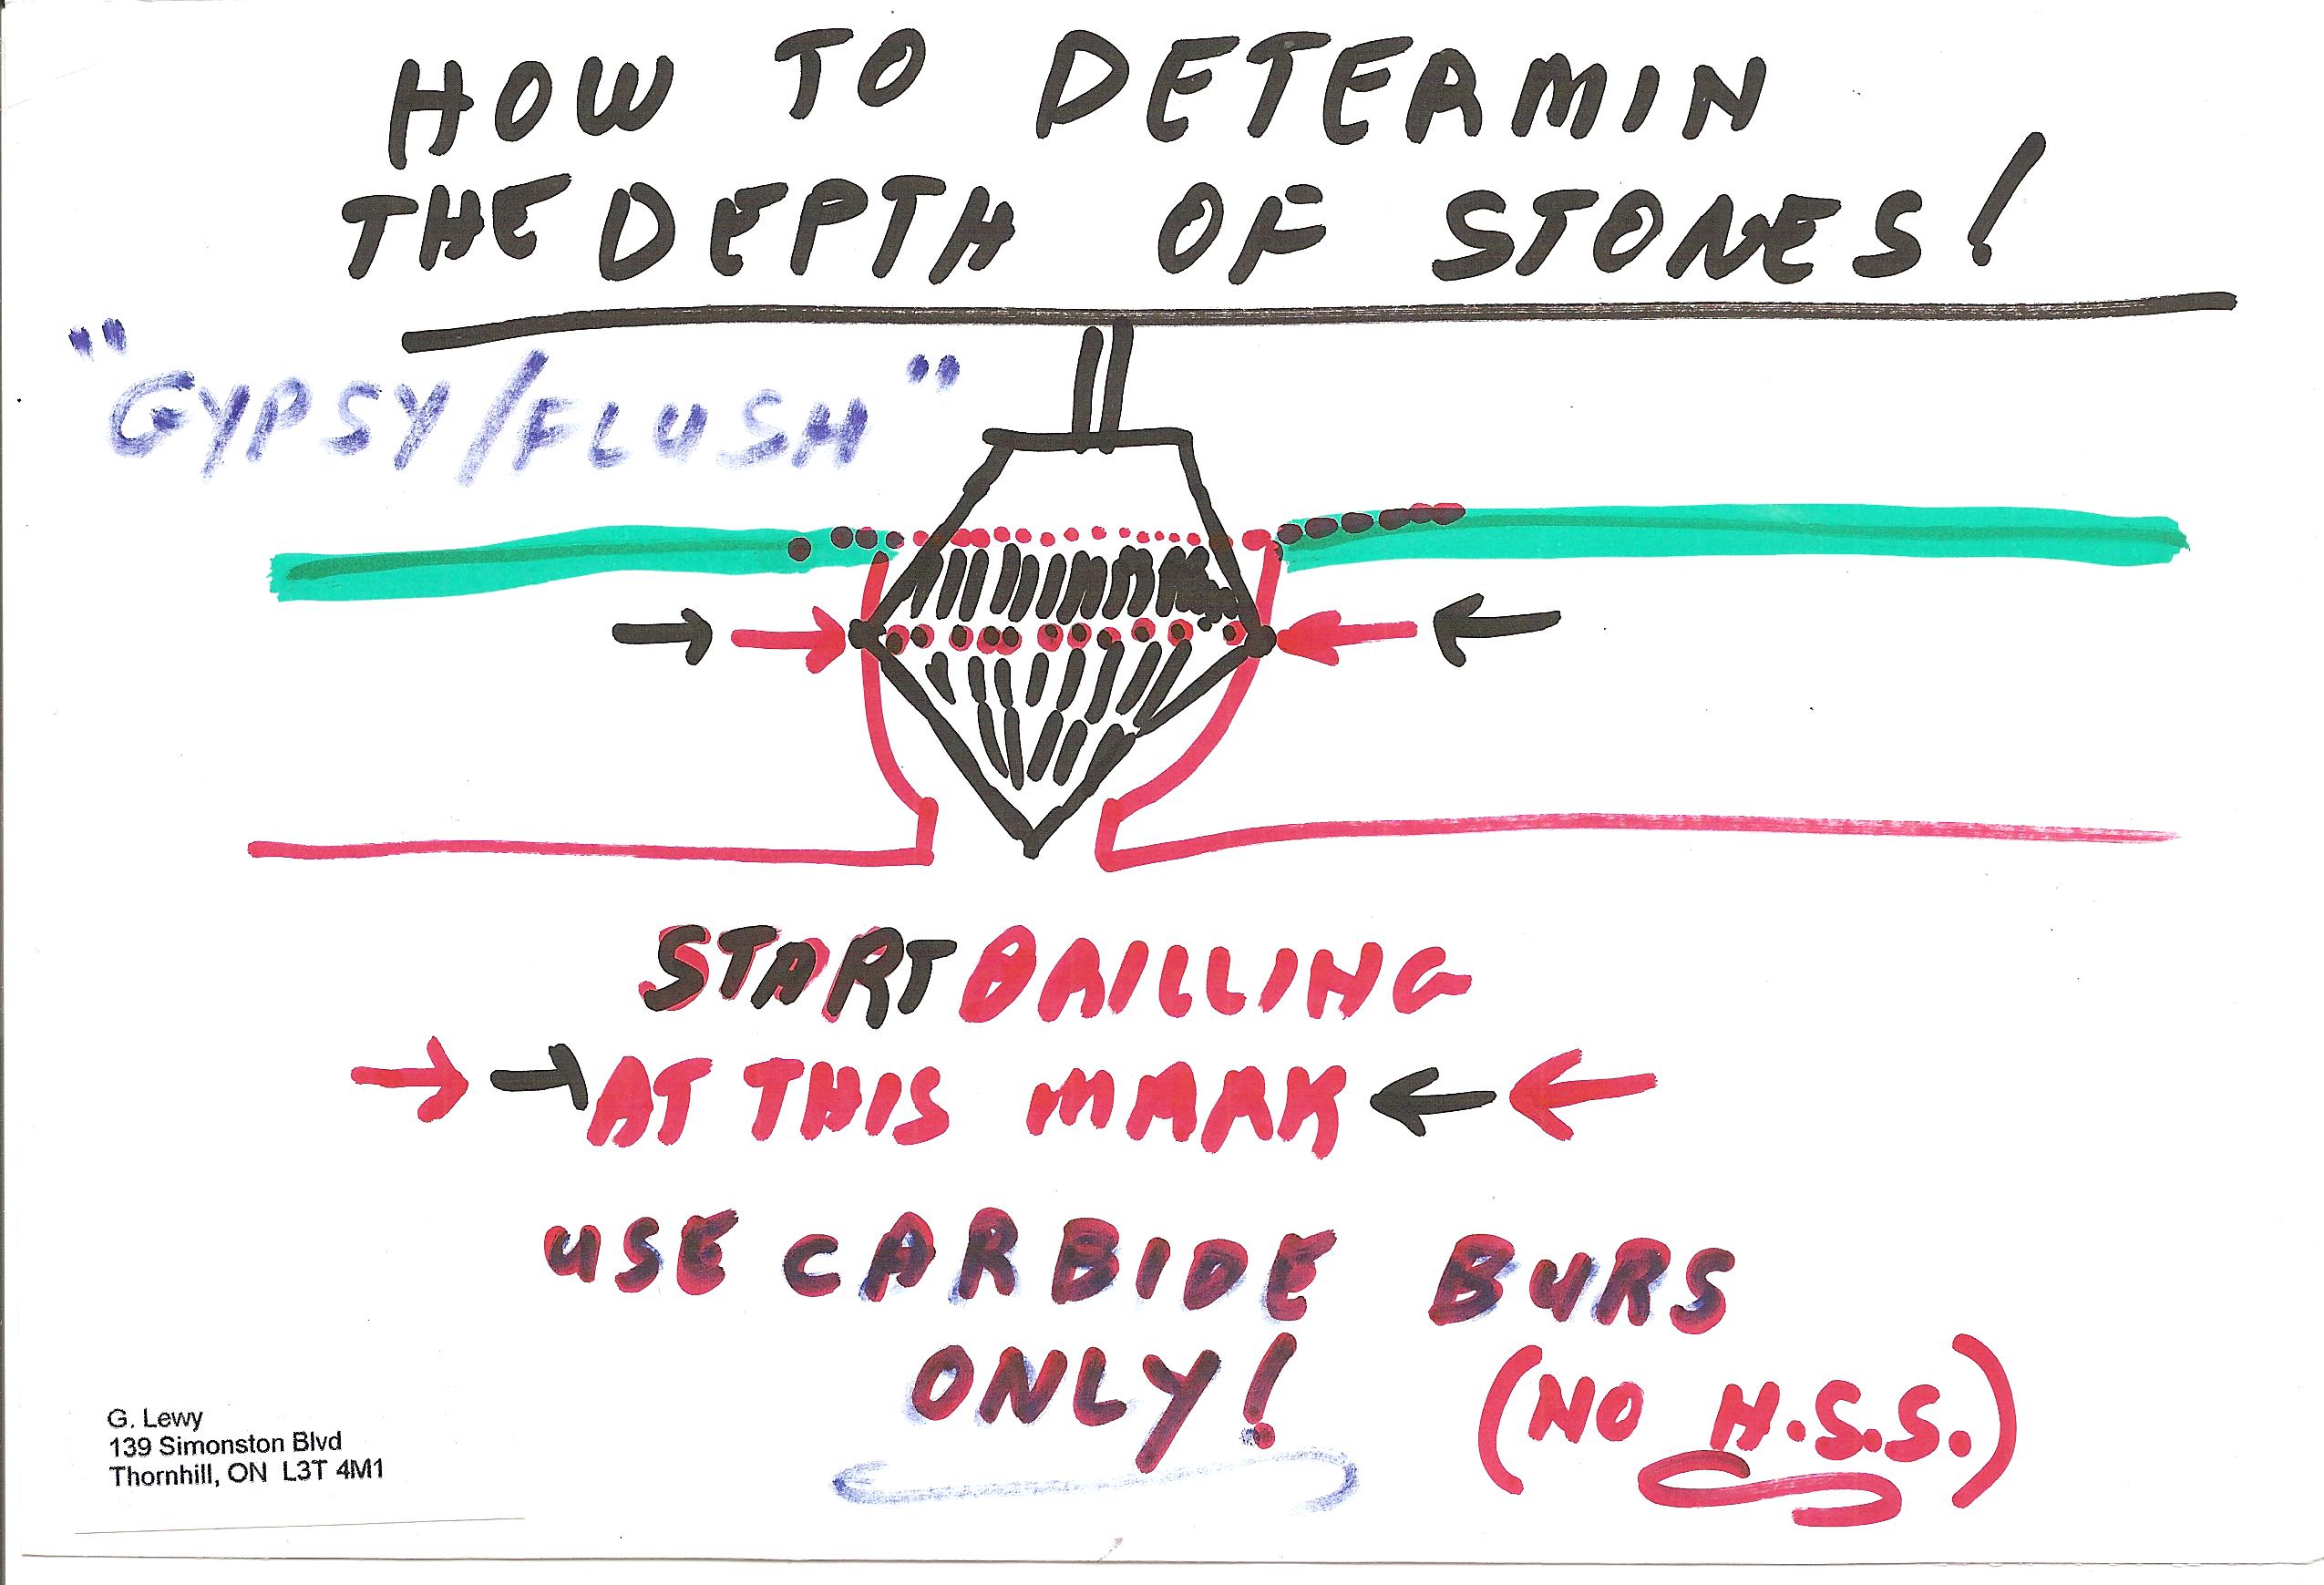
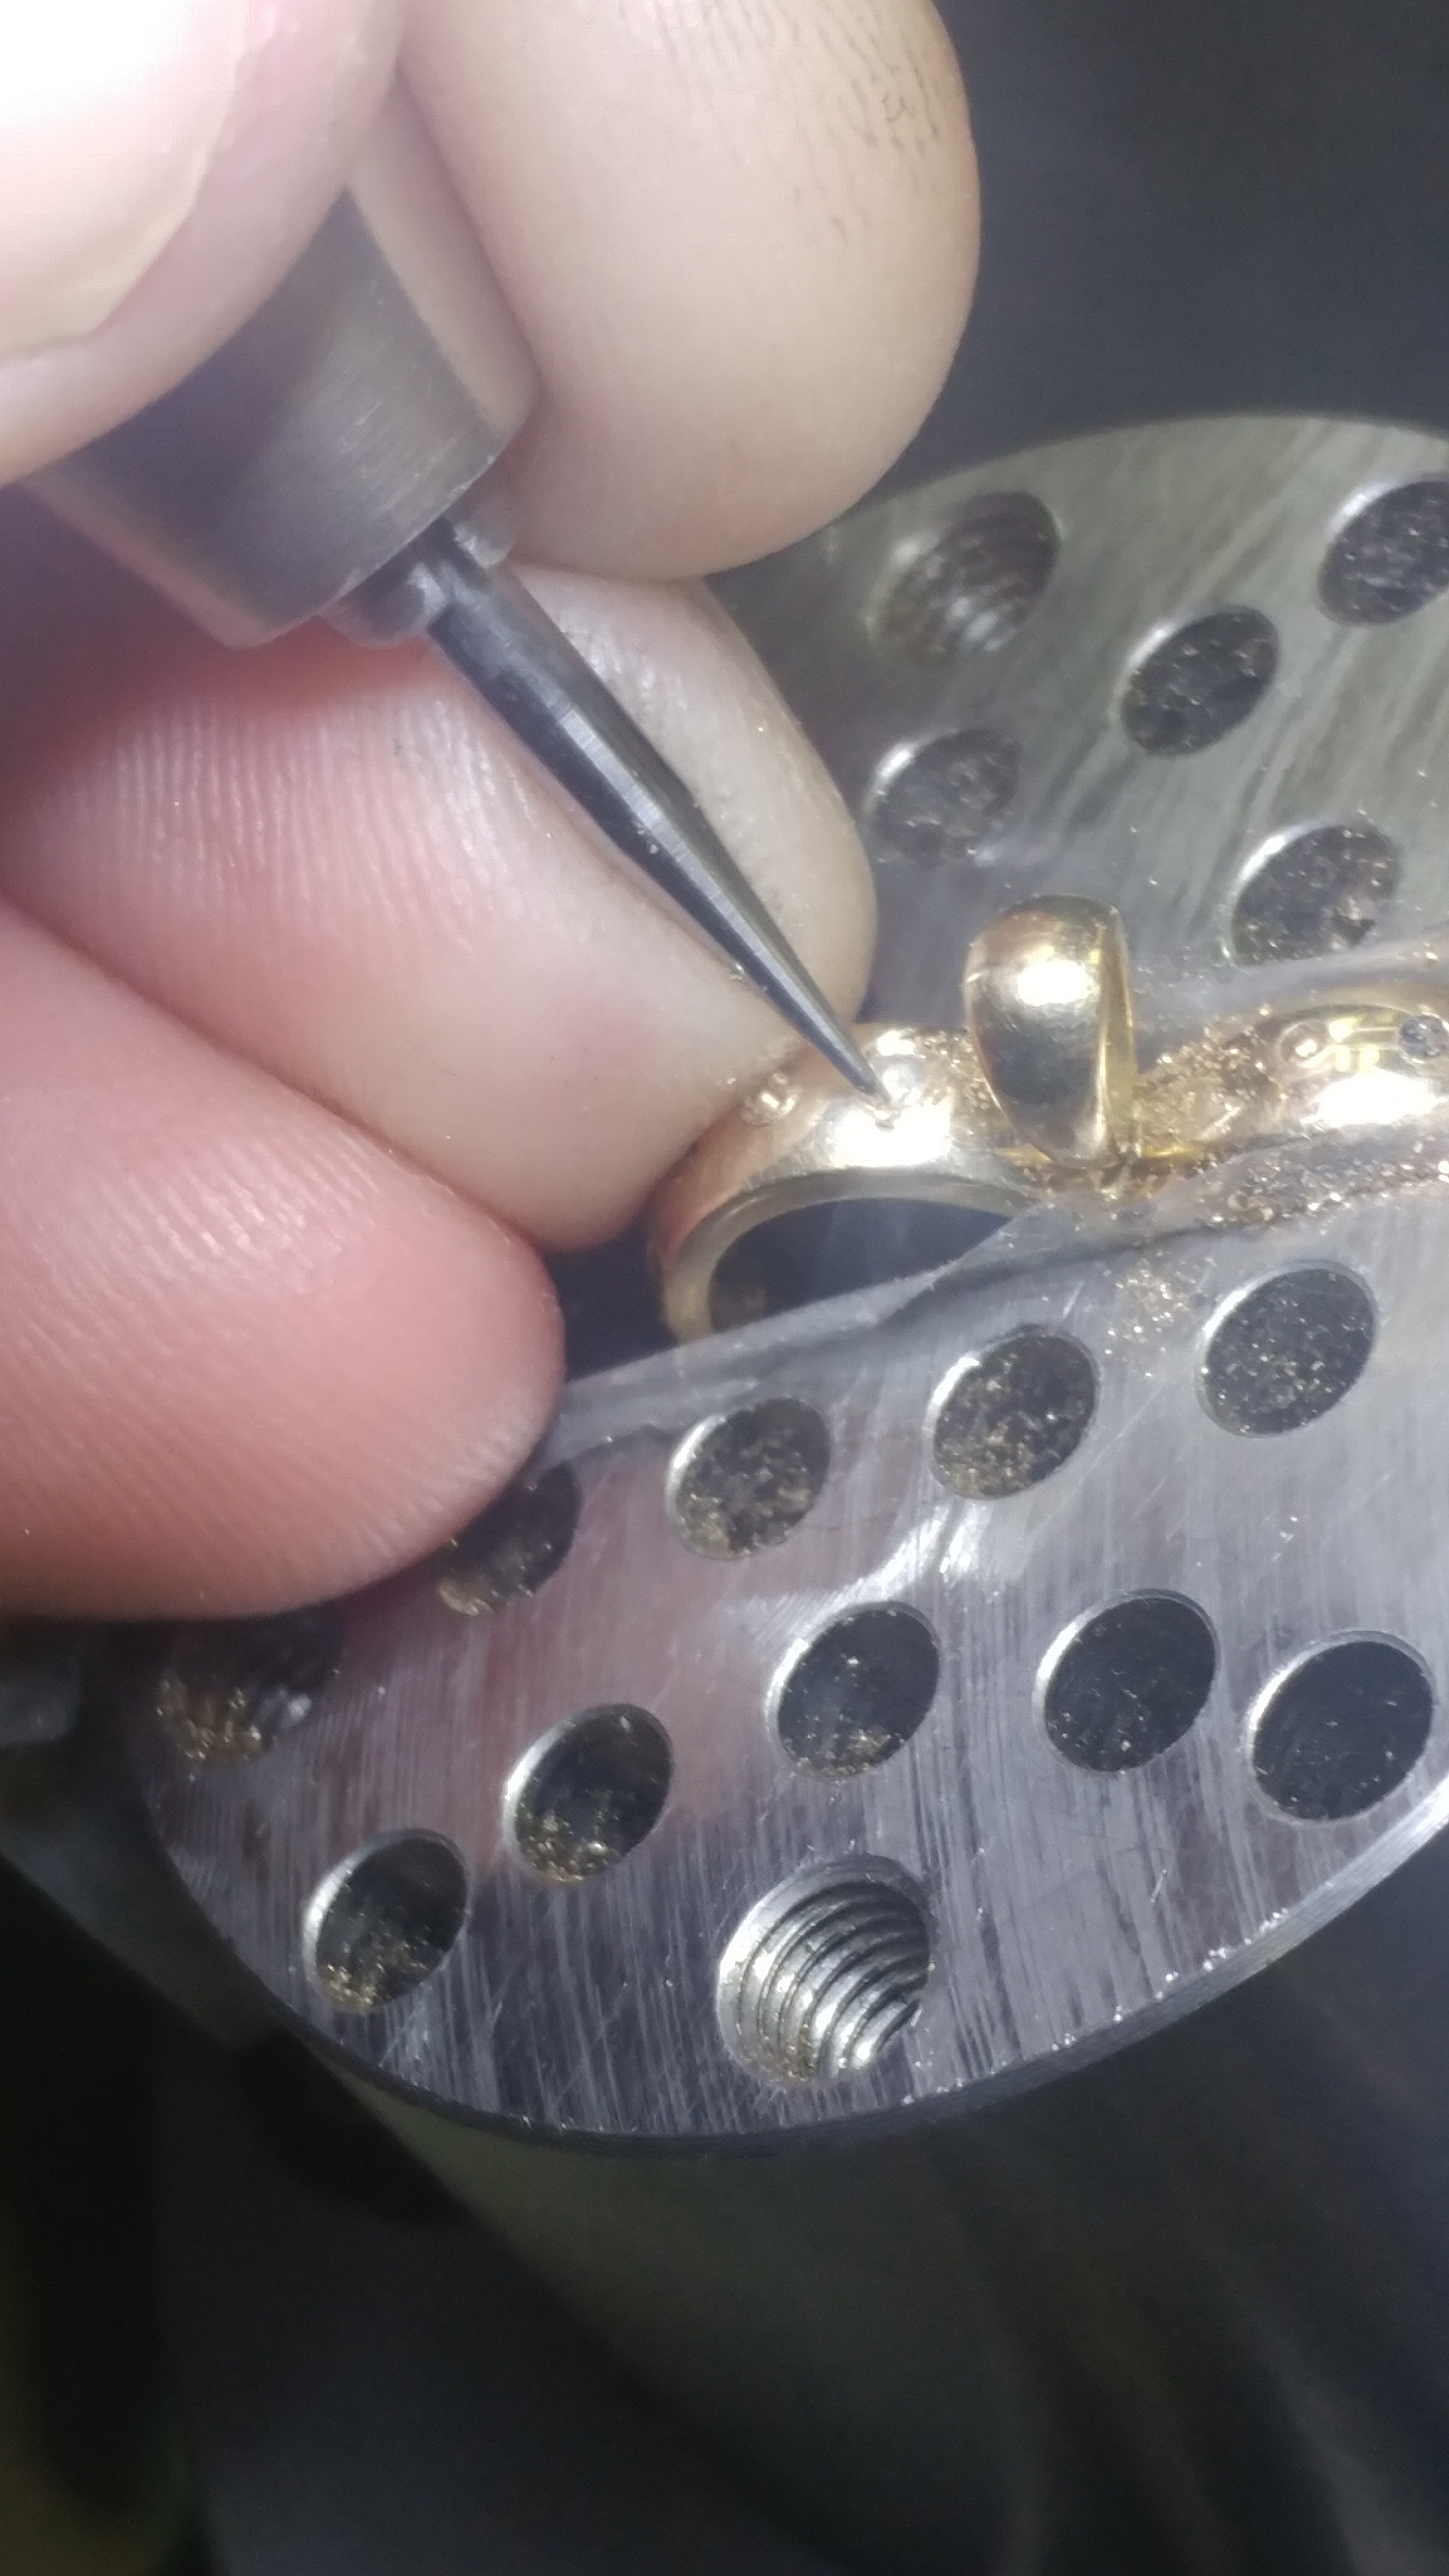
Now to start this interesting process, open up your lower section of the hole with a round bur @ #015, just enough to allow exposure of the culet & Pavilion. DO NOT DRILL THROUGH but drill just enough to have the stone ‘sit’ on some metal!
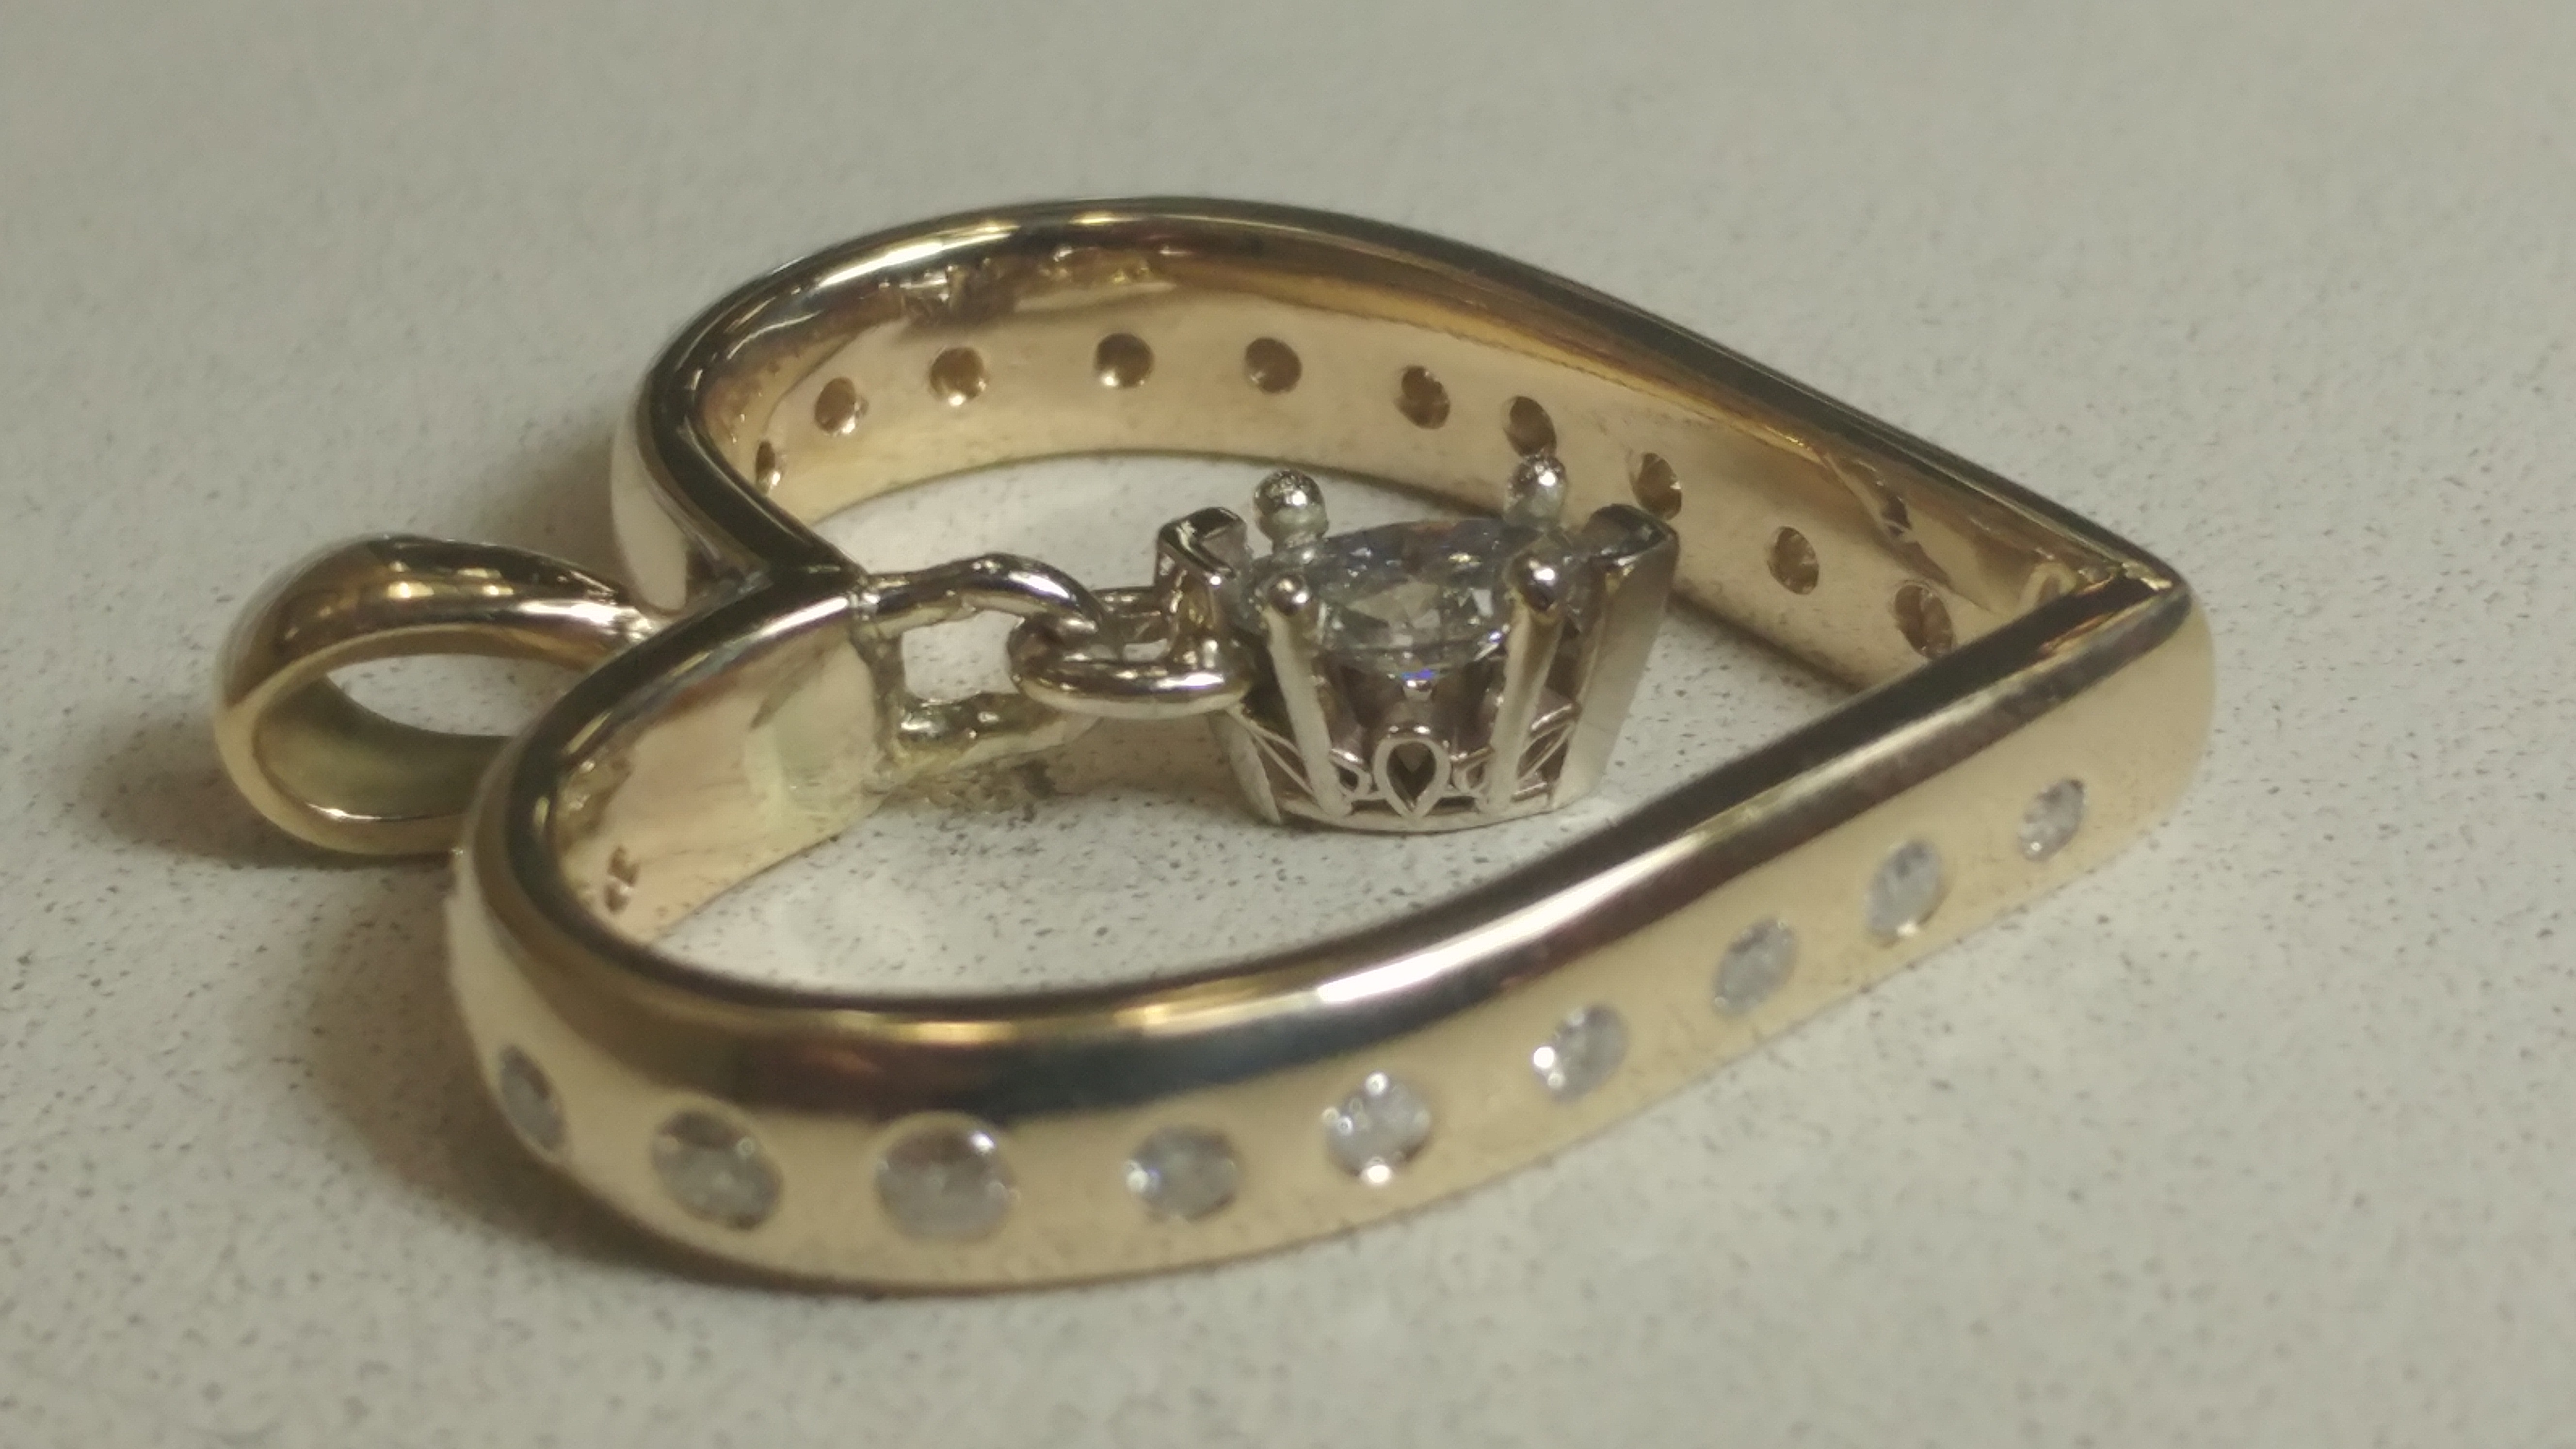
How deep do you want the stone to sit? So very easy answer. The “table” must at the same level as the surrounding metal no higher, or the table will get ruined by constant “wear & tear” & your polishing!!
If you look at your 156C bur, the teeth stop just above the widest part of the bur. That widest part of the bur is just where you should be drilling out your bearing cut. Lower your bur down and start the burring out for the bearing-cut, I do this at 1/3 increments, drill, turn the ring, drill, turn the ring & finish at the same depth as where you started!
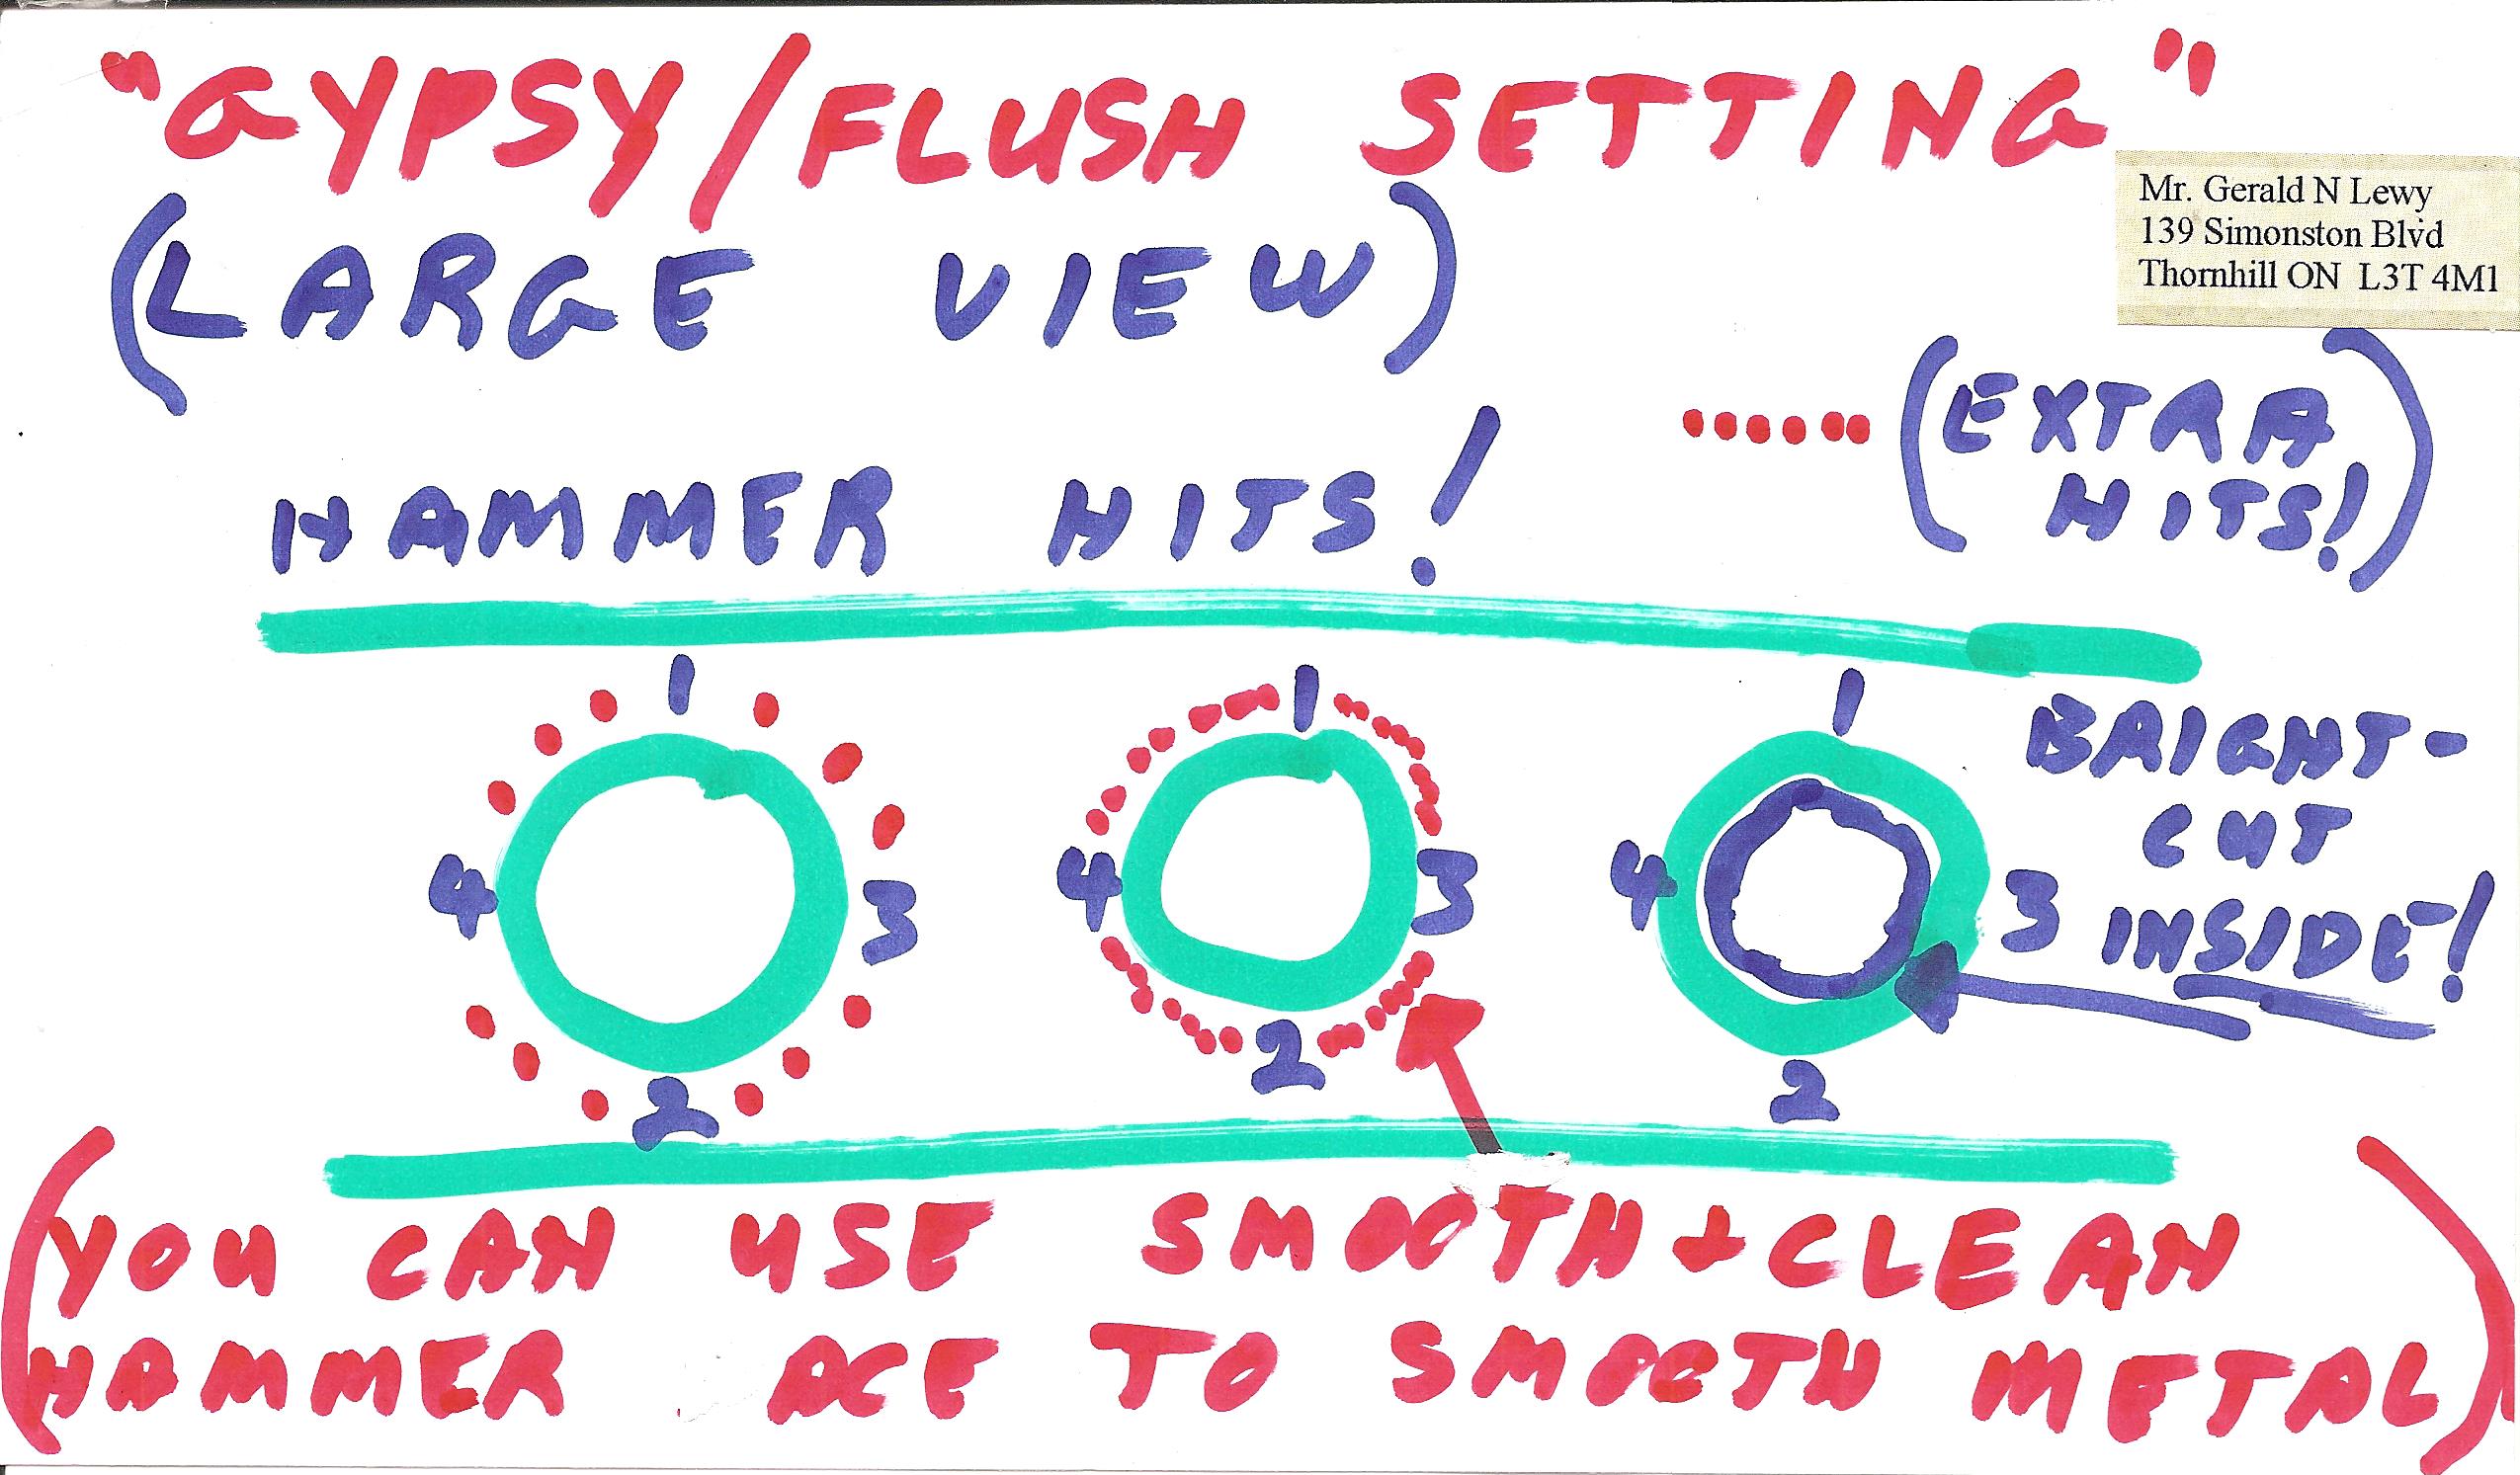
Open up the upper-most rim of the hole with a round 2.00 mm bur to allow the stone to slide in at a 45-degree angle. This is the ‘testy’ part, allowing the stone to fall into place, Once the stone is sitting level, get your hammer & “tap” at 12:00 and 6:00 o’clock just to steady the stone, once done…continue all around the bezel. Once completed, use your ‘Right-Sided’, Bright-Cutting Onglette #2…(not a Flat graver!!) Having a Bright-Cut leaves a clean inner-cut all around the stone, (I do not use any burnishing-implement!)
After your setting is finished, use your Flat-Faced, Pumice Wheel of #180 grit & clean up any marks you might see…do not use any files in this process. My drawings & photographs will help you to understand this process further!