Eternity band making advice

Hi folks:

Im looking for advice on how to fabricate eternity bands for larger and/or stones with a non-circular culet. I’ve made many using small stones in various setting like French fishtail, but it seems like you need a totally different approach for larger or say emerald-cut stones. Rather than trial and error, I thought I’d ask what is most commonly done.

Thanks!

Tim

1 Like

Hi Tim,

I would suggest searching google images for bands you describe, keep adding key words to see what the search returns and examine how they are fabricated…try to figure out how it was done…look at it from a “removal” perspective…if the band appears to have started out solid…ie: engraved/ burred/ carved out…or…if it is fabricated using settings/ collets, then examine one collet, and the connection concept between the collets…

it doesn’t even have to be a full or half eternity band…you could look at setting styles and then evolve them into your own unique design/ combination…

try also looking into georgian, victorian, edwardian, etruscan, art deco, art nouveau, arts and crafts, retro bands…maybe even american indian, organic, modern…

and also add designer names to the search…such as cartier, tiffany, van cleef and arpel, graff, verdura, bulgari, henry dunay, seaman schepps, buccellati, etc…

and maybe look at vintage and estate jewelry websites and social media to see unique pieces…like lang antiques, 1st dibs, etc…

If you see a setting style you like, perhaps post it here for comments on how to approach it…

julie

Thanks Julie!

What I’m interested in are rings that look like many collets soldered together, as opposed to a removal approach. For example the links below.

My instinct would be to lay the collets out on a mandrel, perhaps a clay to keep it all together. But I feel like getting the angles right and soldering it all together would be a disaster. I could potentially imagine starting with a solid band and cutting out the holes for the settings, but I feel like laying that out and getting everything uniform would also be a disaster. My third idea is to lay out the bearings for the collects in a line and then hammer them around mandrel after soldering, but I worry everything would get warped and distorted during hammering..

So I’m a bit stuck figuring out how to approach something like this…

https://www.etsy.com/listing/997419237/750ct-diamond-emerald-cut-eternity-band

Hi,

ok, i see…look at each ring and break it down into its components…

the oval stone ring looks like it has 2 “sides”…(vertical side bands) with a U pattern…(kinda like a “trellis” setting…creating shared prongs…where the bottom of the U’s sit on the finger…then there are separate gallery rails attached about midway up the shared prongs…you can groove the prongs with a round or joint needle file, to create a seat for the gallery rails to tension fit into…it looks like it was done in CAD…if i were to fabricate it i might do one of two things…pierce/ saw out the scalloped sides (think of a washer)…or make a bunch of round wire U’s, lay them out in a circle and solder them together at the straight parts…

the emerald stone ring (i looked at other photos that showed more perspectives) could be 2 bands…one sitting on the finger (the lower gallery rails)…and one above that (the upper gallery rails)…they could be filed to shape…then there could be vertical prongs soldered on…again, you could make grooves on the lower and upper bands to “seat” the prongs on the two bands…you could do 4 prongs for each stone…the lower and upper bands could be shaped/ kind of scalloped to match the stone shape…ie: the lower band could be narrower…the top band larger…if you imagine bicycle spikes…they radiate outward…closer in the center, and farther apart around the rim…like the prongs would do…you could have wire spacers between the lower and upper gallery rail if neccessary…

there is math involved for getting a “seamless” circle of stones…use dividers to mark out the layout…have to think about how stone size(s) affect the upper band circumference, as well as the desired ring size of the lower band circumference, and how much space you want between the 2…and how much space you need between the 2 to accomodate the stone depth/ culet…and consider a half eternity with the ability to size…not bang/ chip the bottom stones

i hope i am making sense…visualize your examples from the front view, side view, top view…maybe draw them out to figure out what you are seeing…

julie

Hi,

Here is an instagram video showing an emerald cut eternity band in the making…with one thicker, shaped band…prongs added after (not shown)

this same concept could be used for round or other shaped stones…

and here is a youtube video showing a three stone oval ring…but you can expand the concept to include more stones…imagine that the lower gallery was an entire band instead of just for 3 stones…note how it was shaped and the holes opened up to create under gallery rails…the individual top gallery rails are soldered together, but could be created from a band like the lower gallery (in the video the lower gallery was created with a strip as there are only 3 stones…but you can see the concept…

metal dimensions need to be determined based on the seats needed for the stone size(s) and to create a sturdy ring…

julie

Hi,

I forgot to mention…for layout, you would use a divider…scribe a centerline…walk the scribe around the band, making off stone spacing…marking off the outside metal thickness…using a metal ruler to scribe lines between stones…then using needle files to systematically remove metal to reveal the stone shapes…use first drills and then a saw to open up stone holes…shape with burs or needle files…eventually cutting stone seat with round or setting burs…

you can use a (parallel) joint needle file, or cylinder burs to make grooves to recess the prongs into…for more contact area when soldering…you can make a U with round wire to tension fit two prongs on the band at the same time for soldering…(ie: the the U is pushed up from the bottom of the band…sandwiching the band…pinching it to stay in place while soldering…later clipping the U bottom off…

if you are using a lower and upper band for the gallery rails you can use 2-4 wire pieces to separate them the proper distance…wire it together…could solder them temporarily to hold everything together and remove them later…could use them/ leave them (wire or tubing) for decorative purposes…

you could make individual collets and solder them together…but i dont know how strong that would be…each gallery rail wire would need to be thick enough…perhaps 1.0-1.2mm minimum(?) and the soldering well done…

the lower gallery is smaller in circumference than the upper gallery…this in essence creates tapered angled sides on the collet…when soldered together at upper and lower gallery, this angle creates the curve of the ring

you can use 2 round wires, vertically, between each collet, to connect them together…again making grooves for positioning…they mimic prongs (but shorter) and blend into the design, and make connecting two opposing convex curves easier…only 2 separate tangent points of contact…

or…you could use bezel blocks to shape your collets…file to shape, etc…bezel blocks usually come in 2 different side angles…they are calibrated sized, but there are ways to modify the resulting collet shapes…

in general, am thinking math and angle planning comes into play, based again in the number of stones…stone depth, etc…the lower gallery rail size determines the angle between collets…

also, don’t forget to search these keywords in our forum…a lot of good information in the archives…as well as in youtube…

i hope i am making sense…

julie

Julie has great advice! Thanks Julie!

I’ve never made an eternity ring, but I’ve sized a bunch of them over the years. It’s almost always a compromise. A tiny piece of advice is to do your best to make sure that you make the ring the right size. You don’t want to resize it afterwards if you can help it. Since you’re making this ring, if it’s for a specific person, it’d be best if they could try it on before setting all of the stones.

Good luck!! It will be a jewelry making adventure.

Jeff

1 Like

This has all been incredibly helpful! Thanks for the advice! I’ll post back updates as I make progress.

For now, I’m making this for practice and to build out repertoire. My wife’s ring size is very worn on my mandrel :wink:

1 Like

Hi,

another thing…you could use a compass and an angle ruler/ protractor to plan and map the design out, from the front view…i tend to work from the center out…or the stone out…figuring out adjacent measurements as i go…

ie: start with a circle which is the size of the ring size

then offset a circle outward to create the the shank/ under gallery rail thickness

then determine the upper gallery height needed to accomodate the stone depth/ culet and offset a circle outward for that

then offset a circle inward for the thickness of the upper gallery,

then offset a circle for prong height

then, considering the width of the stones, and the upper gallery circumference, determine how many stones will fit…or conversely determine the number of stones desired, which will determine the stone width allowable (allowing for shared or separate prong widths…can use an angle protractor…maybe divide the circle into quads and “ease” the number of stones in…(as seeing term)

you could use these measurements and numbers and angles to calculate and mark your ring blank with divider, ruler, scribe

julie

This is the way.

If you can carve it in wax and cast it that is much easier.

Jennifer

I have questions…What is your skill level? Have you made an eternity ring before? Do you have access to CAD?

Eternity rings were invented by the Egyptians between 2000 and 1800 BC. Back in the 60s when DeBeers had a glut of small diamonds in stock and didn’t know what to do with them they followed the Egyptians. Thus the 20th century re-invention of the eternity ring. The whole idea was lovely and sentimental, but rather impractical. My husband Tim and I usually discourage new brides from having them. Why? Because the inevitable weight gain after marriage. So many prospective brides go on a diet before the wedding. And re sizing an eternity ring is a huge pain in the ass. We usually only make eternity rings for anniversary gifts. Tim carves them in wax and then we have them cast in platinum. Why platinum? Because gold on rings wears away with time. Platinum doesn’t, it spreads out with out metal loss. With time platinum will actually tighten stone settings. And finally if you do have one cast in platinum, request TruPt from Hoover and strong. And also request Hipping. AKA Hot Isostatic Pressing. It compresses internal imperfections in casting.Hot Isostatic Pressing

3 Likes

Thanks!

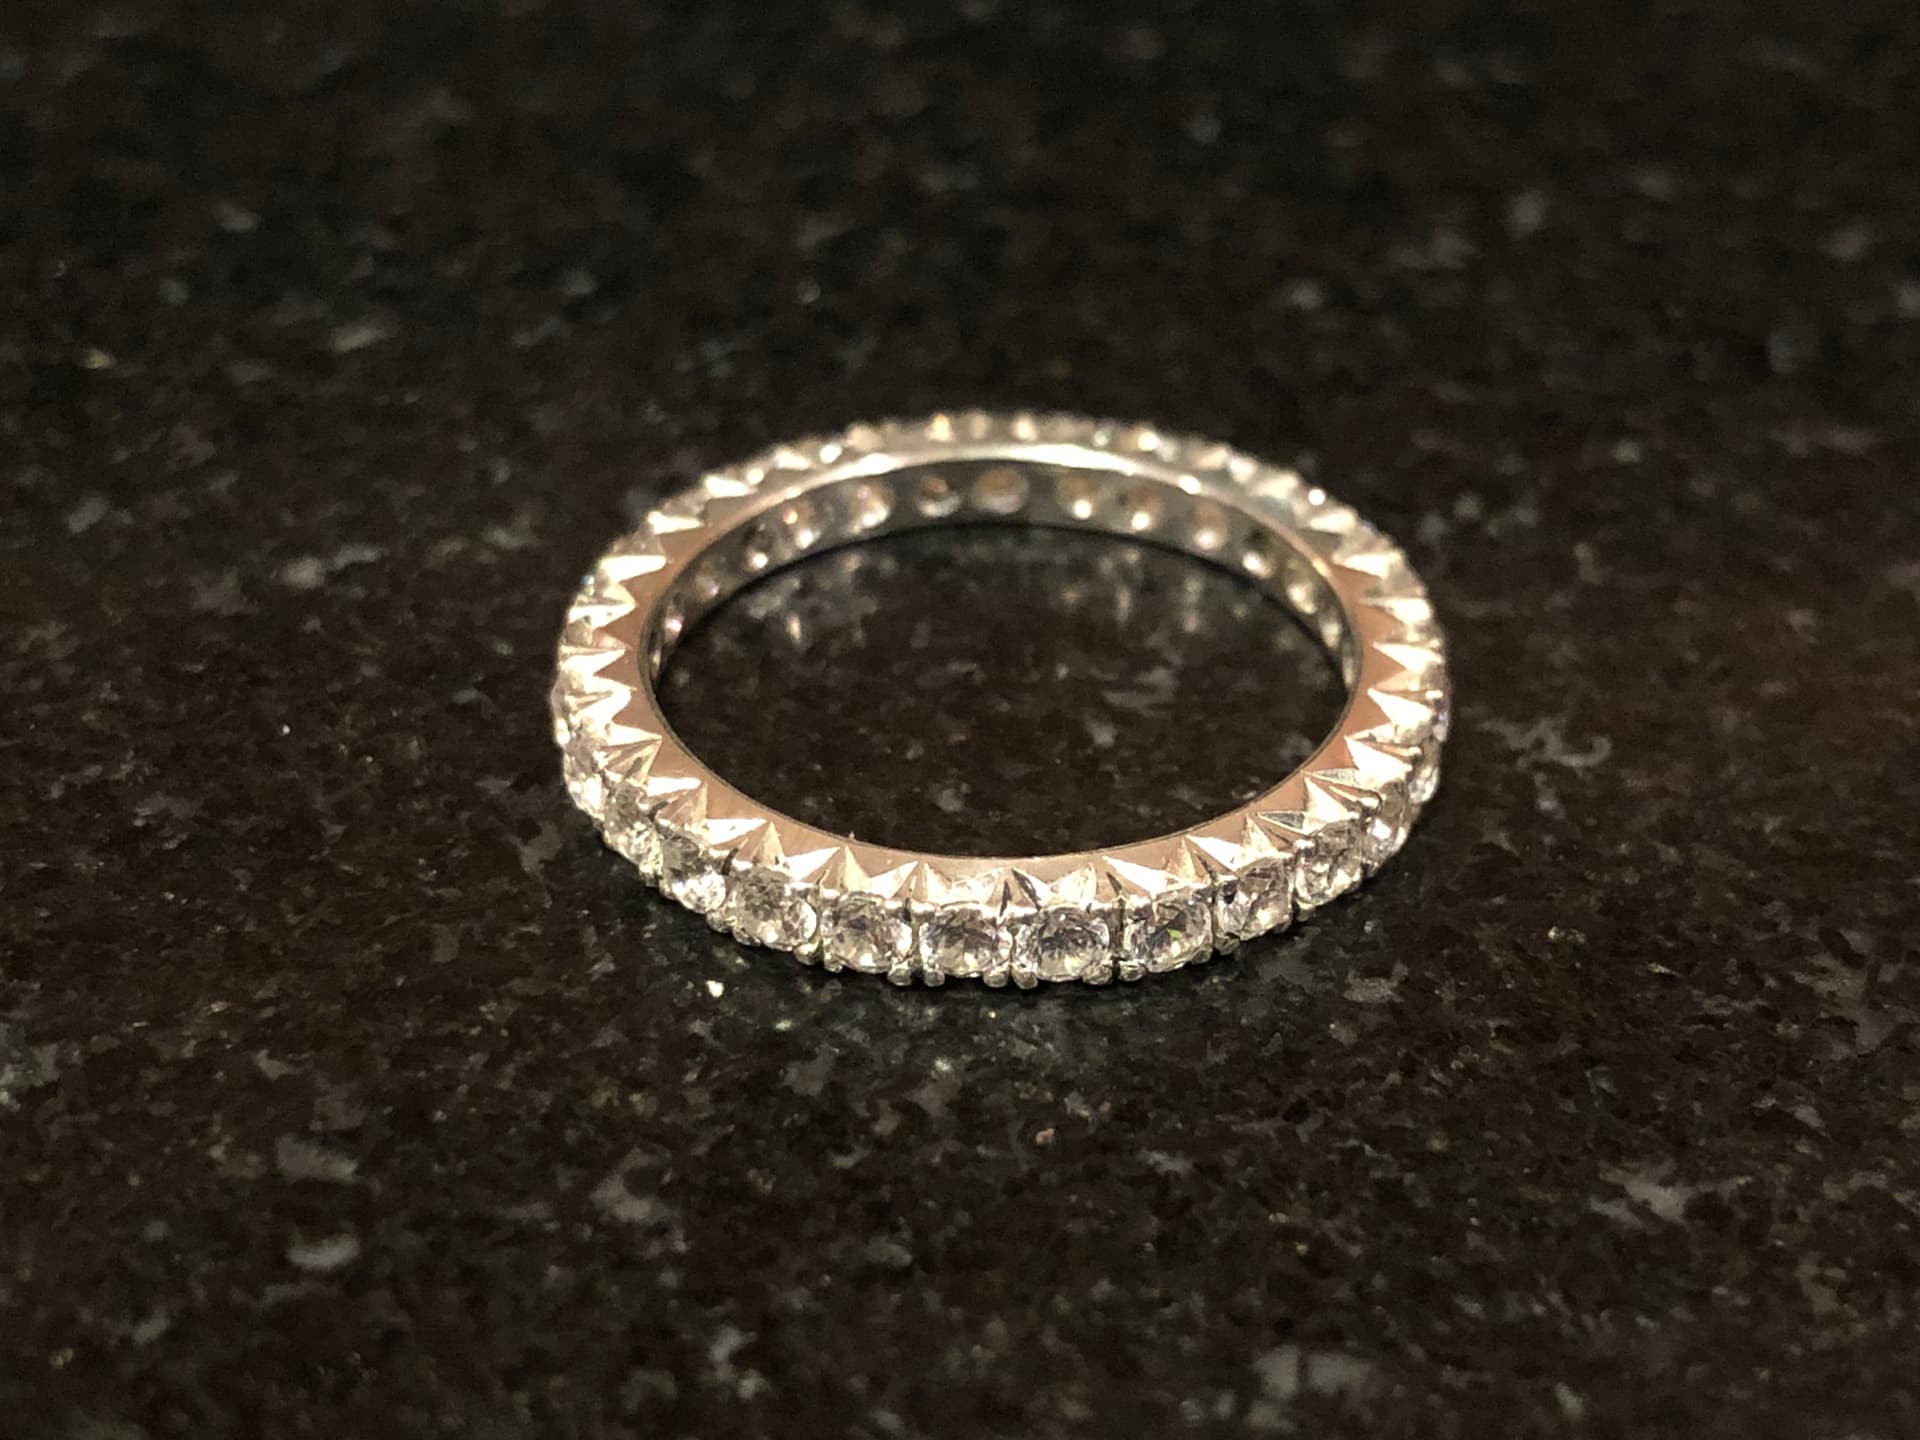
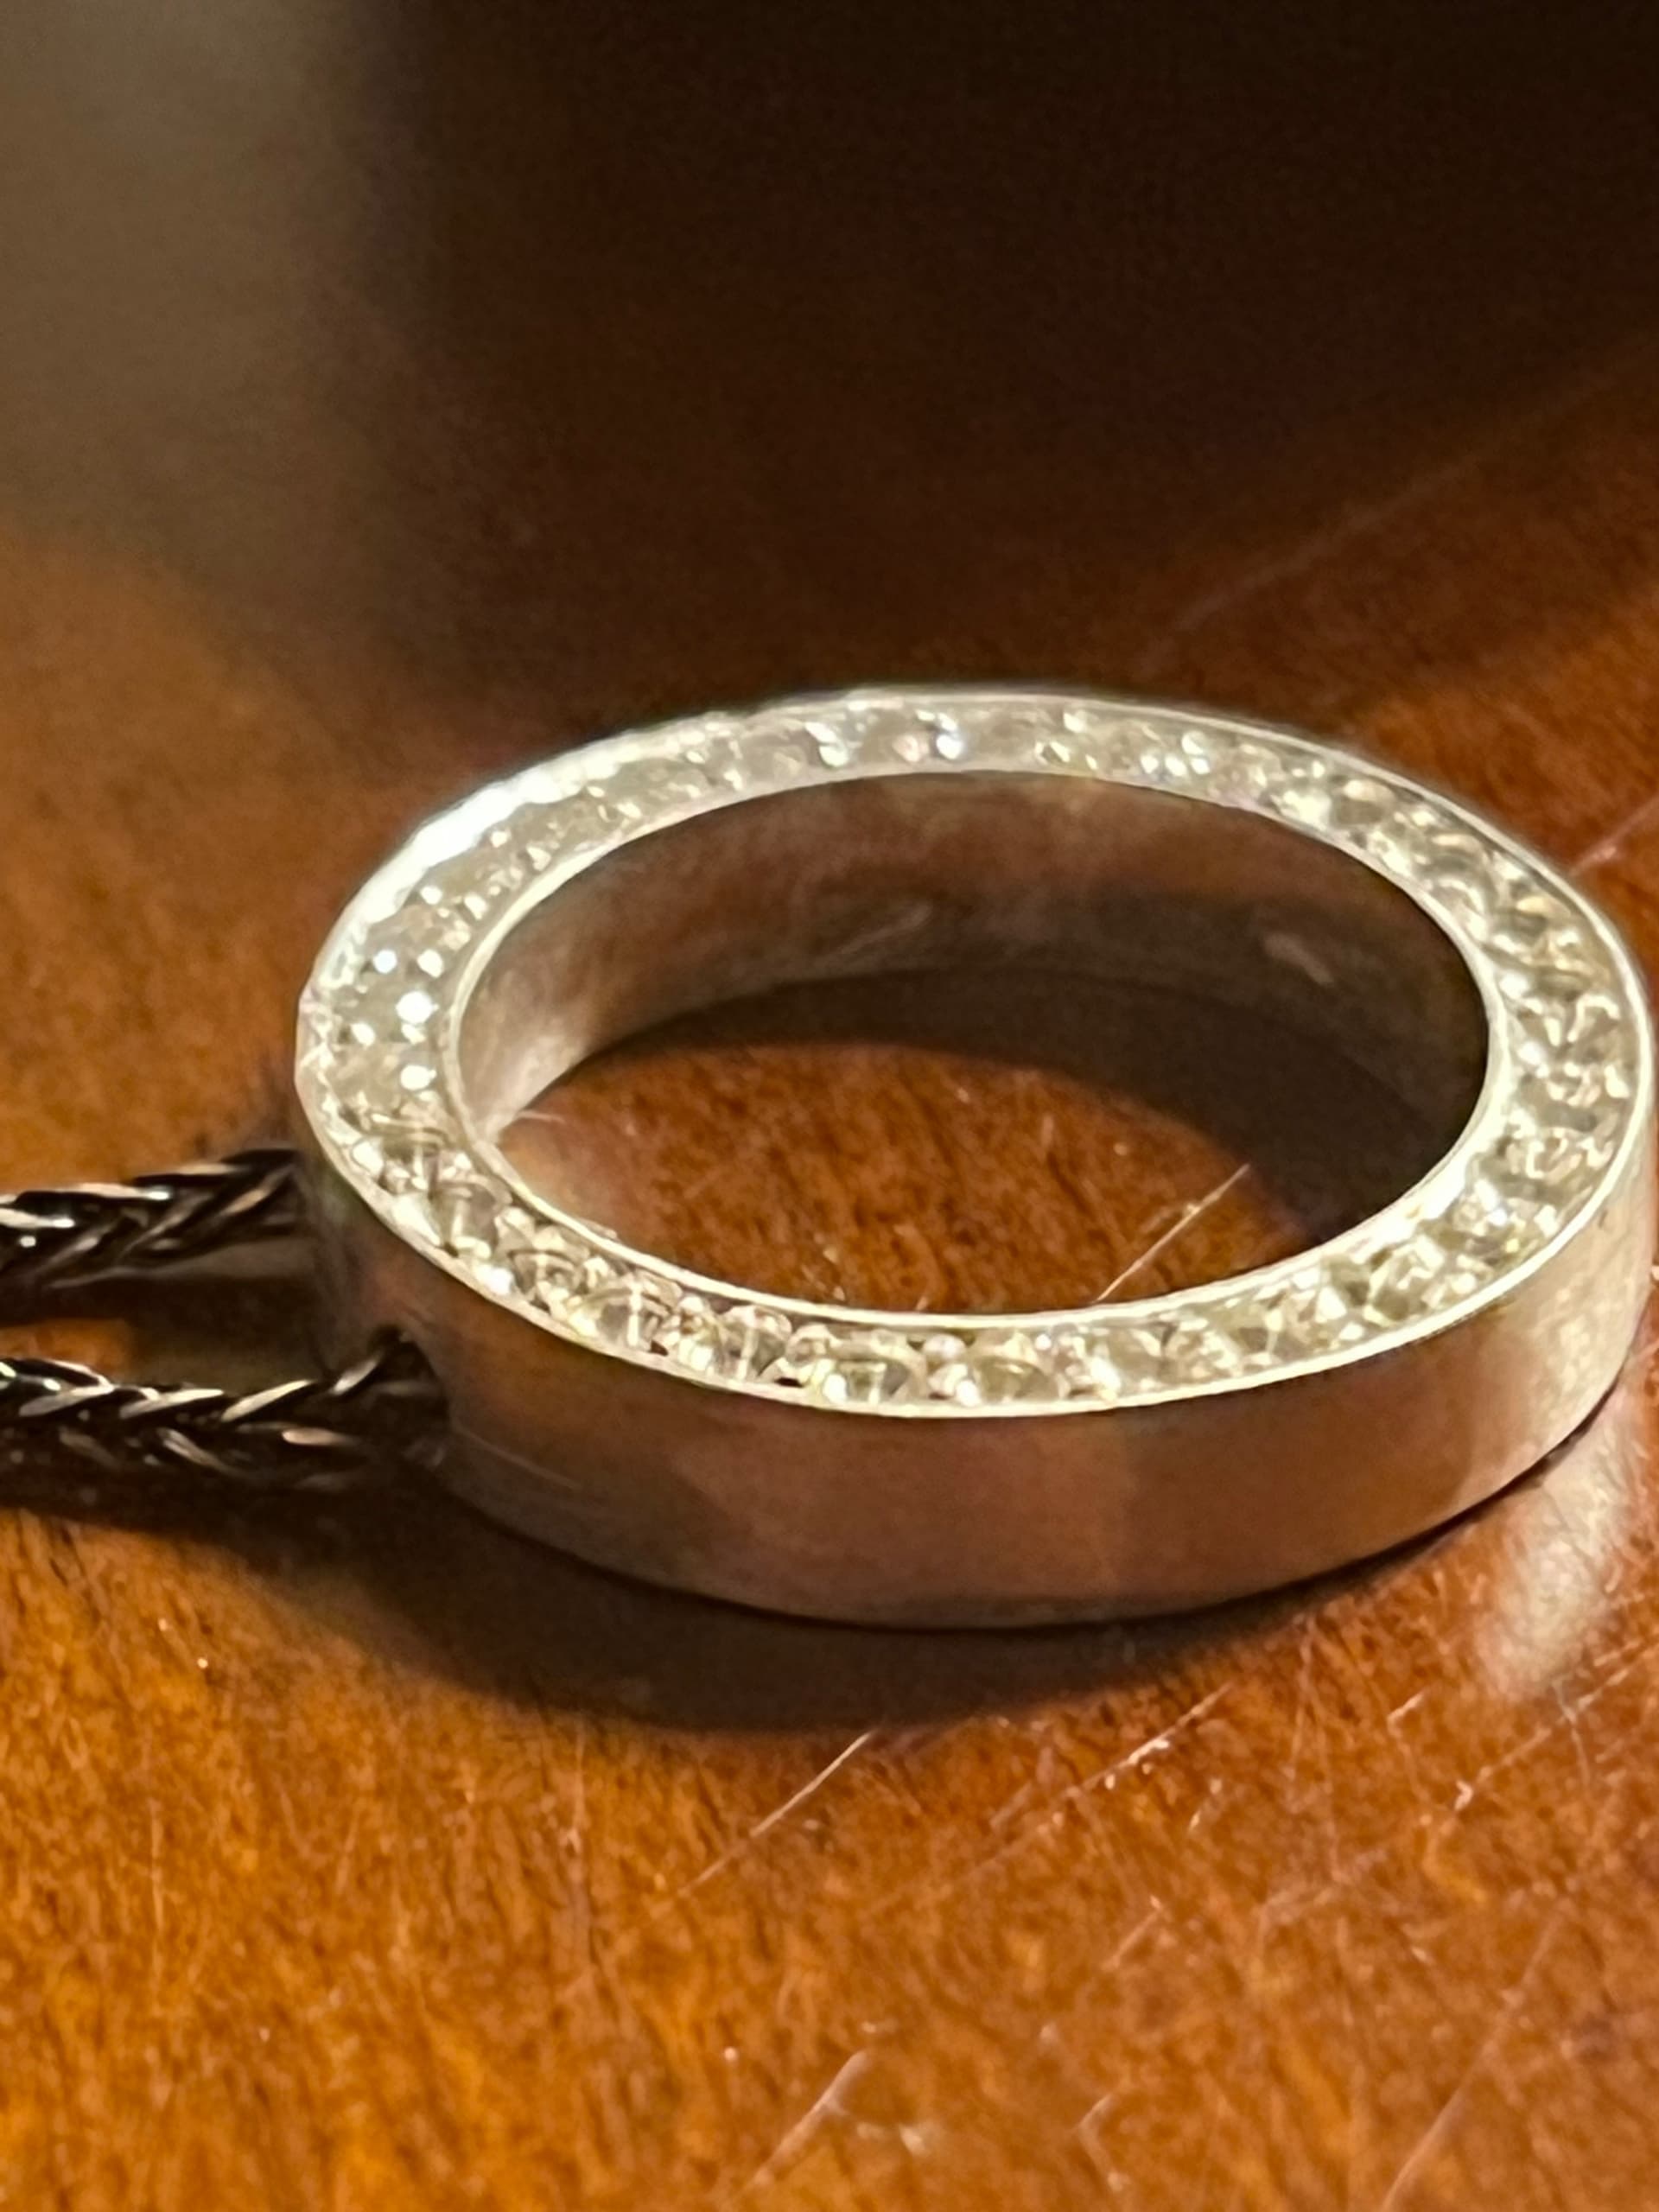
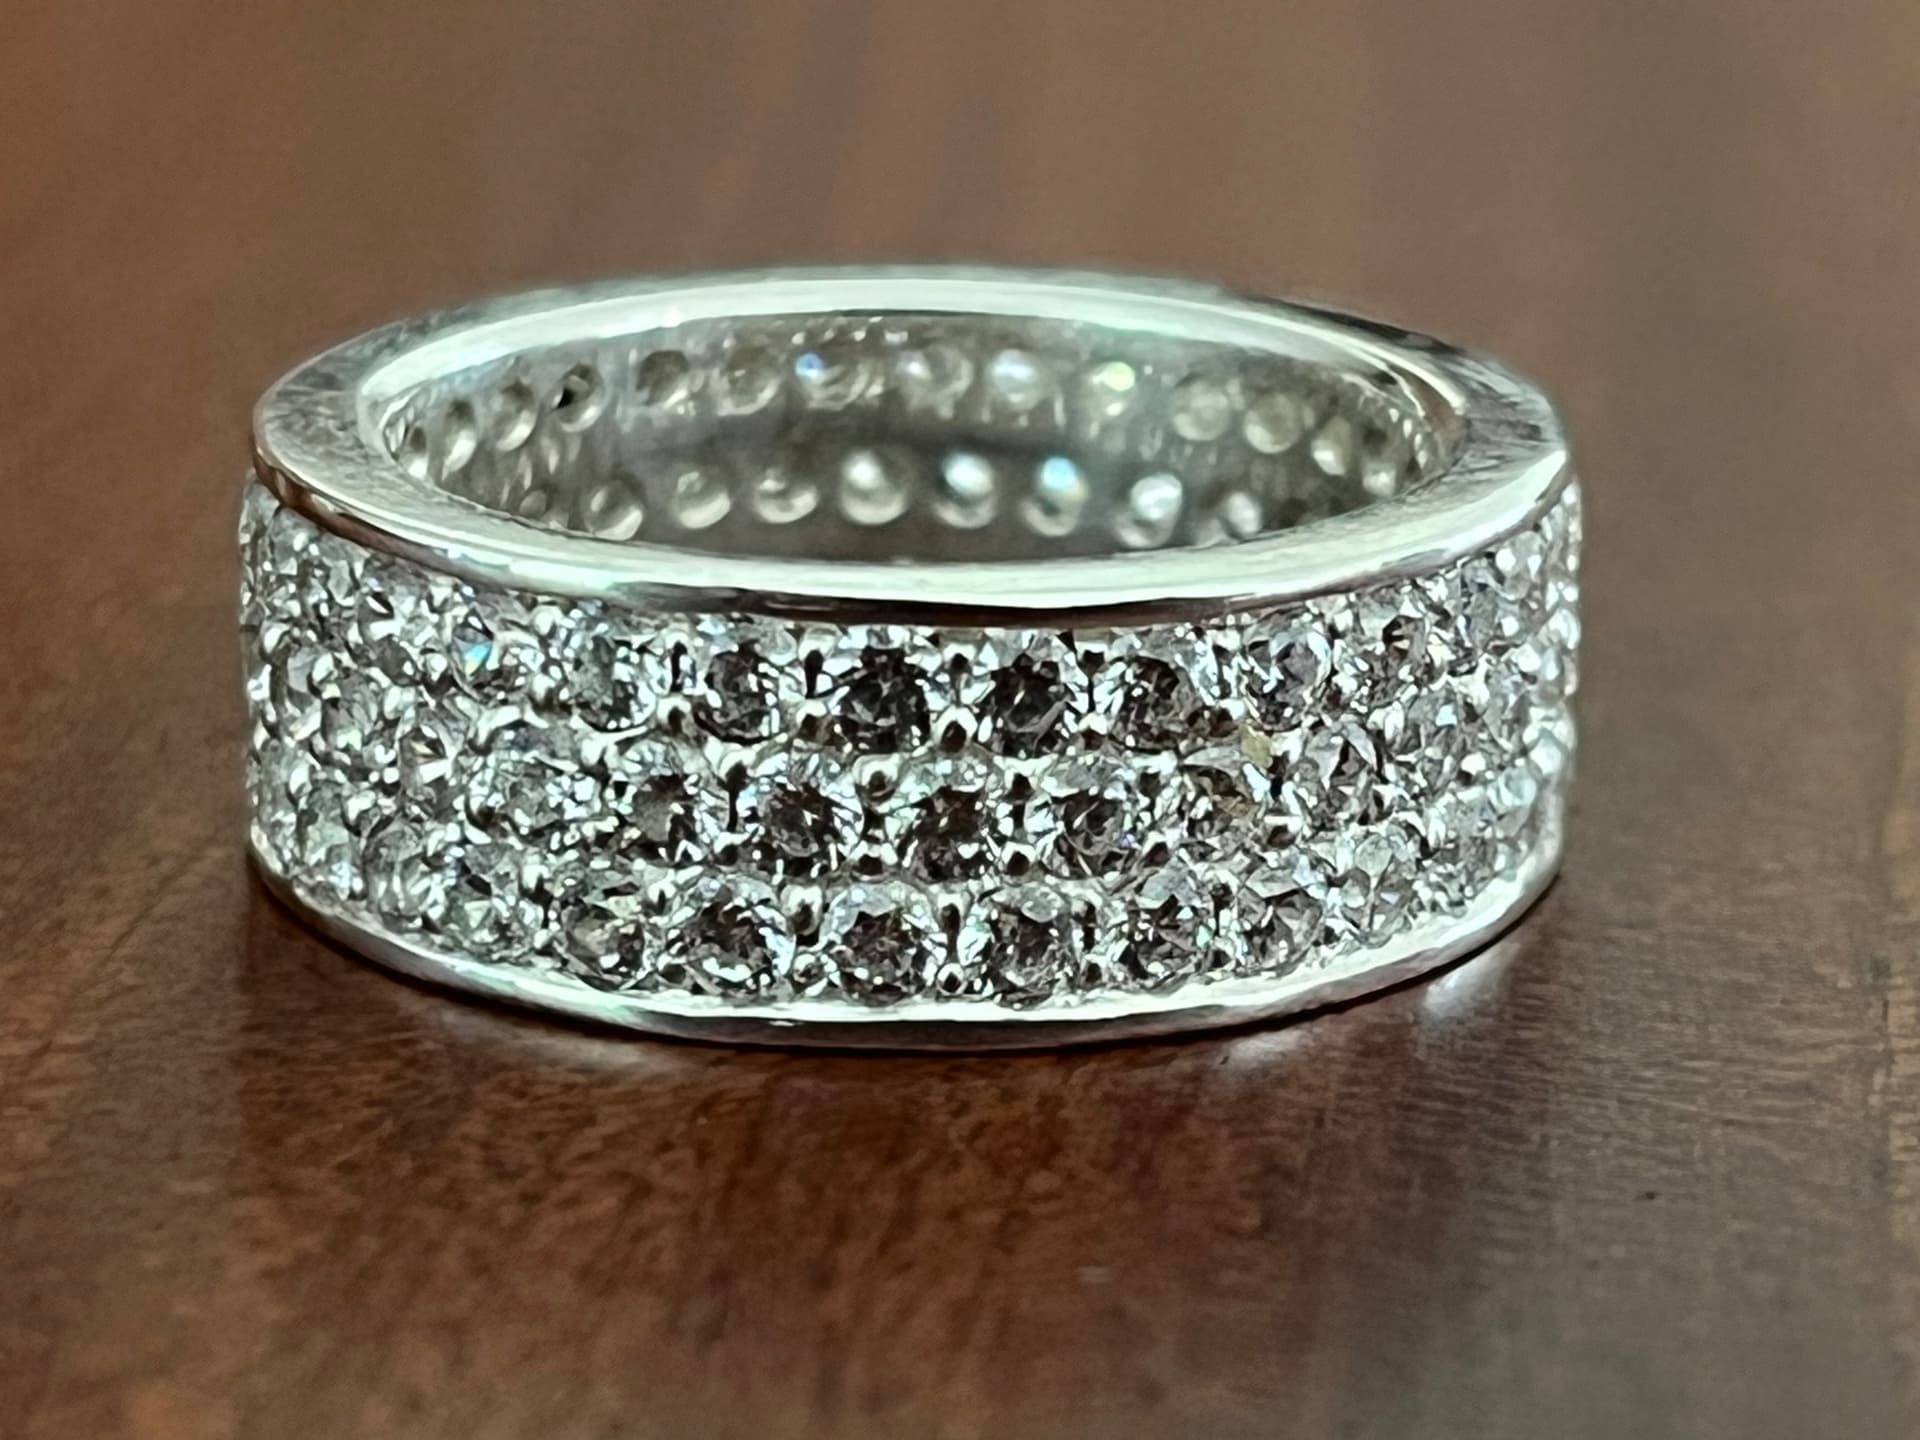
I’ve made a number of eternity bands and similar with 1-2 mm stones. Some examples below. Those are all fabricated with burs and gravers. I love the history - I didn’t know any of that.

I do have CAD, and I’ve had a few pieces 3D printed and cast; and I’ve used it to quickly try out ideas at different scales. In the end, though, I get more enjoyment fiddling at the bench than designing on a computer.

I’m trying out the concentric bands and cutting out the settings approach now. About to start drilling holes and filing…

2 Likes

hi,

also i forgot to mention…in the 3 stone oval ring, at about the 1:40 minute mark, it looks like he is sawing between the collets at the top…before bending them into a curve…perhaps that is a relief cut to allow the collets to bend, and be separate at the top edge…

uulie

Nice work. I do love hand fabrication. Have you tried ajouring? It’s a really nice step up for clients who love good work. https://www.pinterest.com/pin/542120873880484317/ We take pride in that our work is often as pretty in the backs as the fron.t

2 Likes

I’ve always been very impressed by adjuring, but also intimidated to try it out. I saw some videos from Gerry Lewy - do you cut them with a saw or a graver or both? It’s a great idea - I should revisit working on those

1 Like

As I was trained in a European-tradition shop I could not imagine sending out a piece which did not have its back cut mise-à-jour. I am always surprised when I see jewelry with expensive stones that do not have ajouré work in the back. The London jeweller, Bobby White, comes to mind. He produces very expensive pieces, but his pavé work just has round holes behind.
One of my design professors, a Frenchman, said that in Europe you could tell which customers were from an old noble family and which were nouveau riche, as the aristocrats would always turn a piece over to look at the back to see the quality of construction whereas the rich bourgeois would only look at the front.

2 Likes

Mise-a-jour can be cut with a graver but the majority of jewelers use a saw. I think Gerry uses a graver because, as a setter, he has a greater facility with gravers than do most jewelers.
Anthony Lent, with whom I studied a bit, had a trick.He’d give the sawbalde a 180° twist so that the teeth pointed to the front, the side, and the back. This made it easier to cut the ajouré work without turning the piece as much. I’ve tried it, but never thought it saved that much time.

2 Likes

Hi,

i just ran into something interesting on instagram…related to this conversation…someone was using a custom shaped graver as a burnisher/ scraper…it was surfboard shaped, mirror finish…slightly pillowed…with sharp side edges for scrapers…to clean up the ajours…

and a another one, more flat graver shaped…to burnish/ scrape the insides of gallery rails

the gravers had cutaway/ relief shapes for better access…

julie

Hi,

i forgot to mention that they were cleaning up castings, not cutting the actual ajours

julie

It’s done with a 3/0 saw blade. Sometimes a graver can be used to tidy up a small rough spot, but that is also followed by going back in with a saw blade for a uniform surface on the edges of the cuts.

1 Like