In my ongoing series of explaining how to use your fantastic Onglette Gravers #5/0, #0 & #1. These two gravers can ‘make or break’ the confidence of a beginner who is just getting started in gemstone setting. How difficult is this exercise? On a Scale of 10, I’d place this at 9+ on the Difficulty Scale.
What is required are 4-5 years of graver manipulation! You should have the basic graver carving and understanding just what might happen if certain rules are not followed, and there are many…;>(!
BTW, if some of these photographs are not crystal clear, my apologies!
Now let’s get on with this essay!!
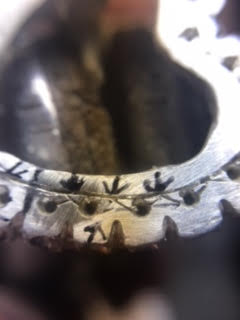
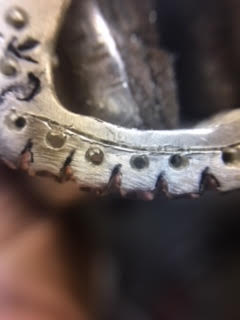
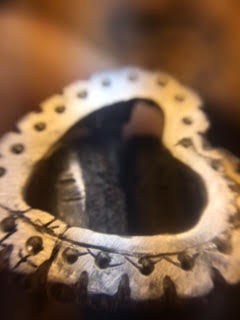
What appears to be going on here? For the first few stone-holes being shown, the results are decent looking, then the cutting line seems to be drifting away from some of the lines of holes. Not nice!
With the "Singular Pointing Arrow" , you can see that the rough-cuts for the beginning of making beads the metal cutting appears to be way off! A proverbial ‘mess’ in the making!
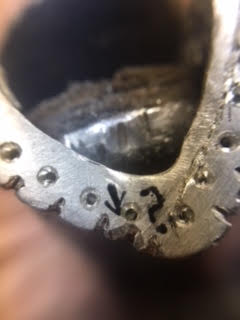
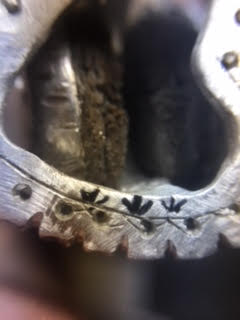
What happened again here? I was attempting to prepare a cut with my ‘Separating Disk’ to make little cuts for the Fish-Tail pattern to be initiated. I actually erred, why did I do this?
It is sometimes the basic level ‘setter-in-training’ can make the same mistake . Please be sure you are always aware of the pattern being created. Don’t take anything for granted, even the slightest unnecessary cut now might be a major problem during the next few following ‘cuts’.
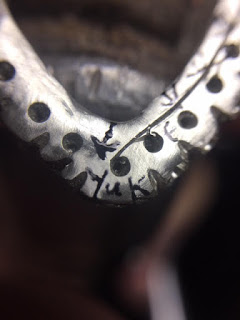
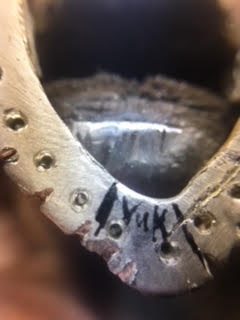
In the second photo, you can see the graver cuts are not all against the hole for the stones.
The 3-arrows pointing to the beginning stages of a ‘bead’ are now so minuscule , no setter (even I) can prepare to set a stone! The mini-beads are so small, this section is now being wasted!
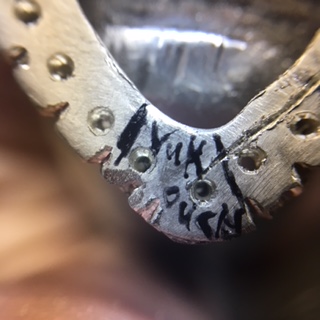
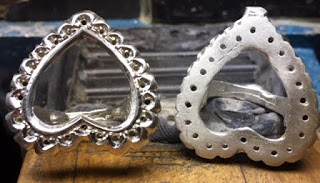
My graver cutting is in a straight line (for now) but the holes are not in line . This drilling was done in the wax stages. At 0.10mm’s out of alignment, this is still too far away from the graver-cuttings!
This little area is so now difficult to repair, to say ‘YUK’ is an understatement. I would have my jeweller solder those grooves on the edge totally filled in and start again!
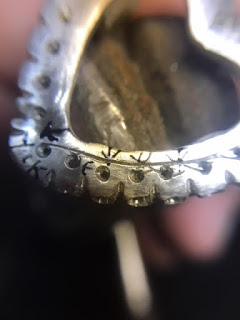
Now you can see how the holes are again, not in line . This is so-o important in these preliminary stages of cutting. If these holes are not in line, you can do either scrap the item or spend $$'s in a costly repair (soldering fees) to start again!
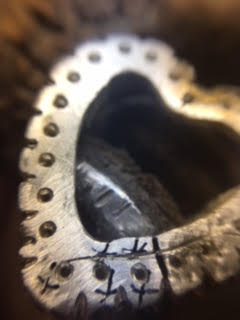
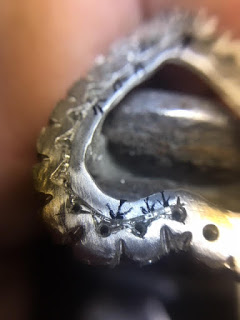
In this photograph, something happened here, what was it? This needs a total “solder-to-fix”. The ‘Separating Disk’ cut into the wrong area again.
Mistakes in using the separating disk , I won’t be using this method again! But now you can see just what can happen when care is not used! All of these “mistakes” were done on purpose.
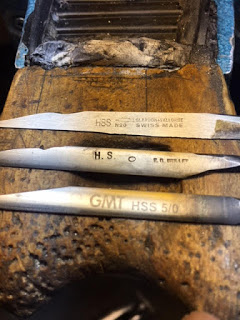
These little cuts were all created with my Onglette #1 graver and having the width totally modified.
Why so? I need to cut deeper, but never wider in these “Rough-cutting” stages. If the lines are straight and all of the beads are well formed, I would gladly forge ahead.
I am using a ‘greatly modified’ graver, I shaved off most of the metal on both sides and it is down to only .03mm’s in (the cutting) width. I created this very thin graver face, as this has to get me into the little corners of the metal that a wider graver-face won’t be able to reach!
But as I see it now, the chances of continuing further are not good . Too many errors with many mistakes to make this an appealing “Piece of Beauty”.
The forming of these ‘beads’ is now a thing of the past . This item is now getting closer to being ‘scrapped’ or metal-refined. As for what you can see, the ‘cuts’ are not good and not to be continued any further.
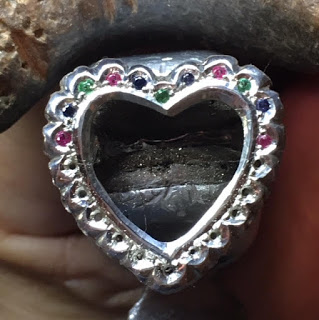
Here are a few photographs of the finished Fish-Tail pendant. These photos are ‘eye-candy’ for me.
This pendant took me only 2.5 hours ‘start to finish’. The cubic zirconias shown are only 1.5 mm’s in size. I could have set stones at 1.25mm’s, (only if there were available in this city)!
In another essay, I will explain the Bright-Cutting stages for making this pendant. I will walk you through the many rules of using the many Onglette & Flat gravers. You too can achieve this fantastic pattern with my help and assistance.
BTW, none of my ‘setting with gravers’ patterns is using any Computer Aided Designing (CAD) program.