Im casting with castable wax resin models, and havent had much trouble yet.
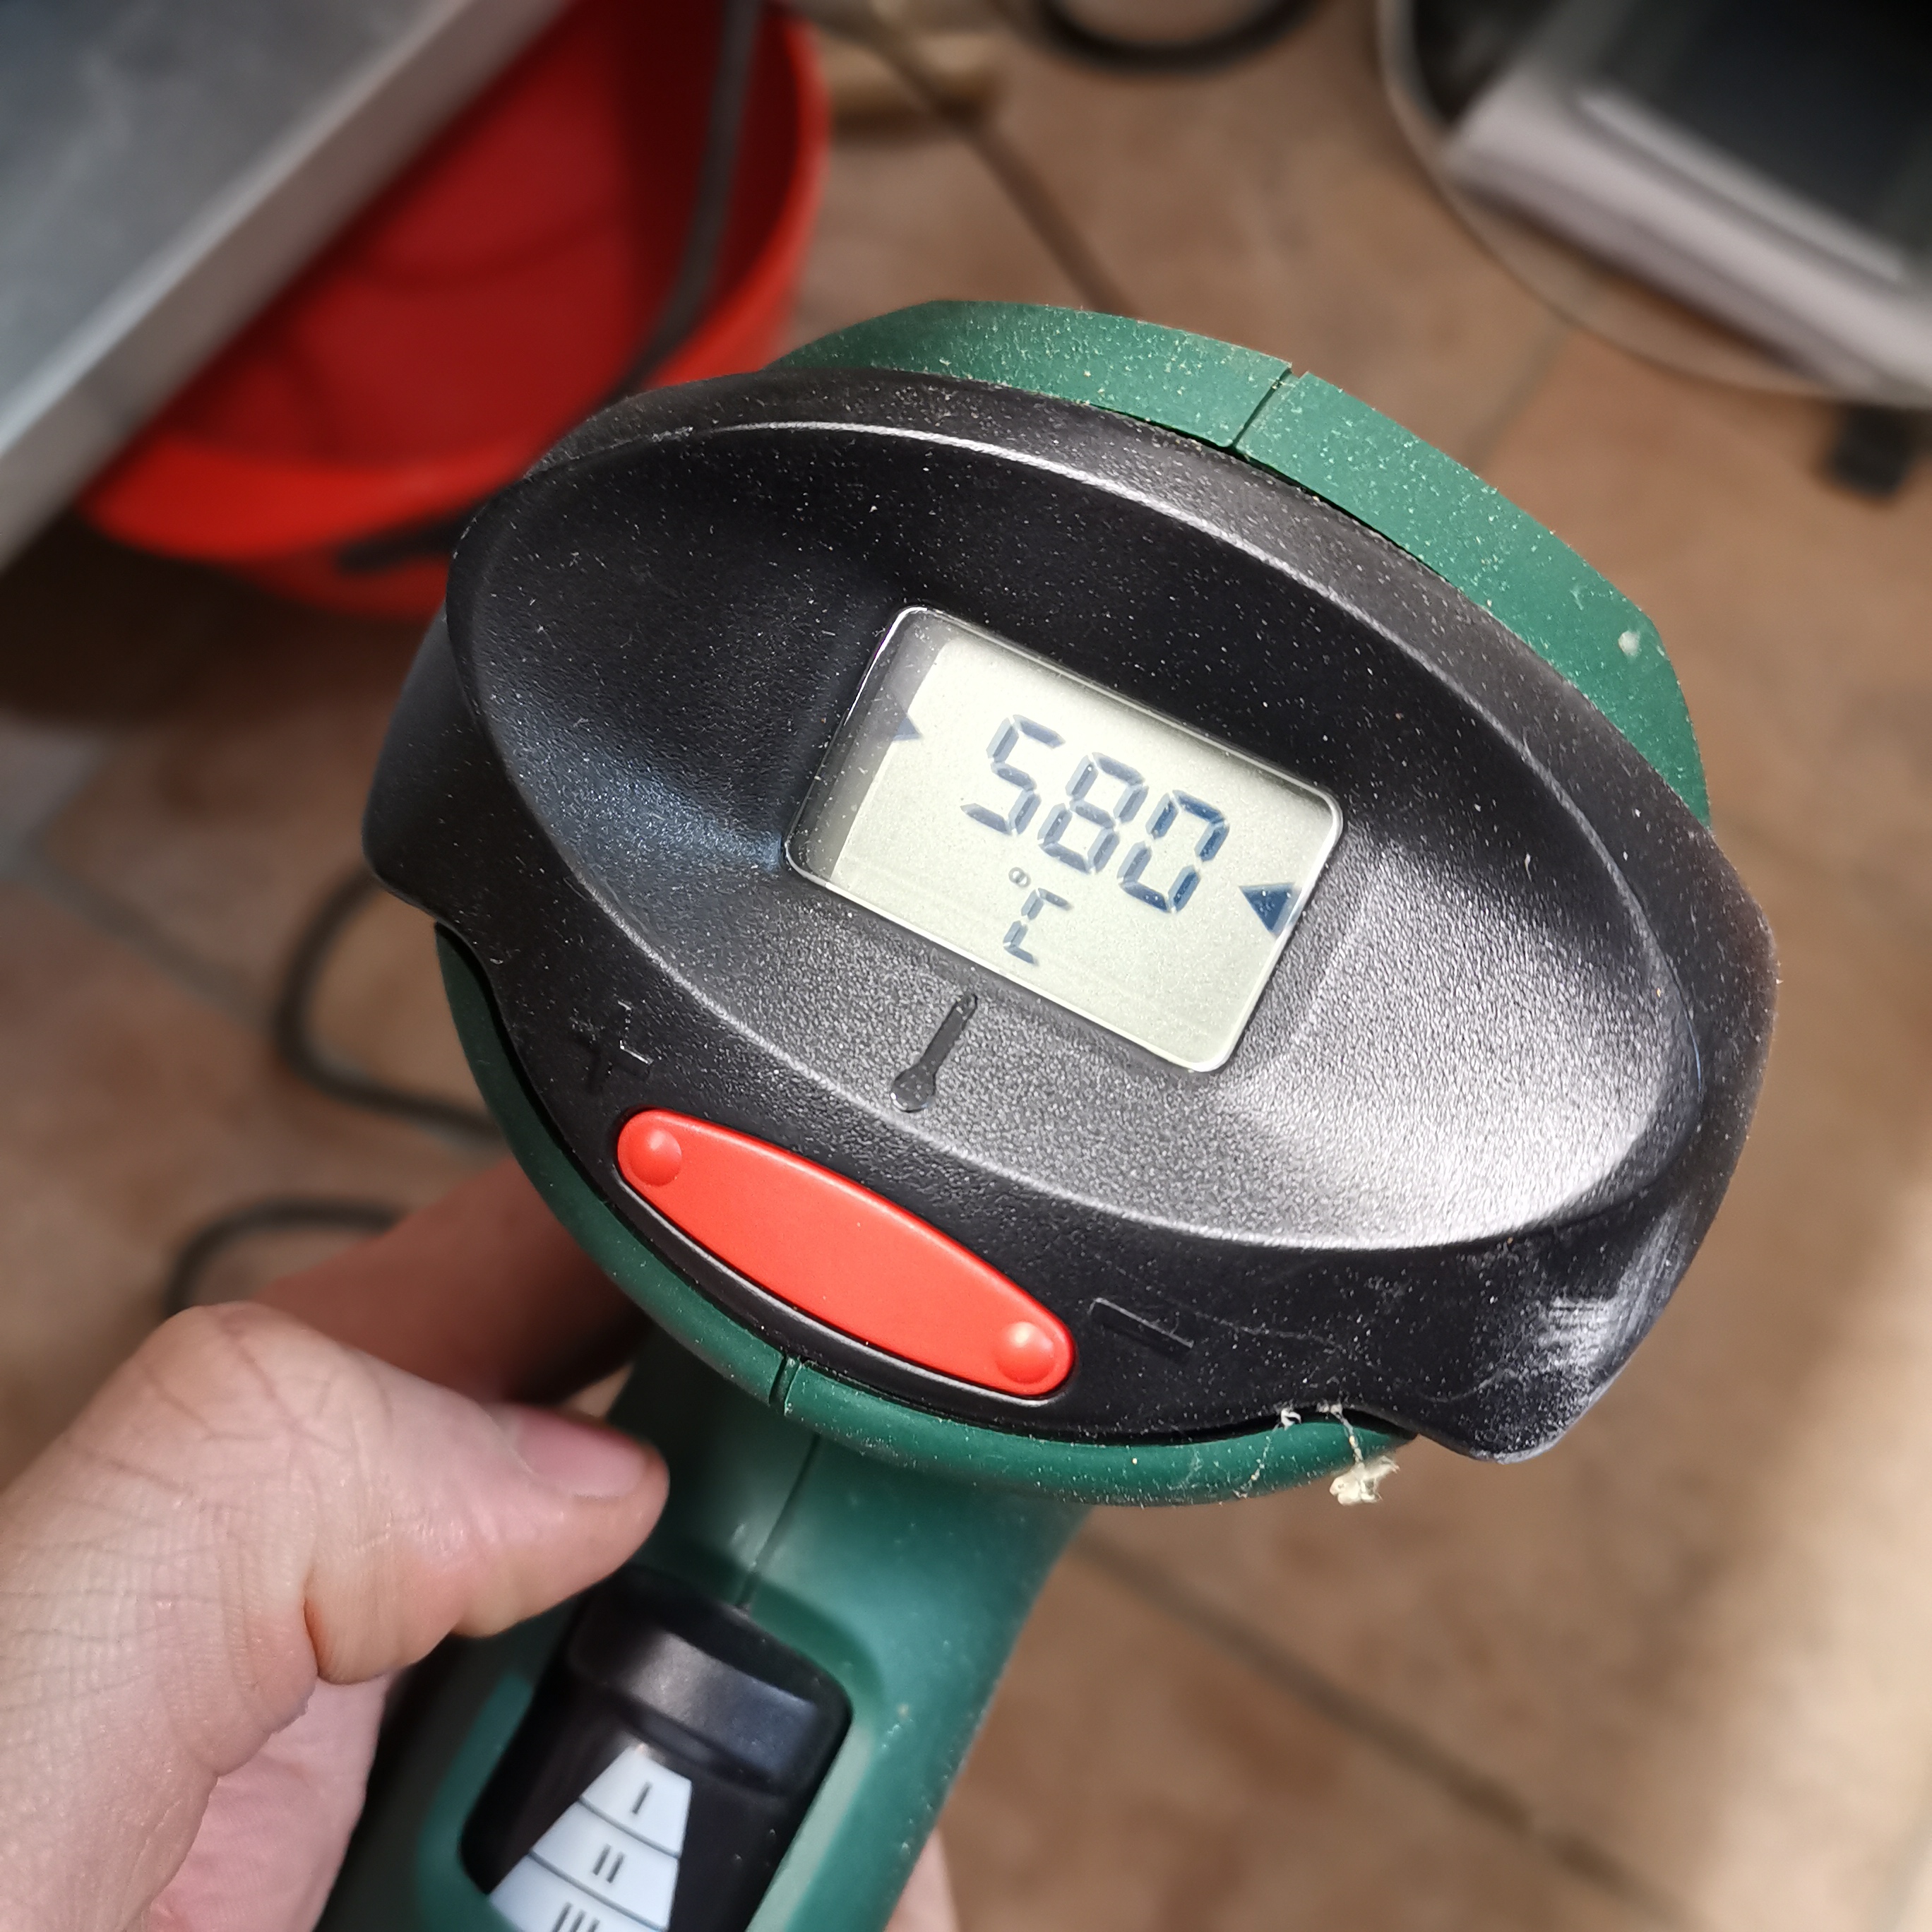
My burnout tops at 780 degrees c for 4 hours, and i always use quite a large main sprue, so i assume the ash will “find its way out”
How is this ash defects shown on my casts? Maybe i haven’t recoqnized it was the ash, and just though it was a problem between flask & metal temp.
Read this on the forum by @ Shawna Kulpa
Anyone got pics of this kind of “open-loop system”… And i assume they blow the air into main sprue AFTER the investment has hardend at high temps, in order for the investment not to crack?
Im a bit concerned about thermal chocks and cracking in investment if i blow air into my mold when its hot?
I’ve heard people who do this send the air through the vent sprue and out the main. It would create more of a venturi effect as it sucks the ash out of the voids and out the larger opening. But if ash is trapped in another prong not connected to the vent, will it actually leave the mold?
The article does talk about the thermal shock and the small amount of air you move through the mold. It probably isn’t enough to cool the interior down so much with all the investment mass still at a much higher temperature. They did say you have to put it back in the oven to reestablish casting temperature of the mold before you cast.
I haven’t tried it because of all the extra metal you need to add to the melt. Silver might be one thing, but gold cost too much to waste on miscellaneous sprues.
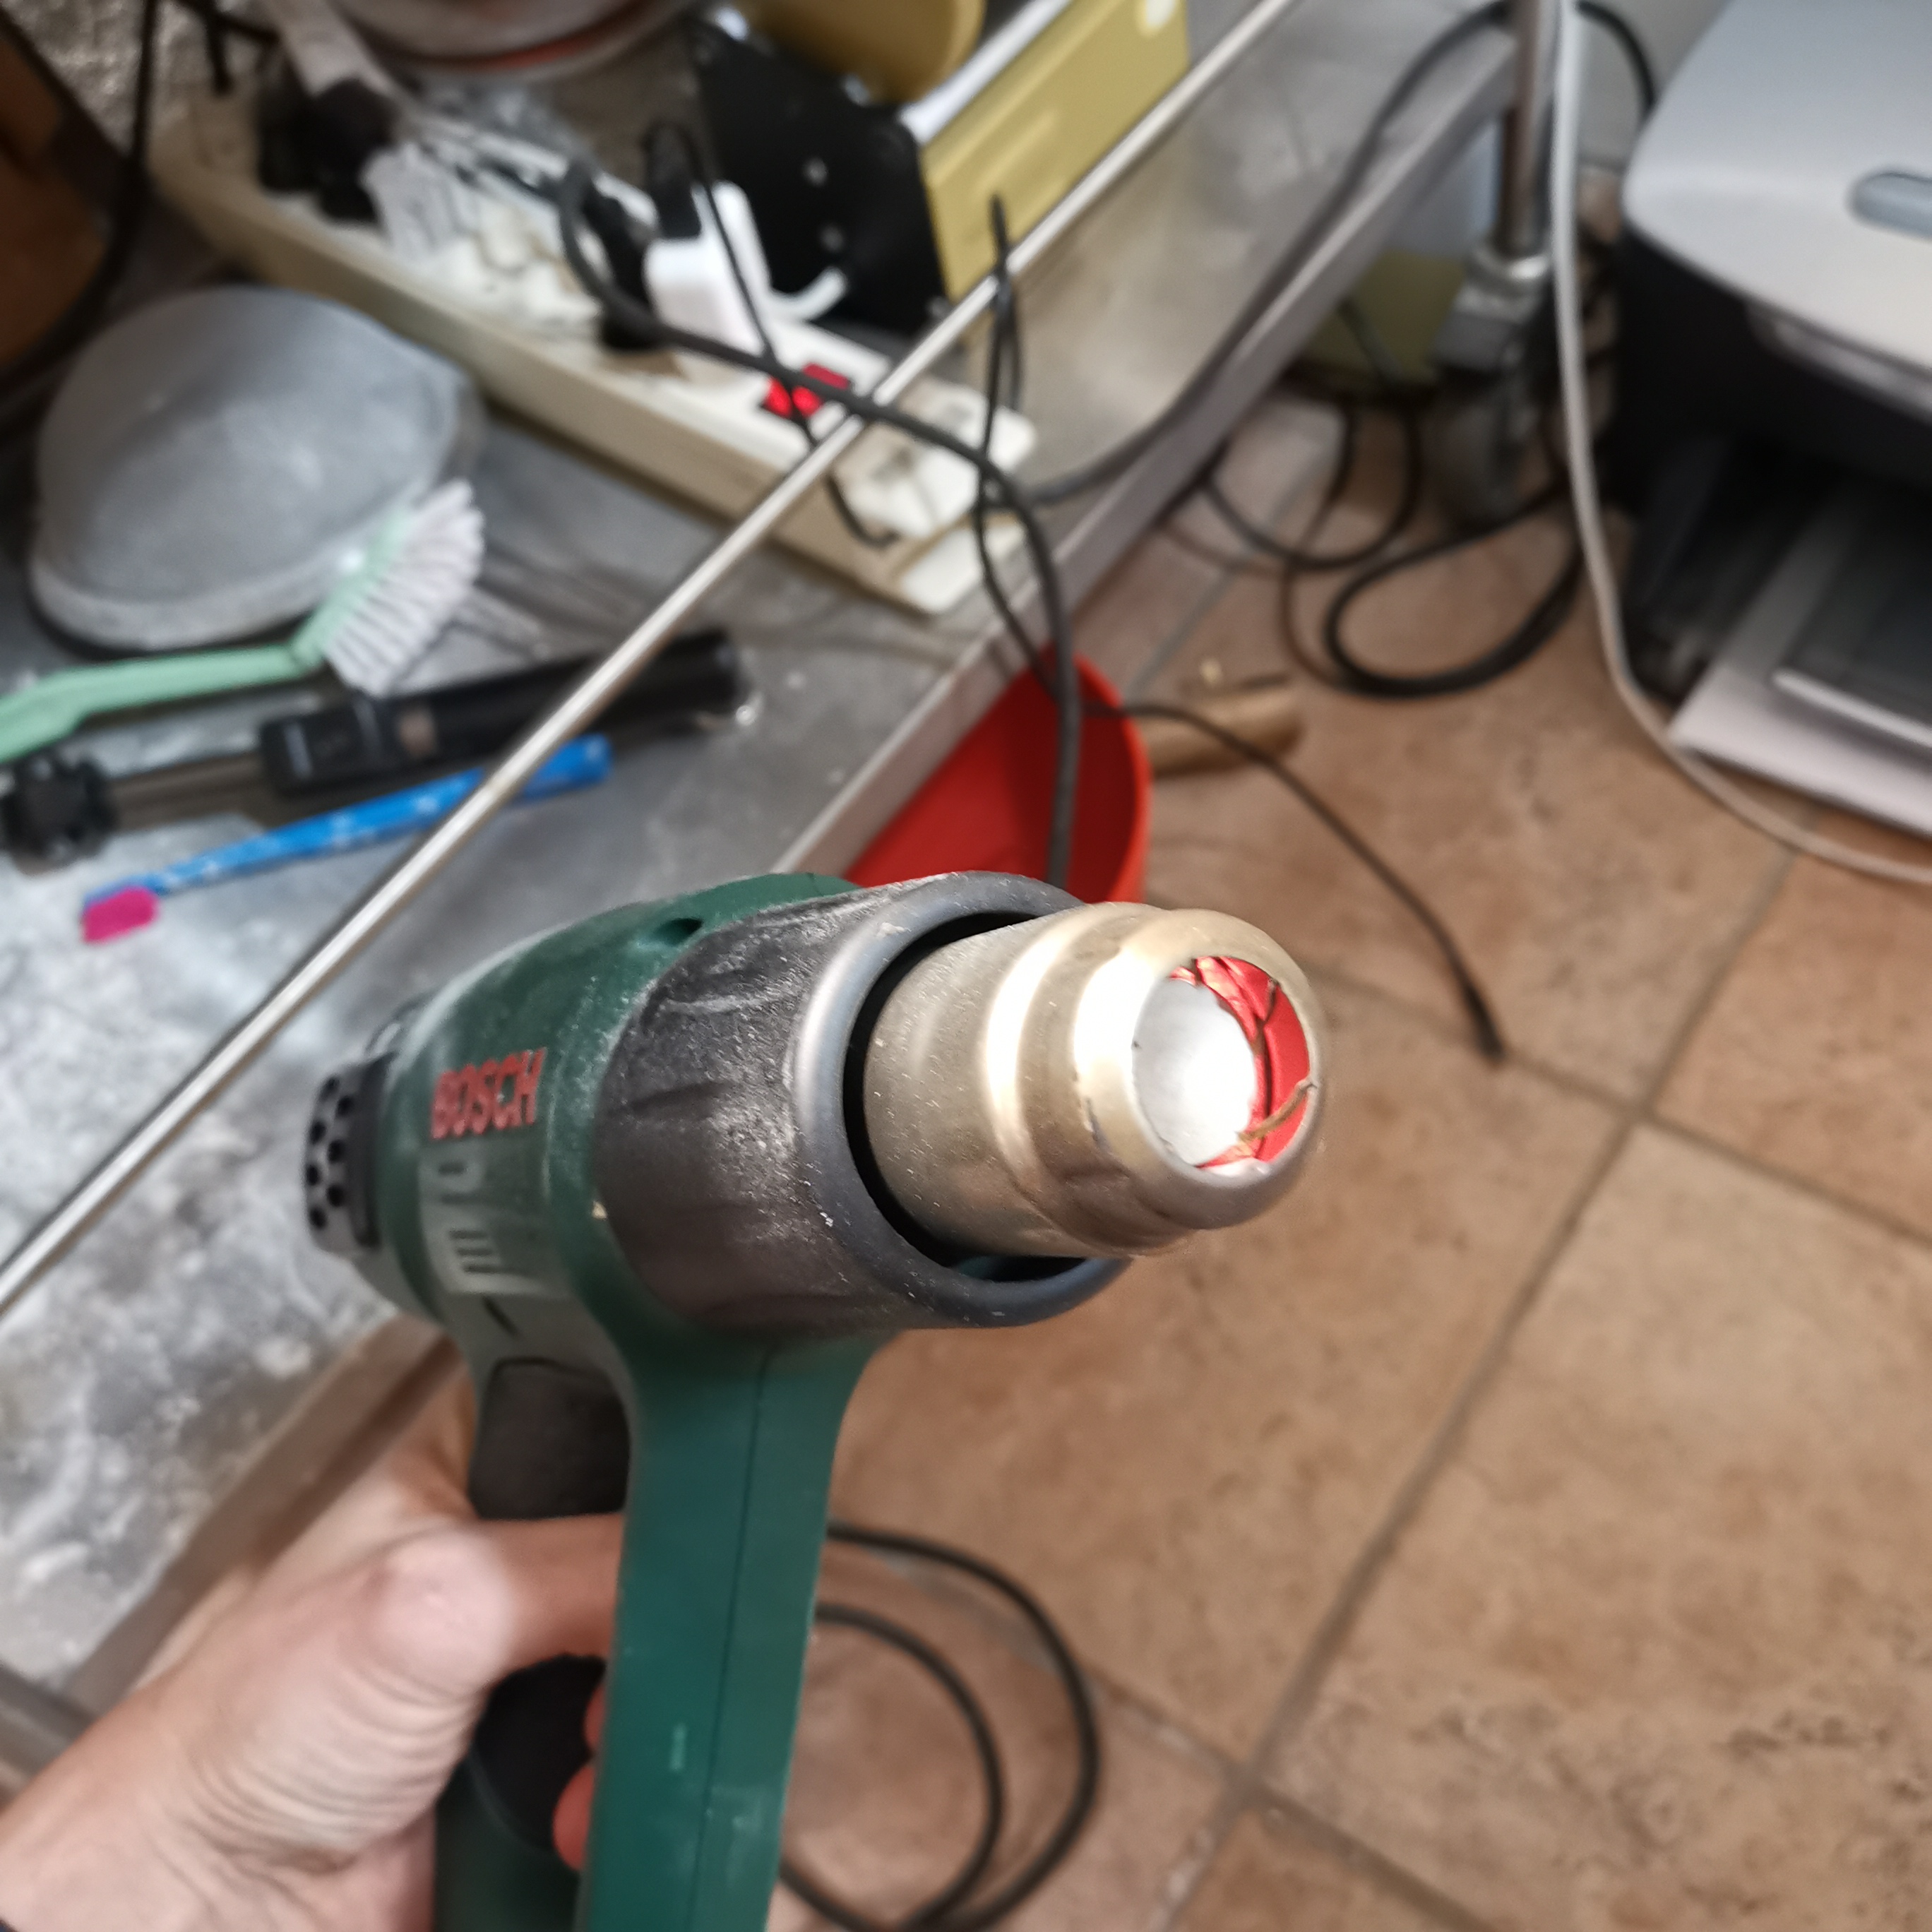
True that! I found one of these badboys in the garage which i will try if i get any problems!
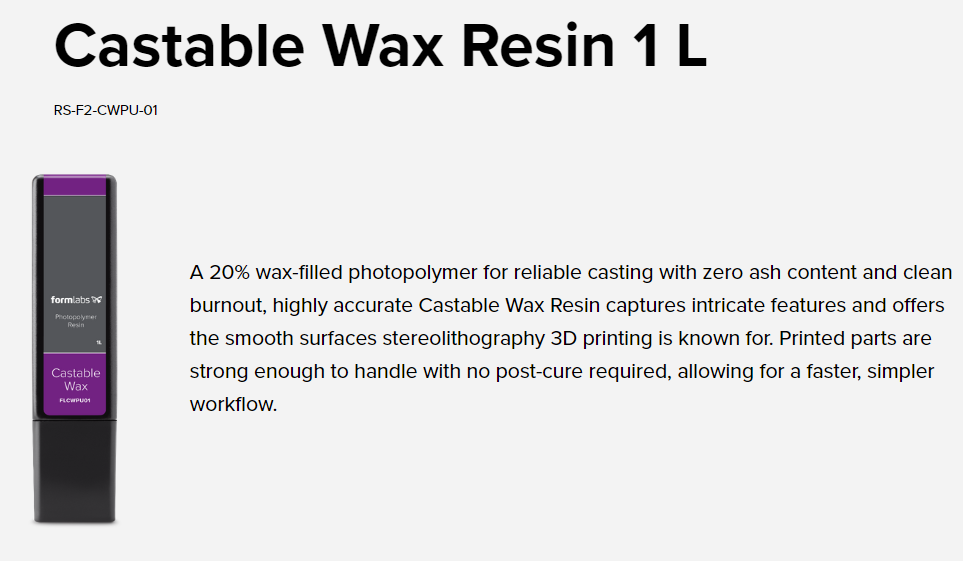
Howerver im using formlabs Castable wax resin which should burnout really clean, so doubt this is my problem…
Thanks a lot for always adding constuctive comments to my threads, saw you replyed to my Investment hardening time thread aswell!
Do you perhaps mind sharing my casting process with you, with detailed pics etc over email? Still getting some surface defects on my silver castings, and constantly trying to get rid of it!
I have been casting resin for about 5 years with very mixed results though have never worked with any of formlabs resins. Here is my protocol
You must have a print that is completely free of any uncured resin. First spray off with ISO then in hot ultasonic in ISO for 3 min, rinse then 10 min in hot ulta then blow off with compressed air.
Your print must be completely cured. I am using a B9 ultaviolet cure box.
Your investment must be more heat tolerant and stronger than traditional. I use to add boric acid and calcium nitrate to satin cast per Tyler Teg but still had surface defects.
I have also vented prints. I have both vacuumed and blown with compressed air. This works pretty well if model does not have a lot of cavities that are not vented. Note use caution when blowing with CA or you may deform model in investment.
My current method when applicable is to use prestige optima investment and bench set overnight or longer. Follow their burnout which as I recall is about 18 hrs. I still get mixed results.
So when possible i use a qiuck set RTV mold of print. The inject and cast.
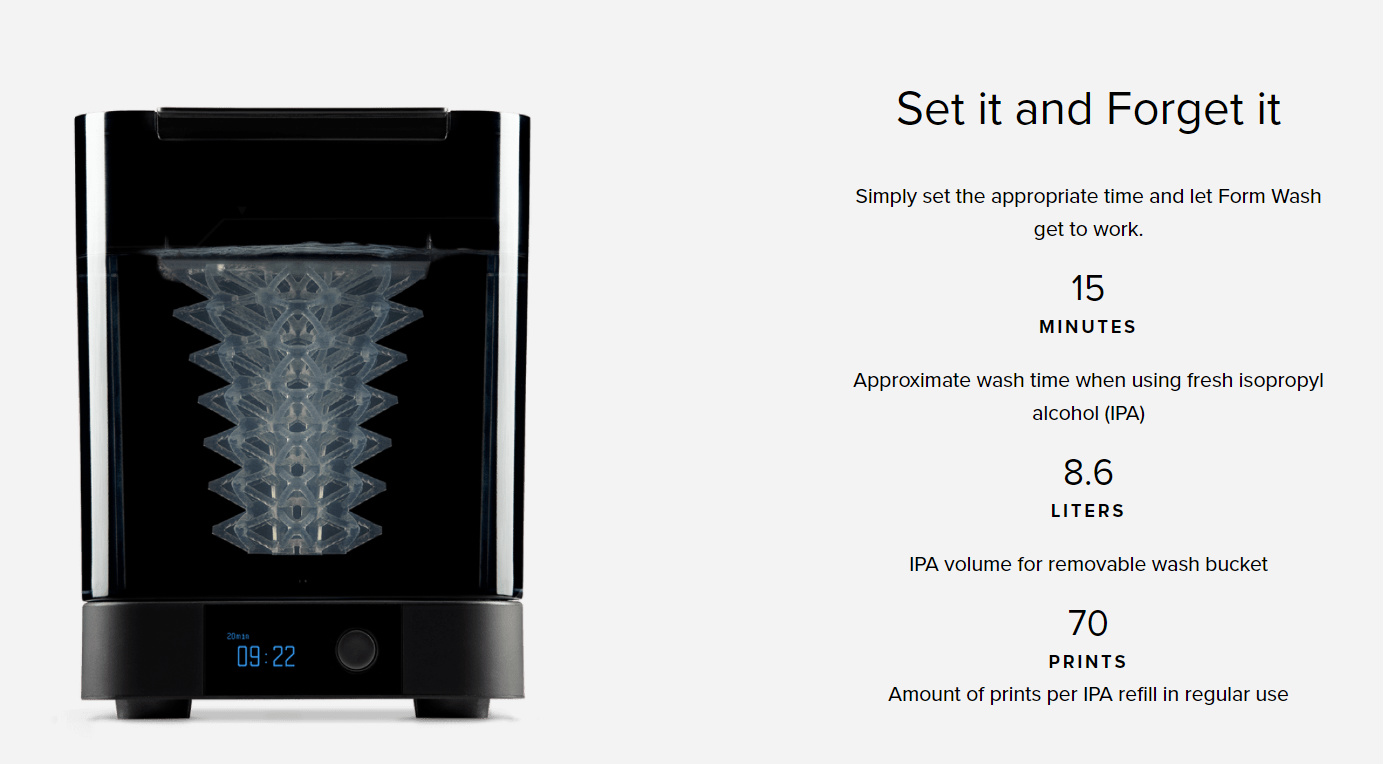
Wauw ultrasonic ISO bath! Printing in formlabs new material, which needs no post curing and actually have bit of wax includede aswell in it, giving it some enhanced properties!
Still in doubt for how long i should let my investment sit… Made this thread a while back.
Just had cracks in my mould and got following advise from a veteran.
“The main reason your investment cracked was because you let it stand to dry for to long and then compounded the problem by heating at too higher temperature. What happens is the outside of the investment dries first when it is allowed to stand for a long time in air. When the outside dries it seals the outside surface of the investment. This then traps the moisture inside. When the heat comes on, the water inside is turned to steam and the steam cannot escape. The pressure of the steam cracks the mould. Only allow the investment to reach its green strength about two hours and then start heating. This is where the 150°C is important and it should be done for several hours. It draws the moisture out slowly from the middle of the flask without sealing the exterior surface. I think the roughness of you casting is also caused by the water boiling inside the mould and roughening the surface of the investment.”
Hey Will
Sorry for confusion, I meant IPA isopropyl alcohol. Your form wash looks like a cool unit. I am looking at a form lab 3 for my next printer. If that is the printer you are using I would be happy to do a test casting for you. PM me if you are interested.
Formlabs did send me samples of their castable resin you list but I have not cast yet. I was told that these samples were printed 3 weeks prior to my receiving. I have found that the longer the print can wait before casting the better the surface quality so I did not think it would be a good test as I cast most of my prints with in days.
if you wanna try out the formlabs 3 prints, you’re more than welcome to try to make test cast with something from my printer? Where are you located, please send me pm if you wanna try it out, maybe we can help eachother